思いの外、時間がかかってしまったので、個人用メモ。
やりたいこと
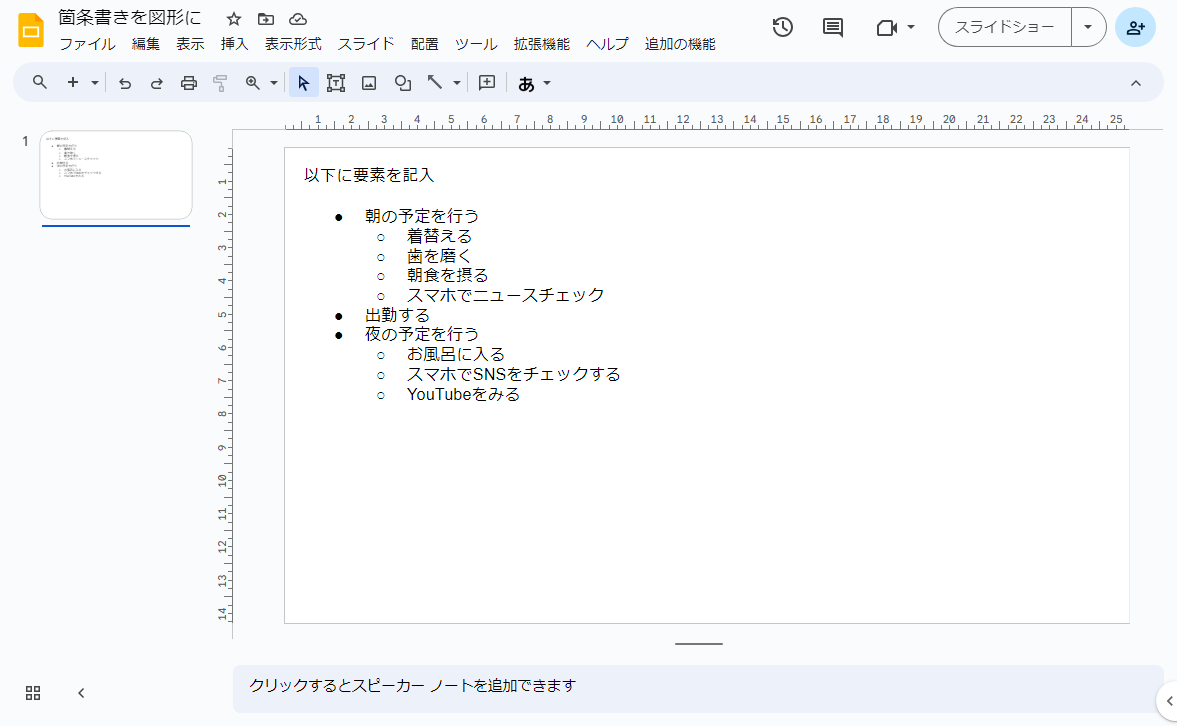
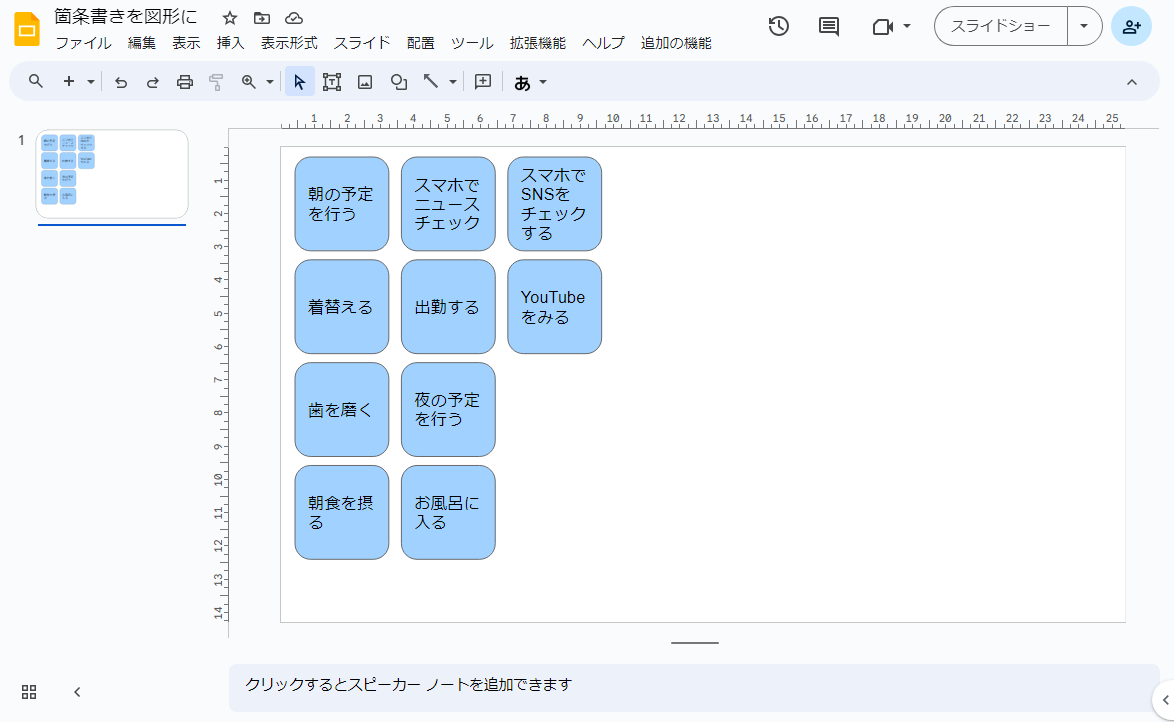
Google スライドのページ内につくった箇条書きの文章をそれぞれ、別々のオブジェクト(Shape)として生成したい。
つまり...

こういうスライドから...

こういうスライドを自動的に生成したい。
GASを使おう
Googleのサービスの大部分は、Google Apps Script(GAS)から叩けるAPIが用意されている。とはいえ、ネットに上がっている記事の多くはGoogle Spreadsheetを操作するサンプルコードばかりである。 そんなにSpreadsheet扱いたいんだろうか?
起動メニューの作成
とりあえず、起動するためのメニューを追加する。
function onOpen() {
  const menu = SlidesApp.getUi().createMenu('追加の機能');
  menu.addItem('テキストボックスを図形に変換する', 'text2box');
  menu.addToUi();
}
text2box関数
続いてtext2box関数を作っていく。
const presentation = SlidesApp.getActivePresentation();
const selection = presentation.getSelection();
const selectionType = selection.getSelectionType();
const new_slide = presentation.appendSlide();
if(selectionType == SlidesApp.SelectionType.PAGE_ELEMENT) {
  selection.getPageElementRange().getPageElements().forEach(item=>create_box(item.asShape()));
}else{
  selection.getCurrentPage().getShapes().forEach(s=>create_box(s));
}
new_slide.selectAsCurrentPage();
スライド内のShapeを選択している場合はそのShapeを、そうでない場合は選択中のスライドにあるすべてのShapeを対象とする。ただし、ここで気をつけたいのは、選択の仕方である。

画像の左右で、一見、同じものを同じように選択しているように見えるが、getSelectionType()で取得できる値は、右がSlidesApp.SelectionType.PAGE_ELEMENTで左がSlidesApp.SelectionType.TEXTである。しかも都合の悪いことに左側の場合、getSelectionType().getTextRange().asString()で取得できる値が空である(何の文字も選択していないので)。よって、左側の場合、そのページ内にあるすべてのShapeの文字列を取得することとなる。
また、指定したスライドを表示させる(画面を移動させる)には、スライドオブジェクトにあるselectAsCurrentPageを呼び出す。
create_box関数
text2box関数内で、shapeまで切り分けたので、create_box関数ではshapeを受け取って、切り分けを行い、図形を書き出す。ということで、text2box関数内にcreate_box関数を定義する。
let [x,y]=[0,0];
const [x_max, y_max, x_size,y_size]=[presentation.getPageWidth(),presentation.getPageHeight(), 80, 80];
const create_box=shape=>{
  const text_array=shape.getText().asString().split("\n");
  text_array.forEach(text=>{
    if(text!=""){
      const new_shape=new_slide.insertShape(SlidesApp.ShapeType.ROUND_RECTANGLE, x, y, x_size, y_size);
      new_shape.getText().setText(text);
      new_shape.getFill().setSolidFill("#a1d2ff");
      if(y+2*y_size>y_max){
        if(x+2*x_size<=x_max) x+=x_size;y=0;
      }else{
        y+=y_size;
      }
    }
  });
};
スライド上に新しいshapeを追加するにはスライドオブジェクトのinsertShape関数を用いる。また、shapeの背景色を変更するにはgetFill関数でFillオブジェクトを取得する。なお、split('\n')で分けるのではなく、箇条書きなので、
const get_all_list=shape.getText().getListStyle().getList();
if(get_all_list){
  get_all_list.getListParagraphs().forEach(list=>{
    const trang=list.getRange();
    const level=trange.getListStyle().getNestingLevel();
    /* 中略 */
    if(level==0){
      new_shape.getFill().setSolidFill("#f4cccc");
    }else if(level==1){
      new_shape.getFill().setSolidFill("#a1d2ff");
    }
    /* 中略 */
  });
}
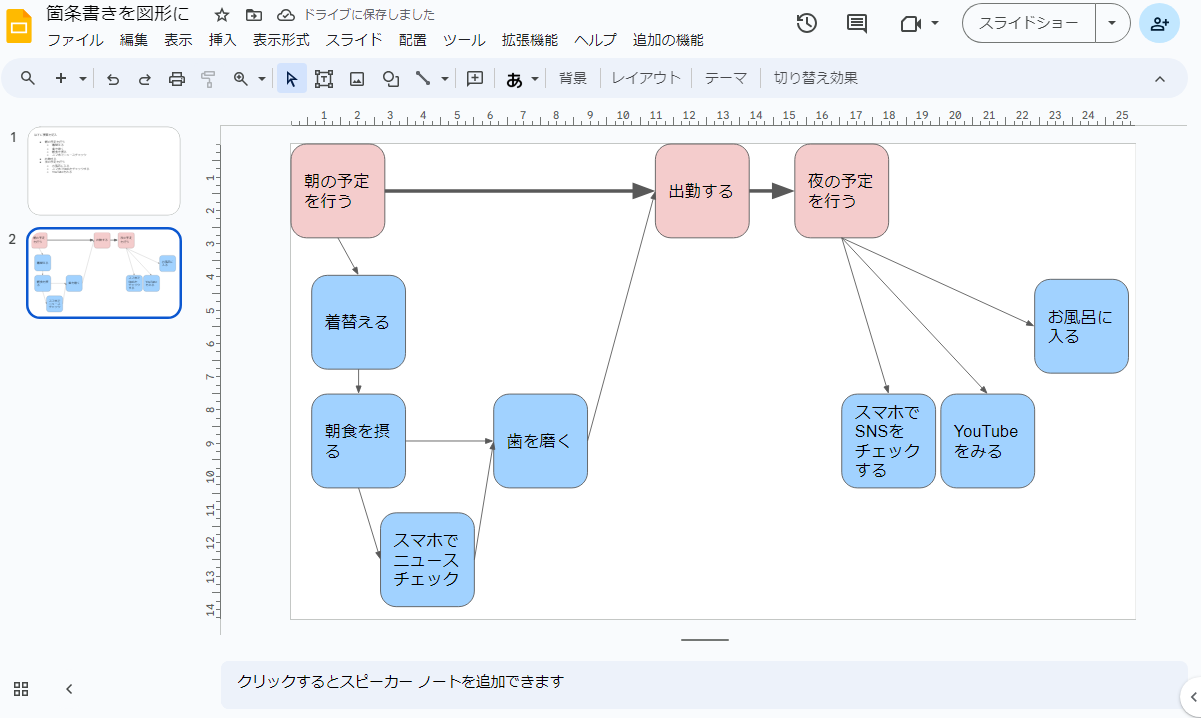
のようにしてあげると、箇条書きのレベルごとに違う色を割り当てることが出来る。
おわりに

手動で並べ替えてあげて、矢印で結んであげれば、ちょっとした思考ツールになるかも...?
以上
参考サイト
公式リファレンスが最強。
どうしてもGASのサンプルコードを見たい場合は、この辺を見る。
