初Qiita。使い方がよく分からない。
Visual Studio CodeでMarkdown Preview Enhanced(MPE)拡張を使うためのメモ。
いつも使おうと思うと使えなくなっているので備忘のため記録。
環境はWindows7 64bit / Windows10 64bit (どちらも同じ現象だった)
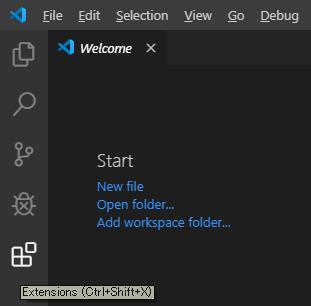
Visual Studio Codeは普通にインストール
https://code.visualstudio.com/download
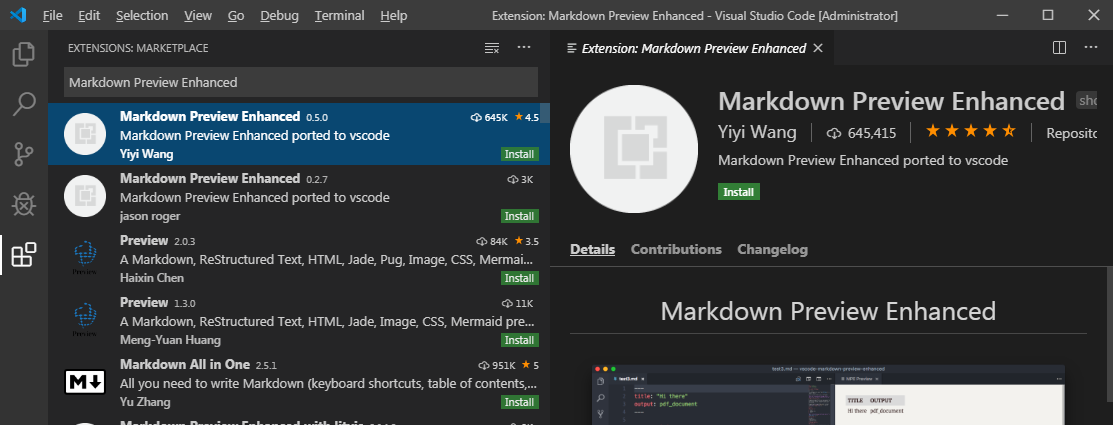
"Markdown Preview Enhanced"を検索して"Install" (偽者に注意)

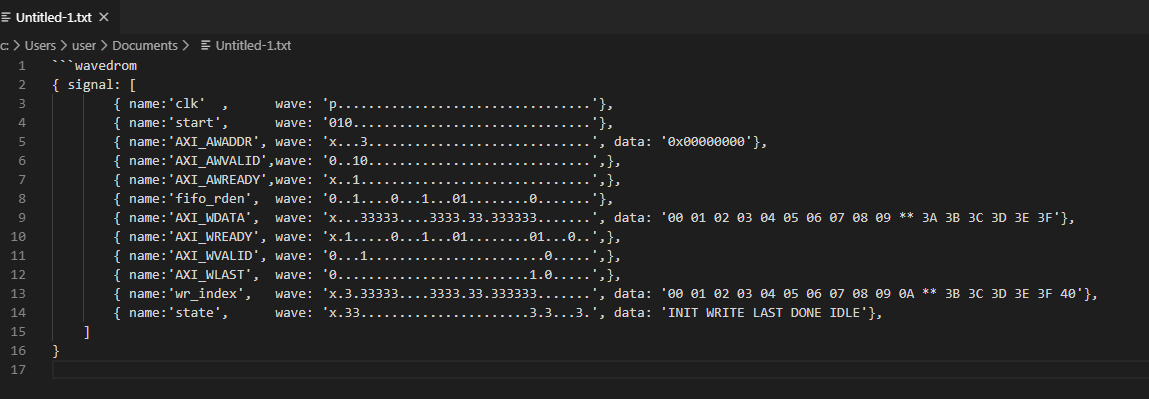
試す。
WaveDrom (https://wavedrom.com) という書式に従って信号を記述

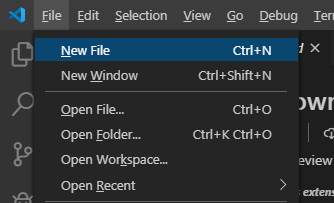
しかしここでMPE Open Preview to the sideを叩くと

なぜか使える。そしてこの後はMPEの他のコマンドも正常に使えるようになる。

Visual Studio CodeのバグなのかMPEのバグなのか
そもそも私が使い方を分かっていないだけなのか分からないが、
とにかくこのような手順を行うと使えるようになる。
タイミングチャートを描くこと自体がそれほどないので、
たまに描こうと思って起動すると使えなくて時間を浪費する。
というのを3回繰り返したのでいいかげん記録に残しておく。
(でもライブプレビューが動いてないのでやっぱり何か決定的に使い方を間違えてる気がする…。)
Tip:
If you come across the error "command 'markdown-preview-enhanced.openPreview' not found",
then try the command "markdown-preview-enhanced.openPreviewToTheSide".
※QiitaもVSCodeも導入したばかりなので手探り。
何か気付いたら後で追記します。


