目標
Ansibleを利用してLAMP環境を自動構築する(AWS EC2利用)。
はじめに
以下サイトを参考として本記事での構築を実施しております。
【Ansible入門】EC2環境でAnsibleを実行してみよう
Ansible を初めて使ってLAMP環境を作成してみる
Ansibleに関して
Ansibleの基本知識に関しては以下サイトが分かりやすく記載されておりました。
参考として掲載致します。
前提
・Anisble実行元、実行先のEC2インスタンス(Amazon Linux 2 AMI (HVM), SSD Volume Type利用)2台(※)が構築済みであること。
※本記事ではそれぞれのインスタンスを実行元インスタンス、及び実行先インスタンスとして表記致します。
※実行先インスタンスのセキュリティグループで80番ポートを許可してください。
作業の流れ
| 項番 | タイトル |
|---|---|
| 1 | Ansibleインストール |
| 2 | ssh開通 |
| 3 | インベントリの作成 |
| 4 | Ansible設定ファイル編集 |
| 5 | Ansible実行 |
| 6 | 接続確認 |
手順
1.Ansibleインストール
実行元インスタンスにAnisbleをインストールします。
Amazon Linuxではsudo yum install ansibleを実行したらエクストラパッケージを利用するように言われました。
[ec2-user@ip-172-31-42-36 ~]$ sudo yum install ansible
Loaded plugins: extras_suggestions, langpacks, priorities, update-motd
No package ansible available.
Error: Nothing to do


ansible is available in Amazon Linux Extra topic "ansible2"

To use, run
# sudo amazon-linux-extras install ansible2

Learn more at
https://aws.amazon.com/amazon-linux-2/faqs/#Amazon_Linux_Extras
提示されたsudo amazon-linux-extras install ansible2を使用してインストールします。
sudo amazon-linux-extras install ansible2
バージョン情報を確認し、インストールされたか確かめます。
# バージョンが表示されること
ansible --version
2.ssh開通
Ansibleでの実行では実行元と実行先ホスト間でのsshでの疎通が取れている必要があります。
TeraTarmの機能等使い、実行元インスタンス(/home/ec2-user/.ssh配下)に実行先インスタンス用のキーペアを配備します。

キーペアの使用に際して、所有ユーザのみのキーアクセスに制限する必要があります。
cd /home/ec2-user/.ssh
chmod 600 <キーペア名>
sshアクセスを実行します。
# 実行先インスタンスにログイン出来ること
ssh -i <キーペア名> <実行先インスタンスのプライベートIPアドレス>
3.インベントリの作成
インベントリ(Ansible実行先リスト)に実行先サーバのIPアドレス、及びグループ変数を定義します。
まずはAnsible用のディレクトリ/etc/ansibleにディレクトリ移動
cd /etc/ansible/
[ec2-user@ip-172-31-42-36 ansible]$ ls -l
total 24
-rw-r--r-- 1 root root 19985 Sep 15 17:11 ansible.cfg
-rw-r--r-- 1 root root  1016 Sep 15 17:11 hosts
drwxr-xr-x 2 root root     6 Sep 15 17:11 roles
既にインベントリファイルhostsがありましたのでそれを利用します(インベントリファイルの名前は本来は自由です)。
今回は実行先インスタンスをclient_nodeというグループに所属させ、
そのグループ変数([グループ名:vars]で定義)にsshユーザ名とキーペアのパスを定義します。
グループ変数を定義することでAnsibleの実行時、引数としてsshユーザ及びキーペア名の指定を省略することが可能です。
<実行先インスタンスのプライベートIPアドレス>と<キーペア名>は詰め替えてください。
sudo vi hosts
[client_node]
Clinet01 ansible_ssh_host=<実行先インスタンスのプライベートIPアドレス>

[client_node:vars]
ansible_ssh_user=ec2-user
ansible_ssh_private_key_file=/home/ec2-user/.ssh/<キーペア名>
4.Ansible設定ファイル編集
Ansible設定ファイルansible.cfgにインベントリファイルとして/etc/ansible/hostsを利用するよう設定します。
該当箇所のみ記載します。
sudo vim ansible.cfg
[defaults]
inventory      = /etc/ansible/hosts
5.Playbookの作成
Playbook(Ansible実行先ホストの構成情報を定義するファイル)に実行先インスタンスの構成情報を定義していきます。
sudo vi playbook.yml
- hosts: client_node
  # sudoで処理実行
  become: true
  tasks:
    # httpdのインストールと起動、及び自動起動有効化
    - name: install httpd
      yum: name=httpd state=latest
    - name: apache start / enable
      service: name=httpd state=started enabled=yes
    # MySQLリポジトリのインストール、MySQLのインストールと起動、及び自動起動有効化
    - name: install mysql repository
      yum: name=https://dev.mysql.com/get/mysql80-community-release-el7-3.noarch.rpm state=present
    - name: install mysql
      yum: name=mysql-community-server state=latest
    - name: mysql start / enable
      service: name=mysqld state=started enabled=yes
    # PHP関連パッケージのインストール(複数パッケージをインストールするためitemとwith_itemsを利用してリスト化)し、後続処理としてhttpdを再起動(notifyでhandlersに定義された内容を実行)
    - name: install php
      yum: name={{item}} state=latest
      with_items:
        - php
        - php-devel
        - php-mbstring
        - php-mysql
        - php-gd
      notify:
        - httpd restart
    # テスト用のhtmlとPHPスクリプトをコピー
    - name: html copy
      copy:
        src: /etc/ansible/test.html
        dest: /var/www/html
    - name: php copy
      copy:
        src: /etc/ansible/test.php
        dest: /var/www/html
  handlers:
    - name: httpd restart
      service: name=httpd state=restarted
/etc/ansible配下にテスト用のHTMLファイルとPHPスクリプトを作成します。
sudo vi test.html
TEST HTML
sudo vi test.php
<?php
  echo "hoge";
?>
5.Ansible実行
ansible-playbookコマンドを利用してPlaybook内で定義した構成情報を実行先インスタンスに適用します。
ansible-playbook playbook.yml
出力内容は以下のようになる想定です。
okは構成情報変更無し、changedは正常に構成情報が変更されたことを示しています。
[ec2-user@ip-172-31-42-36 ansible]$ ansible-playbook playbook.yml

PLAY [client_node] ******************************************************************************************************************************************

TASK [Gathering Facts] **************************************************************************************************************************************
[WARNING]: Platform linux on host Clinet01 is using the discovered Python interpreter at /usr/bin/python, but future installation of another Python
interpreter could change this. See https://docs.ansible.com/ansible/2.9/reference_appendices/interpreter_discovery.html for more information.
ok: [Clinet01]

TASK [install httpd] ****************************************************************************************************************************************
changed: [Clinet01]

TASK [apache start / enable] ********************************************************************************************************************************
changed: [Clinet01]

TASK [install mysql repository] *****************************************************************************************************************************
changed: [Clinet01]

TASK [install mysql] ****************************************************************************************************************************************
changed: [Clinet01]

TASK [mysql start / enable] *********************************************************************************************************************************
changed: [Clinet01]

TASK [install php] ******************************************************************************************************************************************
[DEPRECATION WARNING]: Invoking "yum" only once while using a loop via squash_actions is deprecated. Instead of using a loop to supply multiple items and
specifying `name: "{{item}}"`, please use `name: ['php', 'php-devel', 'php-mbstring', 'php-mysql', 'php-gd']` and remove the loop. This feature will be
removed in version 2.11. Deprecation warnings can be disabled by setting deprecation_warnings=False in ansible.cfg.
changed: [Clinet01] => (item=[u'php', u'php-devel', u'php-mbstring', u'php-mysql', u'php-gd'])

TASK [html copy] ********************************************************************************************************************************************
changed: [Clinet01]

TASK [php copy] *********************************************************************************************************************************************
changed: [Clinet01]

PLAY RECAP **************************************************************************************************************************************************
Clinet01                   : ok=9    changed=8    unreachable=0    failed=0    skipped=0    rescued=0    ignored=0
6.接続確認
正常にApache、PHP、MySQLが実行先サーバ上で動作しているか念のため確認を行います。
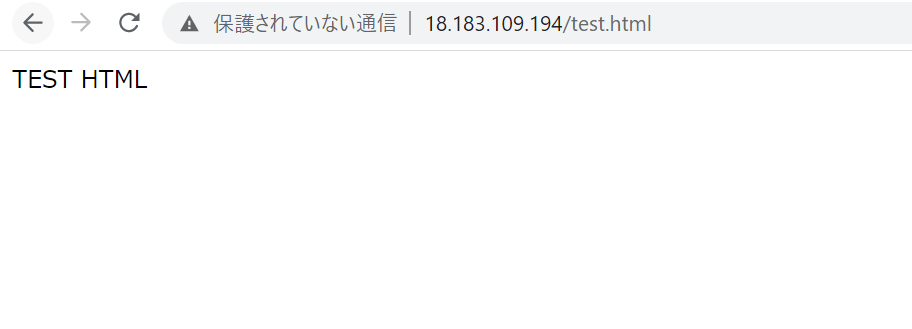
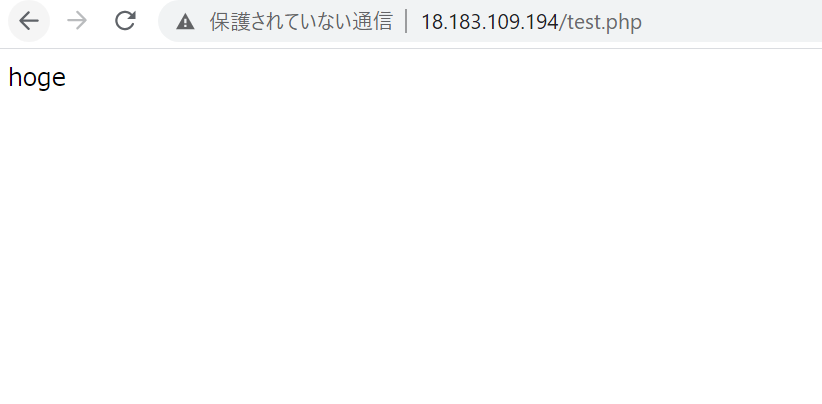
①Apache、PHP接続確認
ブラウザ上から、以下にアクセスし、適切にページ表示されればOKです。
http://実行先インスタンスのグローバルIPアドレス/test.html
http://実行先インスタンスのグローバルIPアドレス/test.php
②MySQL接続確認
実行先インスタンスにsshログイン
cd /home/ec2-user/.ssh
ssh -i <キーペア名> <実行先インスタンスのプライベートIPアドレス>
MySQLのルートユーザ初期パスワードを確認
sudo cat /var/log/mysqld.log | grep root
出力行の末尾に記載されているランダム文字列が初期パスワードとなります。
2021-01-02T09:00:48.846281Z 6 [Note] [MY-010454] [Server] A temporary password is generated for root@localhost: gkSv.>n<0sF<
mysql -u root -pを実行し、先ほど確認した初期パスワードを投入後、正常にログインできればOKです。
[ec2-user@ip-172-31-42-226 ~]$ mysql -u root -p
Enter password:
Welcome to the MySQL monitor.  Commands end with ; or \g.
Your MySQL connection id is 8
Server version: 8.0.22

Copyright (c) 2000, 2020, Oracle and/or its affiliates. All rights reserved.

Oracle is a registered trademark of Oracle Corporation and/or its
affiliates. Other names may be trademarks of their respective
owners.

Type 'help;' or '\h' for help. Type '\c' to clear the current input statement.

mysql>