はじめに
next-pwaを使って、Next.jsのチュートリアルで作ったブログをサクッとPWA対応していきます!
参考:next-pwa
作成したリポジトリ:https://github.com/NozomuTsuruta/next-pwa-sample
そもそもPWAとは
PWAはプログレッシブウェブアプリ(Progressive web apps)の略で、ウェブアプリをネイティブアプリのように使えるようにする仕組みのことです。
今回は以下を実装していきたいと思います。
-
ダウンロードみたいなのができる(ホーム画面に追加)
Qiitaにも実装されているみたいですね!
-
オフラインで使える(キャッシュ)
next-pwa
Next.jsで簡単にPWAを実装できるようにするライブラリです。serviceWorkerで実装するキャッシュとかを裏でやってくれます。
他で有名なものにnext-offlineがありますが、next-pwaの方が更新頻度が高く、個人的に使いやすかったので、next-pwaを使っていきたいと思います。
実際にやってみる
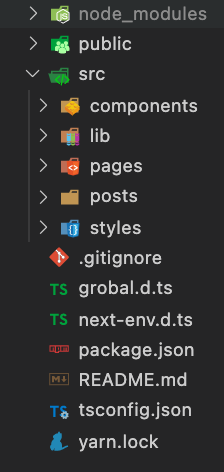
今回のディレクトリ構成はこんな感じです↓(Next.jsのチュートリアルで作ったのをsrcに移動しただけです)
導入
以下のコマンドでインストールします。
## npm
npm install next-pwa

## yarn
yarn add next-pwa
アイコンをサクッと作る
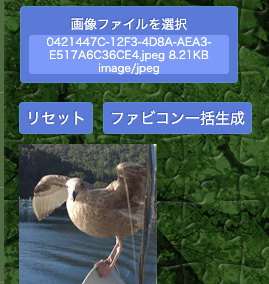
以下のサイトで必要なアイコンをサクッと作っちゃいましょう!
様々なファビコンを一括生成。favicon generator
manifest.jsonというファイルも作成されるので一緒にpublicディレクトリに追加します。
manifest.jsonへんしゅ
manifest.json上で説明した、ダウンロードみたいものをできるようにするために必要です。
ダウンロードしたものは下のような感じになっていると思うので自分の好みに変更します。
{
	"name":				"",
	"short_name":		"",
	"description":		"",
	"start_url":		"/",
	"display":			"standalone",
	"orientation":		"any",
	"background_color":	"#fff",
	"theme_color":		"#fff",
	"orientation":		"any",
	"icons": [
		{
			"src": "/android-chrome-36x36.png",
			"sizes": "36x36",
			"type": "image/png"
		},
		{
			"src": "/android-chrome-48x48.png",
			"sizes": "48x48",
			"type": "image/png"
		},
		{
			"src": "/android-chrome-72x72.png",
			"sizes": "72x72",
			"type": "image/png"
		},
		{
			"src": "/android-chrome-96x96.png",
			"sizes": "96x96",
			"type": "image/png"
		},
		{
			"src": "/android-chrome-128x128.png",
			"sizes": "128x128",
			"type": "image/png"
		},
		{
			"src": "/android-chrome-144x144.png",
			"sizes": "144x144",
			"type": "image/png"
		},
		{
			"src": "/android-chrome-152x152.png",
			"sizes": "152x152",
			"type": "image/png"
		},
		{
			"src": "/android-chrome-192x192.png",
			"sizes": "192x192",
			"type": "image/png"
		},
		{
			"src": "/android-chrome-256x256.png",
			"sizes": "256x256",
			"type": "image/png"
		},
		{
			"src": "/android-chrome-384x384.png",
			"sizes": "384x384",
			"type": "image/png"
		},
		{
			"src": "/android-chrome-512x512.png",
			"sizes": "512x512",
			"type": "image/png"
		}
	]
}
それぞれの説明↓
| name | アプリ名 |
| short_name | アプリ名(略) |
| icons | アイコン |
| start_url | 開始URL |
| display | 表示の仕方 |
| orientation | 画面の向き |
| background_color | 背景カラー |
| theme_color | テーマカラー |
| description | 説明 |
| dir | 字の方向 |
| lang | 言語 |
ちなみにこんな感じに編集しました↓
{
	"name":				"myapp",
	"short_name":		"myapp",
	"description":		"this is my app",
	"start_url":		"/",
	"display":			"standalone",
	"orientation":		"portrate-primary",
	"background_color":	"#fff",
	"theme_color":		"#fff",
	"dir": "ltr",
	"icons": [
		{
			"src": "/android-chrome-36x36.png",
			"sizes": "36x36",
			"type": "image/png"
		},
		{
			"src": "/android-chrome-48x48.png",
			"sizes": "48x48",
			"type": "image/png"
		},
		{
			"src": "/android-chrome-72x72.png",
			"sizes": "72x72",
			"type": "image/png"
		},
		{
			"src": "/android-chrome-96x96.png",
			"sizes": "96x96",
			"type": "image/png"
		},
		{
			"src": "/android-chrome-128x128.png",
			"sizes": "128x128",
			"type": "image/png"
		},
		{
			"src": "/android-chrome-144x144.png",
			"sizes": "144x144",
			"type": "image/png"
		},
		{
			"src": "/android-chrome-152x152.png",
			"sizes": "152x152",
			"type": "image/png"
		},
		{
			"src": "/android-chrome-192x192.png",
			"sizes": "192x192",
			"type": "image/png"
		},
		{
			"src": "/android-chrome-256x256.png",
			"sizes": "256x256",
			"type": "image/png"
		},
		{
			"src": "/android-chrome-384x384.png",
			"sizes": "384x384",
			"type": "image/png"
		},
		{
			"src": "/android-chrome-512x512.png",
			"sizes": "512x512",
			"type": "image/png"
		}
	]
}
_document.tsxの追加
src/pagesディレクトリに_document.tsxを作成し、以下のようにHeadのなかでアイコン、manifest.jsonなどを読み込んでいきます。
必要最低限のサイズのアイコンを読み込んでいるので、お好みで追加してください。WindowsやSafariに対応しなくても良い時も好みで減らしてみてください。
import Document, {
  Html,
  Head,
  Main,
  NextScript,
  DocumentContext,
  DocumentInitialProps,
} from "next/document";

class MyDocument extends Document {
  static async getInitialProps(
    ctx: DocumentContext
  ): Promise<DocumentInitialProps> {
    return await Document.getInitialProps(ctx);
  }

  render() {
    return (
      <Html lang="ja-JP" dir="ltr">
        <Head>
          {/* windows */}
          <meta
            name="msapplication-square70x70logo"
            content="/site-tile-70x70.png"
          />
          <meta
            name="msapplication-square150x150logo"
            content="/site-tile-150x150.png"
          />
          <meta
            name="msapplication-wide310x150logo"
            content="/site-tile-310x150.png"
          />
          <meta
            name="msapplication-square310x310logo"
            content="/site-tile-310x310.png"
          />
          <meta name="msapplication-TileColor" content="#000" />
          {/* safari */}
          <meta name="apple-mobile-web-app-capable" content="yes" />
          <meta name="apple-mobile-web-app-status-bar-style" content="#000" />
          <meta name="apple-mobile-web-app-title" content="myapp" />
          <link
            rel="apple-touch-icon"
            sizes="180x180"
            href="/apple-touch-icon-180x180.png"
          />
          {/* 一般 */}
          <meta name="application-name" content="myapp" />
          <meta name="theme-color" content="#000" />
          <meta name="description" content="this is myapp" />
          <link rel="icon" sizes="192x192" href="/icon-192x192.png" />
          <link rel="icon" href="/favicon.ico" />
          <link rel="manifest" href="/manifest.json" />
        </Head>
        <body>
          <Main />
          <NextScript />
        </body>
      </Html>
    );
  }
}

export default MyDocument;
next.config.jsの作成
ルートディレクトリにnext.config.jsを作成し、以下のように記述します。
node_modulesのnext-pwaにcache.jsというファイルがあり、そこにキャッシュの設定が書かれているのでyarn buildするとキャッシュの設定が登録されます。(デフォルトではyarn devではキャッシュされません)
カスタマイズしたい場合は下のnext.config.jsのコメントみたいな感じで、runtimeCachingの配列に書きます。
const withPWA = require("next-pwa");

module.exports = withPWA({
  pwa: {
    dest: "public", // swの出力ディレクトリ
    // runtimeCaching: []
  },
});
ここまでで実装が完了しました。
実際に実行してみる
以下のコマンドを実行します。
## npm
npm build
npm start

## yarn
yarn build
yarn start
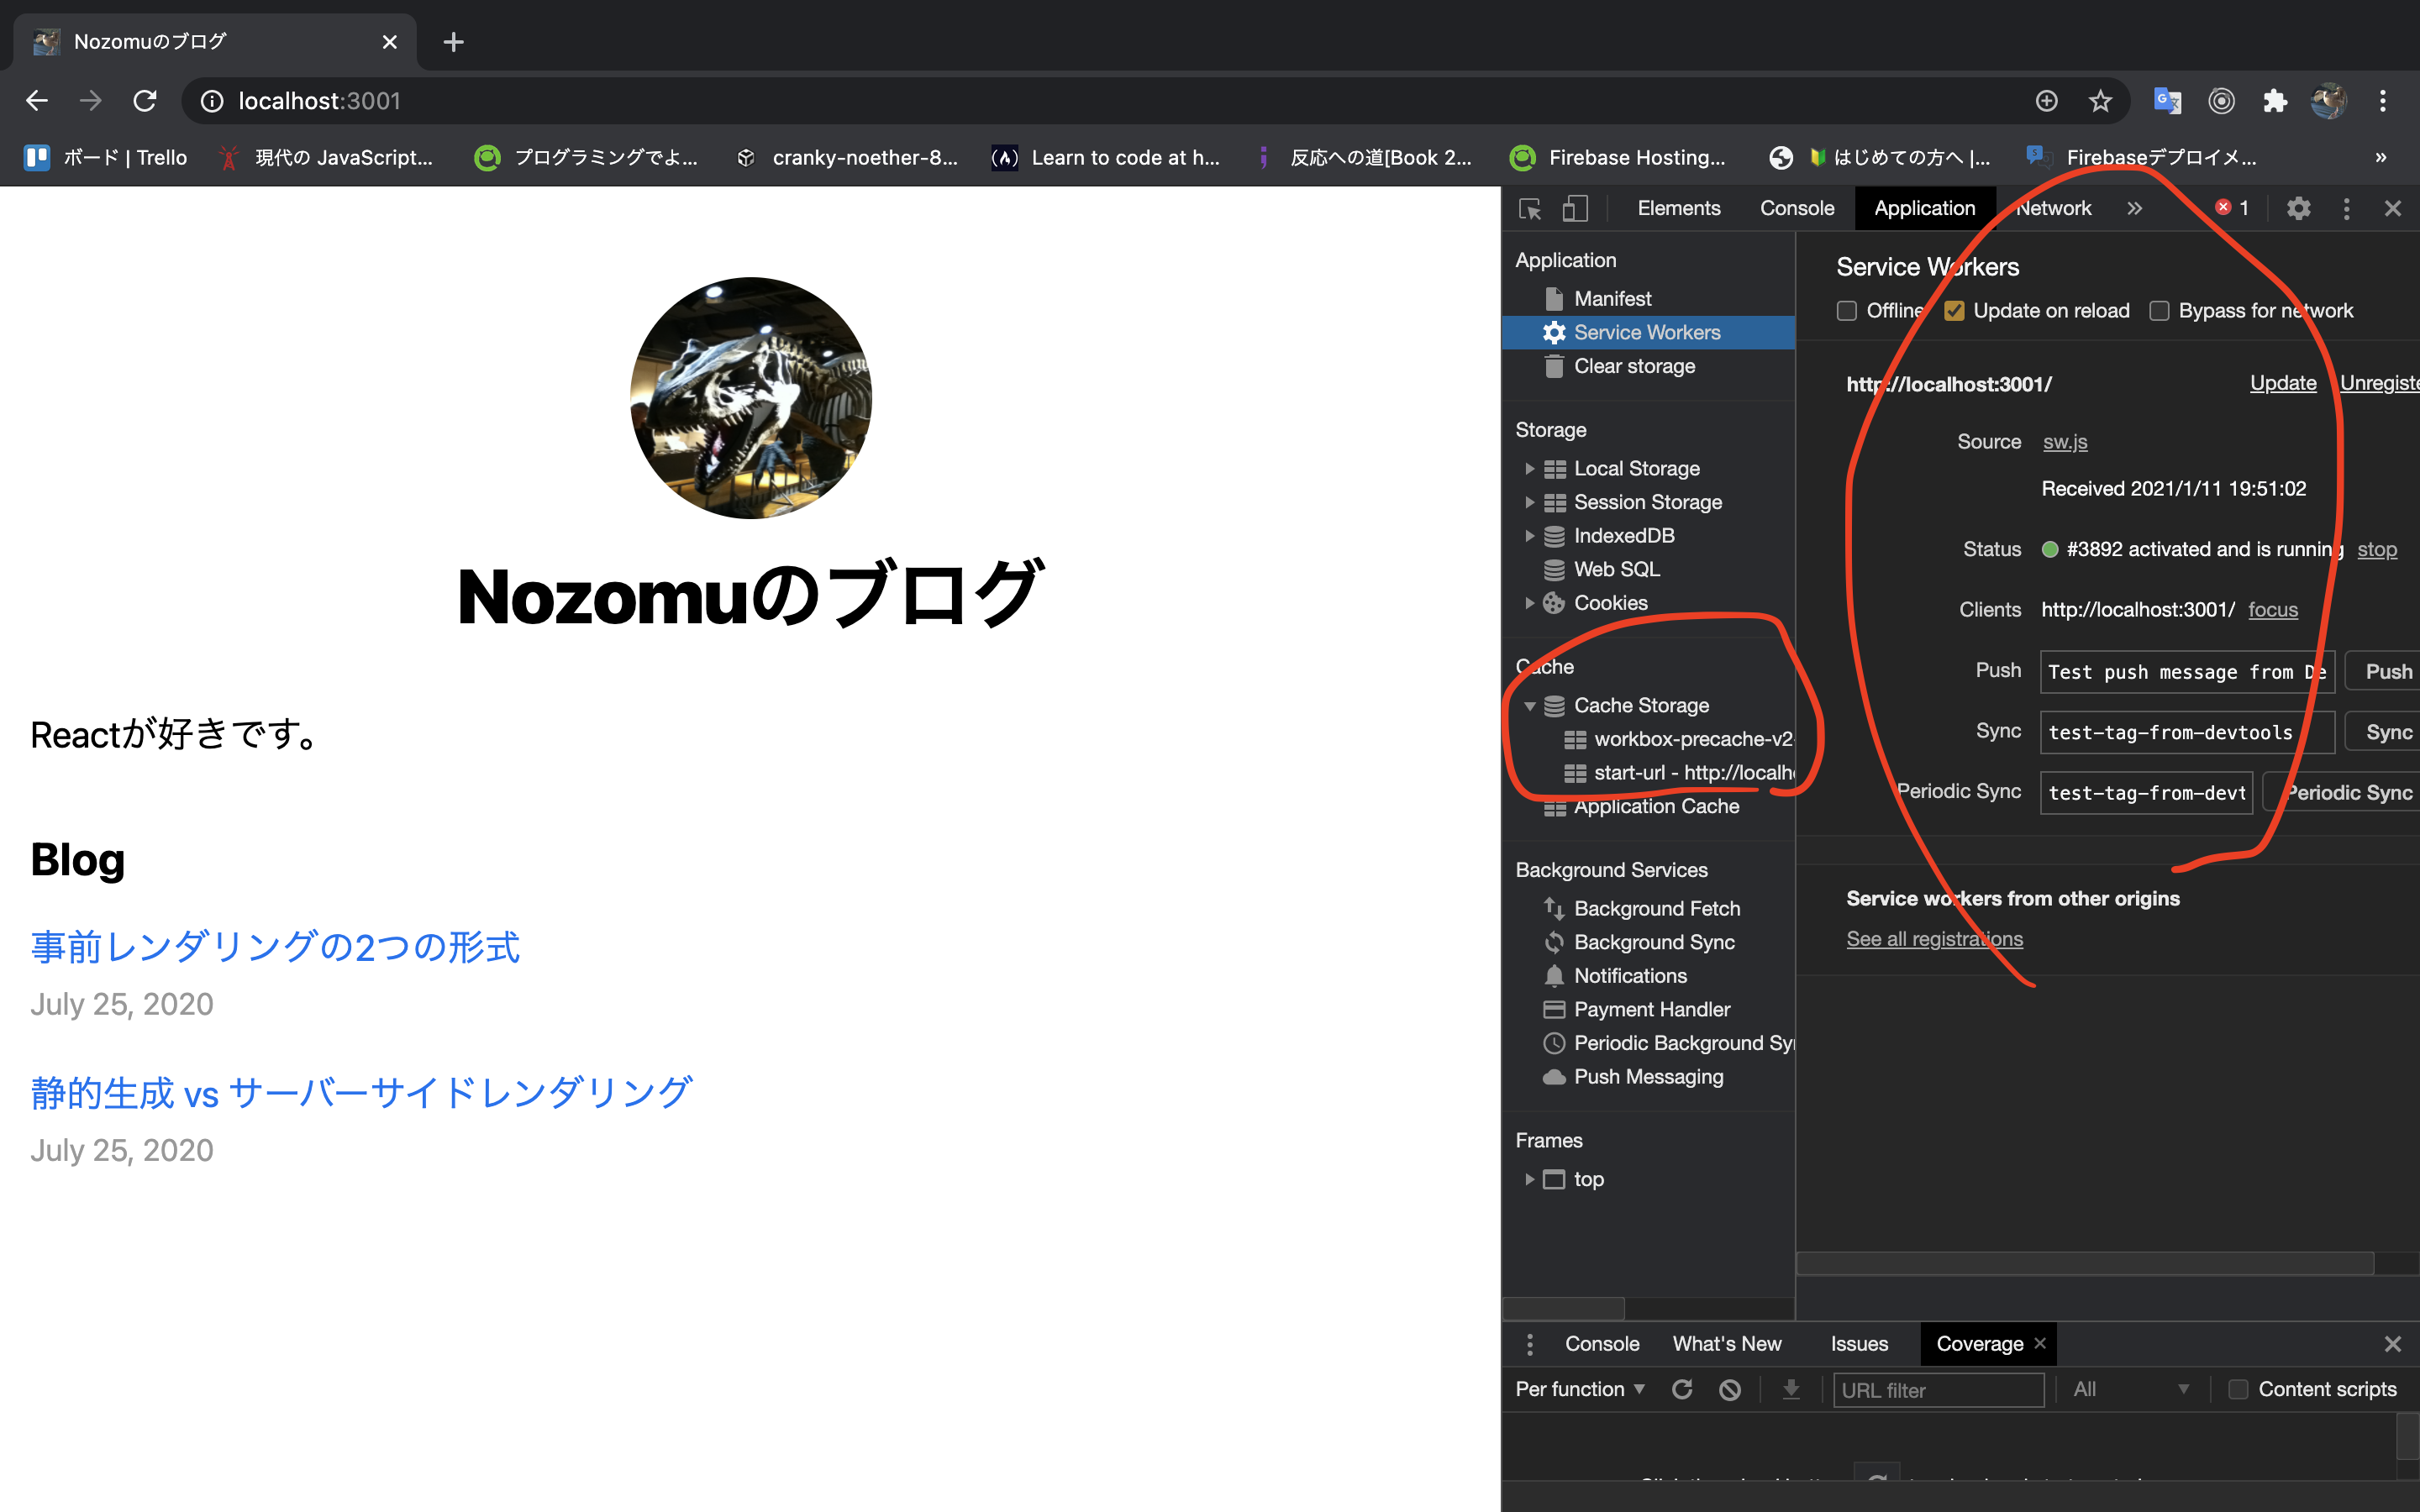
localhostで開き、デベロッパーツールを見るとServiceWorkerが登録されており、CacheStorageにも追加されていることがわかります。
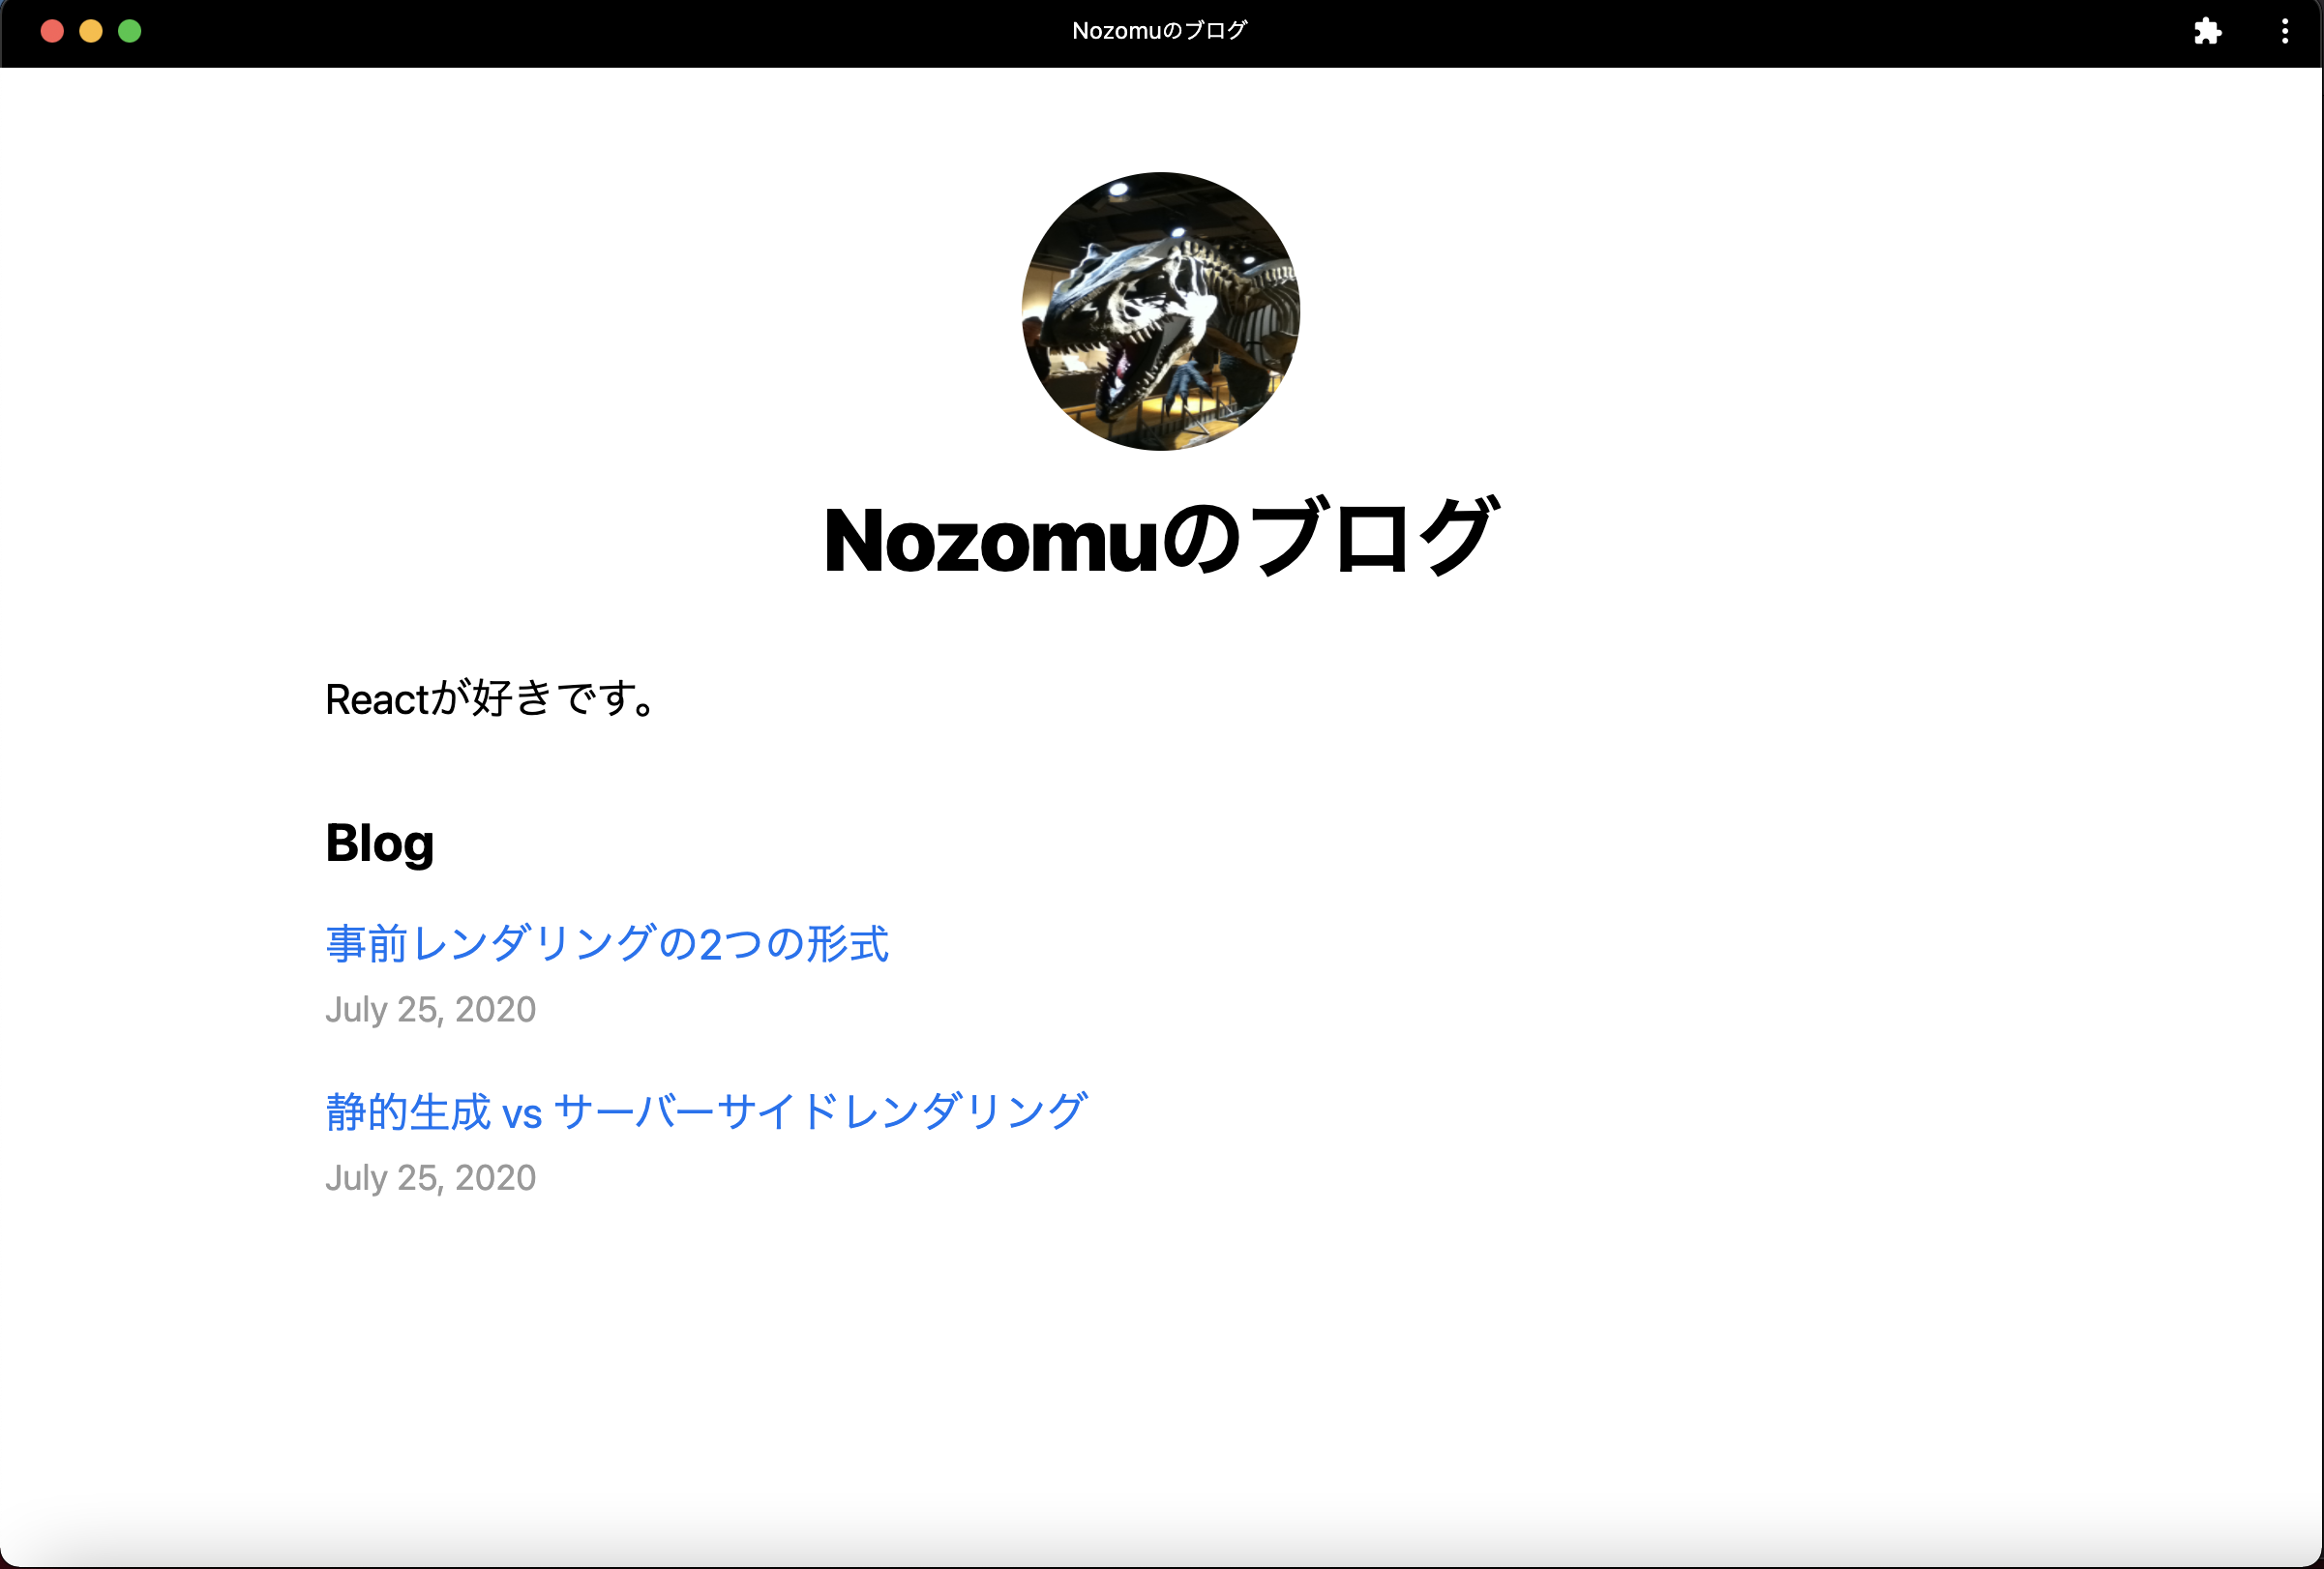
一回読み込んでしまえば、オフラインにして再読み込みしてもちゃんと読み込まれます。これでオフラインで動作する確認はできました!
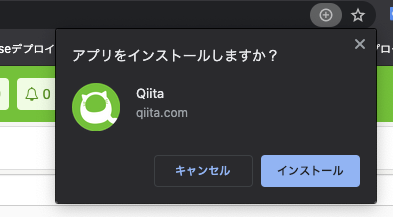
さらに、右上に+みたいなのが表示されていると思います。
それを押すと下のような画面が出てきます。
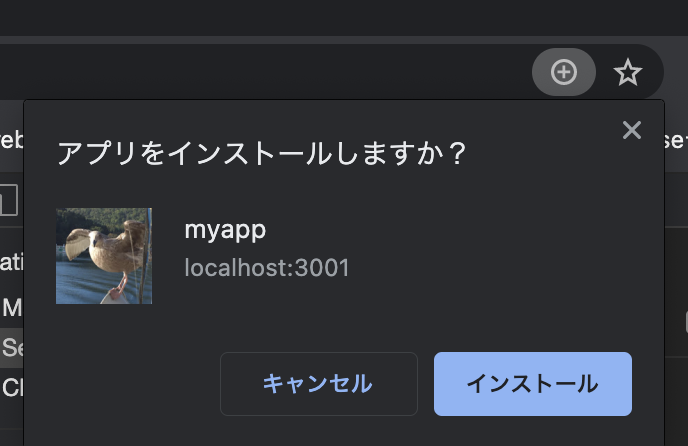
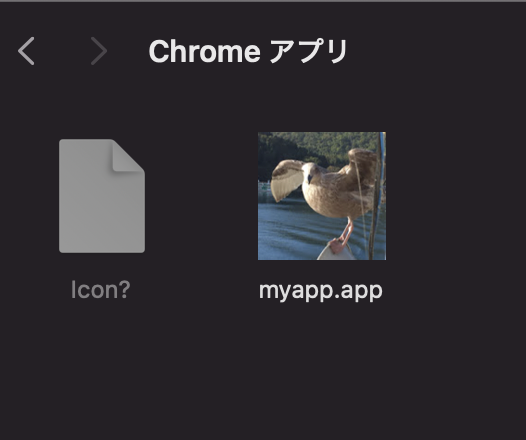
インストールを押すと、下のように追加され、開くとアプリのようにページが開かれます!
もちろんこれもオフラインで動作します。
これにて簡単なPWAの実装は完了です。お疲れ様でした!
ちなみにデプロイしたサイトでiPhoneのホームに追加をやるとこんな感じになります↓
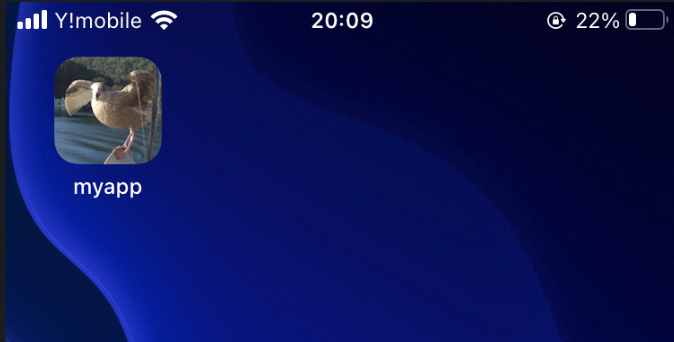
開く↓
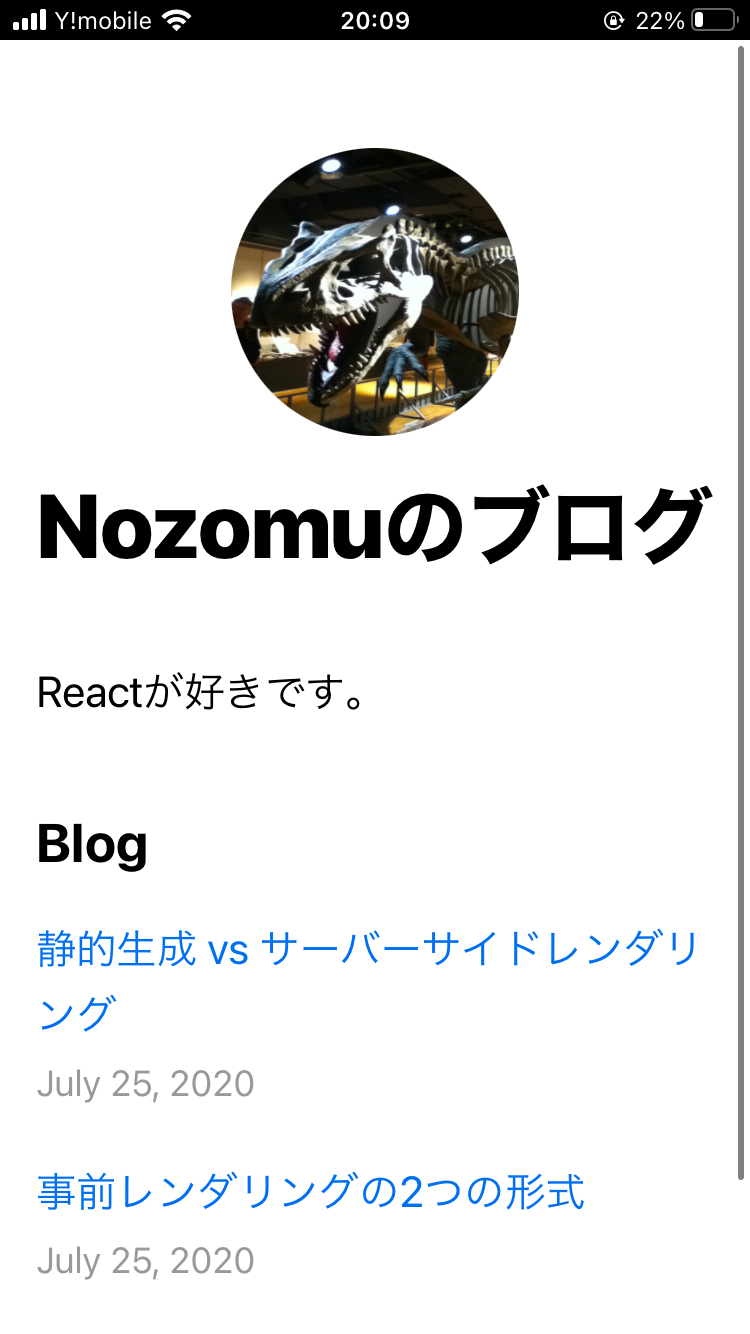
ほぼネイティブアプリじゃん😂
作成したリポジトリ:https://github.com/NozomuTsuruta/next-pwa-sample
vercelでデプロイしたサイト:https://next-pwa-sample.vercel.app/
最後に
ここまで読んでくださりありがとうございます!少しでもPWAの理解のお役に立てたら嬉しいです。
ご意見・ご感想お待ちしております!