Node.jsのインストール
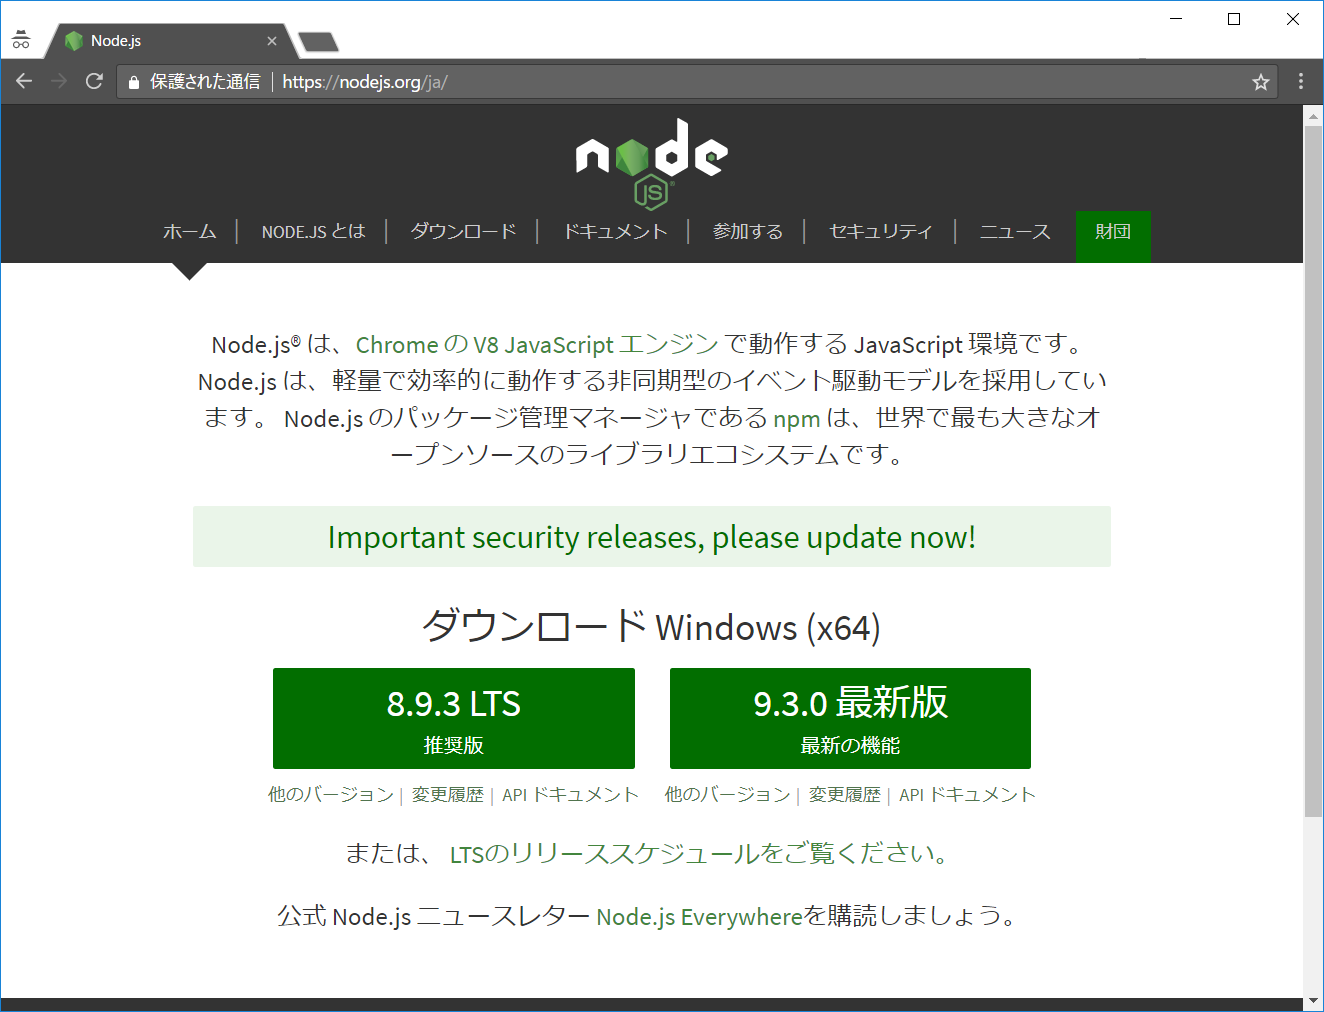
Node.jsのサイトにアクセスすると最新版のインストーラーをダウンロードできます。
次に、ダウンロードしたexeを起動し、ウィザードに従ってインストールすれば完了です。
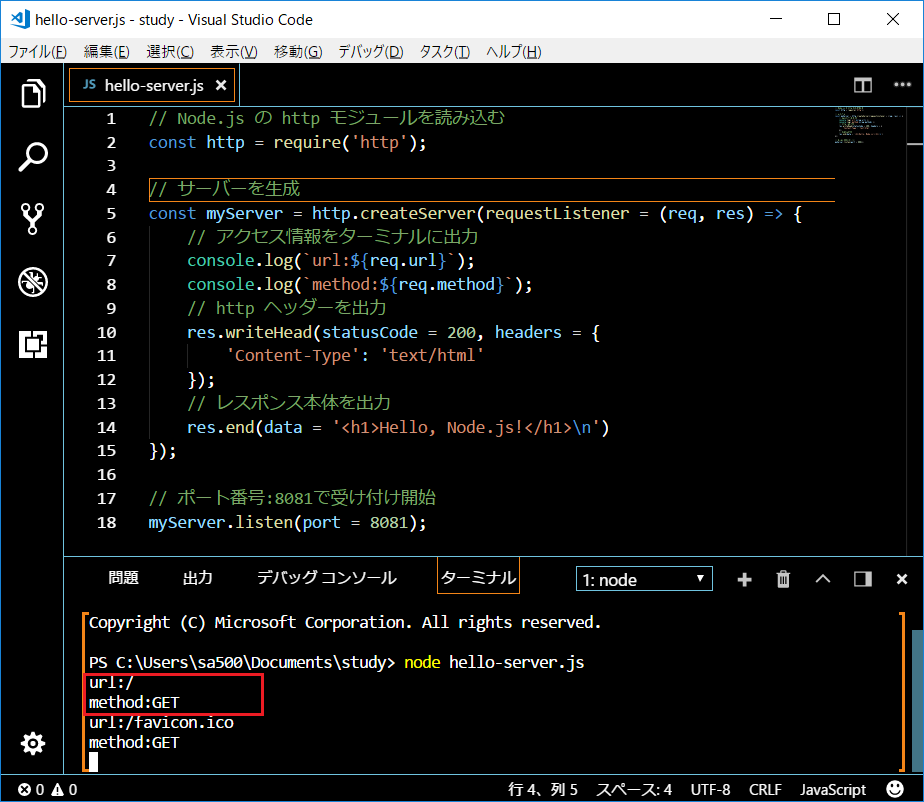
アクセスすると Hello, Node.jsを返す簡単なWebサービスを作成する
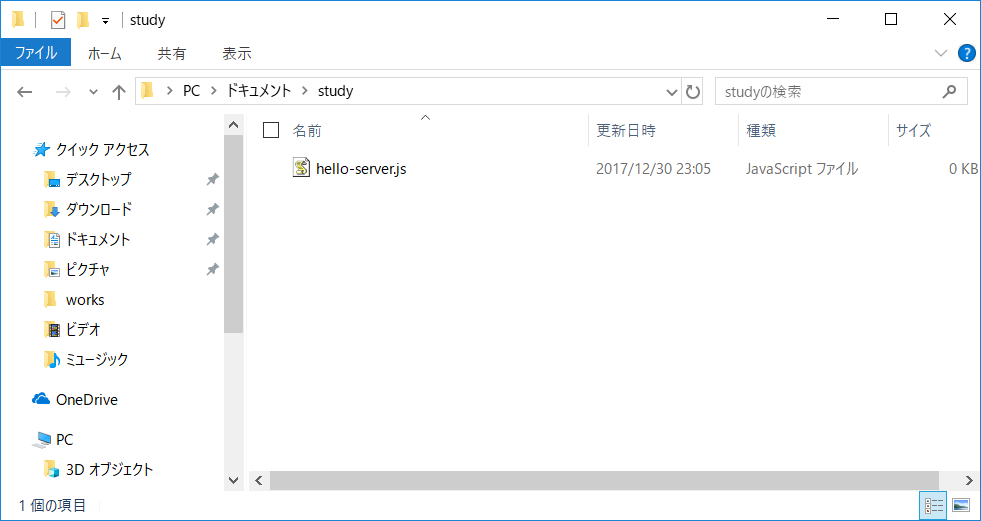
作業するフォルダにJavaScriptファイルを作成します。
// Node.js の http モジュールを読み込む
const http = require('http');

// サーバーを生成
const myServer = http.createServer(requestListener = (req, res) => {
    // アクセス情報をターミナルに出力
    console.log(`url:${req.url}`);
    console.log(`method:${req.method}`);
    // http ヘッダーを出力
    res.writeHead(statusCode = 200, headers = {
        'Content-Type': 'text/html'
    });
    // レスポンス本体を出力
    res.end(data = '<h1>Hello, Node.js!</h1>\n')
});

// ポート番号:8081で受け付け開始
myServer.listen(port = 8081);
**createServerはリクエスト時のリスナー関数を引数にとりhttp.Serverクラスのインスタンスを返します。
リスナー関数の引数には要求情報と返信情報(http.IncomingMessageクラスとhttp.ServerResponse**クラスのインスタンス)がコールバックされます。
httpヘッダー出力のステータスコード:200番台はクライアントからのリクエストが受付に成功したというステータスです。
ローカルサーバーの立ち上げ
# カレントディレクトリをhello-server.jsを作成したフォルダに移動します。(私の環境では以下の通りです)
PS C:\Users\sa500>cd C:\Users\sa500\Documents\study
PS C:\Users\sa500\Documents\study>

# ローカルサーバーを立ち上げます。
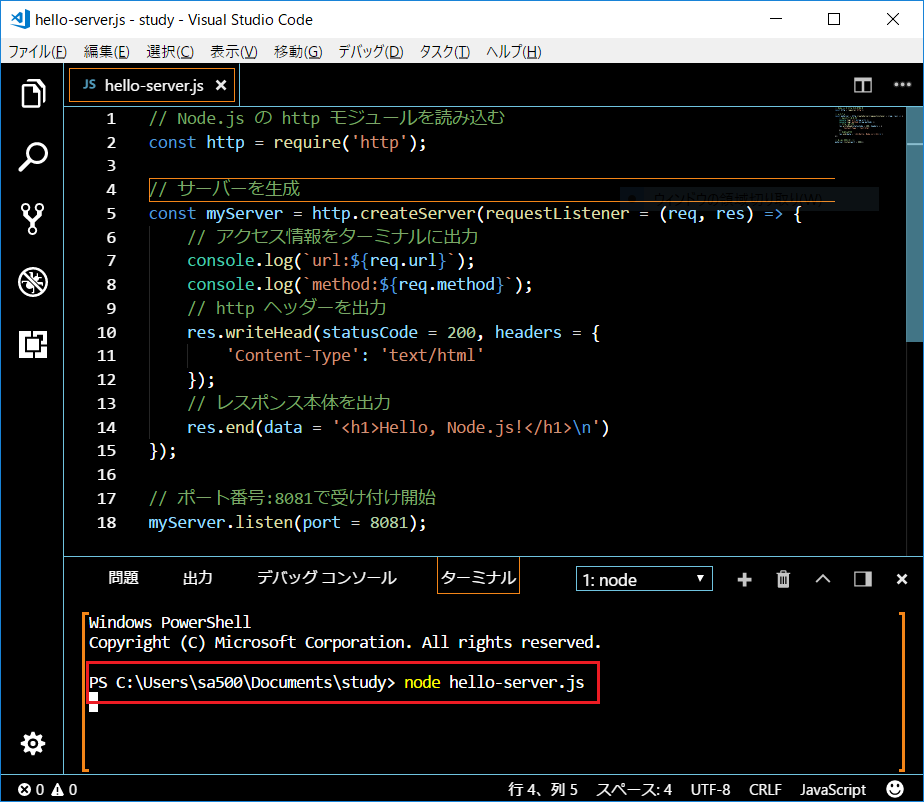
PS C:\Users\sa500\Documents\study> node hello-server.js
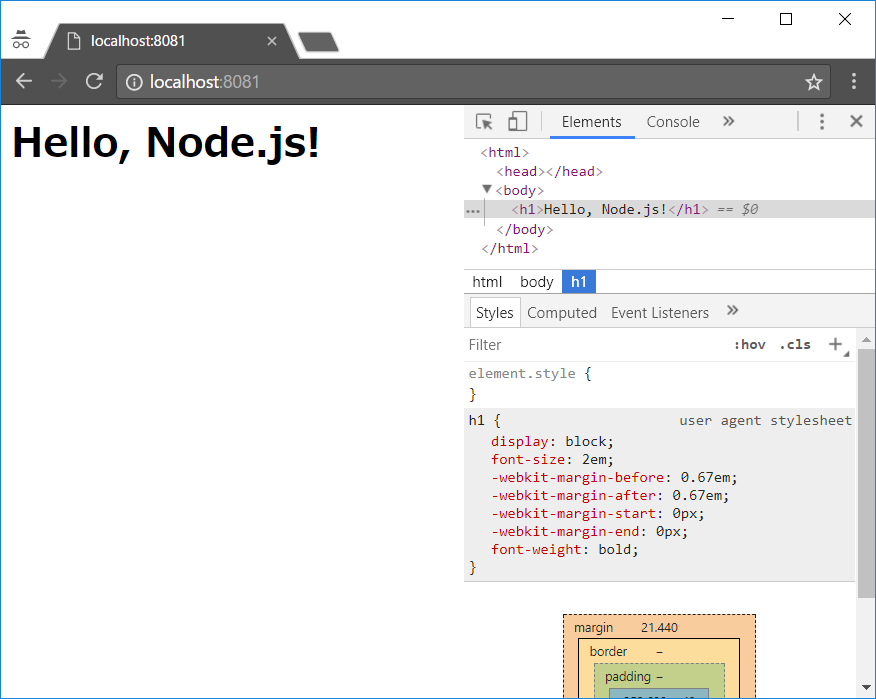
WebブラウザからURL:http://localhost:8081のローカルサーバーにアクセスするとHello, Node.jsが出力されます。
ディベロッパーツールから確認すると確かに**<h1>Hello, Node.js!</h1>**が出力されています。
アクセスがあるたびにどのurlでどのメソッドにアクセスがあったかがターミナル出力されます。
