概要
以下の環境構築をします。
- Amazon linux
- PHP7
- PHP-FPM
- nginx
- MariaDB
- FuelPHP
手順
AWS契約〜インスタンス作成
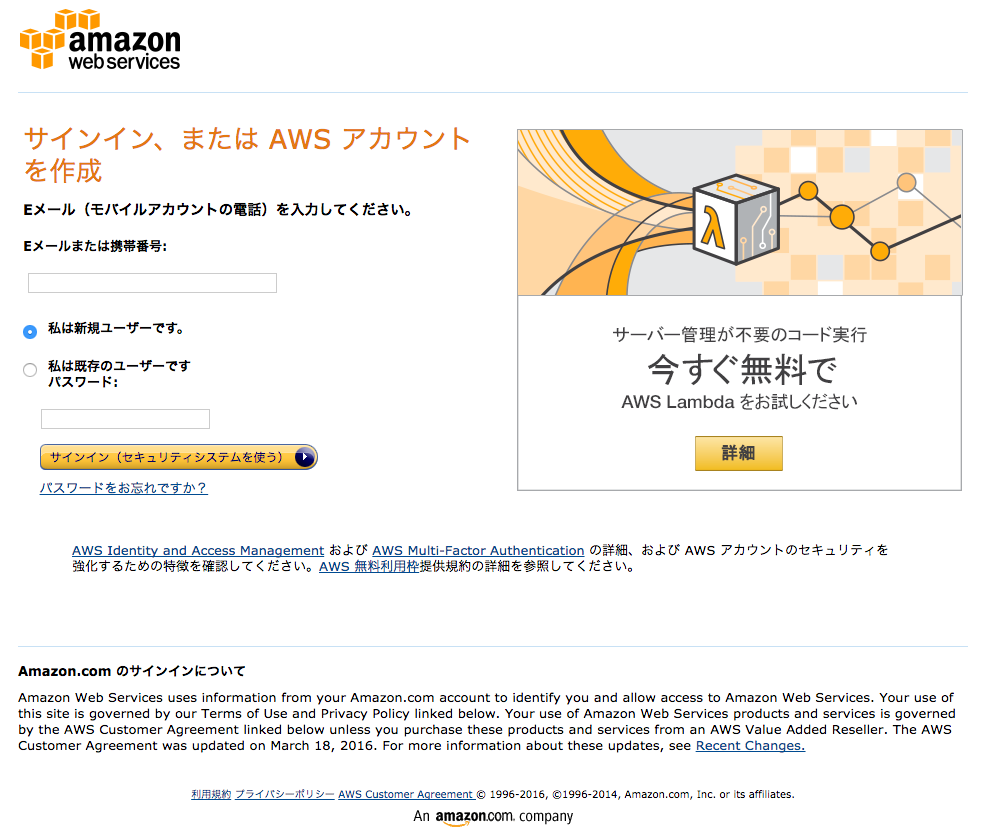
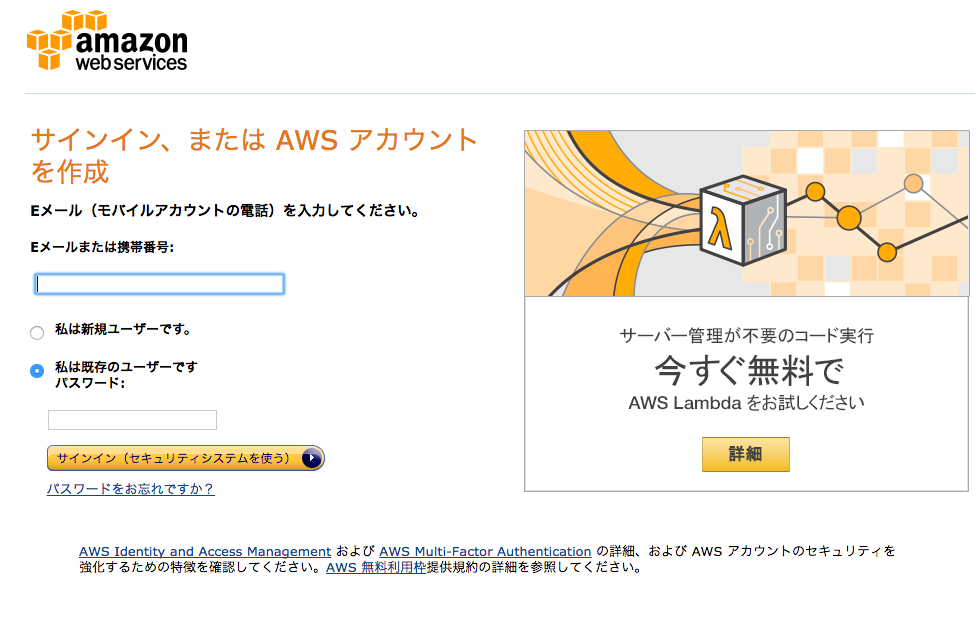
メールアドレスを入力して「私は新規ユーザーです。」を選択。
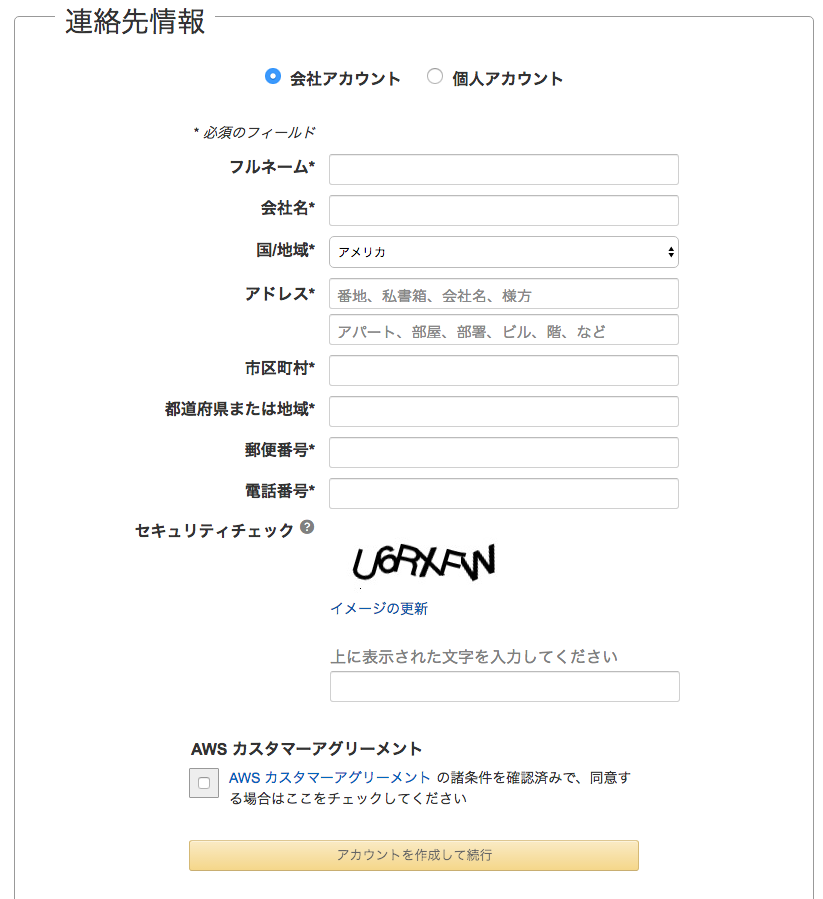
連絡先を入力
(個人アカウントを選択して下さい)
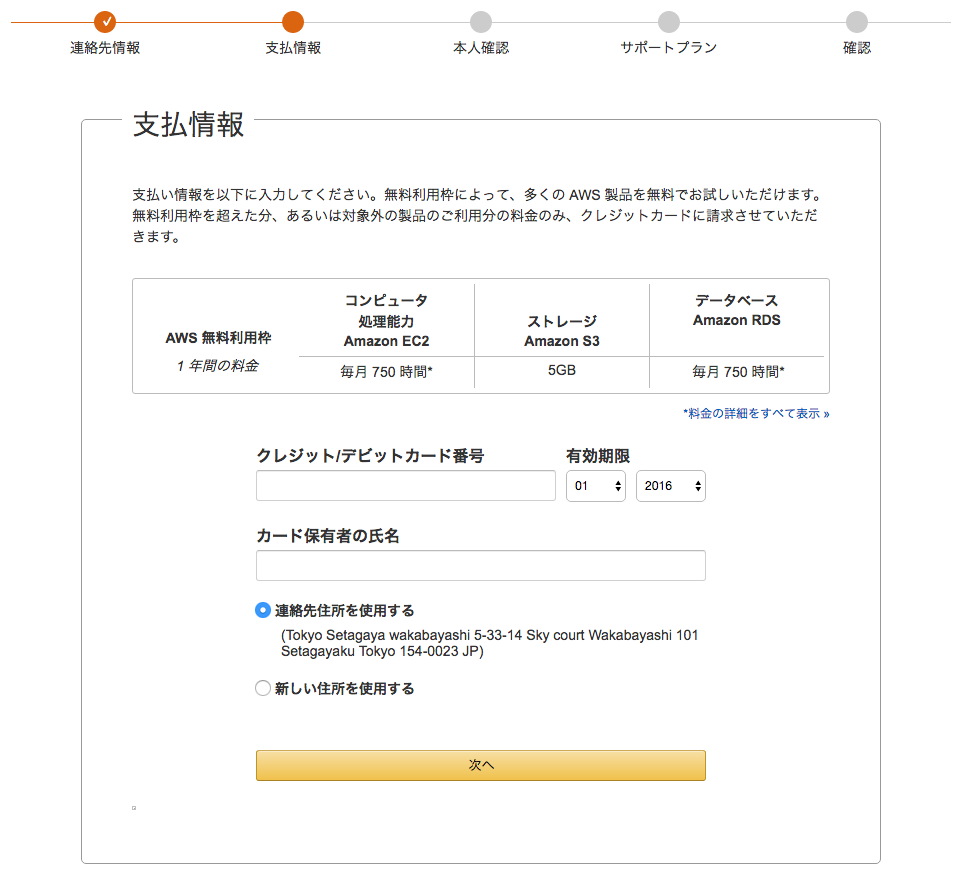
クレジットカード情報を入力
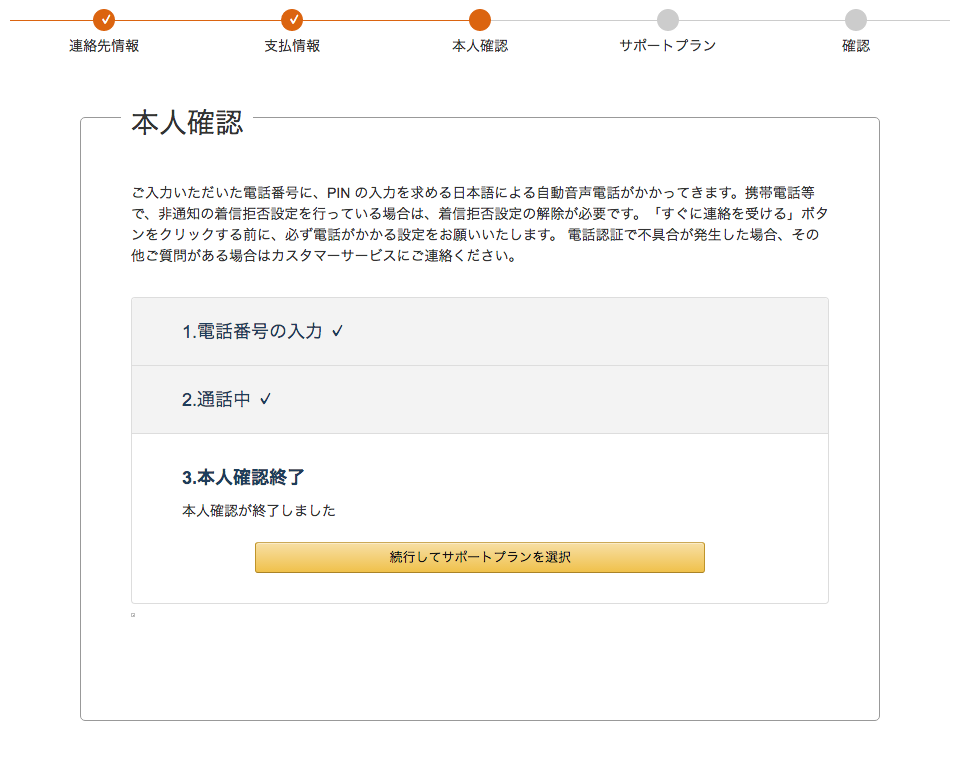
電話番号を入力する。
電話がかかってくるので、画面に表示された番号を入力。
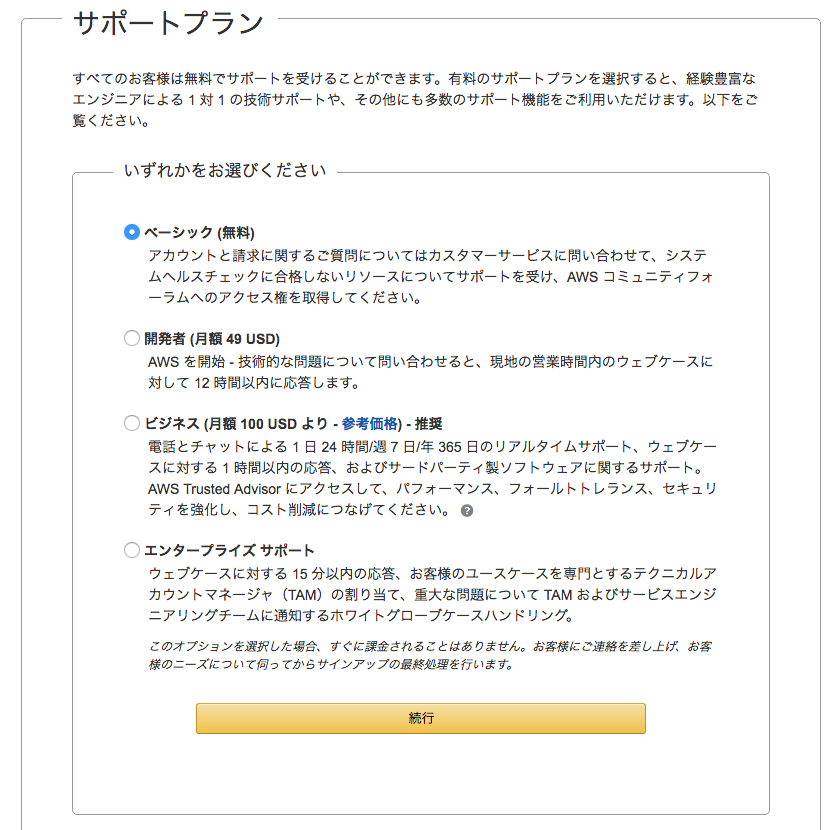
サポートプランを選択
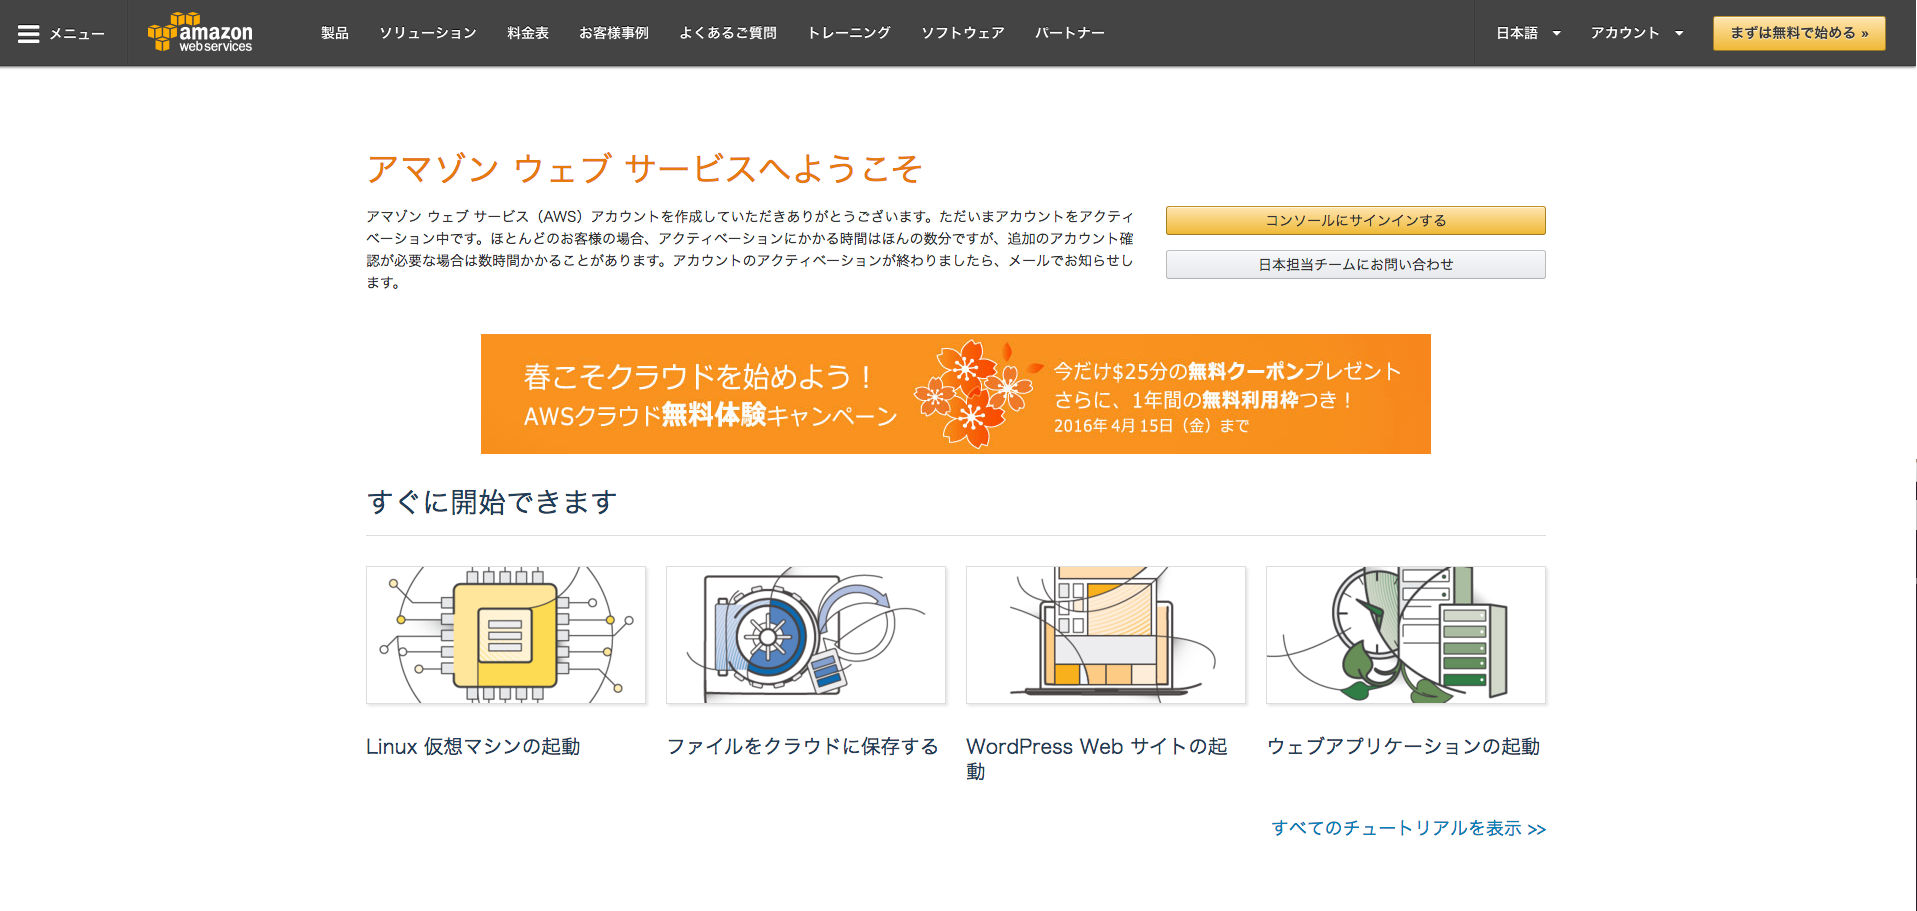
ログインする
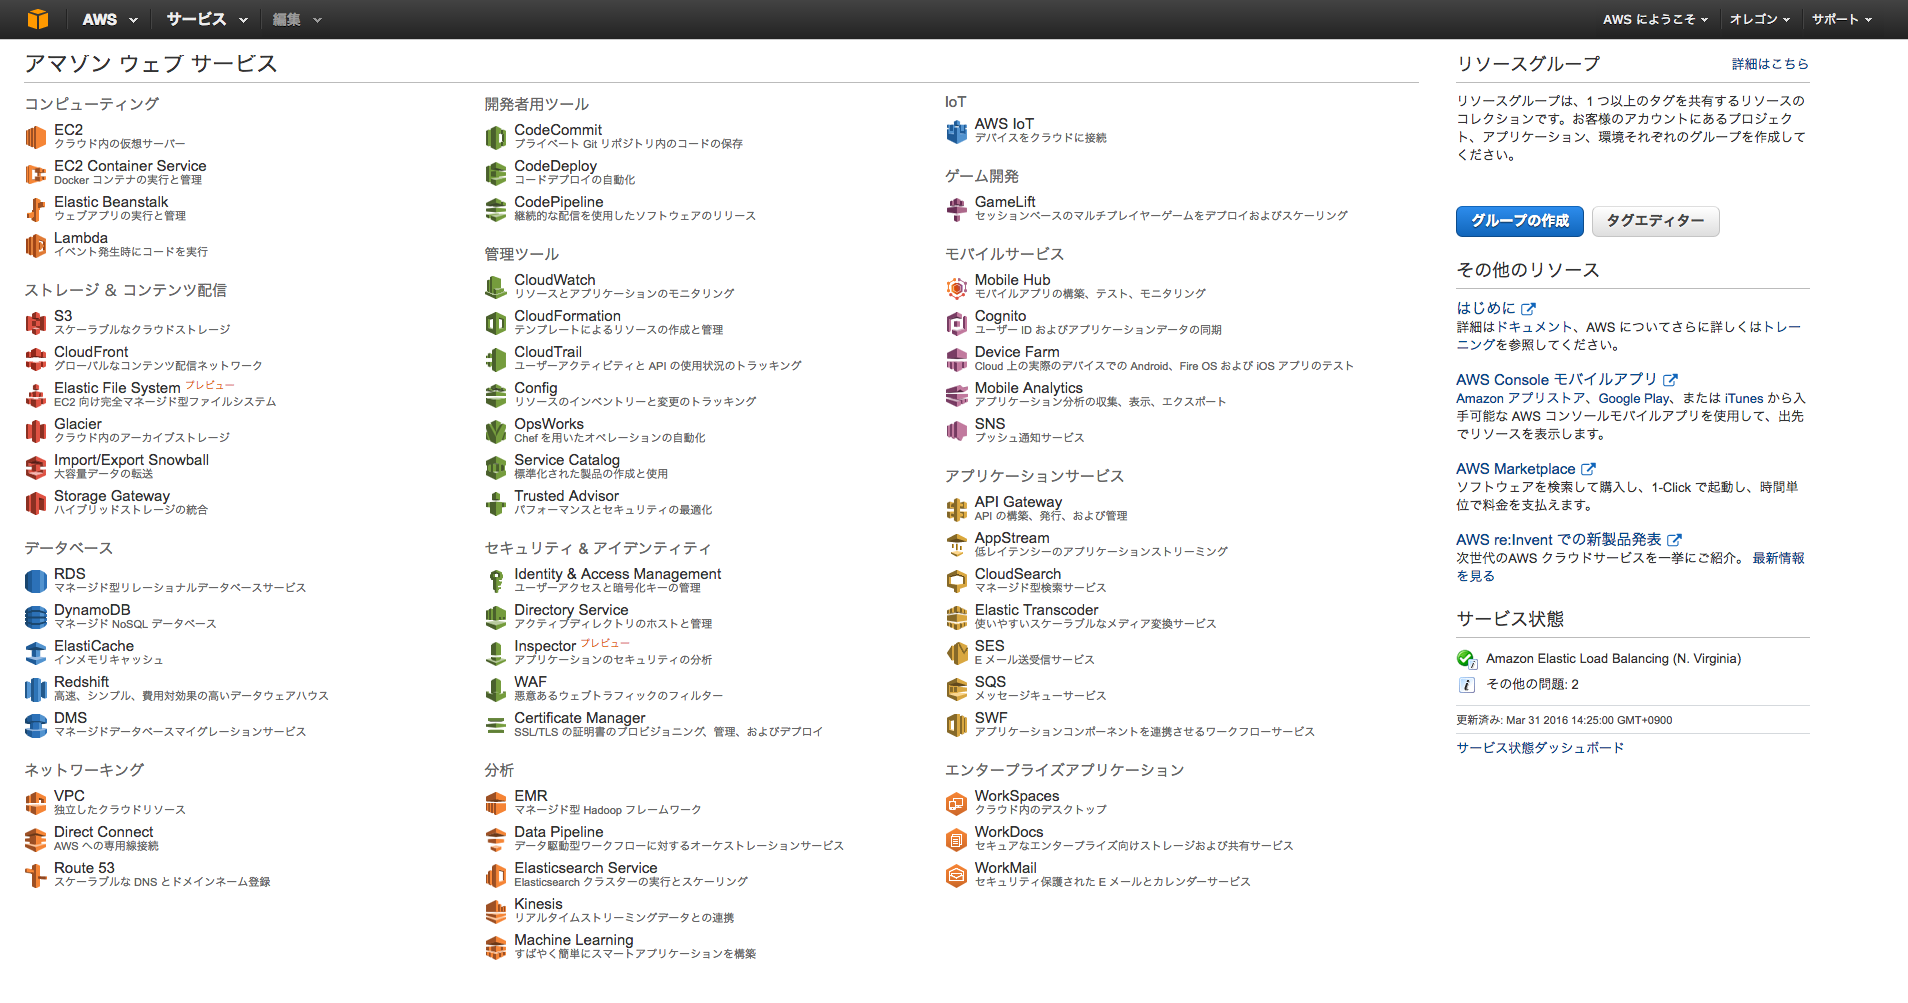
EC2を選択する
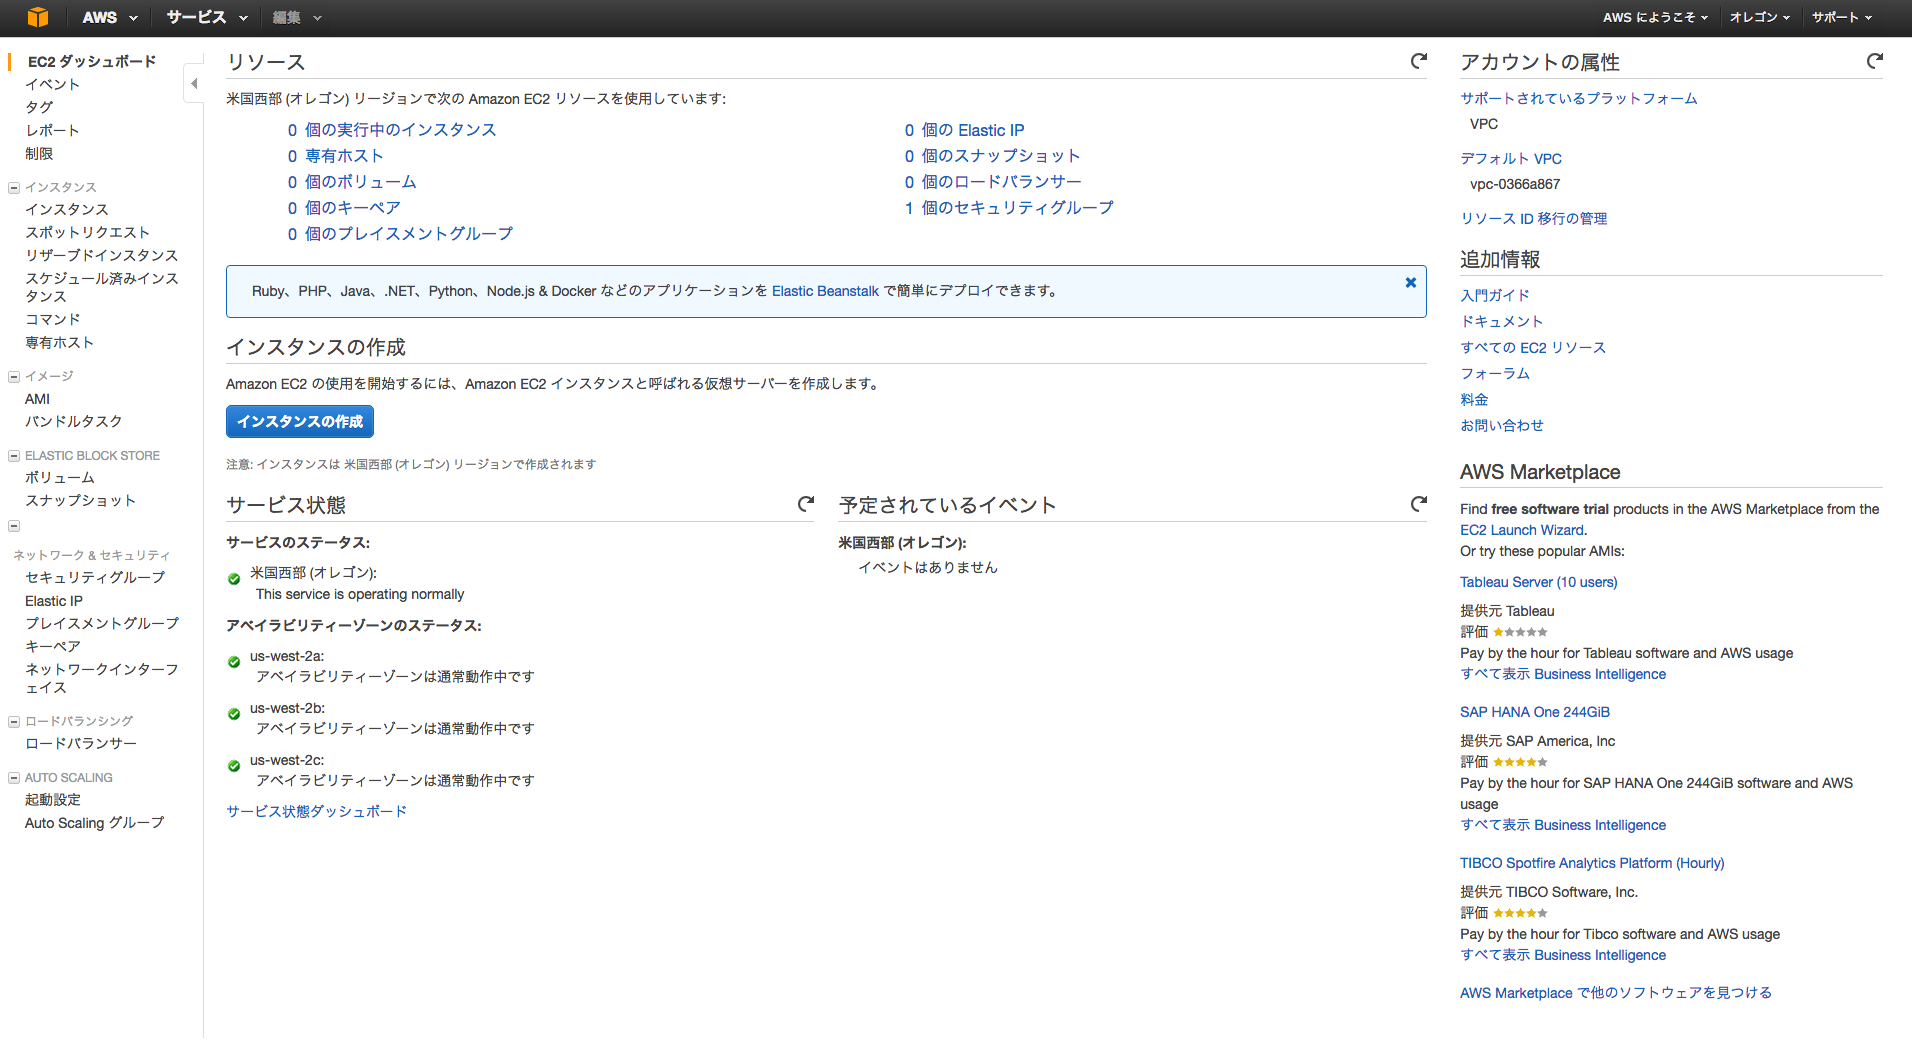
インスタンスの作成を選択する
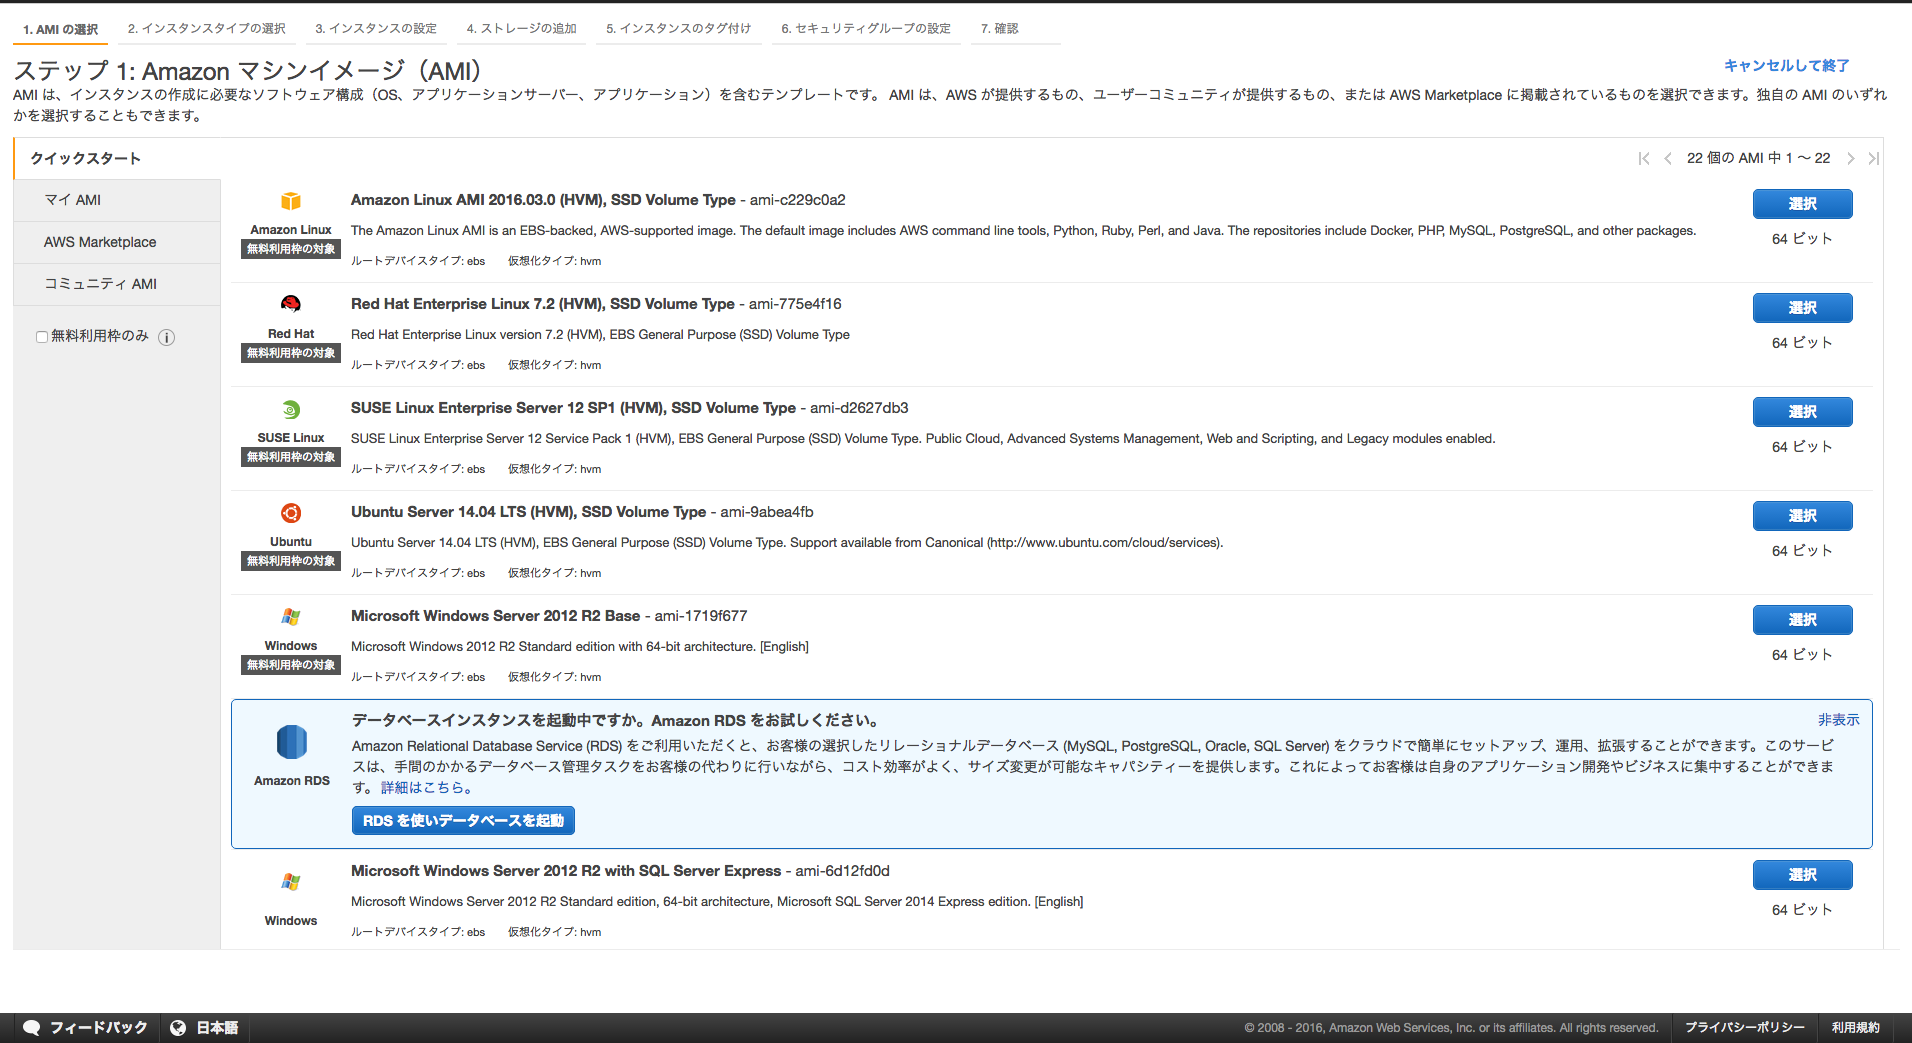
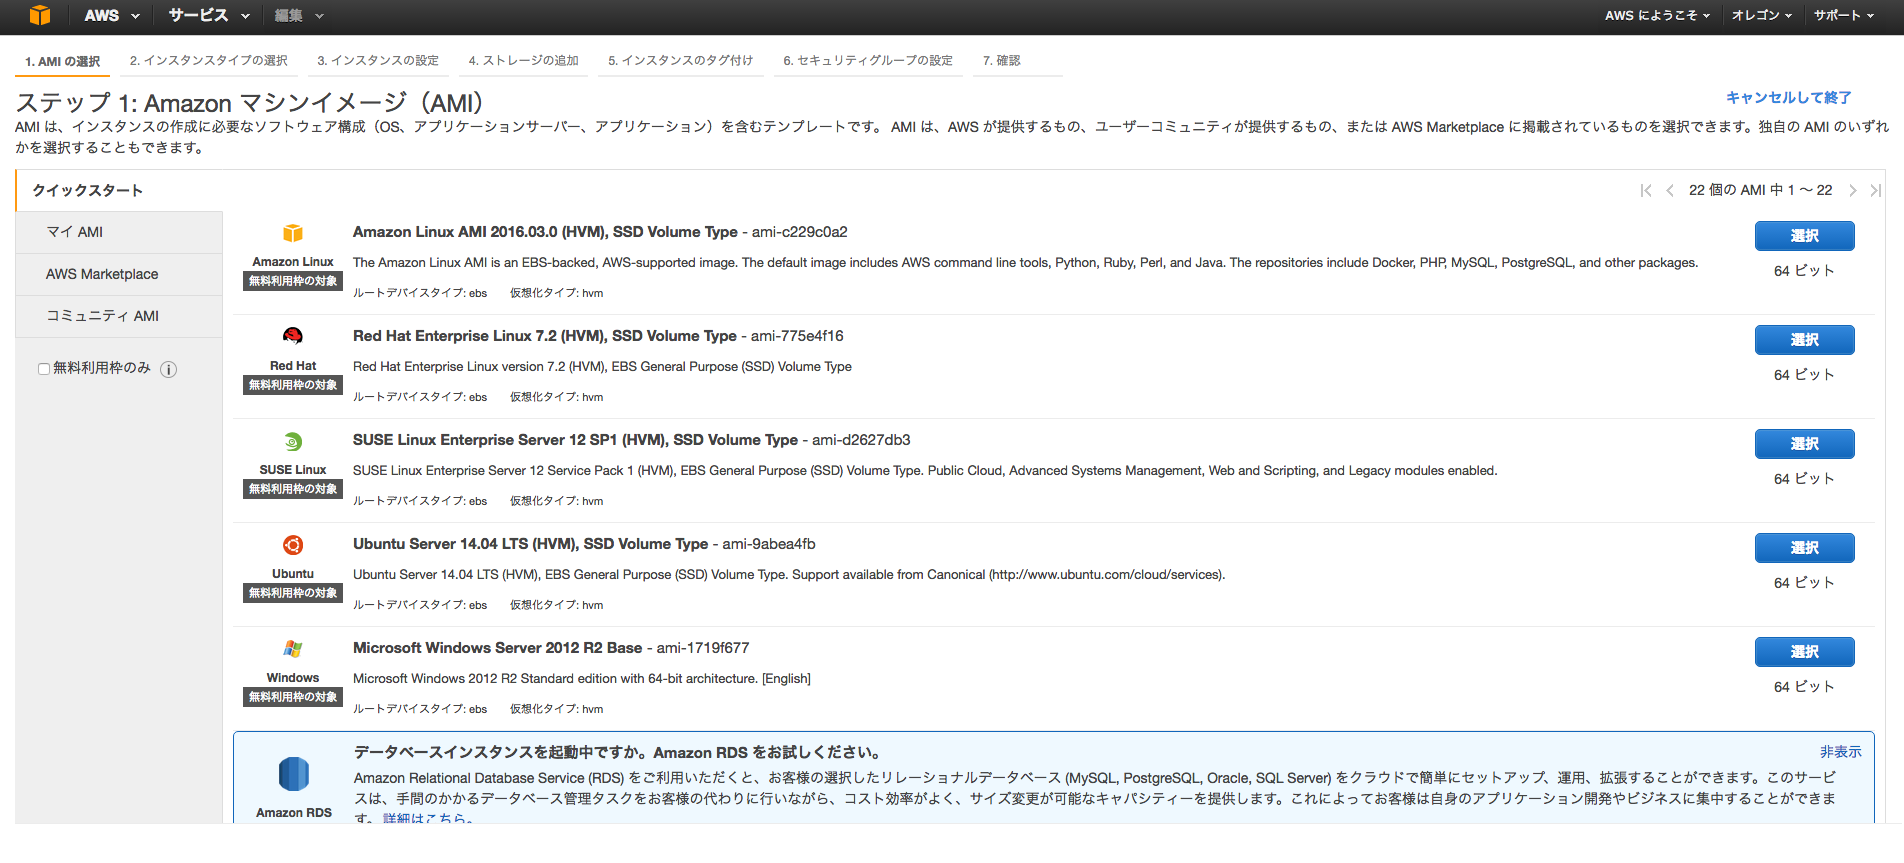
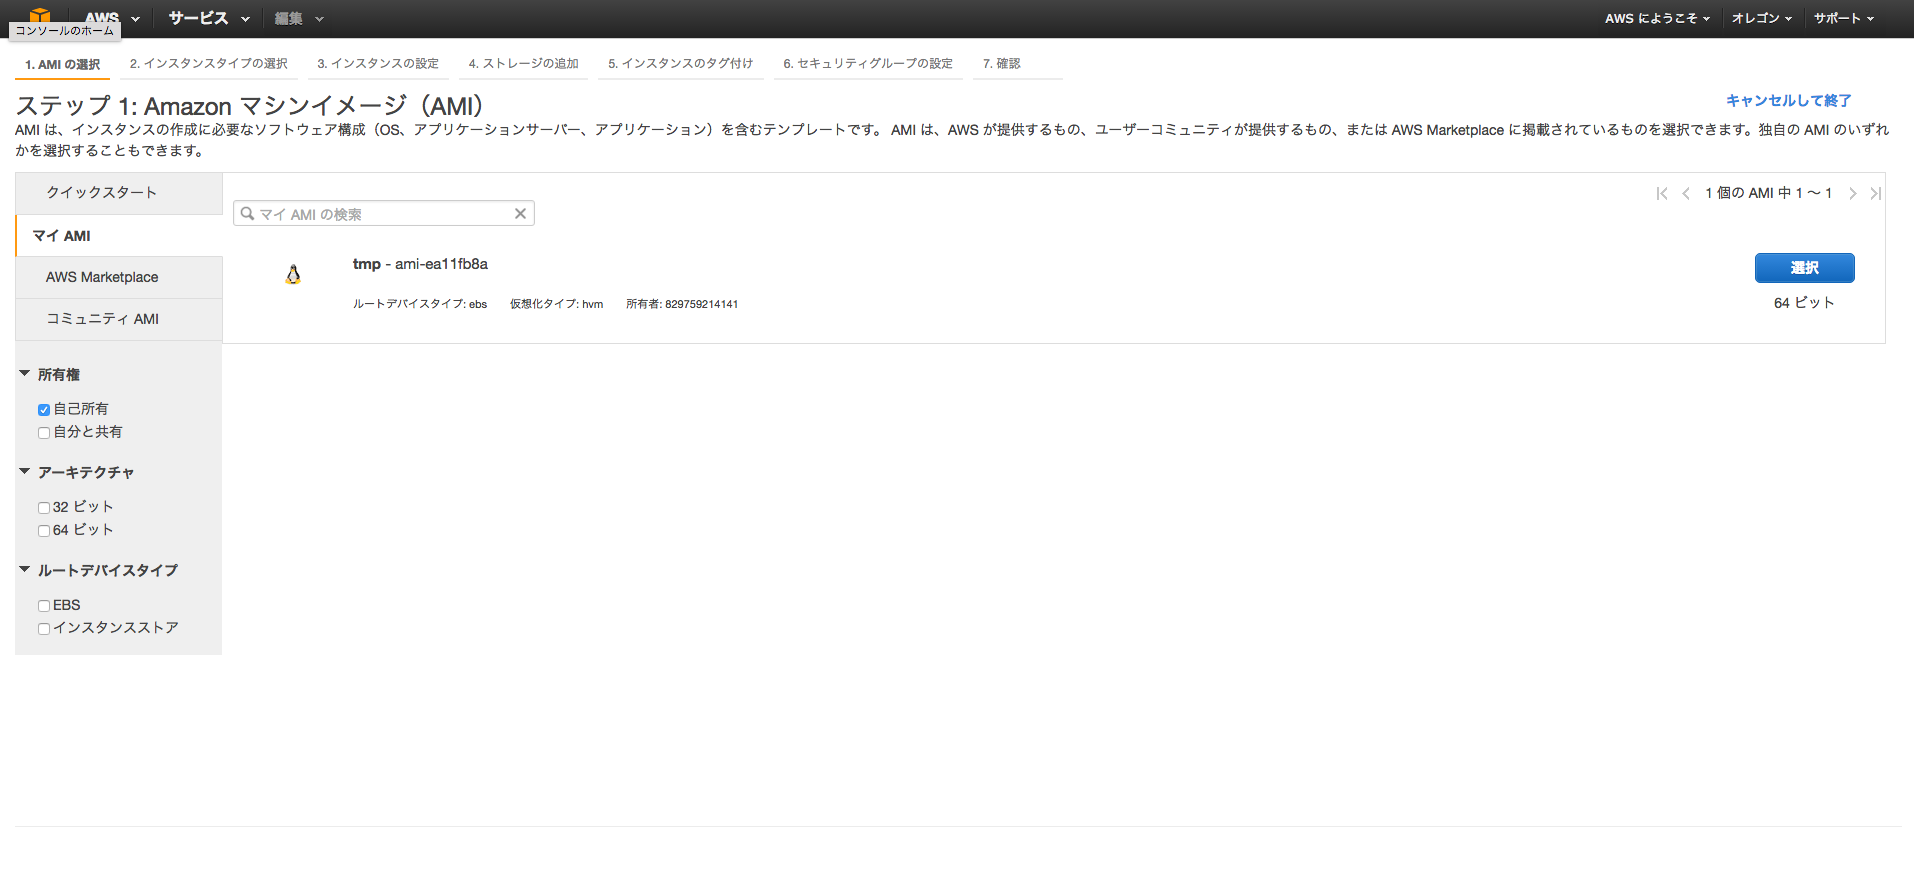
一番上のAmazon Linux AMIを選択する
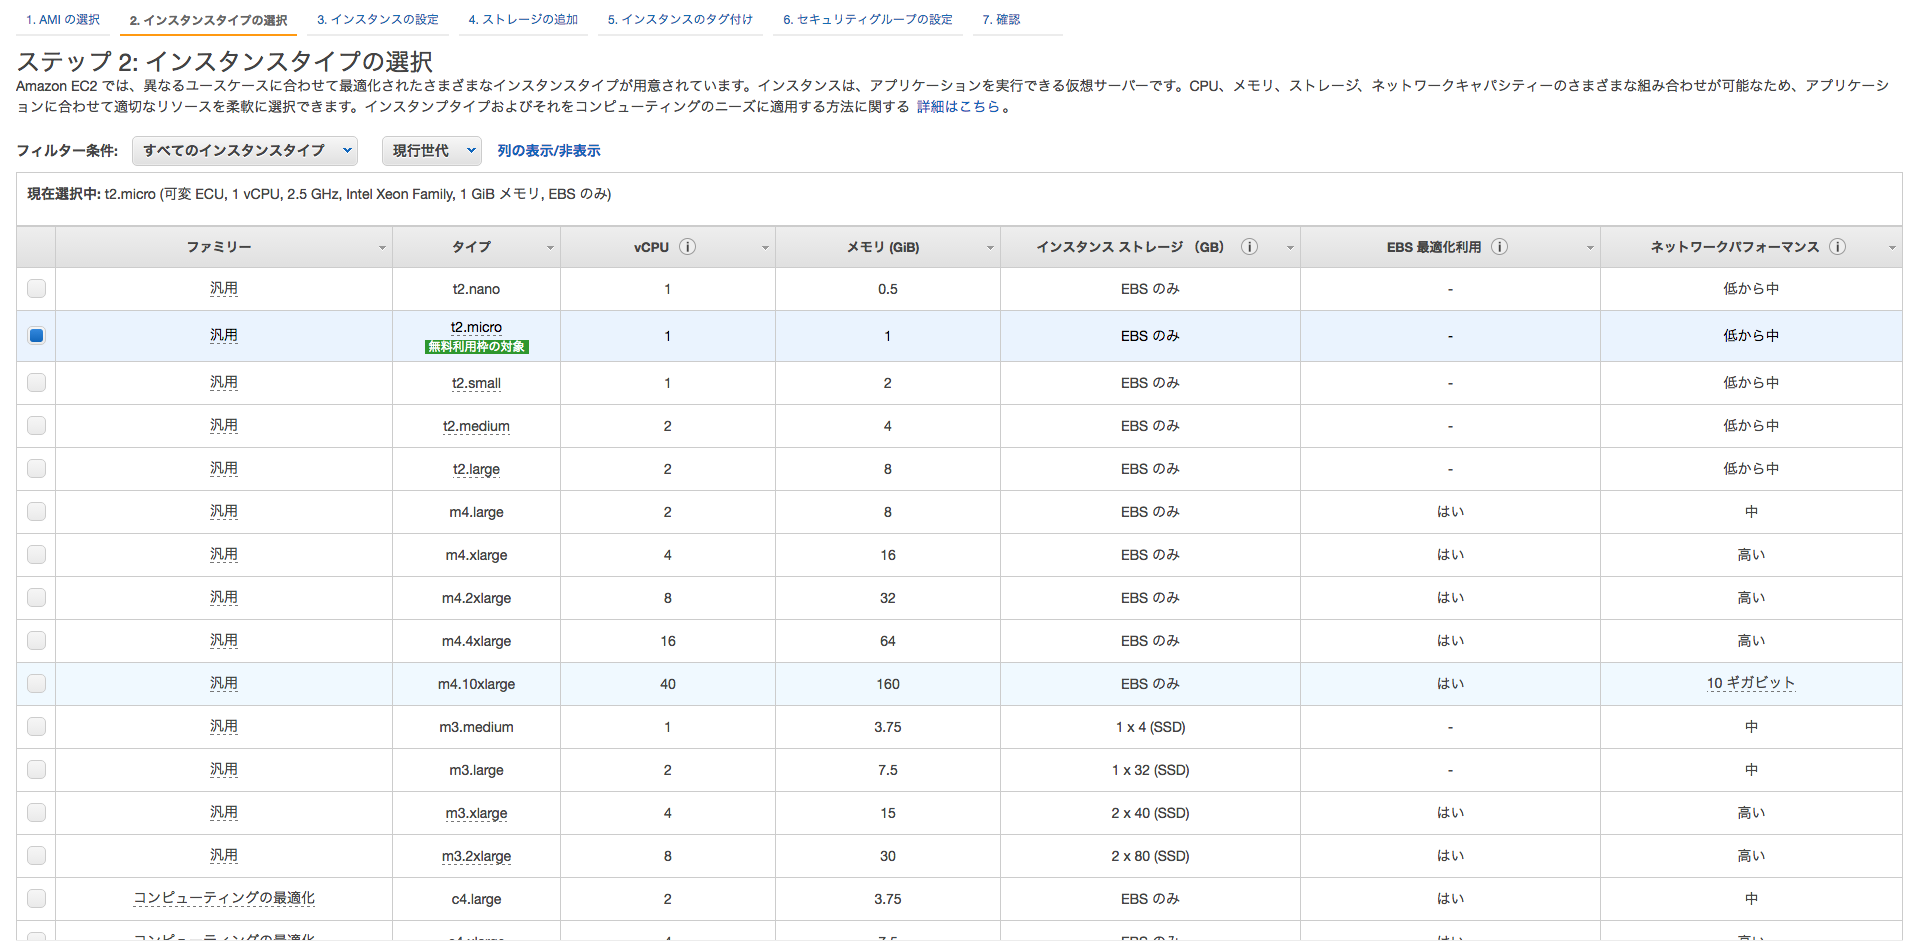
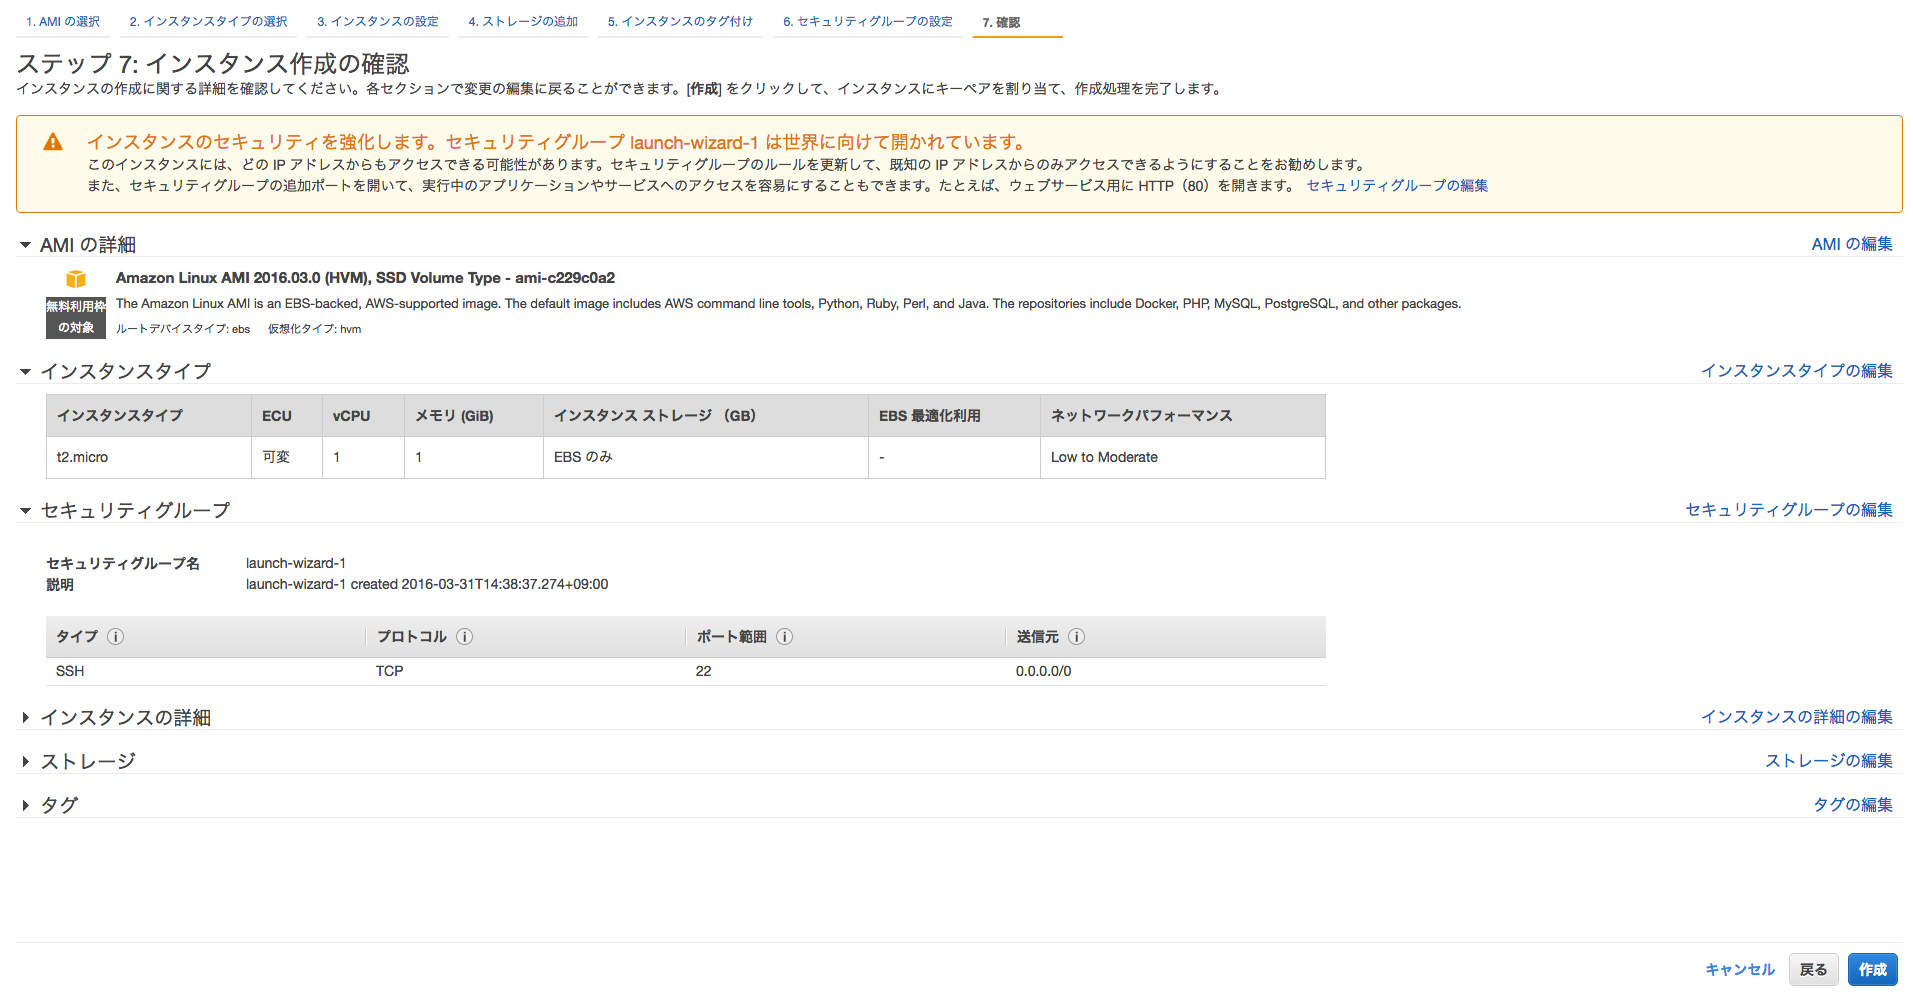
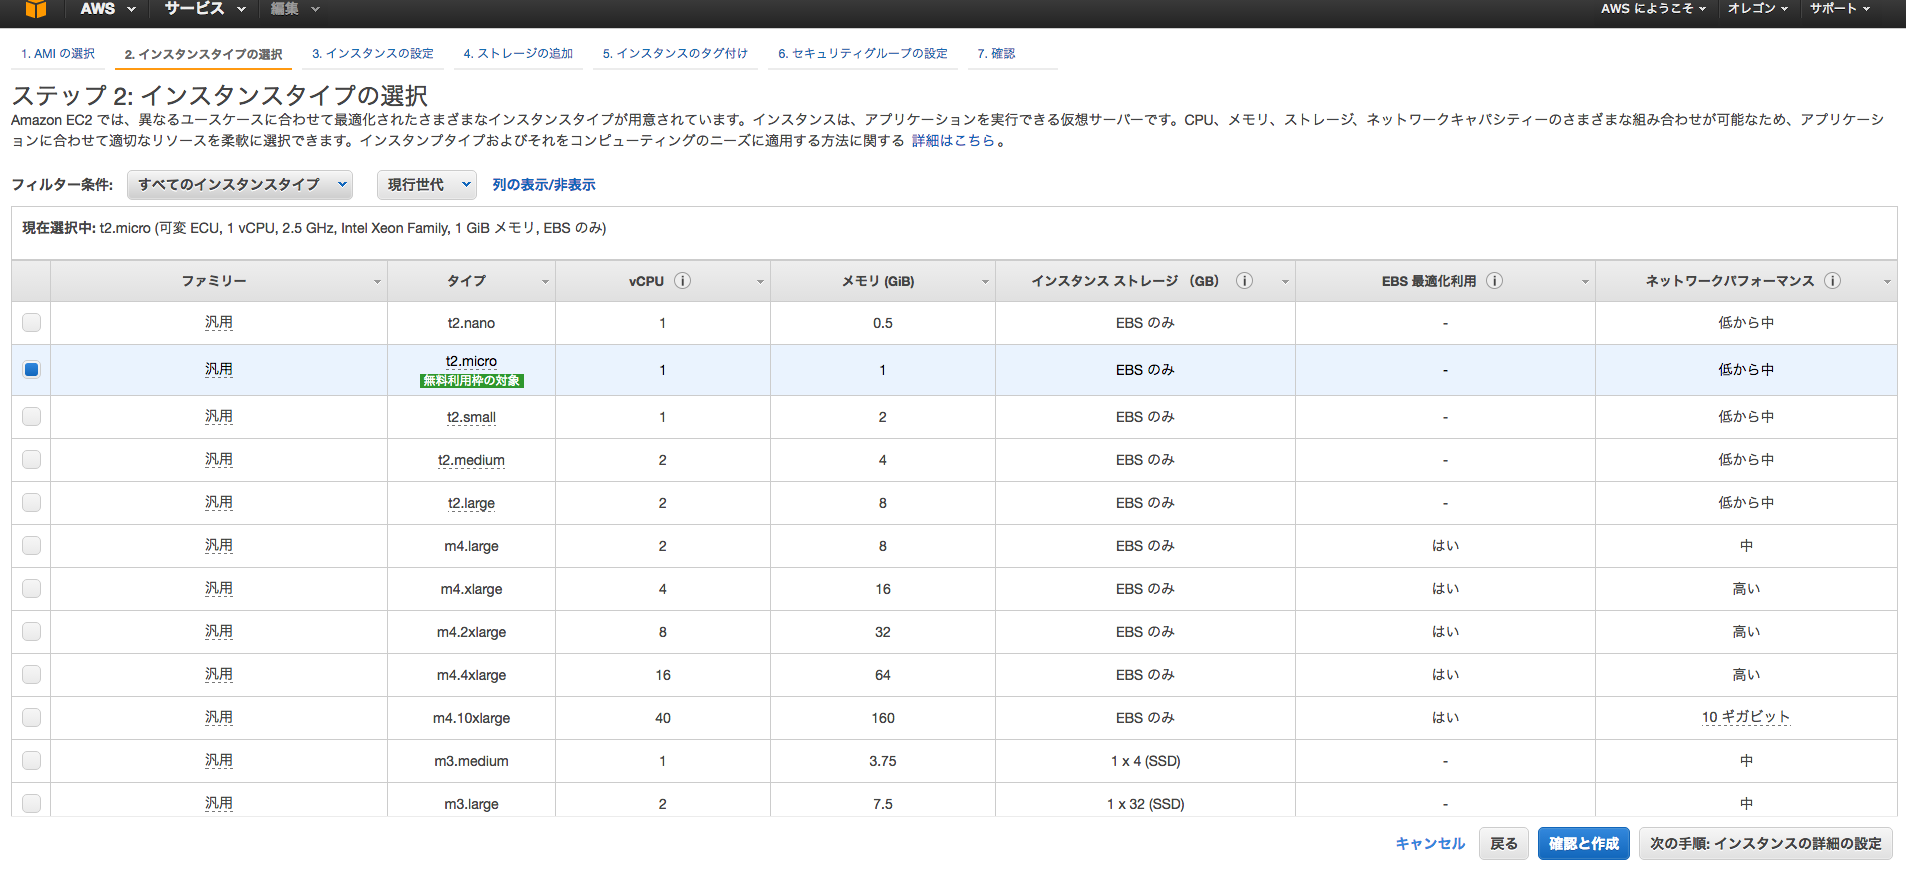
推奨されているインスタンスタイプを選択する
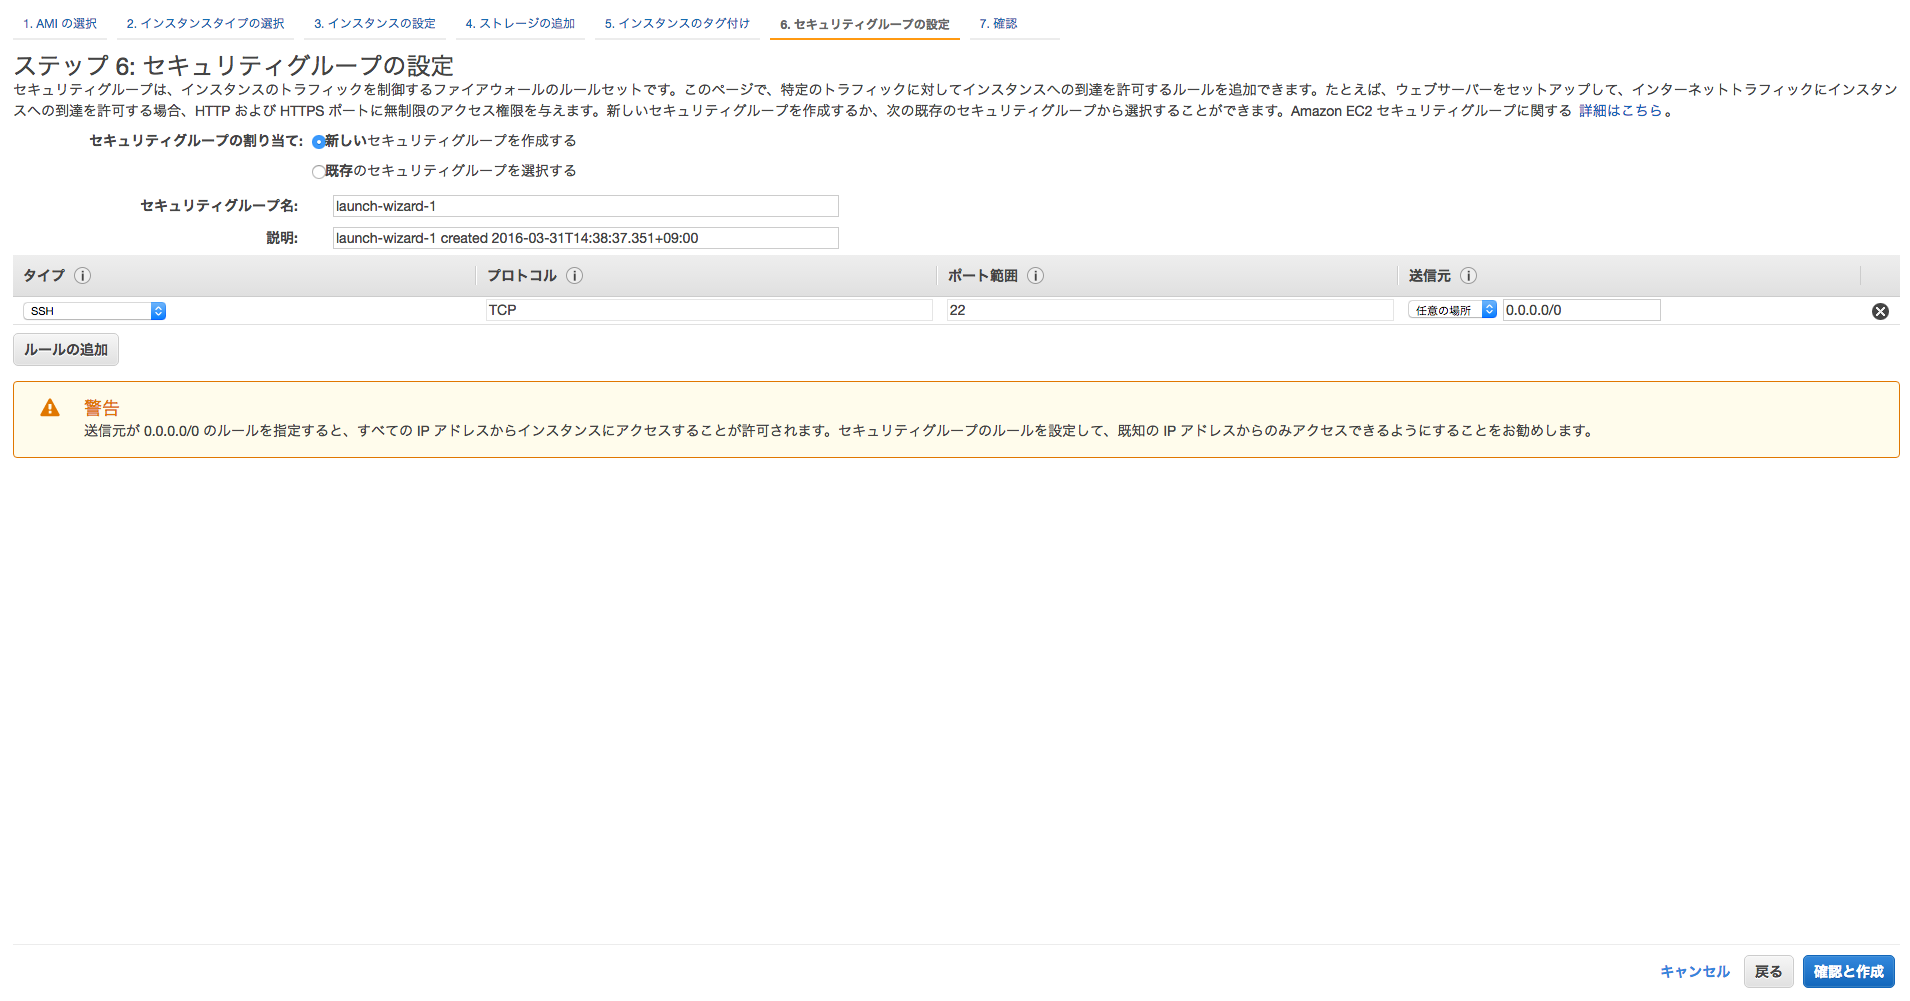
セキュリティーグループの編集を選択
社内からのアクセスの場合、以下を追加
ssh TCP 22 任意の場所 社内のグローバルip
http TCP 80 任意の場所 社内のグローバルip
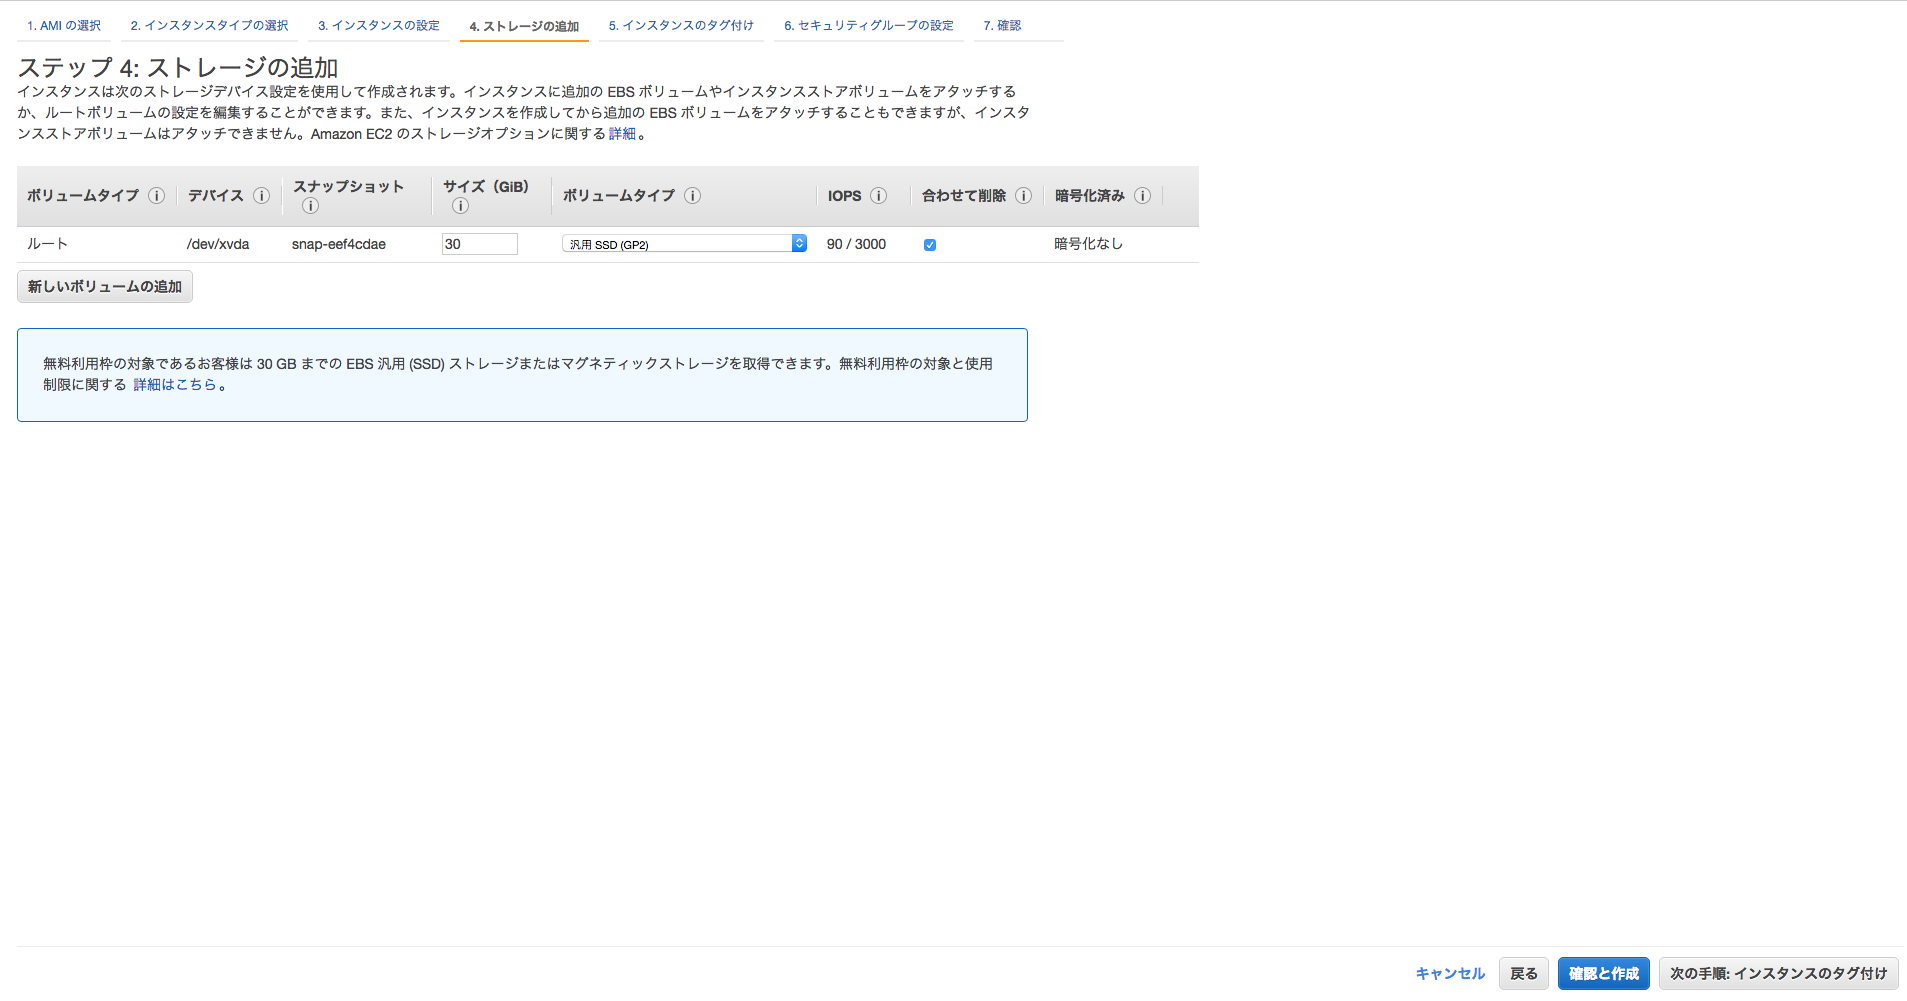
ストレージを30GBに追加
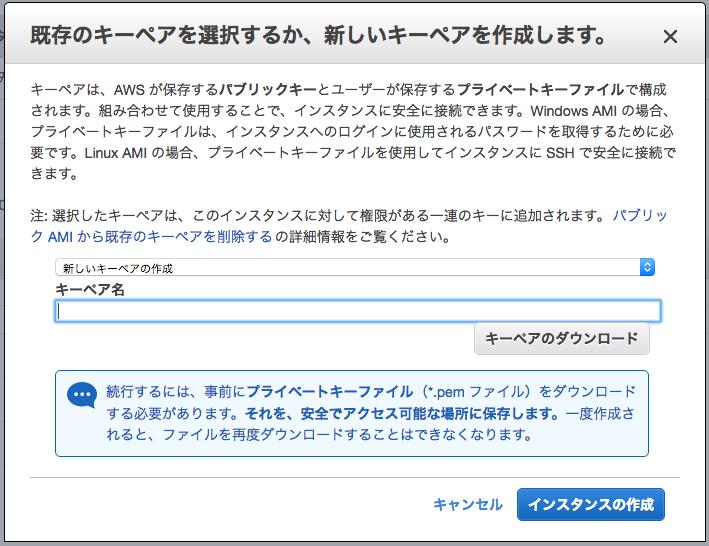
キーペアを発行。秘密鍵はローカルの任意のディレクトリに大切に保管して下さい。
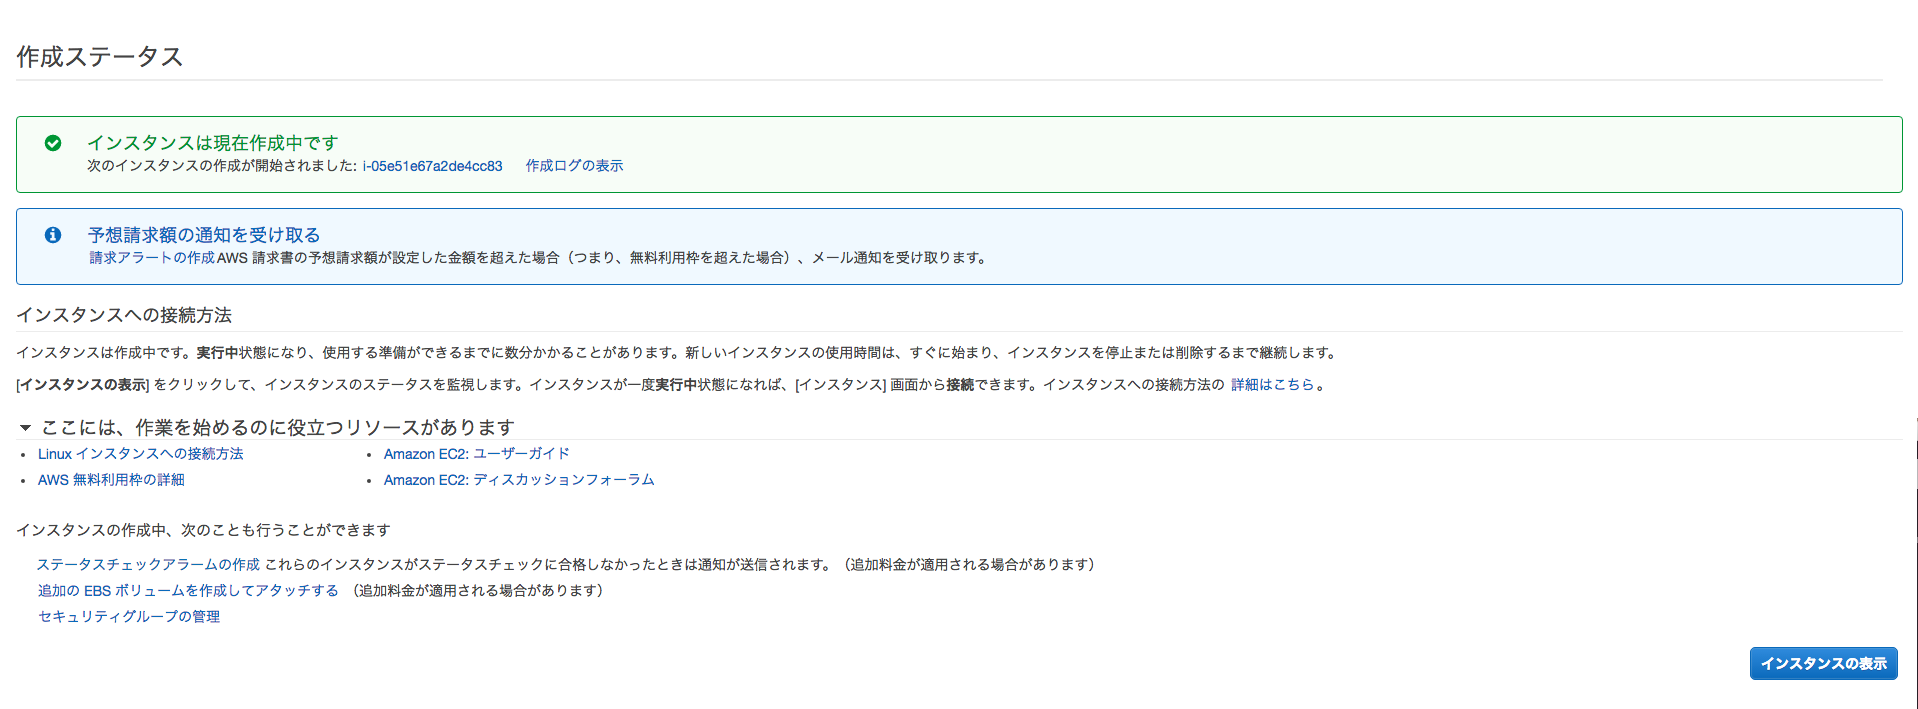
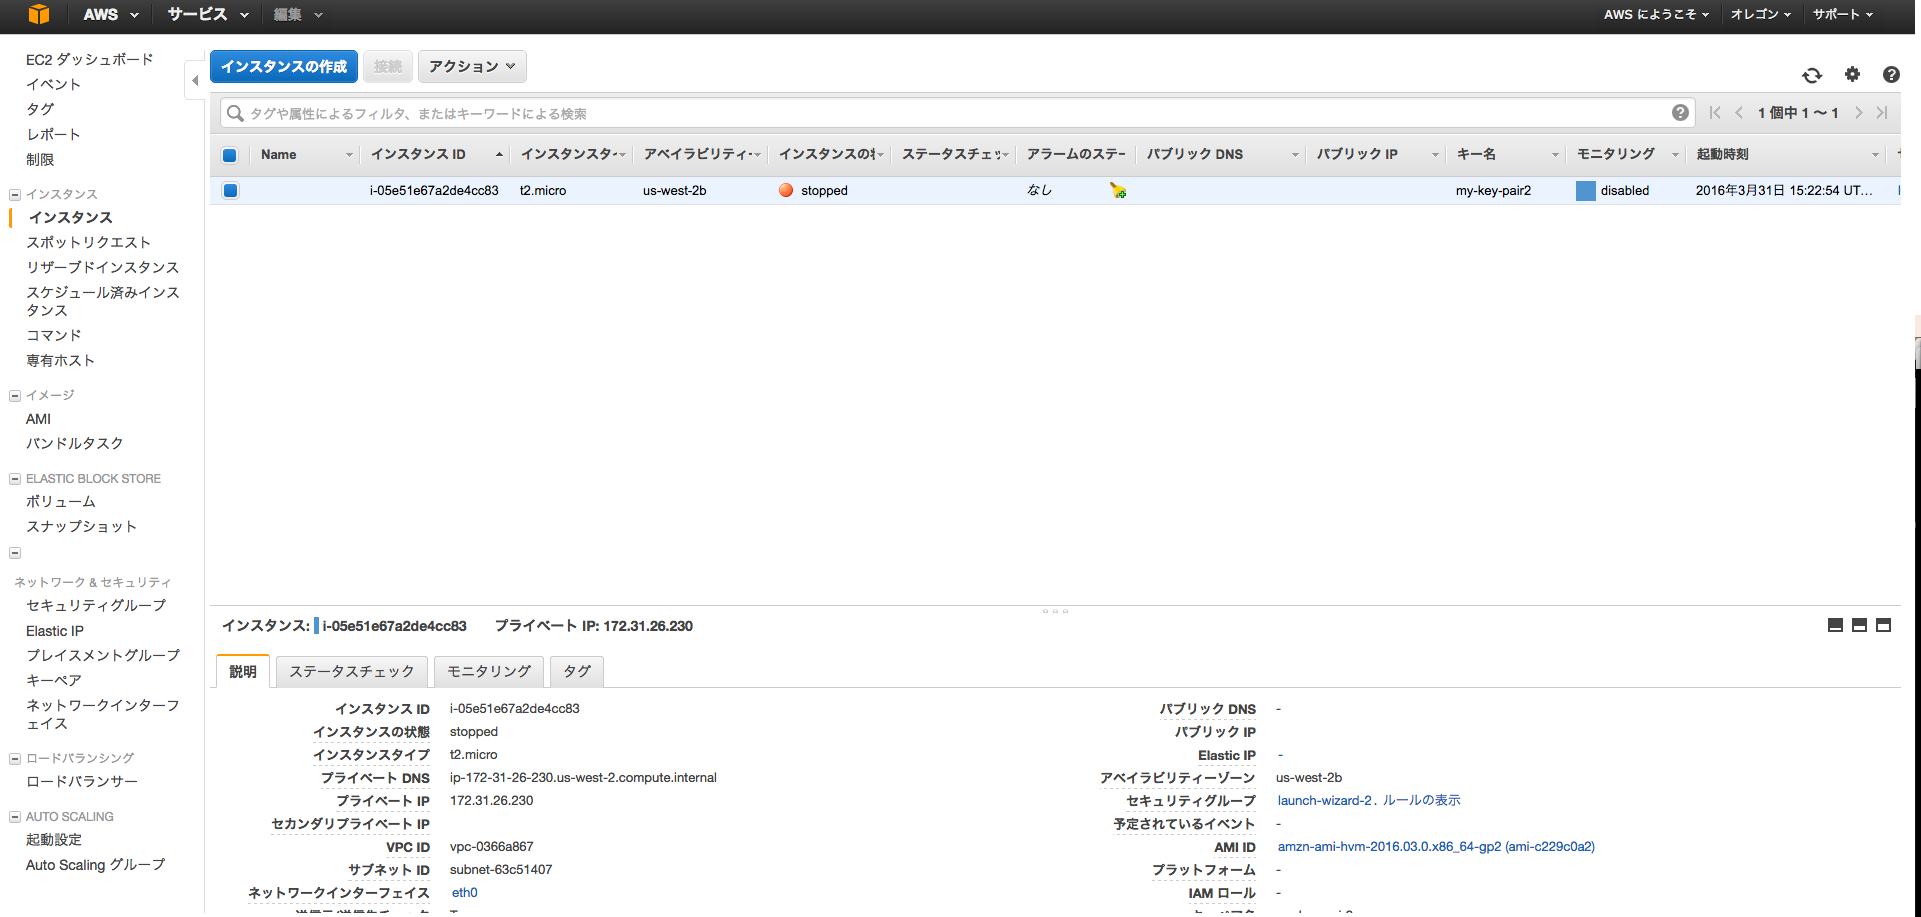
インスタンスが作成中であることを確認する
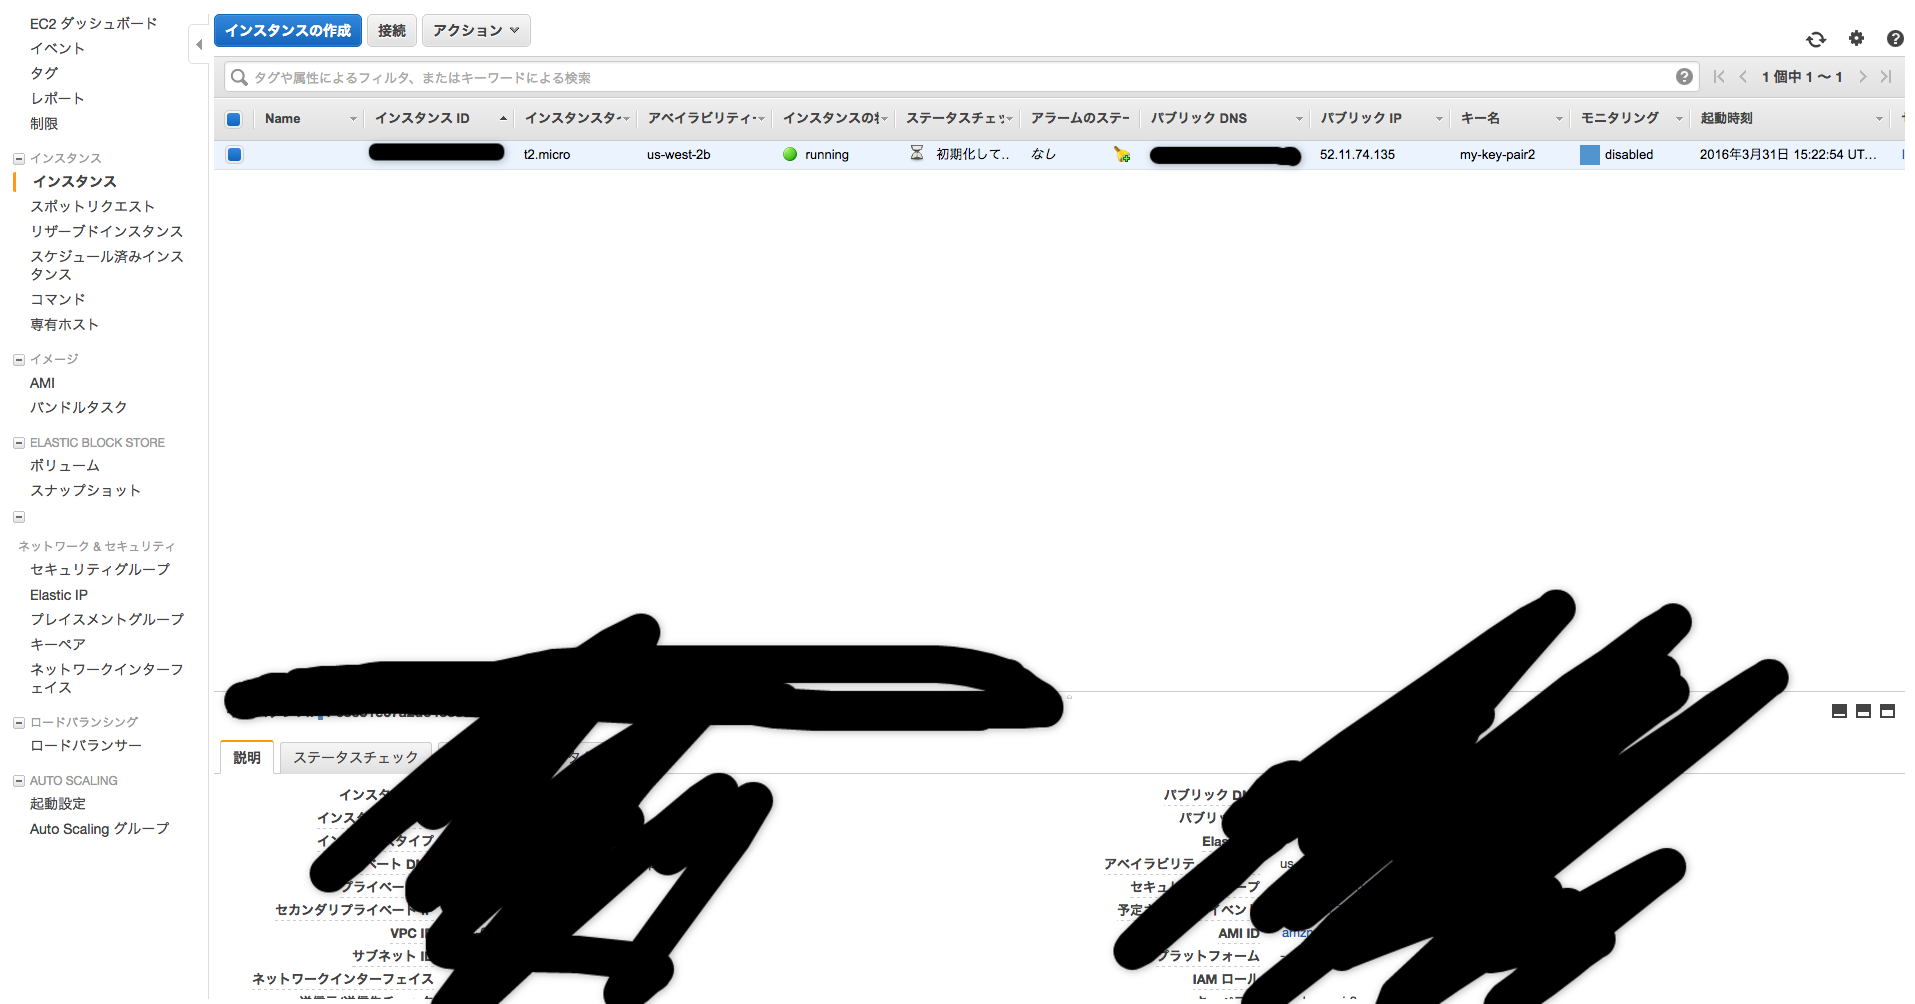
インスタンスが作成されたことを確認する
サーバー設定
ssh接続
パブリックipを指定してssh接続。
ssh -i ~/key/my-key-pair2.pem ec2-user@52.11.74.135
The authenticity of host '52.11.74.135 (52.11.74.135)' can't be established.
RSA key fingerprint is d5:52:9e:9b:d3:ed:4d:e5:82:e7:12:da:97:a5:d7:4a.
Are you sure you want to continue connecting (yes/no)?
yes
@@@@@@@@@@@@@@@@@@@@@@@@@@@@@@@@@@@@@@@@@@@@@@@@@@@@@@@@@@@
@         WARNING: UNPROTECTED PRIVATE KEY FILE!          @
@@@@@@@@@@@@@@@@@@@@@@@@@@@@@@@@@@@@@@@@@@@@@@@@@@@@@@@@@@@
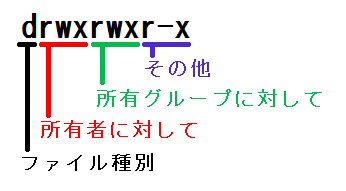
Permissions 0644 for '/Users/nmorii/key/my-key-pair2.pem' are too open.
It is required that your private key files are NOT accessible by others.
This private key will be ignored.
bad permissions: ignore key: /Users/nmorii/key/my-key-pair2.pem
Permission denied (publickey).
chmod 700 my-key-pair2.pem
ssh -i ~/key/my-key-pair2.pem  ec2-user@52.11.74.135
Last login: Thu Mar 31 06:42:28 2016 from xxxxxxxxxxxxxxxxx

       __|  __|_  )
       _|  (     /   Amazon Linux AMI
      ___|\___|___|

https://aws.amazon.com/amazon-linux-ami/2016.03-release-notes/
3 package(s) needed for security, out of 4 available
Run "sudo yum update" to apply all updates.
Cent OSの標準パッケージをアップデート
sudo yum update
webtatic-testingリポジトリの追加
CentOS6用のPHP7のリポジトリを追加する。
開発者ツールインストール
yum groupinstall -y 'Development Tools'
yum groupinstall -y "Development Libraries"
PHP7インストール
sudo rpm -Uvh https://mirror.webtatic.com/yum/el6/latest.rpm
sudo yum install --enablerepo=webtatic-testing php70w php70w-devel php70w-fpm php70w-mbstring php70w-pdo
nginxインストール
sudo yum install nginx
/etc/nginx/nginx.conf
41行目をdocument_rootのディレクトリに設定。
 37     server {
 38         listen       80 default_server;
 39         listen       [::]:80 default_server;
 40         server_name  localhost;
 41         root         /var/www/html;
70行目のdocument_rootを変更
73行目の/scriptを$document_rootに変更
 69         location ~ \.php$ {
 70             root           /var/www/html;
 71             fastcgi_pass   127.0.0.1:9000;
 72             fastcgi_index  index.php;
 73             fastcgi_param  SCRIPT_FILENAME  $document_root/$fastcgi_script_name;
 74             include        fastcgi_params;
 75         }
phpfpmの設定ファイルを編集
/etc/php-fpm.d/www.conf
8~9行目のユーザーとグループをnginxに変更
  8 user = nginx
  9 ; RPM: Keep a group allowed to write in log dir.
 10 group = nginx
nginxを起動
sudo /etc/init.d/nginx start
ginx を起動中:                                            [  OK  ]
php-fpmを起動
sudo /etc/init.d/php-fpm start
php-fpm を起動中:                                          [  OK  ]
ドキュメントルートの権限を変更
chmod -R 755 /var/www/html
ファイルを作成。
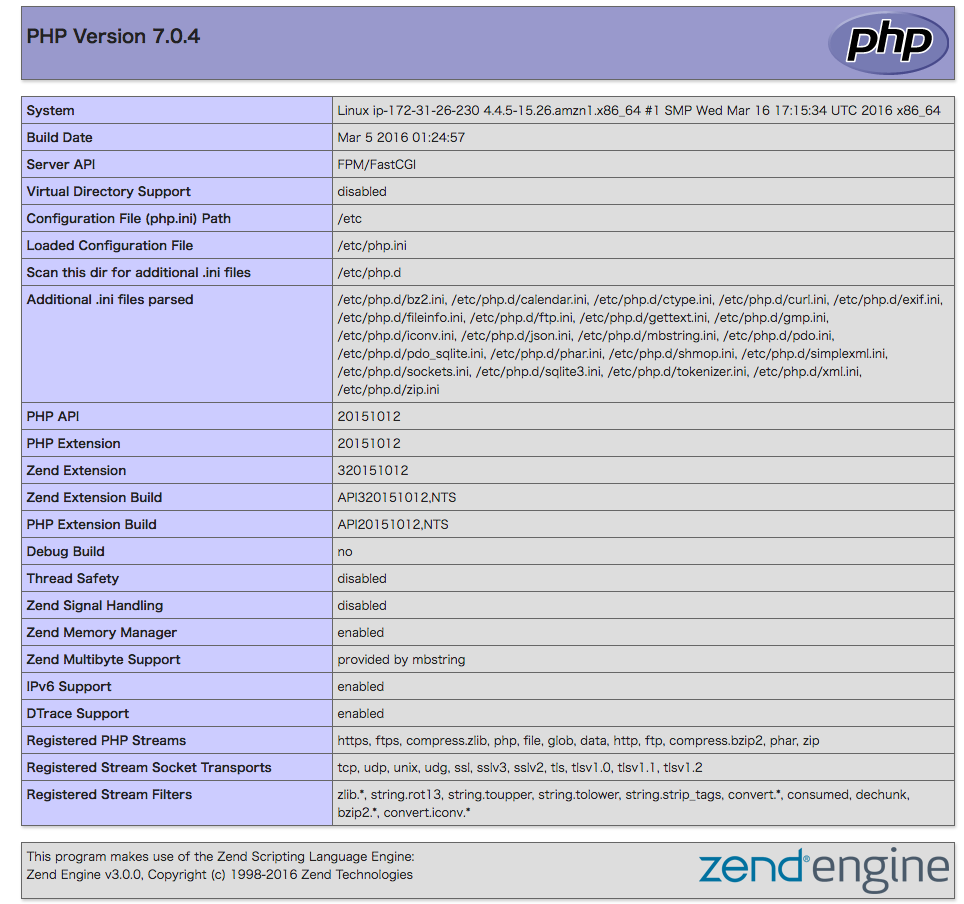
vim index.php
<?php

phpinfo();

?>
MariaDBをインストール
インストール先のレポジトリを設定
sudo vi /etc/yum.repos.d/MariaDB.repo
# MariaDB 10.1 CentOS repository list - created 2016-03-13 07:22 UTC
# http://mariadb.org/mariadb/repositories/
[mariadb]
name = MariaDB
baseurl = http://yum.mariadb.org/10.1/centos6-amd64
gpgkey=https://yum.mariadb.org/RPM-GPG-KEY-MariaDB
gpgcheck=1
マリアDBをインストール
sudo yum install -y MariaDB-server MariaDB-client
起動
sudo /etc/init.d/mysql start
初期設定
mysql_secure_installation
Enter current password for root (enter for none):
まだパスワードはないので、リターン

Setting the root password ensures that nobody can log into the MariaDB
root user without the proper authorisation.
一応rootとしておく

By default, a MariaDB installation has an anonymous user, allowing anyone
to log into MariaDB without having to have a user account created for
them.  This is intended only for testing, and to make the installation
go a bit smoother.  You should remove them before moving into a
production environment.
Remove anonymous users? [Y/n]
誰でもログイン出来るのは嫌だから、yes

Normally, root should only be allowed to connect from 'localhost'.  This
ensures that someone cannot guess at the root password from the network.
リモートでのログインはありえるから、no
Disallow root login remotely? [Y/n] n

By default, MariaDB comes with a database named 'test' that anyone can
access.  This is also intended only for testing, and should be removed
before moving into a production environment.
テスト用DBは一応残しておく
Remove test database and access to it? [Y/n] n

Reloading the privilege tables will ensure that all changes made so far
will take effect immediately.
特権テーブルはリロードしておく
Reload privilege tables now? [Y/n] Y

All done!  If you've completed all of the above steps, your MariaDB
installation should now be secure.

Thanks for using MariaDB!
Fuel PHPのインストール
以下コマンドを実行
curl get.fuelphp.com/oil | sh
*一般ユーザーで実行すること。rootで実行するとうまくいかない。
途中で、githubのトークンはと聞かれるので
https://github.com/settings/tokens/new?scopes=repo&description=Composer+on+<servername>+2015-06-26+0933
にアクセスして、トークンをgetしましょう。
nginxの設定を変更
sudo vim /etc/nginx/nginx.conf
41行目をfuelのdocumentルートに設定。
47行目と48行目に以下urlを参考に追記。
72行目をdocumentルートに設定。
http://fuelphp.com/docs/installation/instructions.html
 37     server {
 38         listen       80 default_server;
 39         listen       [::]:80 default_server;
 40         server_name  localhost;
 41         root         /var/www/html/sample/public;

 46         location / {
 47             index index.php;
 48             try_files $uri $uri/ /index.php$is_args$args;
 49         }

 71         location ~ \.php$ {
 72             root           /var/www/html/sample/public;
 73             fastcgi_pass   127.0.0.1:9000;
 74             fastcgi_index  index.php;
nginxをリスタート
sudo /etc/init.d/nginx restart
ginx を起動中:                                            [  OK  ]
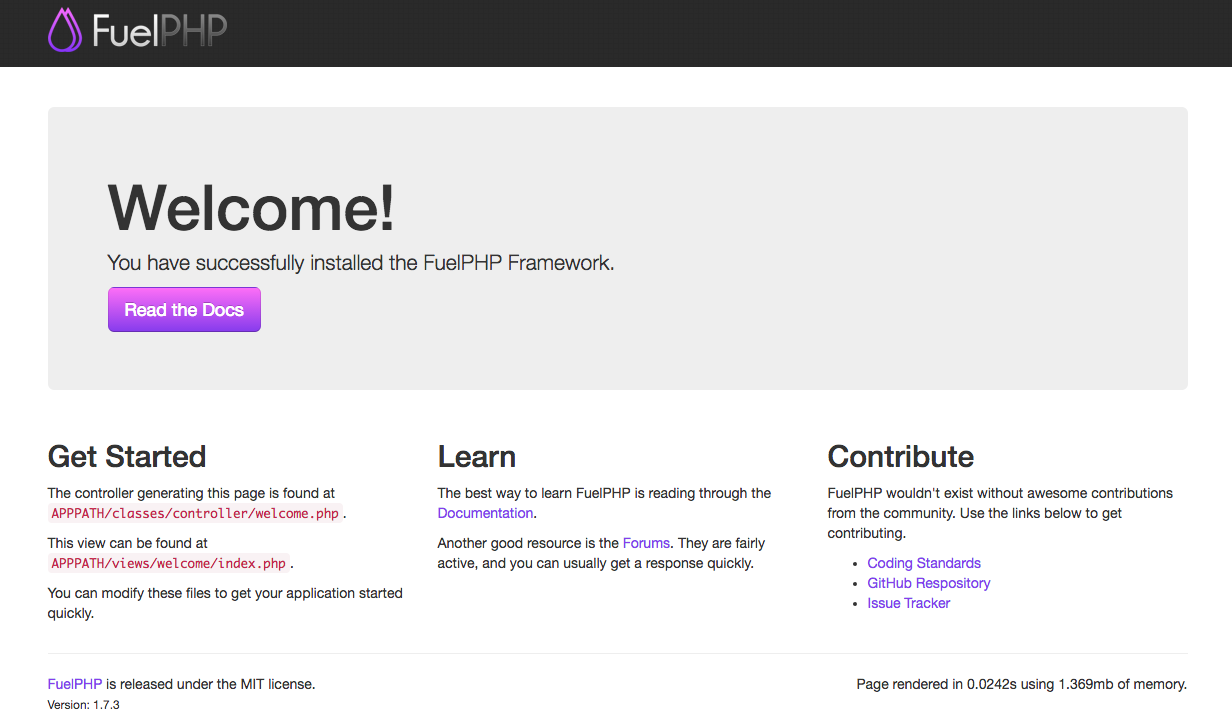
FuelPHPが表示される。
その他
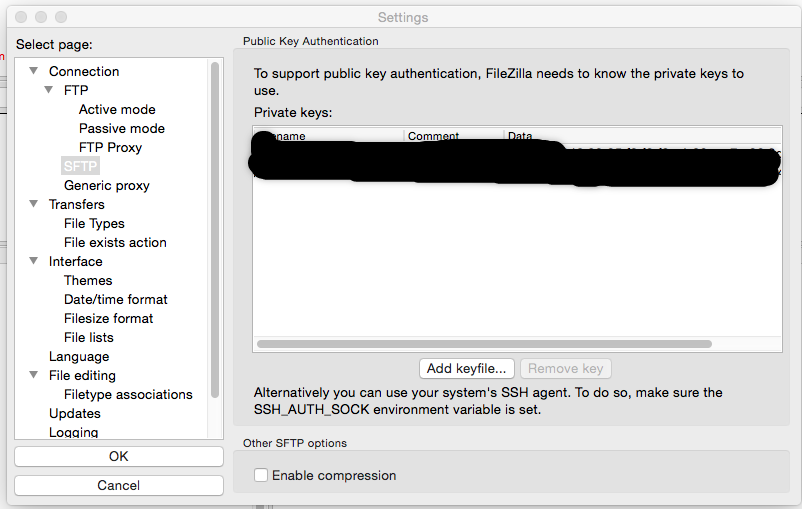
FileZillaの設定
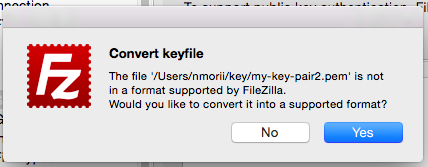
FileZilla用にコンバートしてもいいかと聞かれるので、Yesを選択。
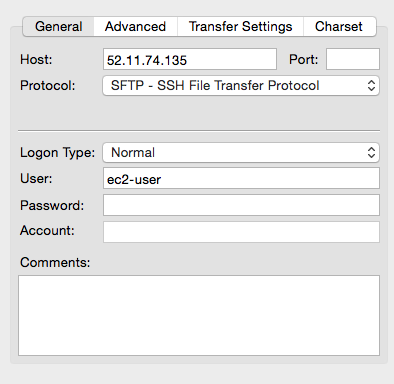
Site Managerから以下のように入力
OKを押すと接続出来るはず。
ユーザーを作成する
以下参考
http://www.task-notes.com/entry/20150816/1439694000
秘密鍵を作成する
ssh-keygen -f ~/.ssh/id_rsa_ec2_camp7
sudo adduser newuser
sudo passwd nmorii
パスワードを入力
ここではAsdfghjkl7
sudo su
echo "nmorii ALL=(ALL) ALL" > /etc/sudoers.d/nmorii
chmod 440 /etc/sudoers.d/nmorii
su nmorii
cd ~
mkdir .ssh
sudo mv /home/ec2-user/id_rsa_ec2.pub .ssh/authorized_keys
sudo chown nmorii. .ssh/authorized_keys
sudo chmod 600 .ssh/authorized_keys
AMIからインスタンスの作成
通常通り作成
一般的な公開出来るWEBサーバー
ユーザー作成。森井。
それぞれのパーミッションの権限を正しく設定する。
777は禁止。
RDSを使う。
