【概要】
Qiitaトレンドのプロフィール画像をマウスオーバーした時に、マウスオーバーしたユーザのプロフィールをツールチップで表示します。
開発者ツールのコンソールでコードを実行することで実現します(Chromeの拡張機能にした方がよかったかも)。
【環境】
Google Chrome
【コード実行時の注意点】
Qiitaトレンドのプロフィール画像領域や、ツールチップに表示するユーザ画面のプロフィール領域はCSSクラス名で取得しています。
そのCSSクラス名はおそらく自動生成されているため、今後下記コード内で定義しているクラス名を変更する必要がある可能性があります。
【コード】
準備用
const importScriptArray = [
  "https://code.jquery.com/jquery-3.6.4.min.js",
  "https://unpkg.com/@popperjs/core@2",
  "https://unpkg.com/tippy.js@6",
];

const fragment = document.createDocumentFragment();
for (importScript of importScriptArray) {
  const script = document.createElement("script");
  script.src = importScript;
  fragment.appendChild(script);
}

document.body.appendChild(fragment);
メイン処理
$(function () {
  // Qiitaトレンドのプロフィール画像領域のクラス名
  const profileImageClass = ".style-j198x4";
  $(profileImageClass).mouseover(function () {
    callTippy(this);
  });
});

function callTippy(profileImageElement) {
  tippy(profileImageElement, {
    content: "Loading...",
    onShow(instance) {
      fetch($(profileImageElement).attr("href"))
        .then(function (response) {
          return response.text();
        })
        .then(function (data) {
          // ツールチップに表示するユーザ画面のプロフィール領域のクラス名
          const userProfileClass = "style-y3rr1o";

          // ツールチップに表示するhtmlの作成
          const parser = new DOMParser();
          const doc = parser.parseFromString(data, "text/html");
          const userProfile = doc.getElementsByClassName(userProfileClass)[0];
          const profileHead = doc.head;
          const tooltipContent = document.createElement("html");
          tooltipContent.append(profileHead);
          tooltipContent.append(userProfile);

          instance.setContent(tooltipContent);
        })
        .catch((error) => {
          instance.setContent(`Request failed. ${error}`);
        });
    },
  });
}
【実行手順】
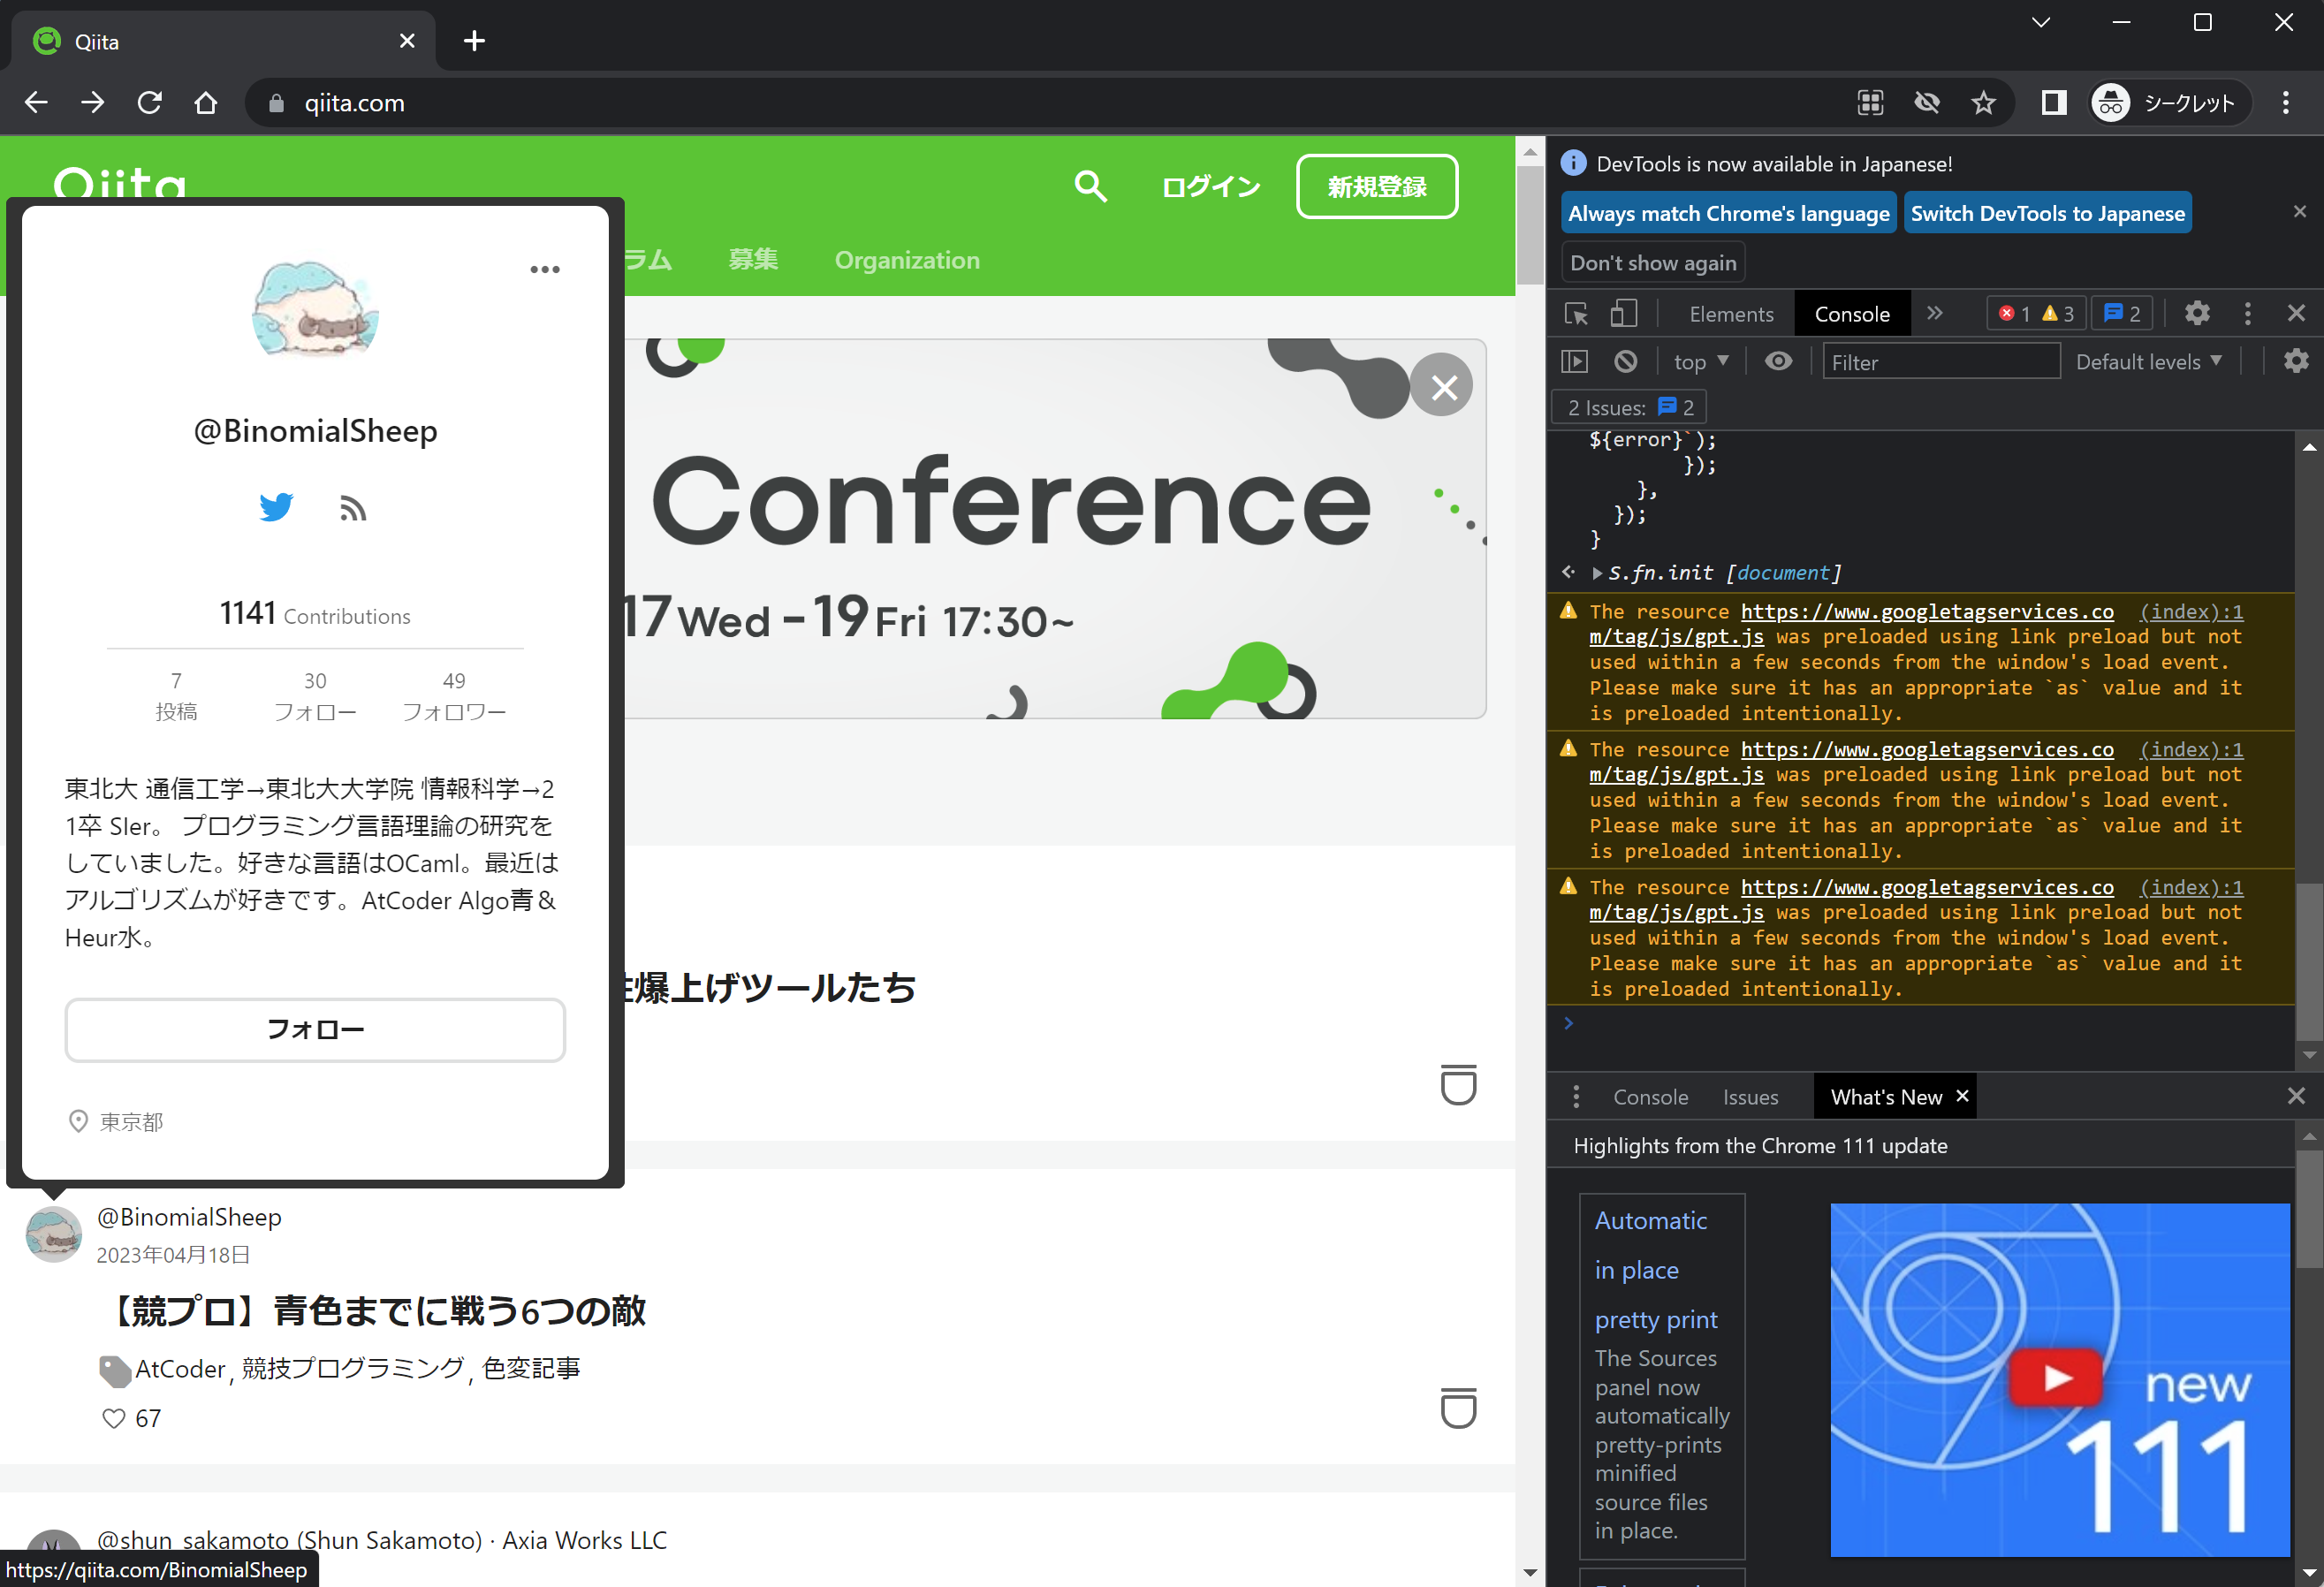
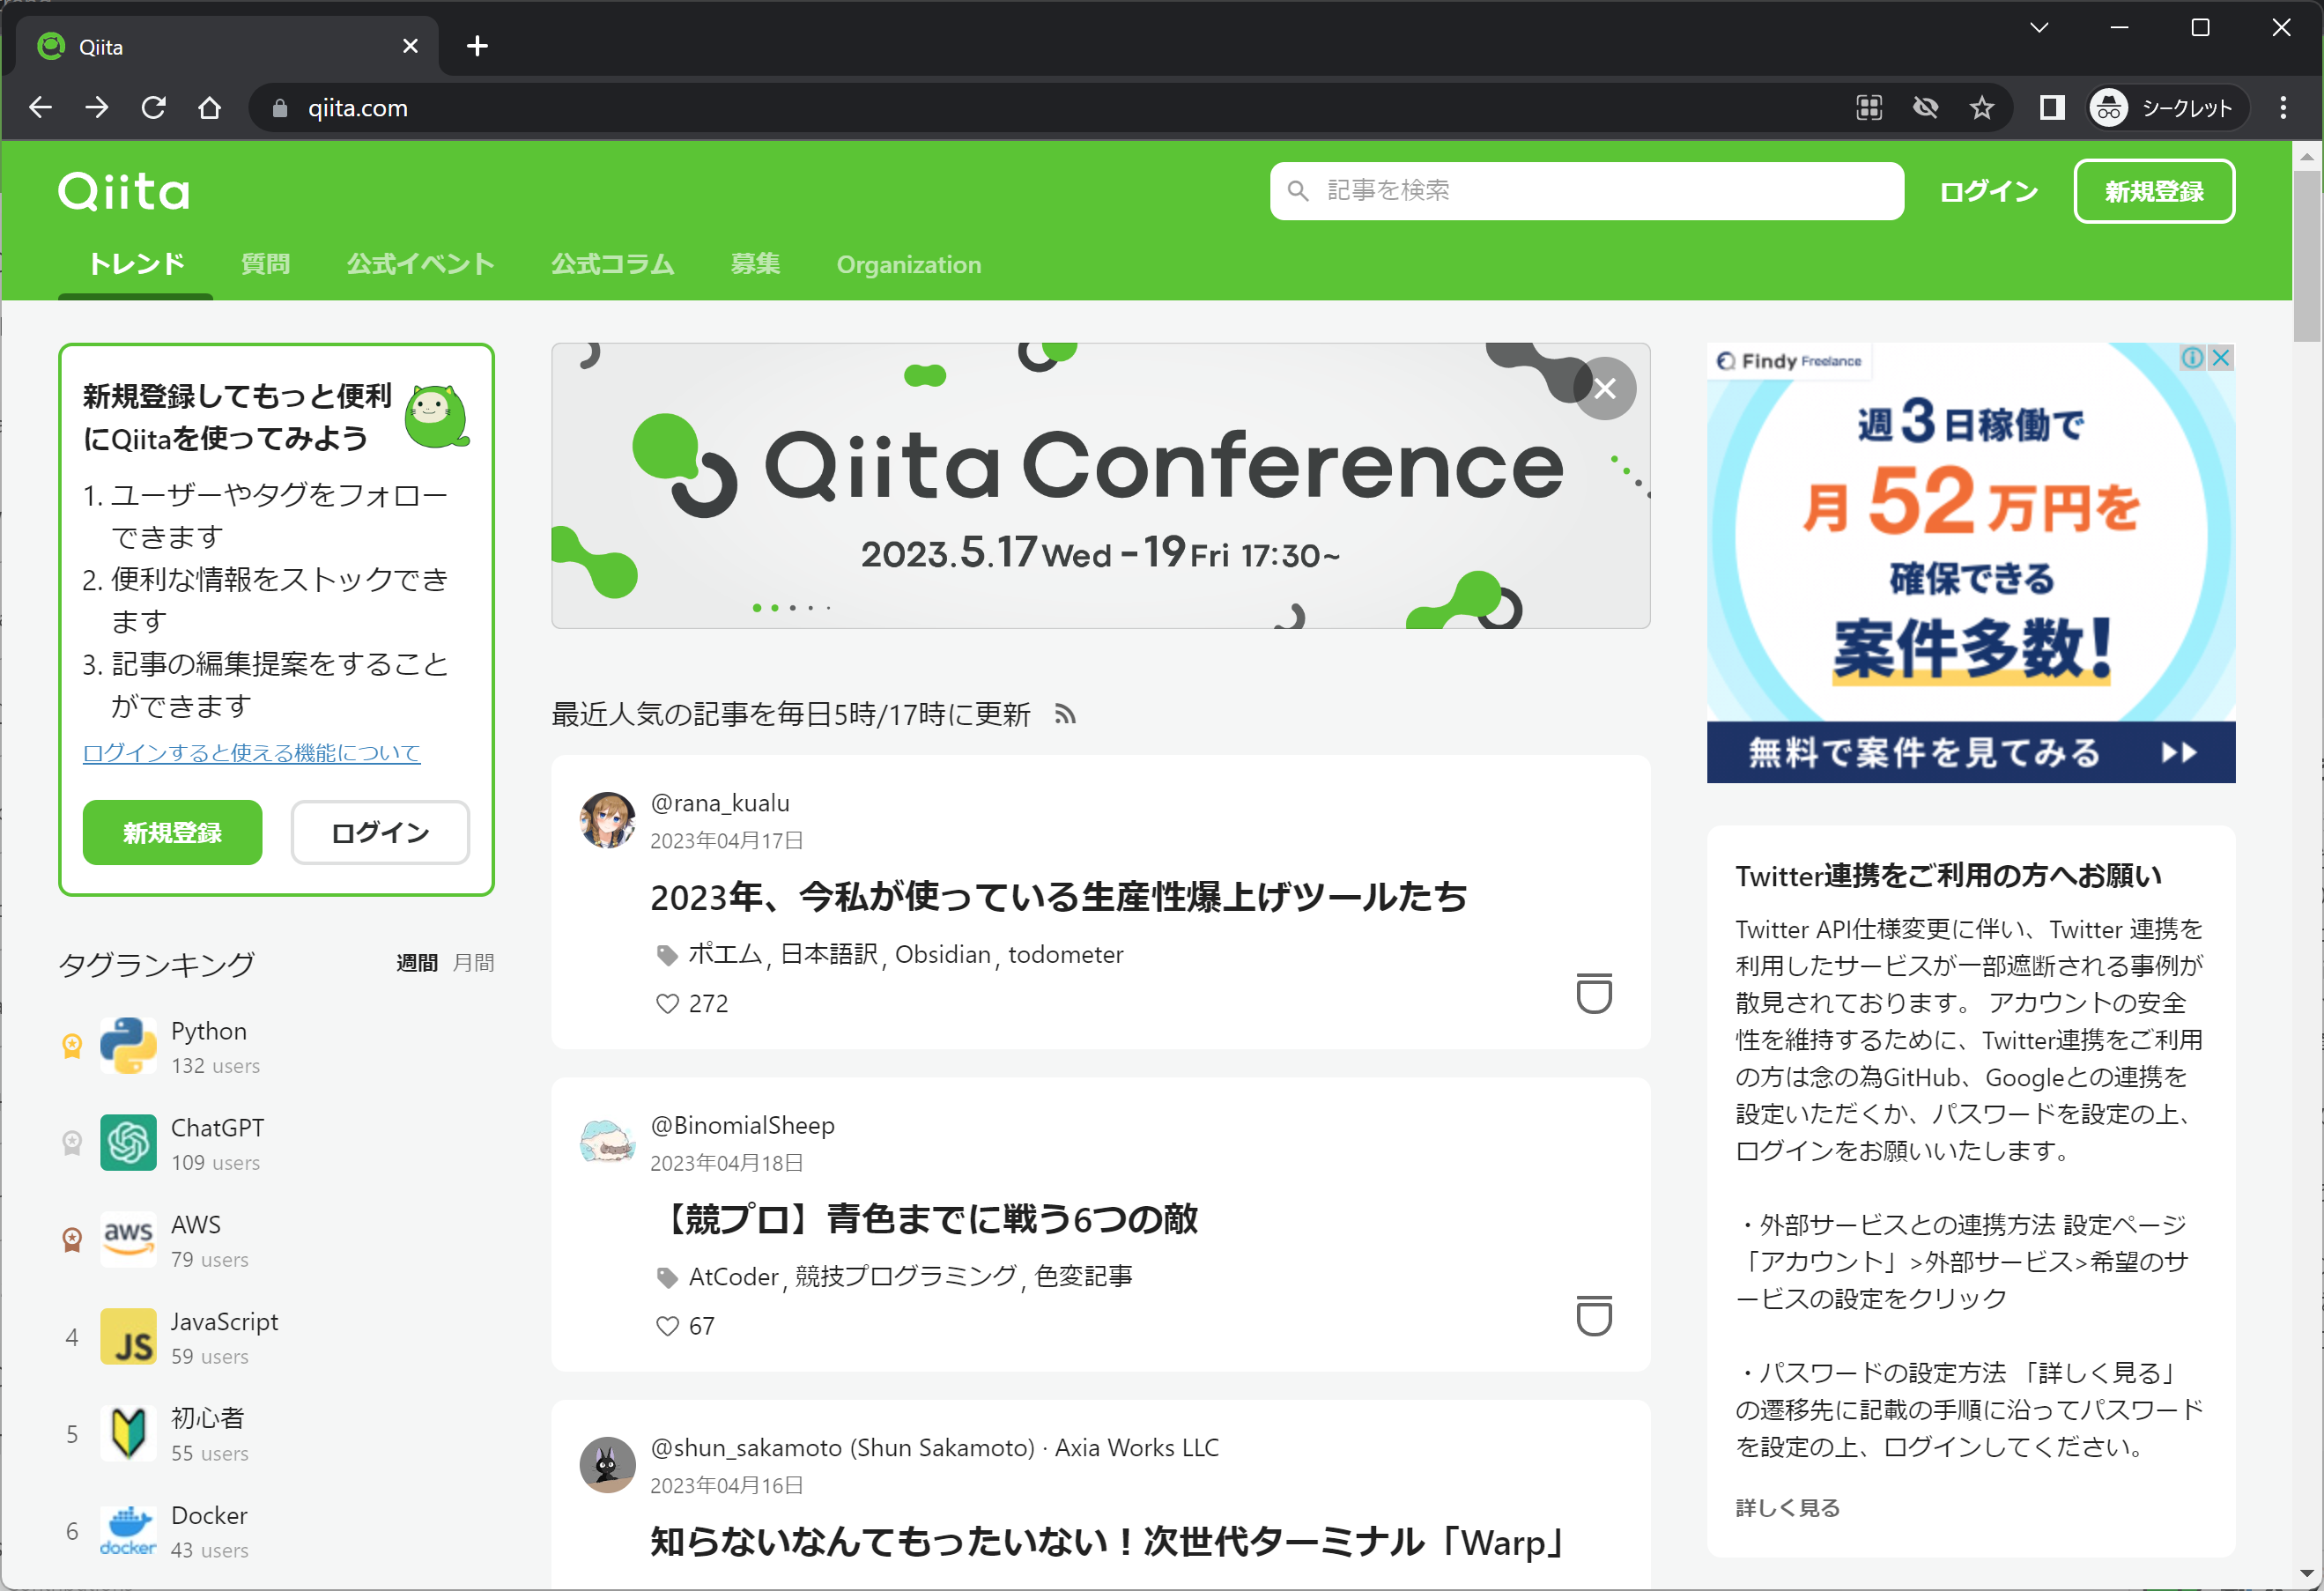
1. Qiitaトレンドを開く
ログインしてない場合で説明します。ログインしている場合のリンク先は、添付画像とは別の画面表示になっています。
ただし、ログインしている場合も同様の手順で実行できます。
2. 開発者ツールを起動し、コンソールタブを開く
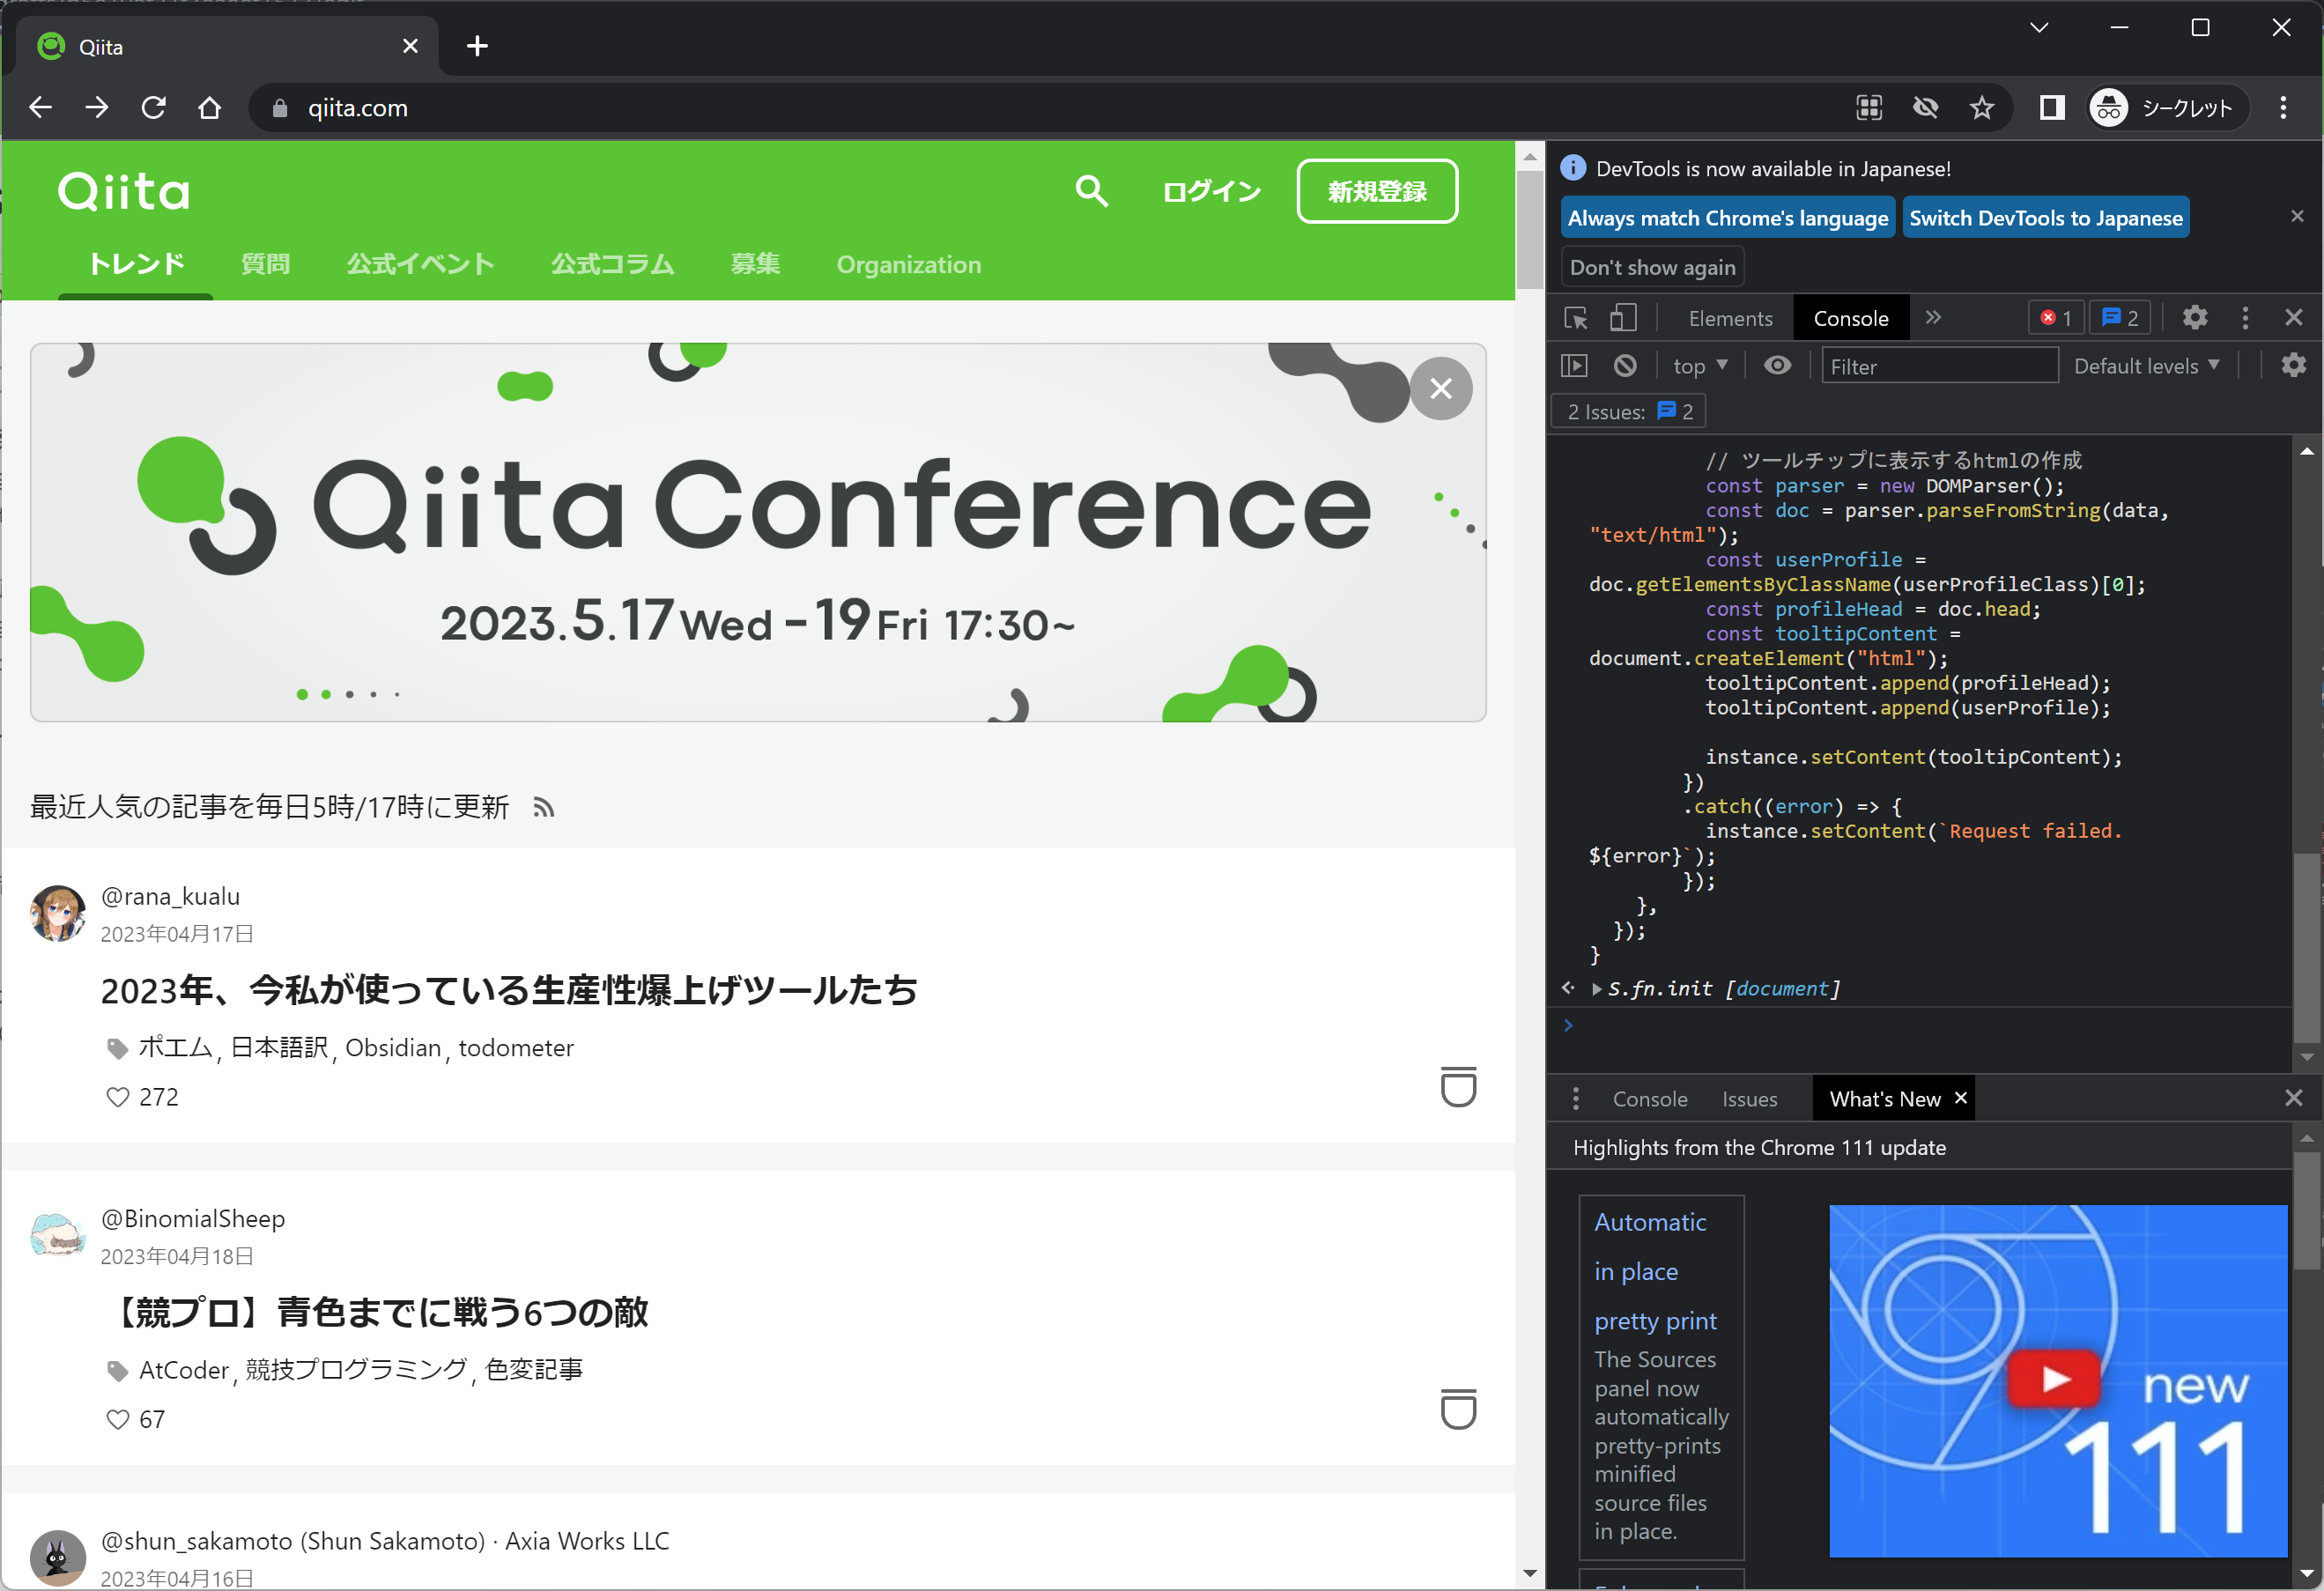
3. 準備用のコードをコンソールに貼り付けて実行する
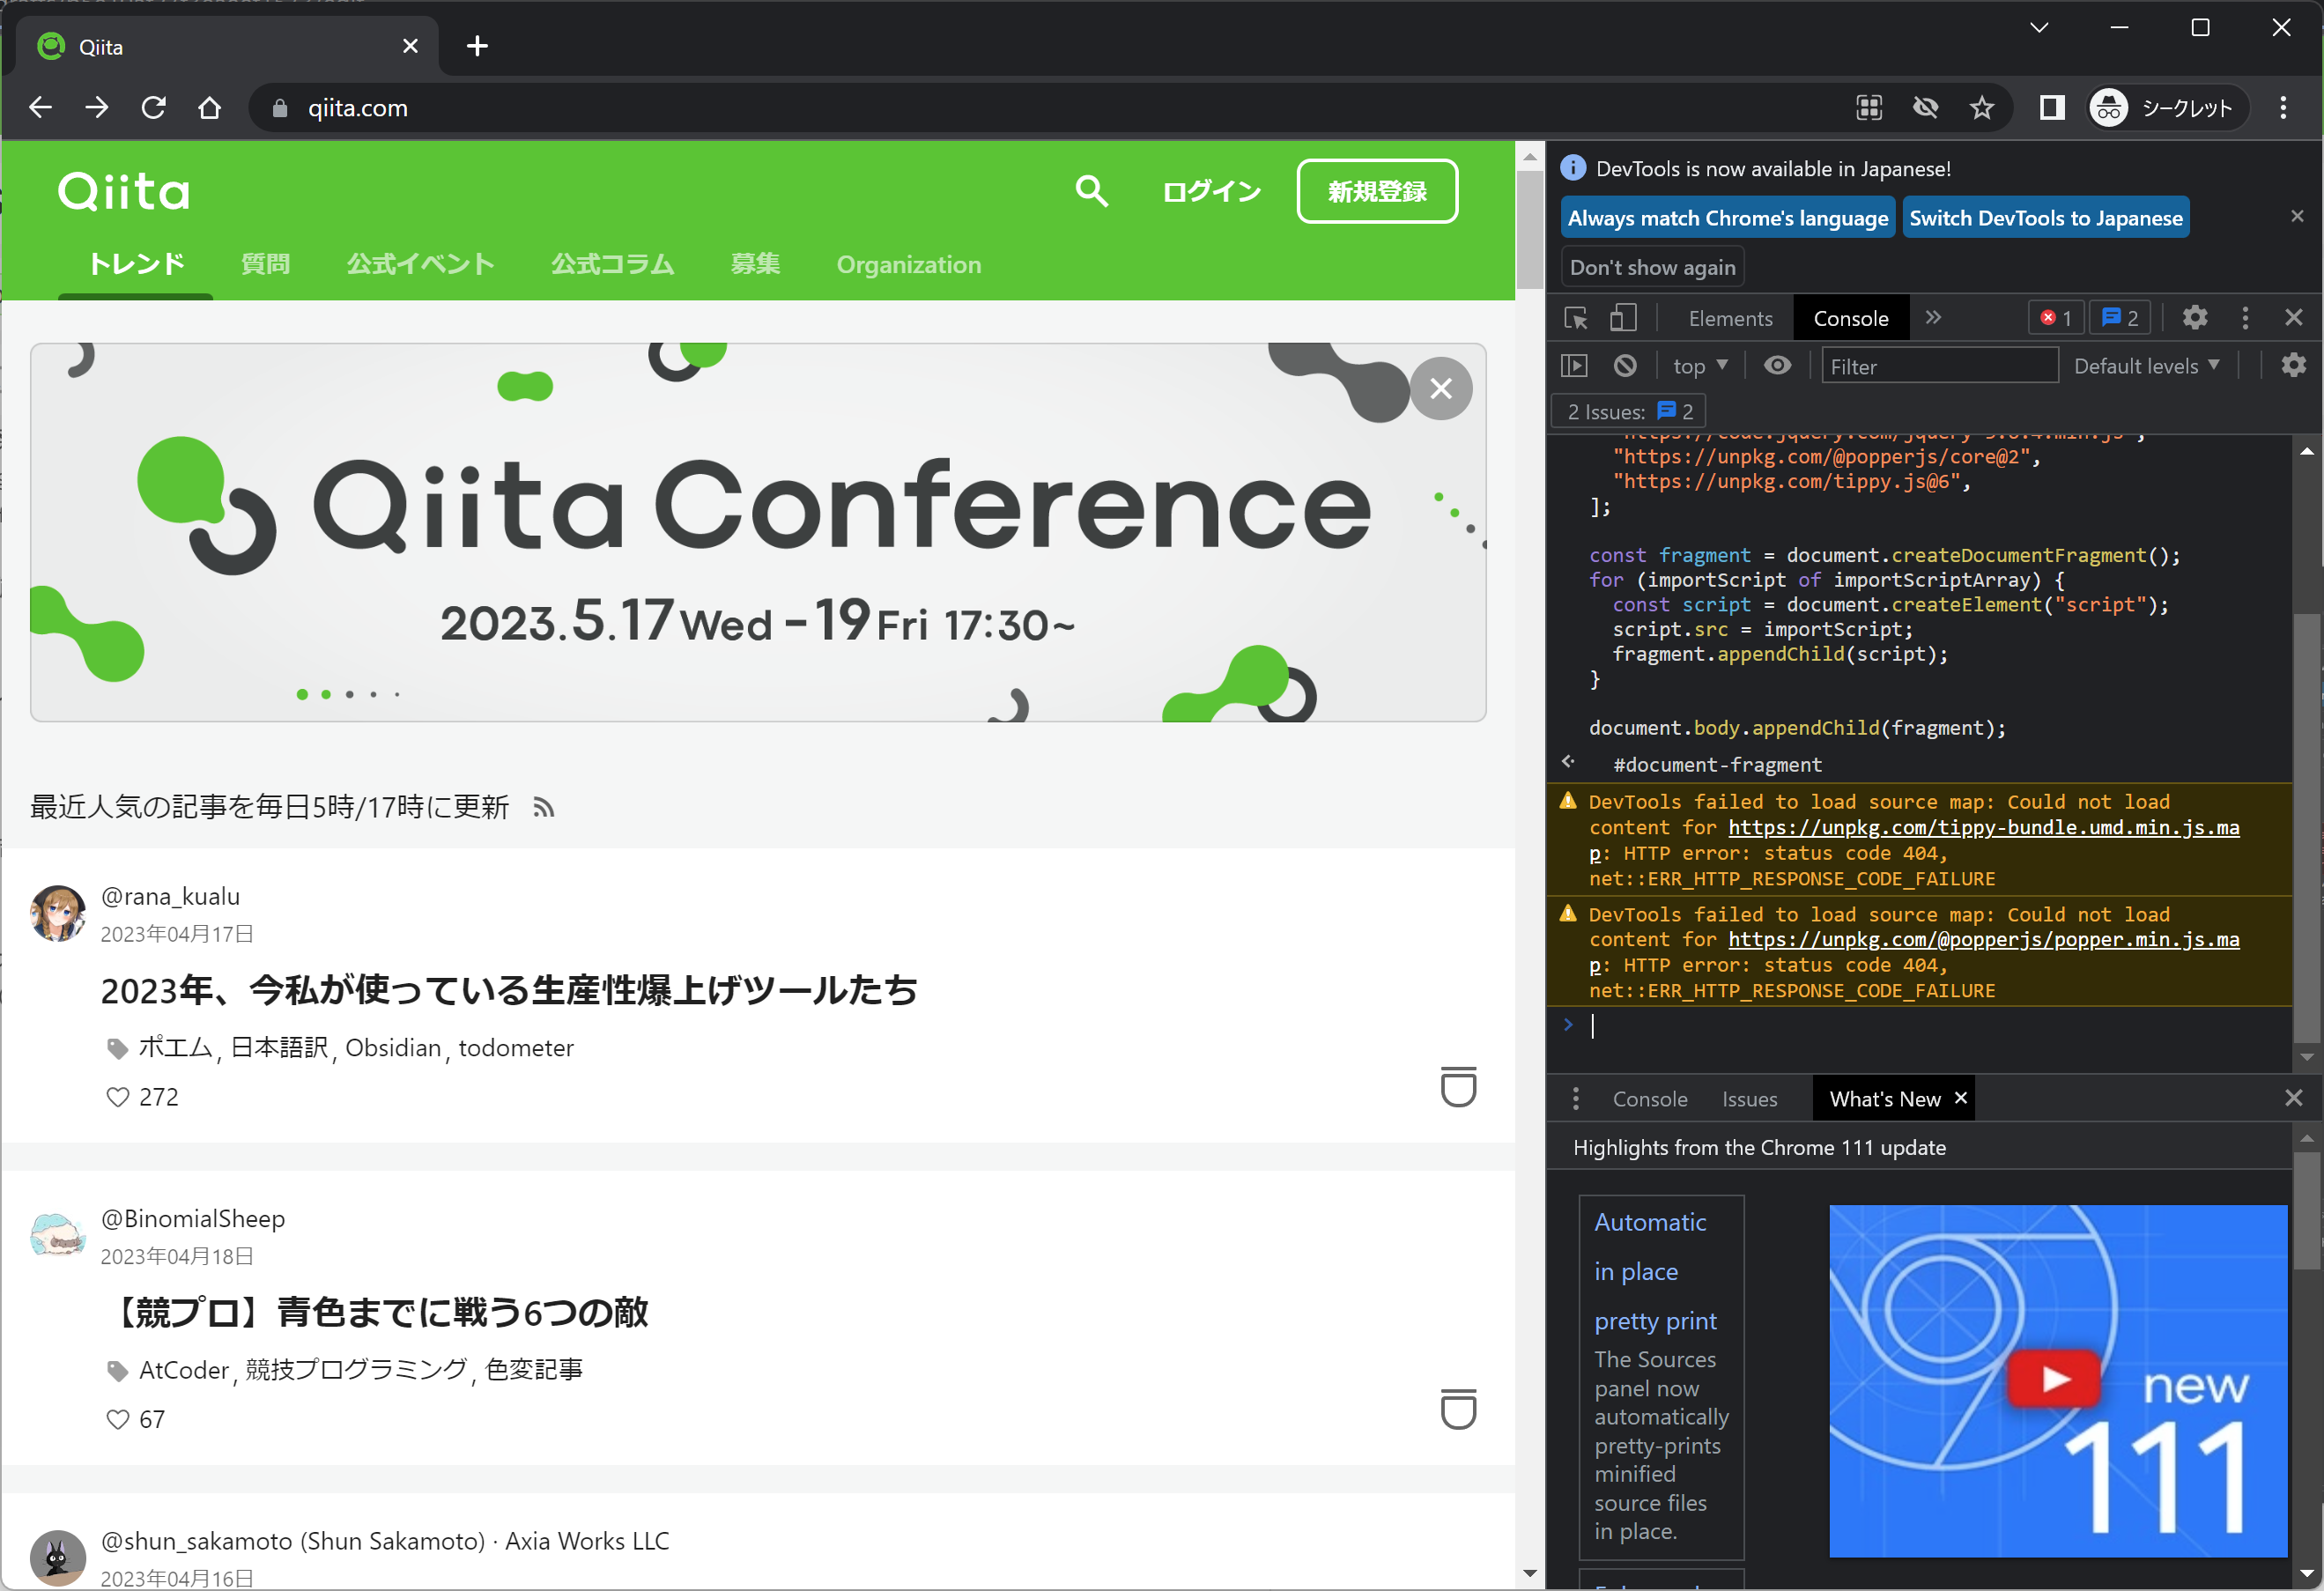
4. メイン処理のコードをコンソールに貼り付けて実行する
【実行結果】
プロフィール画像をマウスオーバーすると、プロフィールがツールチップで表示されます。