背景
業務でvueを使うことになったのでさわってみることにしました。 バージョン2は少し古いようですが、業務で使うのであえて2を使います。前提
npmコマンドが使える環境作るもの
ランダムで猫の画像を表示するアプリ 使用webapi https://aws.random.cat/meowセットアップ
まずはcliをインストールします。-gを付けないとこの後のPJ作成が出来ないので付けます。npm install -g vue-cli
PJを作成します。質問が大量にあれますが全てデフォルト・一番上の選択肢で よいと思います。
vue init webpack {PJ名}
webapiとhttp通信をするために必要なaxiosを入れます。
npm install axios
components配下にRandomCatというvueファイルを作成します。 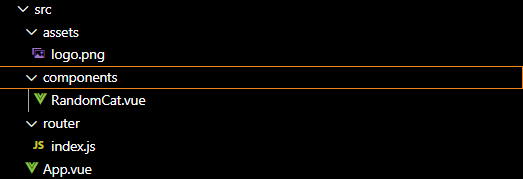
routerフォルダ配下のindex.jsを編集します。
index.js
import Vue from 'vue'
import Router from 'vue-router'
import RandomCat from '@/components/RandomCat'

Vue.use(Router)

export default new Router({
  routes: [
    {
      path: '/',
      name: 'RandomCat',
      component: RandomCat
    }
  ]
})
main.jsを編集します。 Vue.prototype.$axios = axiosと記述することで、別のviewファイルでわざわざ importしなくともaxiosが使えます。
main.js
// The Vue build version to load with the `import` command
// (runtime-only or standalone) has been set in webpack.base.conf with an alias.
import Vue from 'vue'
import App from './App'
import router from './router'
import axios from 'axios'

Vue.config.productionTip = false
Vue.prototype.$axios = axios
/* eslint-disable no-new */
new Vue({
  el: '#app',
  router,
  components: { App },
  template: '<App/>'
})
先ほど作ったRandomCat.vueを編集します。 データバインディングする時は、srcの前に:が必要です。
RandomCat.vue
<template>
  <!-- <img src="cat">では無いので注意 -->
  <img :src="cat">
</template>

<script>

export default {
  name: 'RandomCat',
  data () {
    return {
      cat: null
    }
  },
  mounted () {
    this.$axios
      .get('https://aws.random.cat/meow')
      .then(response => (this.cat = response.data.file))
      .catch(error => (console.log(error)))
  }
}
</script>

<!-- Add "scoped" attribute to limit CSS to this component only -->
<style scoped>
</style>
おまけ:デバッグ設定
config配下のindex.jsのdevtoolプロパティを編集します。index.js
devtool: 'source-map',
debugger for chromeを入れます。 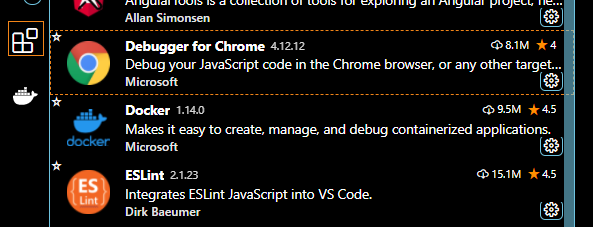
launch.jsonを編集します。
launch.json
{
    // IntelliSense を使用して利用可能な属性を学べます。
    // 既存の属性の説明をホバーして表示します。
    // 詳細情報は次を確認してください: https://go.microsoft.com/fwlink/?linkid=830387
    "version": "0.2.0",
    "configurations": [
      {
        "type": "chrome",
        "request": "launch",
        "name": "vuejs: chrome",
        "url": "http://localhost:8080",
        "webRoot": "${workspaceFolder}/src",
        "breakOnLoad": true,
        "sourceMapPathOverrides": {
          "webpack:///src/*": "${webRoot}/*"
        }
      }
    ]
  }