NoCodeツール、BubbleでのWorkflow。
プロダクトを作る上で欠かせない重要項目なので紹介&記録しておきます。
概要
Bubbleでは、あらかじめ用意されたElement(textやimage、inputなど)をページに直接ドラッグ&ドロップして見た目を作っていきます。
そこから動きをつけていきますが、これらがWorkflowの設定によるものです。
基本的な動きさえ把握出来れば、応用を重ねていくだけになります。
今回は実例も交えつつ掲載しておきます。
1、Elementを設置
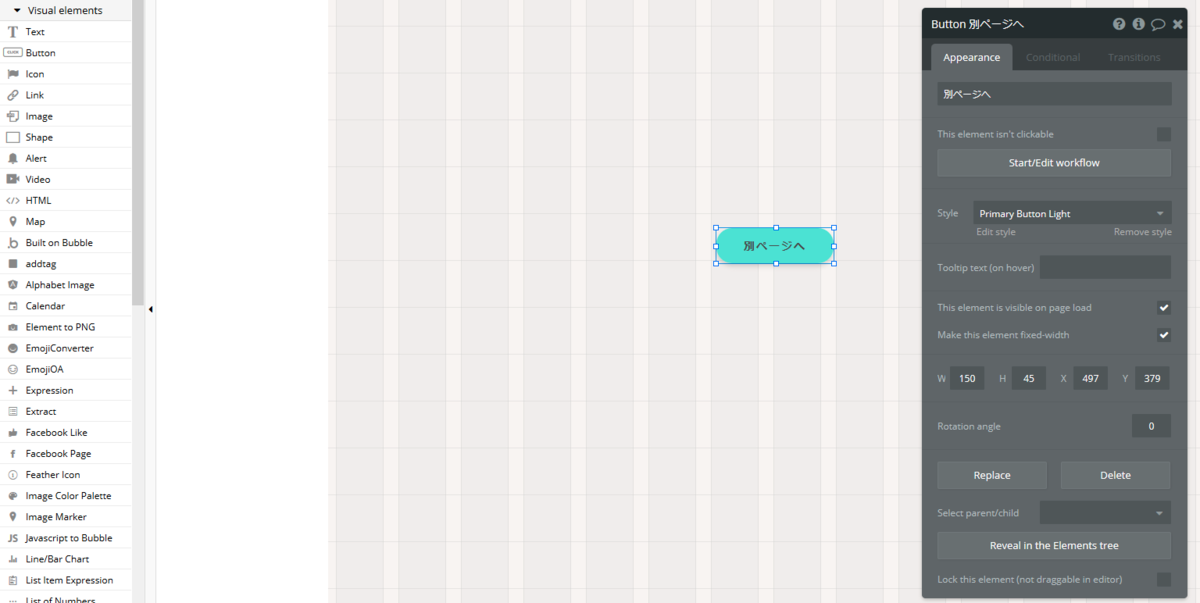
左側のElementから「Button」を選択。
右側の任意の場所にドラッグ&ドロップでボタンを設置。
ボタンを置いただけでは当然動かないので、これにWorkflowを設定。
2、Workflowを設定
Edit画面「Start/Edit workflow」をクリック。
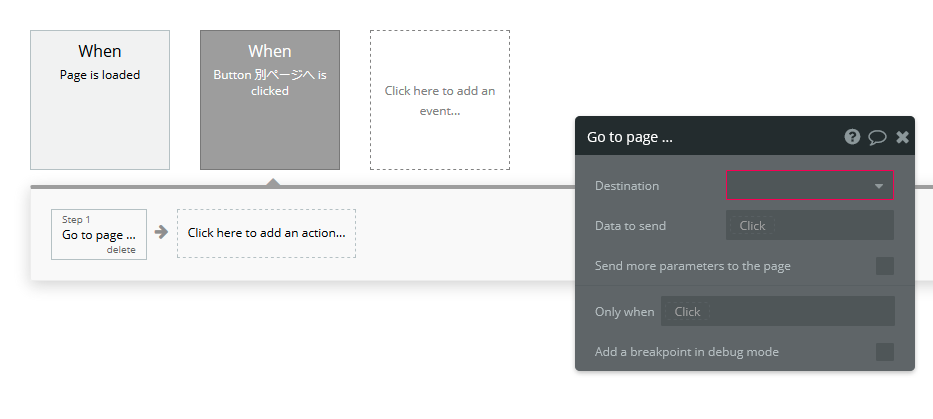
「When Button 別ページへ is clicked」→「Click here to add an action」をクリック。
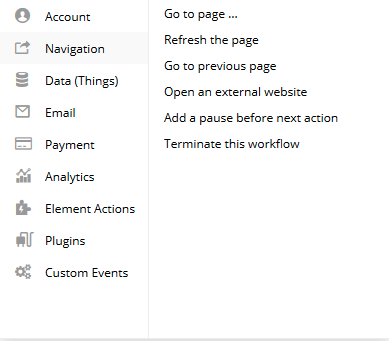
「Navigation」→「Go to page」
Destination(赤)で、ページ指定(例:indexなど)
これで、「Buttonクリックによりindexページへジャンプ」するWorkflow設定完了です。
3、その他のWorkflow
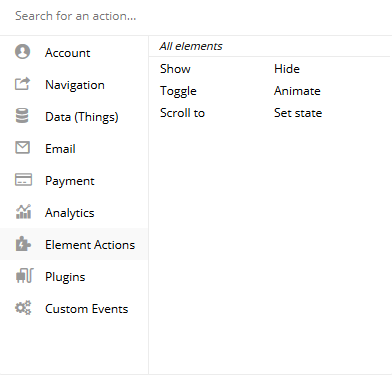
Element Actions
Elementを出したり消したり、動きをつけます。
いくつかあるのでご紹介。
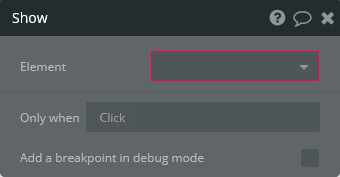
Show
普段はこちらが使用頻度高め。
純粋な「表示させる、動かす」です。
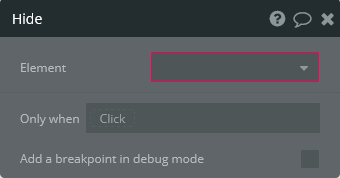
Hide
「Hideする(終了させる)」です。inputやPopupなどはある意味ShowとHideがセットになります。
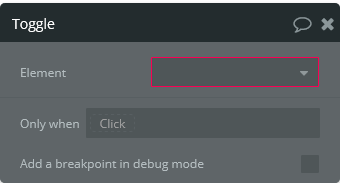
Toggle
「見えているものを隠し、隠しているものを見えるようにする」です。
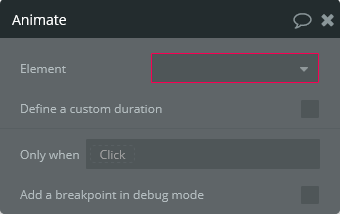
Animate
こちらもまた種類が多いので以下に記載します。
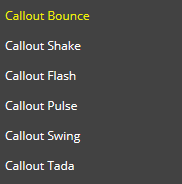
「Callout」シリーズ
BounceやFlashなど各種動きが用意されていますので是非直接確認してみてください。
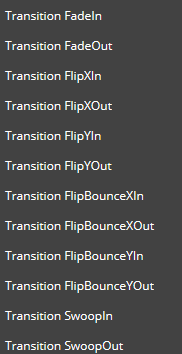
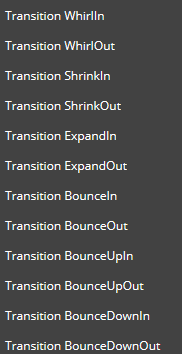
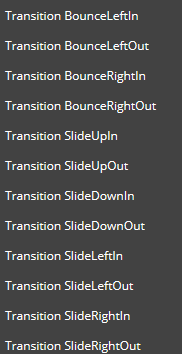
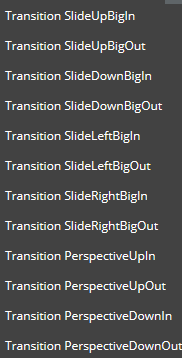
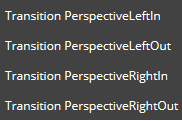
「Transition」シリーズ
試しに4種類ほど用意。
4つをGroup化し、Groupの「This page is visible on page load」のチェックを外す
When Page is loaded→Animate Group A「Transition Fadein」→「Define a custom duration」をチェック→3000ms
Button「動きます1」clicked→Animate「Callout Shake」
Button「動きます2」clicked→Animate「FlipYOut」
Button「動きます3」clicked→Animate「Transition BounceOutIn」
Button「動きます4」clicked→Animate「Transition Perspective LeftIn」
このように設定してみました。
https://nocodebank.bubbleapps.io/version-test/element
Scroll to
「スクロールダウンの設定」です。
Offsetで値を設定できますが、スクロールアップは出来ないようです。(マイナス-も不可でした)

上記のURLと同じですが5つ目のButtonを設置していますので、どうぞご覧ください。
https://nocodebank.bubbleapps.io/version-test/element
以上、Element Actionsの説明でした。
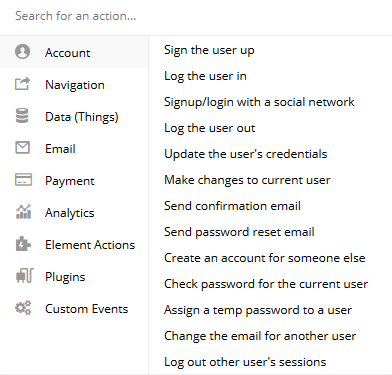
アカウント関連
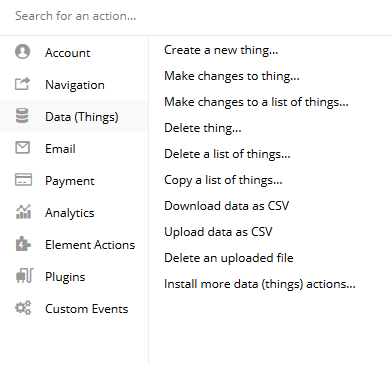
データベース関連
これらは別記事にて。
その他Email関連、決済など。
プラグインも増やせるのでバリエーションはまだまだ多数。
勿論複数重ねることも可能です。
まとめ
エンジニアの方なら触ればすぐに慣れると思います。
直感的に選んでいけば徐々に便利さを実感出来るのでは。
と同時に、Bubble作法のところでイメージ通りに動かせない歯がゆさも感じるかもです。
とはいえ、それを踏まえてもNoCodeのメリットを上手に使うことは価値があるかと。
慣れれば早い。本当に早いです。
