概要
NoCodeツール、BubbleでのDBの扱い方を紹介します。
今回の例はWorkflowを使って値を入れて、必要な時に取り出すシンプルなものです。
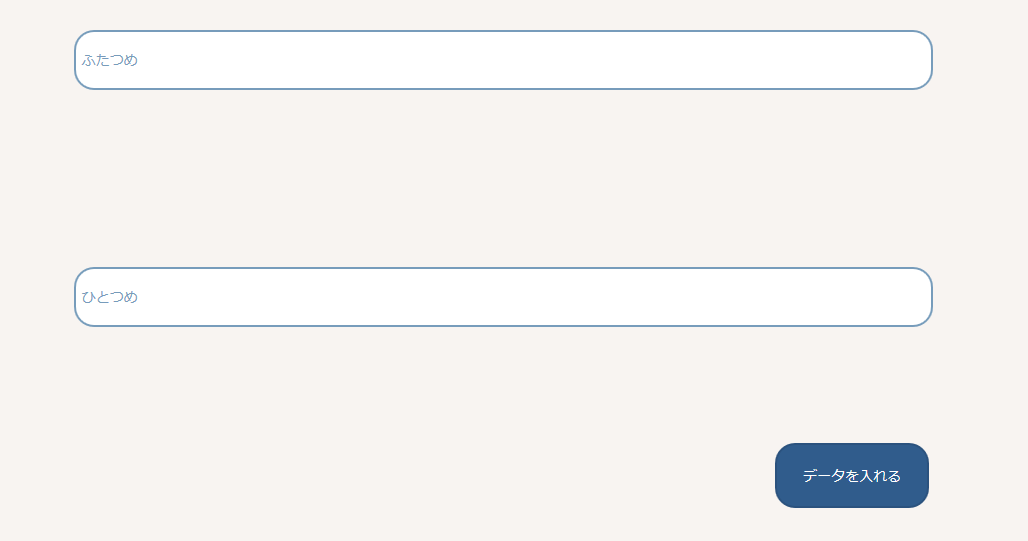
Inputに値を入れて、DBに格納します。
DB側の設定
「New Type」で作成。
ここでは「test」としておき、「Create」をクリック。
「test」が左のCustom data typeに追加され、右側のType nameのInputにも「test」の表示を確認。
続いて「Create a new field」をクリック。
Field name → 任意。ここでは「corner1」。
Field type → 「text」を選択。
This field is a listのチェックは空欄でOK。
そして、全く同じものをもう一つ作成。
設定も同じで、「corner2」。
上の「App data」をクリックして確認。
画像のようになっていればOK。
実装
エレメント設置
再度Designタブへ。
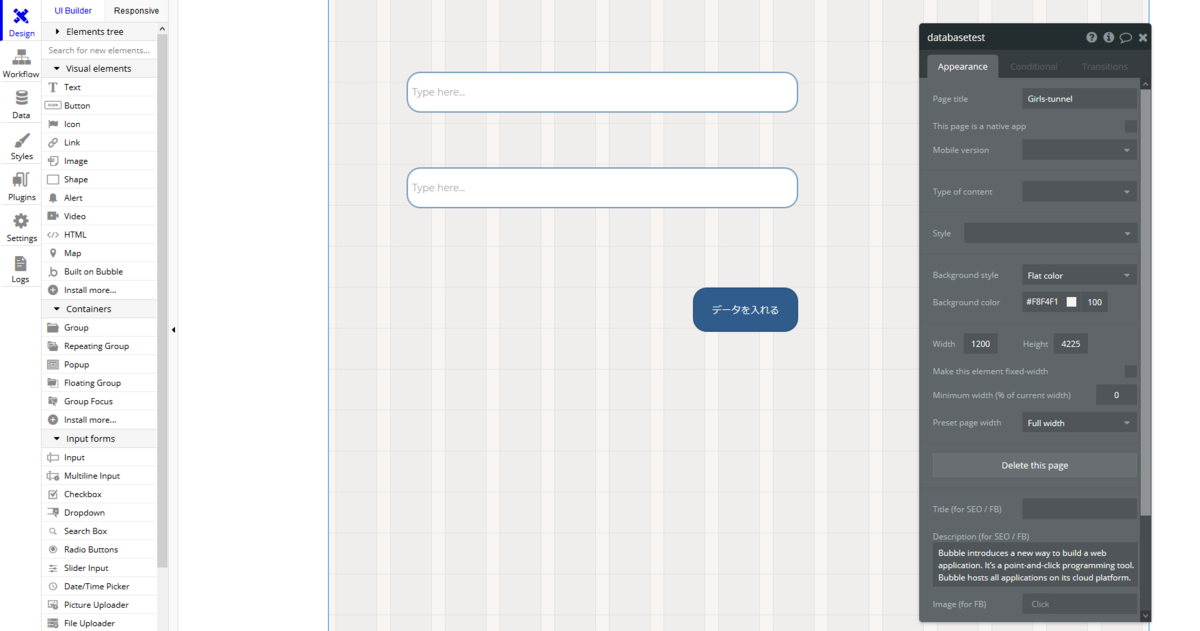
Inputエレメントを選択し、右側の任意の場所に2つ設置。
Workflow(それぞれのinputに値を入れて、DBに格納する)を指示。
inputを選択、「Start/Edit Workflow」をクリック。
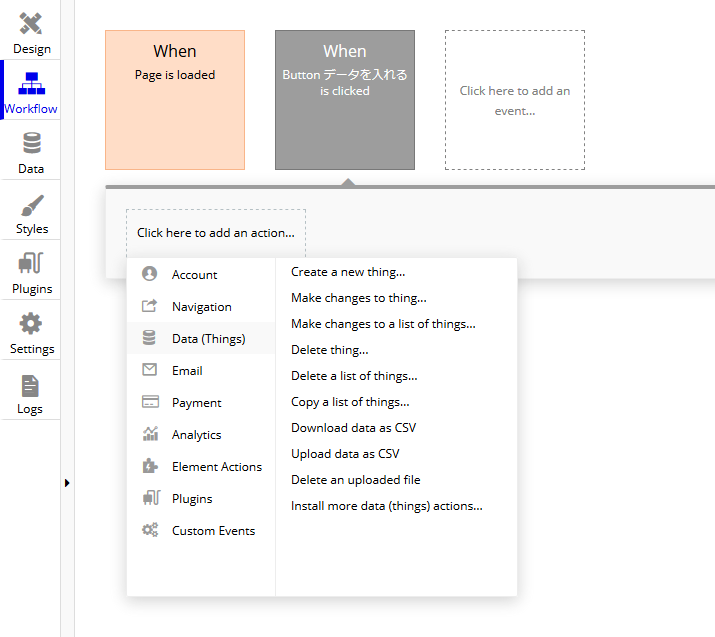
「Click here to add an action」→「Data(Things)」→「Create a new thing」
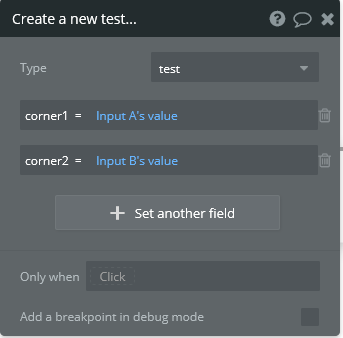
以下のように設定。
赤く囲まれたTypeの欄は「test」を選択。

「+ Set another field」が出ますのでクリック。

「click」と書かれた赤い文字をクリックし、「corner1」を選択。

「=」その右に更に「click」が出てきますのでそこに「Input A's value」と入力。

一帯が青い文字になったらOK。
corner2も同じように設定。「+ Set another field」から「corner2」で「Input B's value」設定。
「Buttonをクリック → InputA,Bの値がDBのtest typeにあるCorner1,2にそれぞれ入る」というWorkflowの指示。
Workflow(値を入れた後に残ったInputの値を消す)
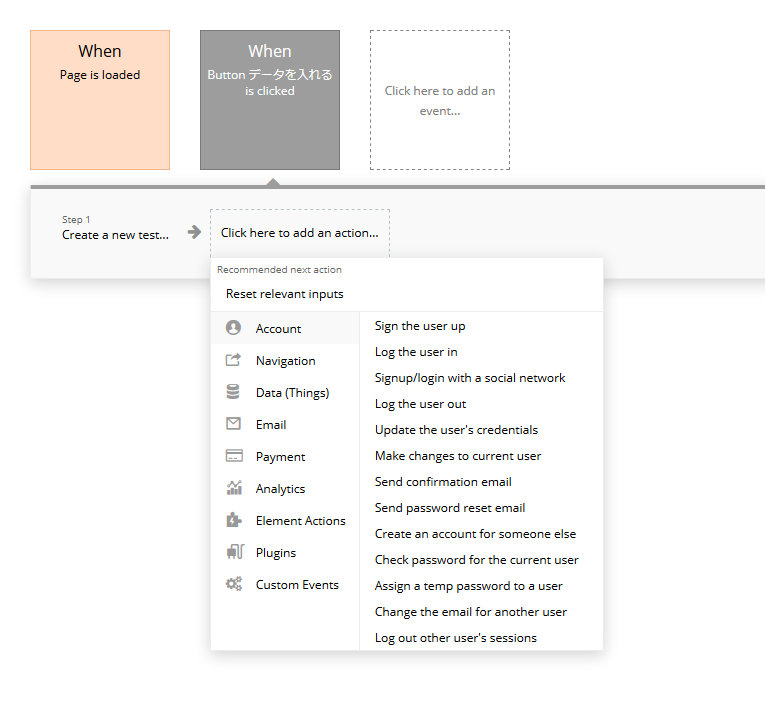
「Step1」の次の「Click here to add an action」をクリック。
上に「Reset relevant inputs」という項目が出ているので、これをクリック。
チェック
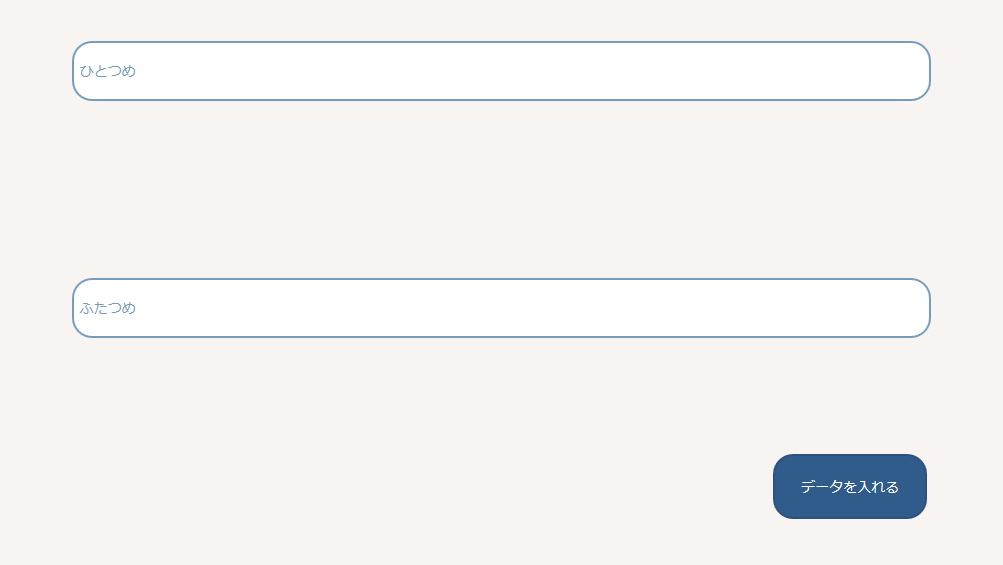
Buttonをクリック。
入っています。
逆もチェック。
完成です。
呼び出す
続いて、DBに入った値を呼び出します。
エレメントの設置
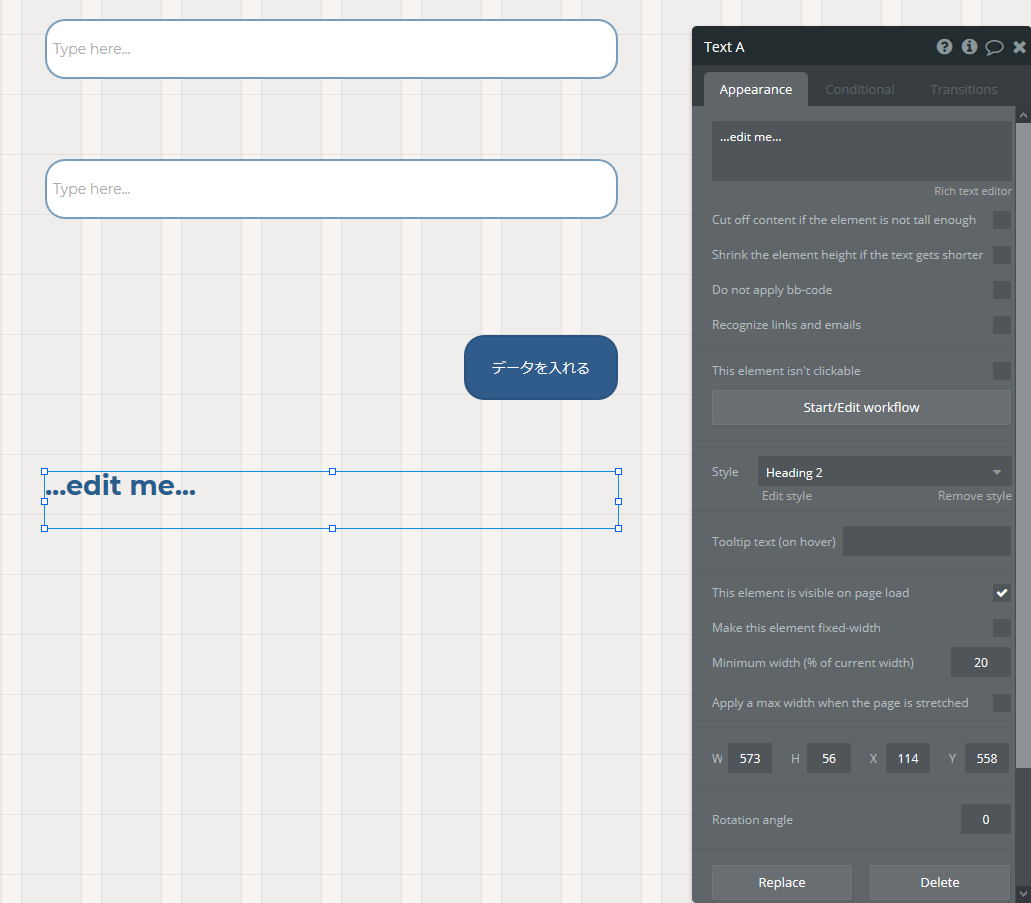
下のほうに、エレメントを設置(Text)。
エレメントの設定
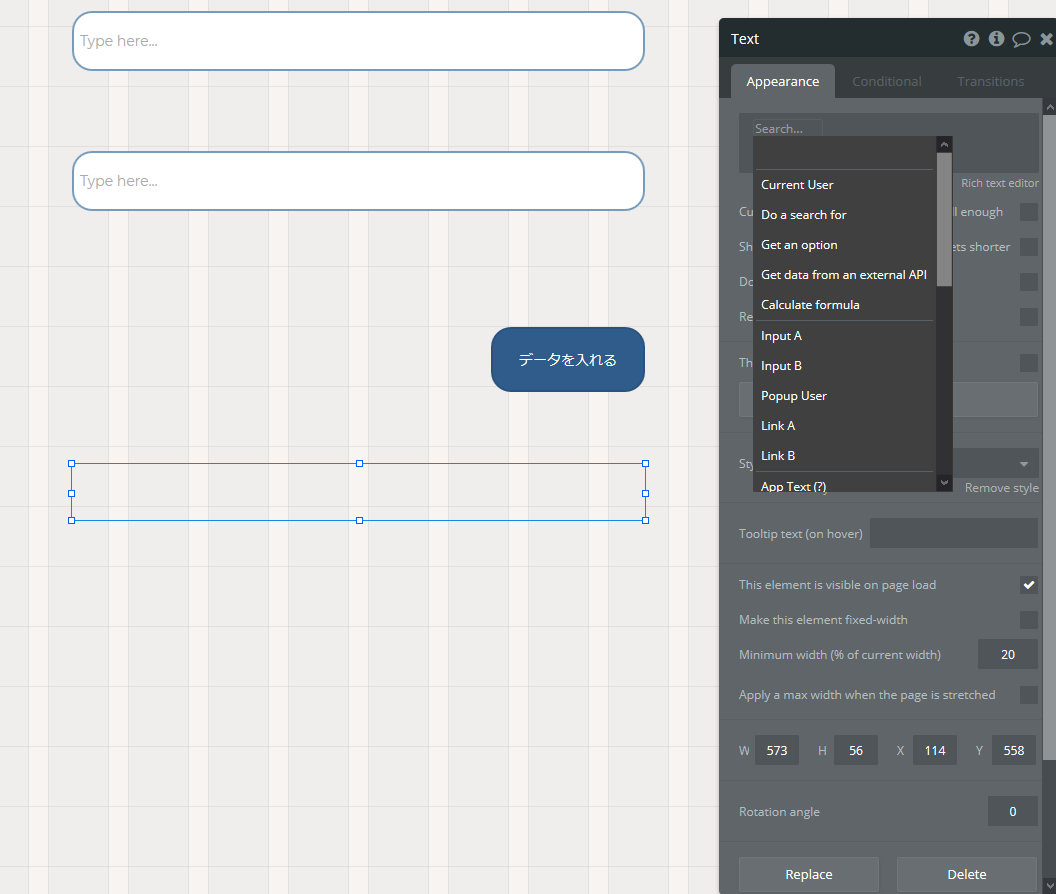
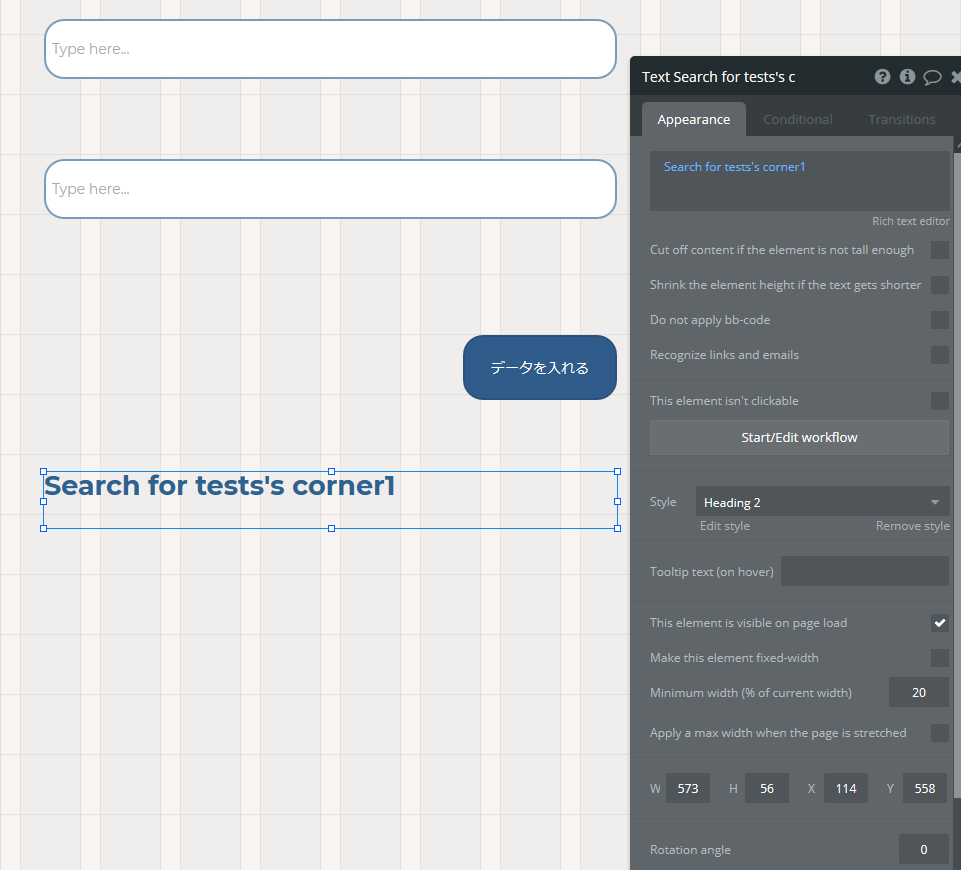
「Edit me...」をクリック。「Insert dynamic data」という青い表示が出てくるのでクリック。
以下の表示になります。
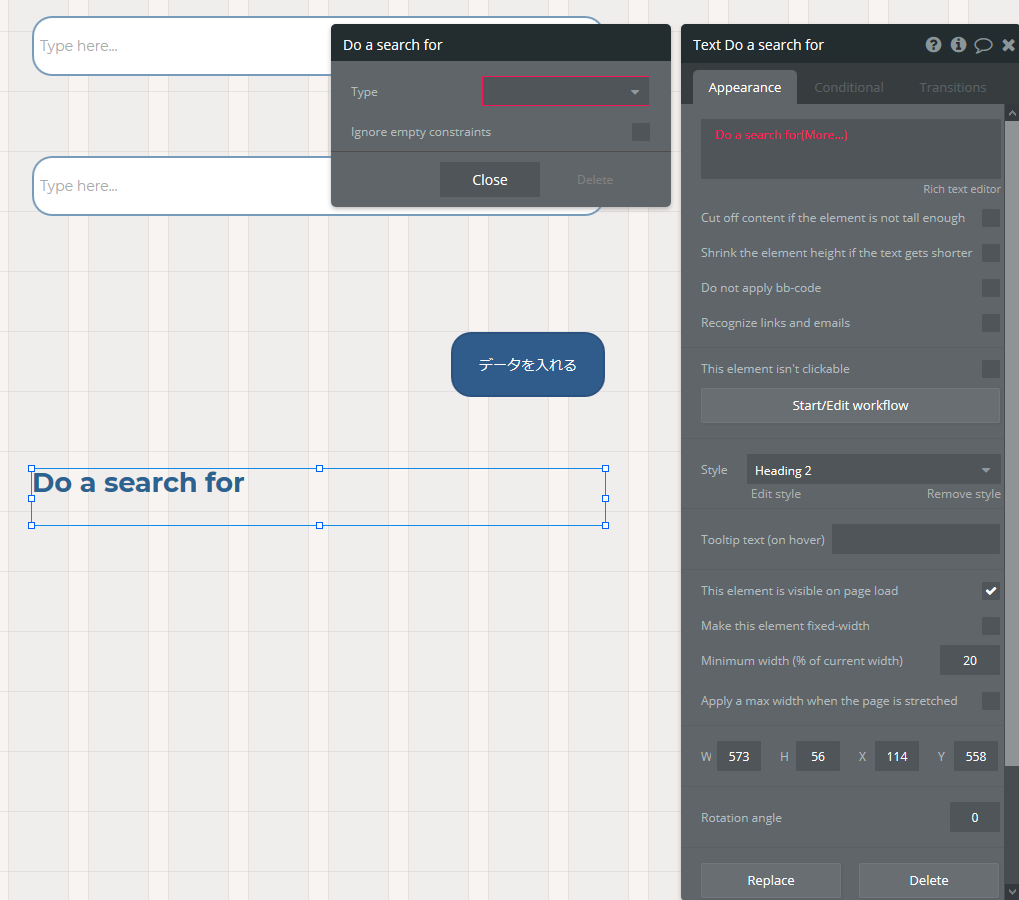
「Do a search for」をクリック。
Typeで「test」を選択。
続いて、右側の赤いところ「More」をクリック。
「's corner1」をクリックします。
すると、青い表示になりました。
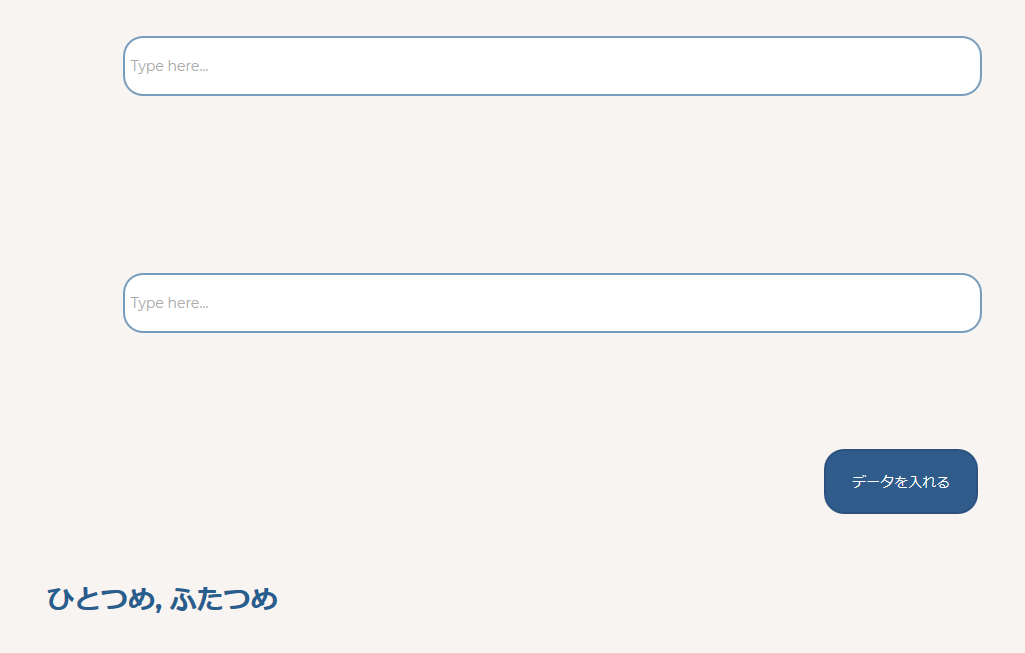
Preview。
「corner1」の値が「全て(2つ)」出ました。
上でDBに入れる動作を2回したのと「corner1」以上の指定を特にしていないので、どちらも出てくる仕様です。
どちらか指定をする場合を試してみます。
「Search for test's corner1」
「corner1」 → 「More」
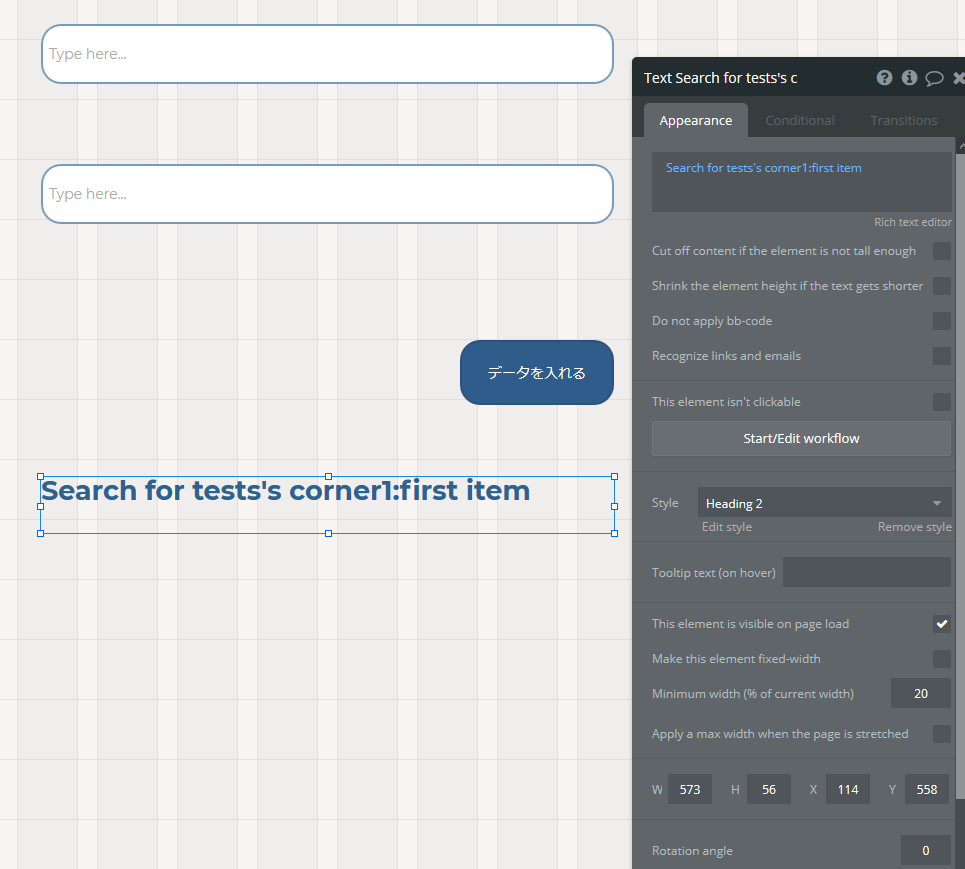
「:first item」をクリック。
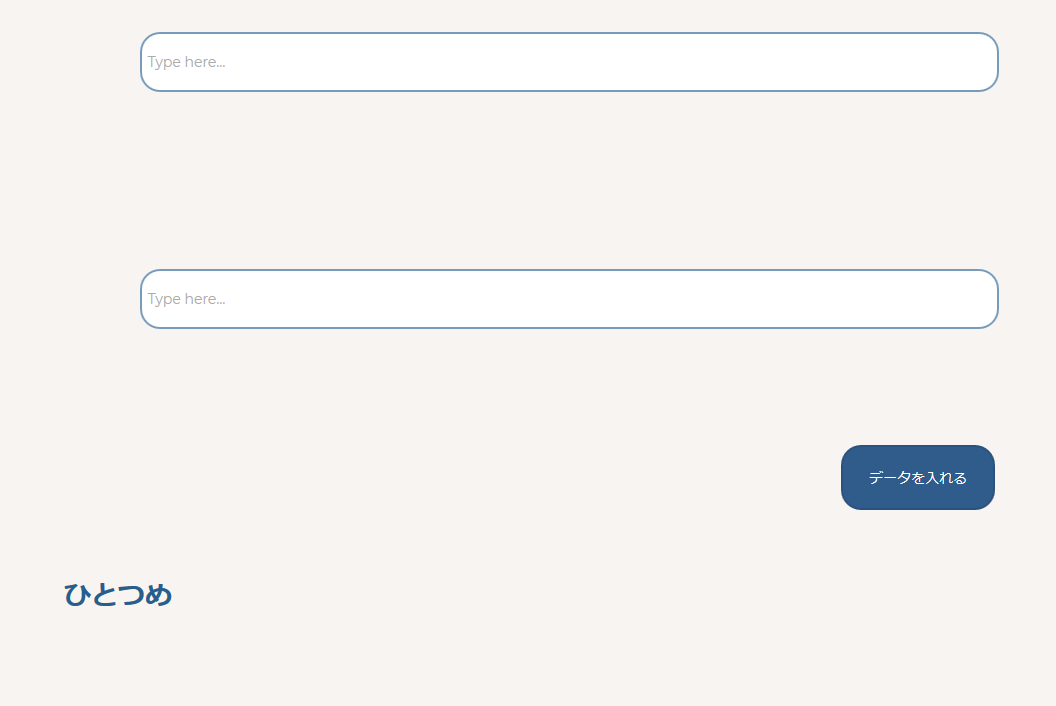
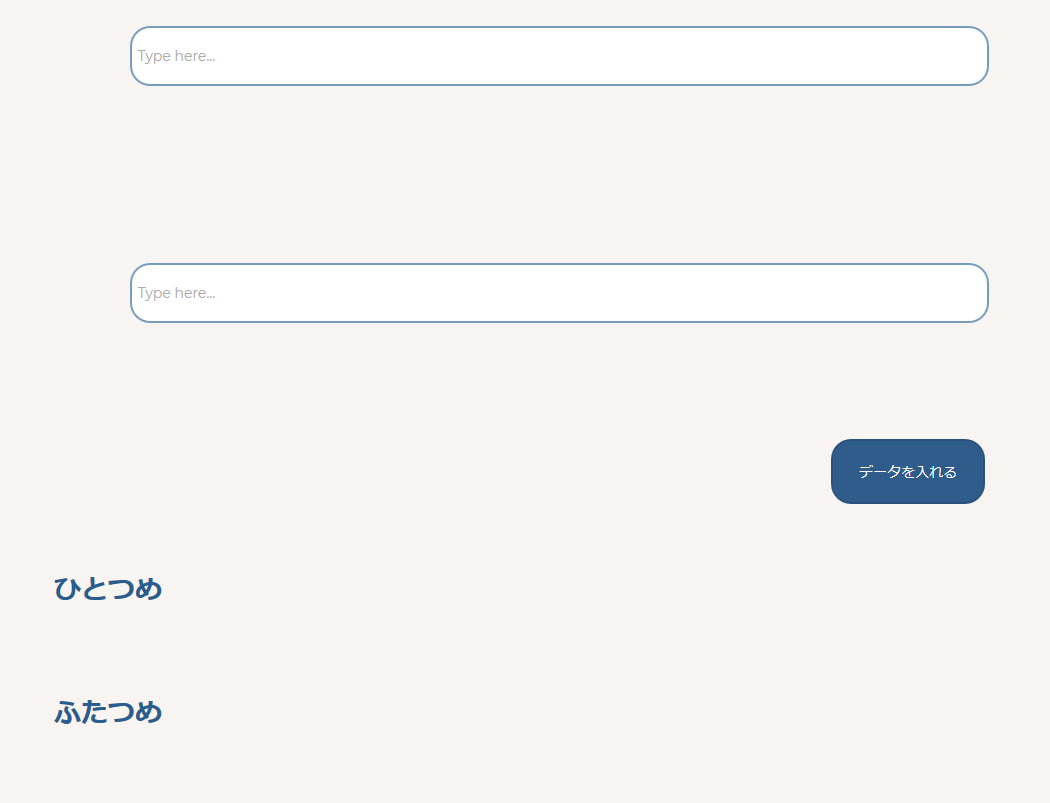
再びPreview。
指定完了です。
もう一つも出します。
「Search for test's corner2」
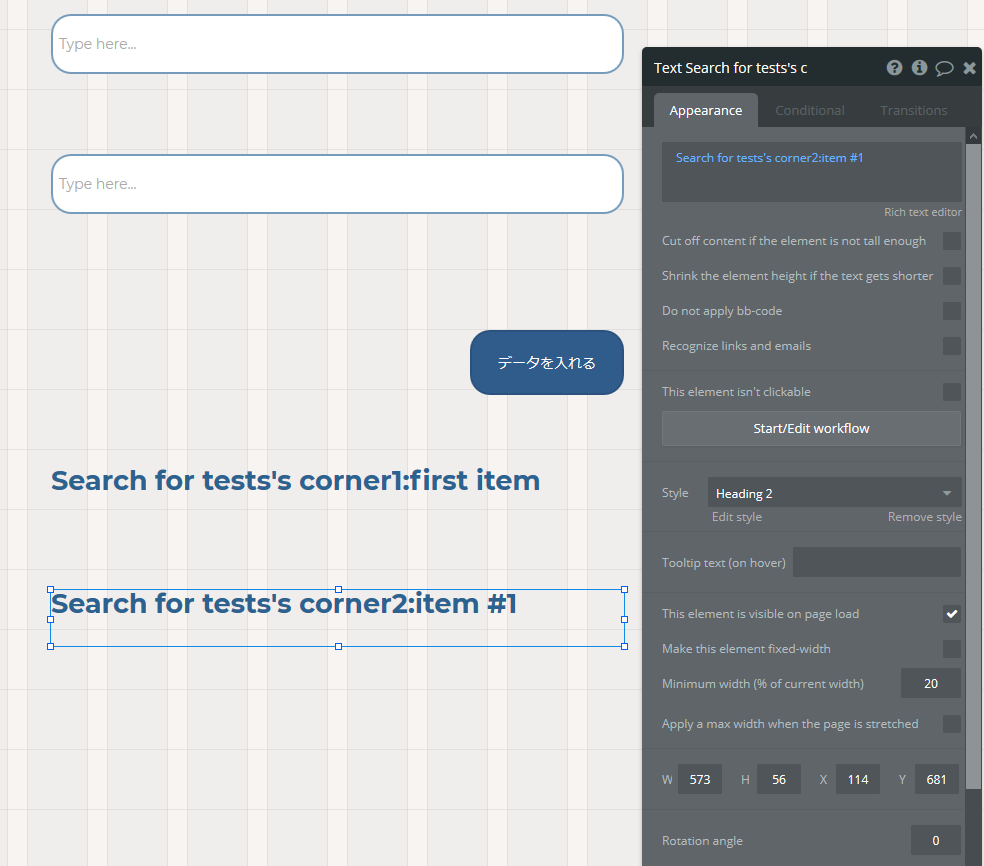
Designタブに戻り、今作ったTextエレメントをコピペ。
値もそのままコピペされるので少し修正。
「corner1」→「corner2」
応用
ちなみにここ「corner2」を使って、「同じ意味の違う指定パターン」も紹介。
コピペした「~:first item」を「~:item #1」に変更。
「corner2のitem #1」と「first item」が同義となります。
チェック
完了しました。
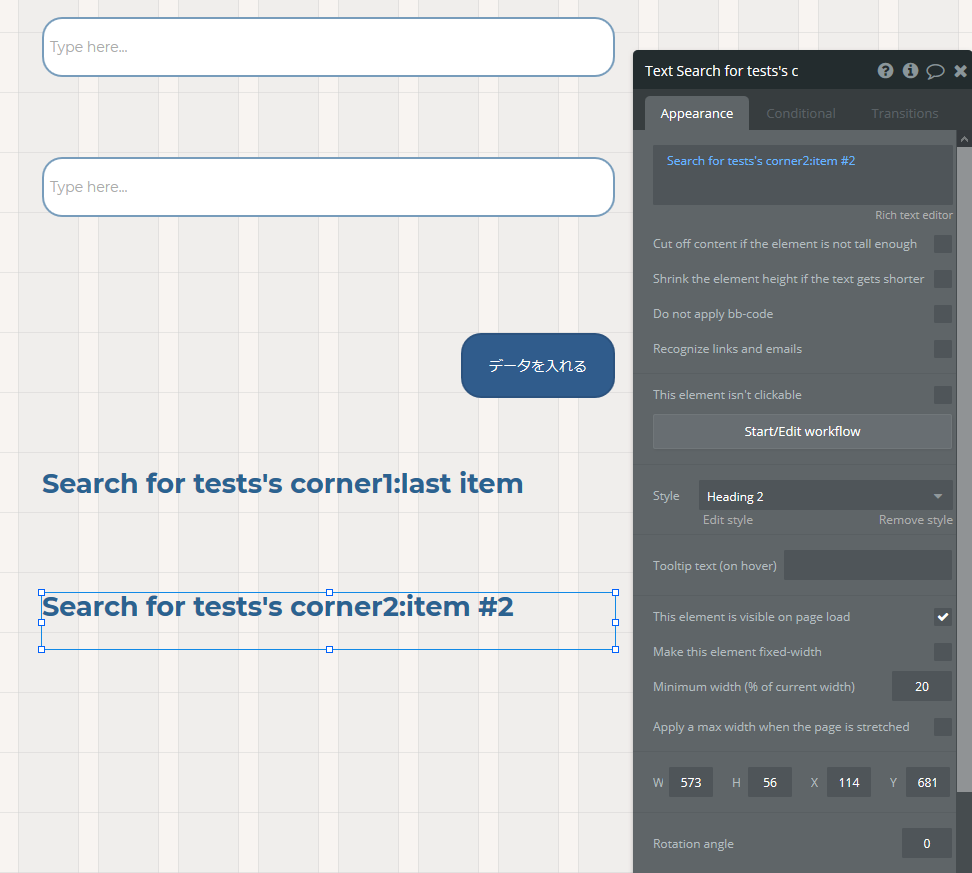
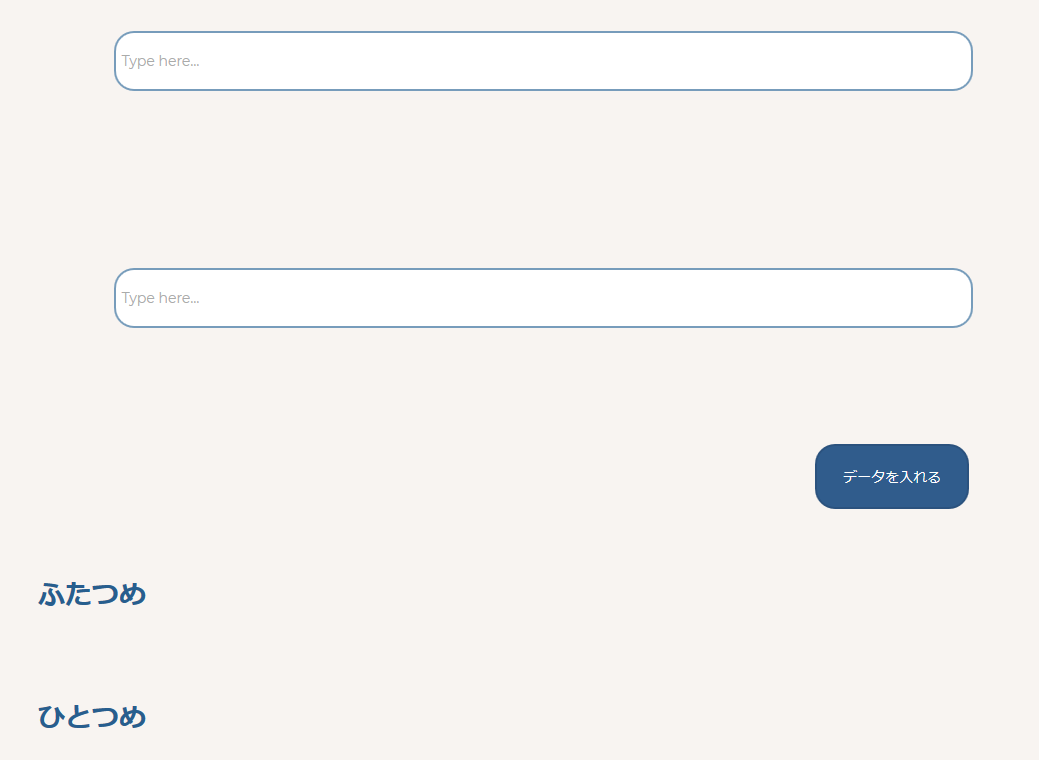
なお、当然ですが逆にするとこうなります。
まとめ
以上、BubbleでのDBの操作方法でした。
全部英語がややこしいですが、動き自体はシンプルにまとまっています。
ここからの応用も色々考えられますので試してみてください。


