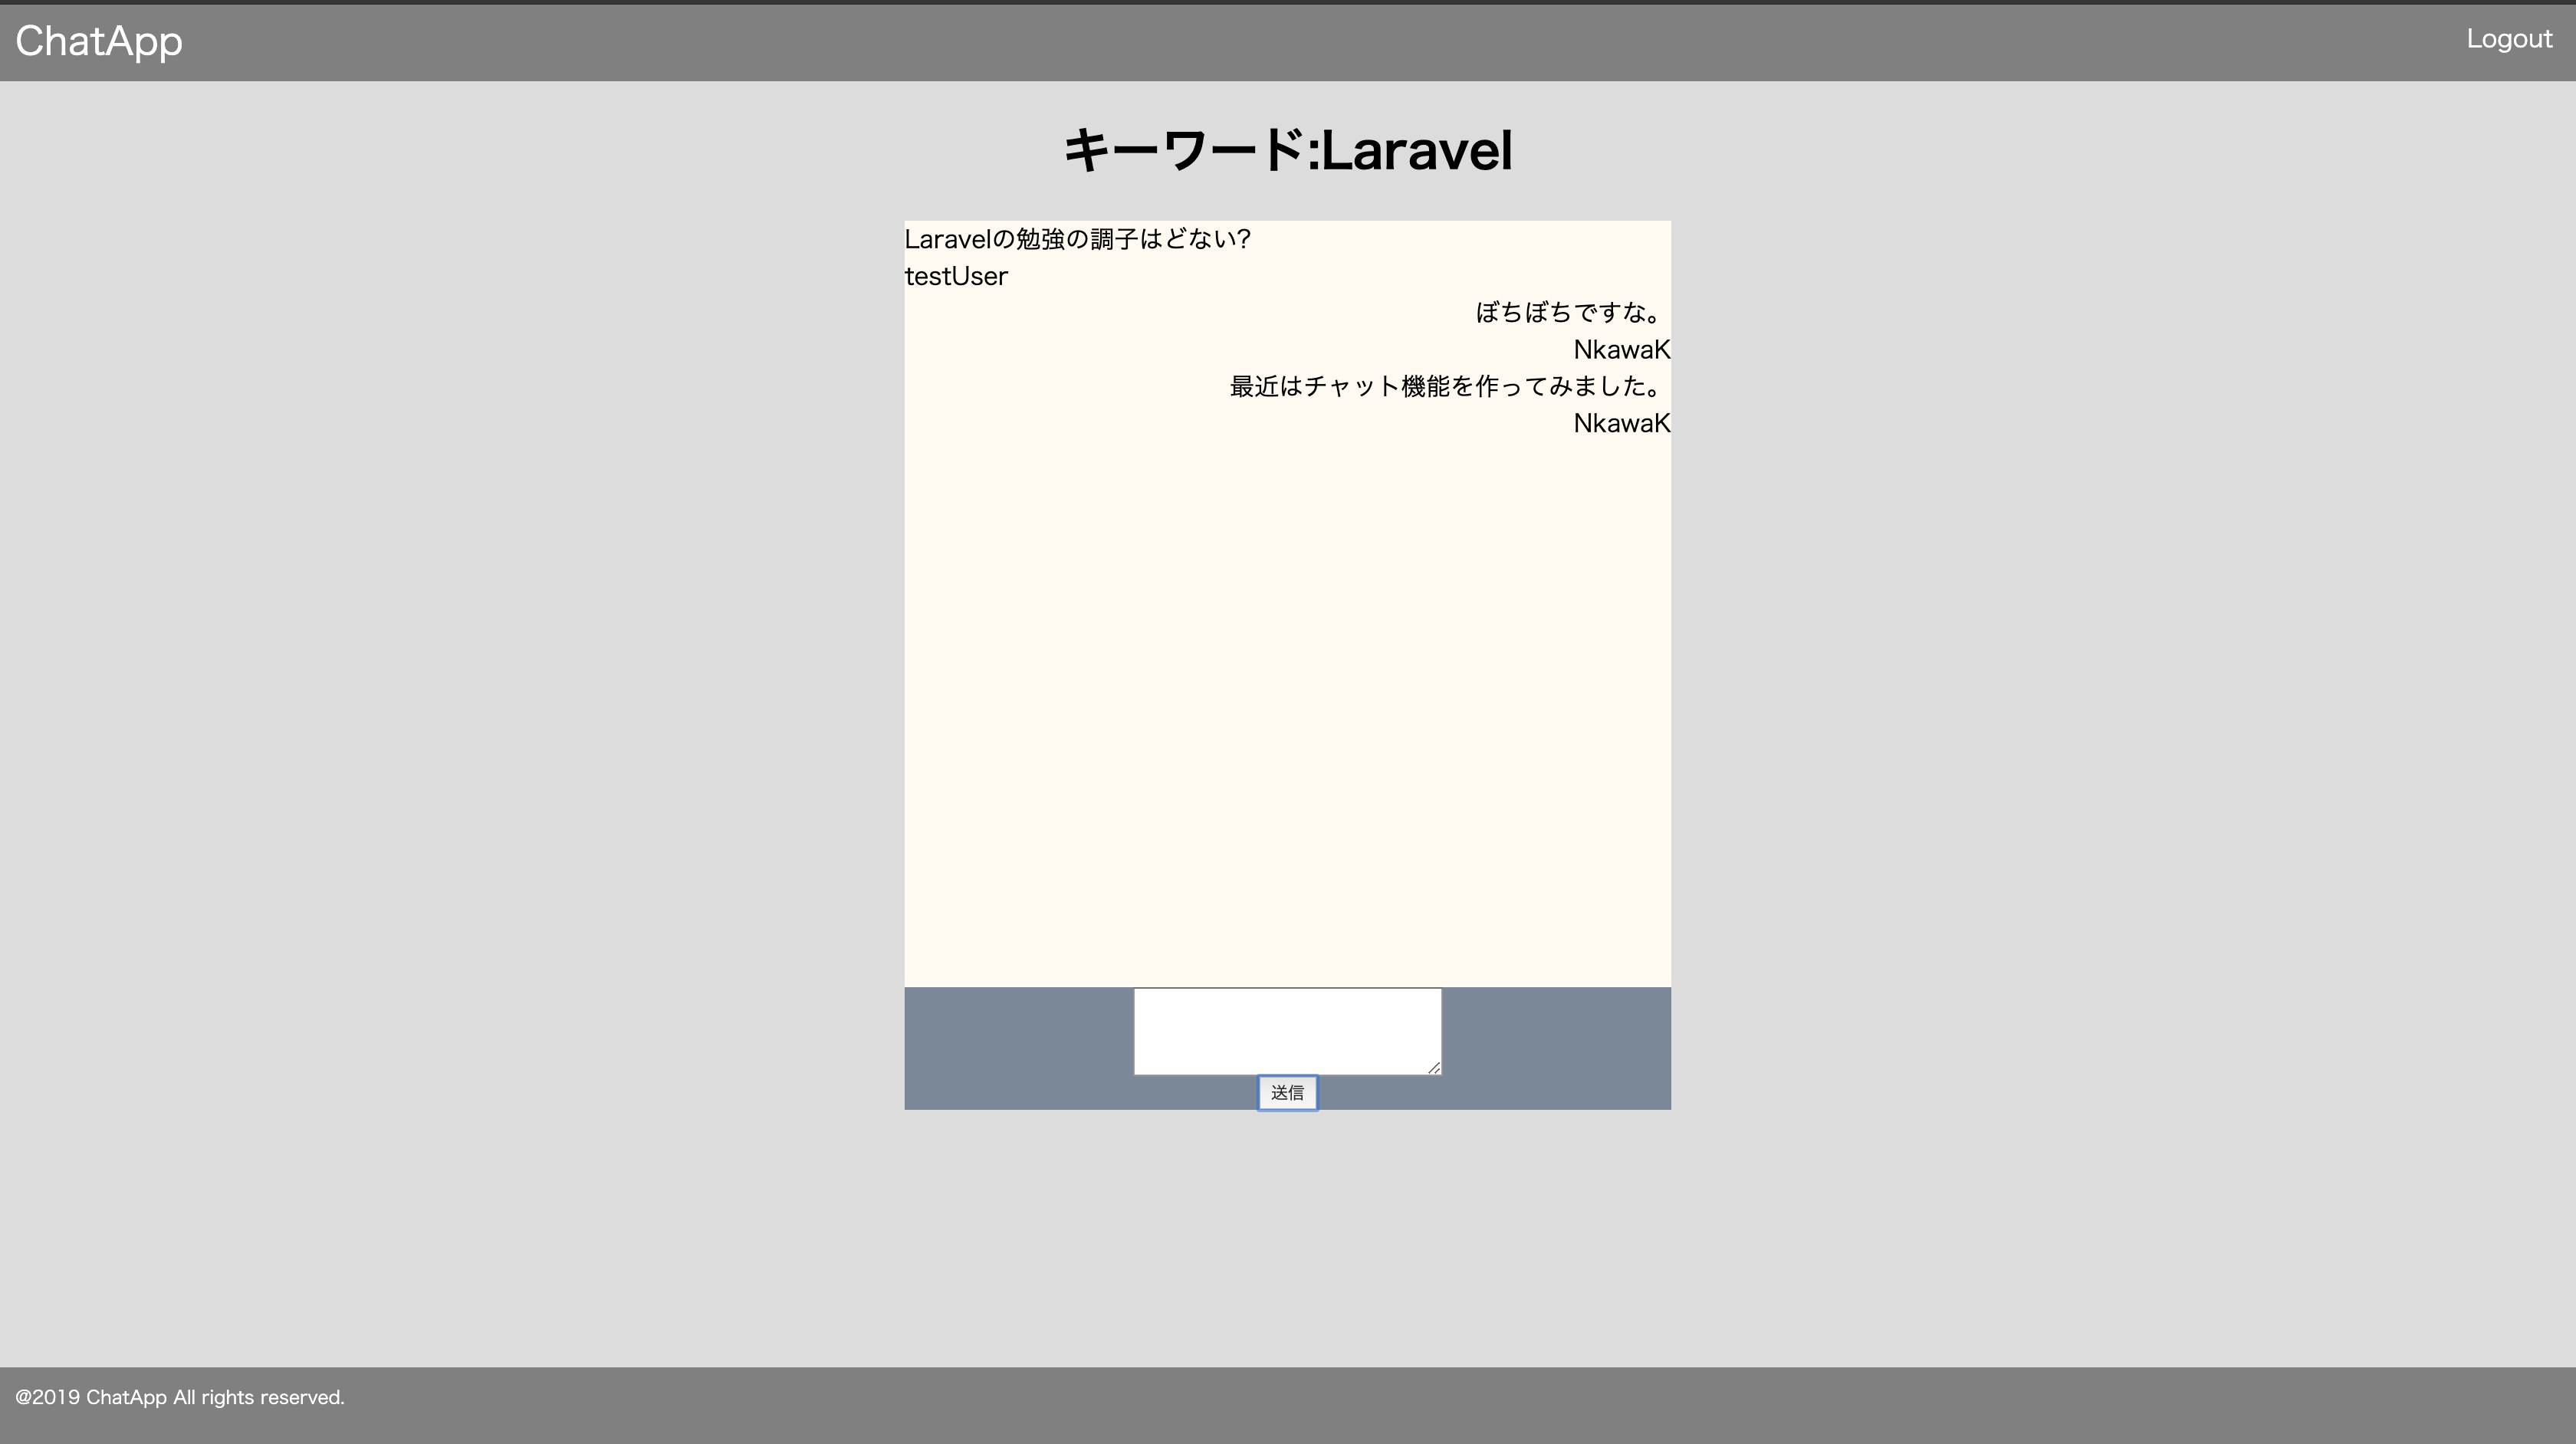
LaravelでWebSocketを使って、下の画像のようなチャット機能を作ったので、記事にしました。
ご参考にしていただけたら幸いです。ちなみに初投稿です。
Laravelの環境はHomesteadで構築しています。
前準備
predisをインストール
composer require predis/predis
.envのBROADCAST_DRIVERをredisに変更
BROADCAST_DRIVER=redis
config/app.phpのApp\Providers\BroadcastServiceProvider::classのコメントアウトを外す。
App\Providers\BroadcastServiceProvider::class,
config/database.phpのredisの部分を書き換え
'redis' => [
        'client' => 'predis',
        'default' => [
            'host' => env('REDIS_HOST', '127.0.0.1'),
            'password' => env('REDIS_PASSWORD', null),
            'port' => env('REDIS_PORT', 6379),
            'database' => 0,
        ],
],
LaravelEchoServer
LaravelEchoをインストール
npm install --save laravel-echo
LaravelEchoServerの設定
laravel-echo-server init
? Do you want to run this server in development mode? Yes
? Which port would you like to serve from? 6001
? Which database would you like to use to store presence channel members? redis
? Enter the host of your Laravel authentication server. http://chatapp.test
? Will you be serving on http or https? http
? Do you want to generate a client ID/Key for HTTP API? No
? Do you want to setup cross domain access to the API? No
? What do you want this config to be saved as? laravel-echo-server.json
Configuration file saved. Run laravel-echo-server start to run server.
bootstrap.jsに以下のコードを追記
import Echo from "laravel-echo"

window.io = require('socket.io-client')

window.Echo = new Echo({
    broadcaster: 'socket.io',
    host: 'http://' + window.location.hostname + ':6001'
})
index.blade.phpでsocket.ioのソースを読み込む
<!doctype html>
<html lang="{{ str_replace('_', '-', app()->getLocale()) }}">
<head>
  <meta charset="utf-8">
  <meta name="viewport" content="width=device-width, initial-scale=1">
  <title>{{ config('app.name') }}</title>

  <!-- Scripts -->
  <script src="{{ mix('js/app.js') }}" defer></script>
  <script src="http://{{ Request::getHost() }}:6001/socket.io/socket.io.js"></script>

  <!-- Styles -->
  <link href="{{ mix('css/app.css') }}" rel="stylesheet">
</head>
<body>
  <div id="app"></div>
</body>
</html>
以上でLaravelでWebSocketを使う準備ができました。
最後にredisとLaravelEchoServerを起動します。
redis-server
laravel-echo-server start
チャット機能の実装
チャットルームのコードは以下のようになっています。
<template>
  <div>
    <h1 class="room_title">キーワード:{{ room.keyword }}</h1>
    <div class="chat_area">
      <div v-for="message in messages" :key="message.id" :class="{'my_message': message.user_id == userId}">
        <div>{{ message.message }}</div>
        <div>{{ message.user_name }}</div>
      </div>
    </div>
    <form class="text_box" v-if="isRoomUser">
      <textarea rows="4" cols="30" v-model="messageData.message"></textarea>
      <button type="button" @click.prevent="send">送信</button>
    </form>
  </div>
</template>

<script>
import { OK, CREATED, UNPROCESSABLE_ENTITY } from '../util'

export default {
  props: {
    id: {
      type: String,
      required: true
    }
  },
  data () {
    return {
      room: null,
      messages: [],
      messageData: {
        user_id: this.$store.getters['auth/userId'],
        room_id: this.id,
        message: ''
      }
    }
  },
  computed: {
    userId () {
      return this.$store.getters['auth/userId']
    },
    isRoomUser () {
      return this.room.room_users.find((user) => {
        return this.userId == user.id
      })
    }
  },
  methods: {
    async fetchRoom () {
      const response = await axios.get(`/api/room/${this.id}`)
      if (response.status !== OK) {
        this.$store.commit('setCode', response.status)
        return false
      }

      this.room = response.data
    },
    async fetchMessages () {
      const response = await axios.get(`/api/message/${this.id}`)
      if (response.status !== OK) {
        this.$store.commit('setCode', response.status)
        return false
      }

      this.messages = response.data
    },
    async send () {
      const response = await axios.post('/api/messages', this.messageData)
      if (response.status !== CREATED) {
        this.$store.commit('setCode', response.status)
        return false
      }

      this.messageData.message = ''
    },
    connectChannel() {
      Echo.channel(`${this.id}`).listen("MessageRecieved", e => {
        this.messages.push(e.message)
      })
    }
  },
  mounted () {
    this.connectChannel()
  },
  watch: {
    $route: {
      async handler () {
        await this.fetchRoom()
        await this.fetchMessages()
      },
      immediate: true,
    }
  }
}
</script>
このコンポーネントがマウントされた時に、関数connectChannel()が呼ばれて、このルームのチャンネルに接続されます。
接続されている間はMessageRecievedというクラスのイベントを待機し続けます。
ここでリッスンされているイベントのクラスはPHP側で作成する必要があります。
イベントクラスの雛形は次のコマンドで作成できます。
php artisan make:event MessageRecieved
イベントクラスのコードは以下のようになっています。
:MessageRecieved
<?php

namespace App\Events;

use Illuminate\Broadcasting\Channel;
use Illuminate\Queue\SerializesModels;
use Illuminate\Foundation\Events\Dispatchable;
use Illuminate\Broadcasting\InteractsWithSockets;
use Illuminate\Contracts\Broadcasting\ShouldBroadcast;

class MessageRecieved implements ShouldBroadcast
{
    use Dispatchable, InteractsWithSockets, SerializesModels;

    /** @var **/
    public $message;
    public $room_id;

    /**
     * Create a new event instance.
     *
     * @return void
     */
    public function __construct($message, $room_id)
    {
        $this->message = $message;
        $this->room_id = $room_id;
    }

    /**
     * Get the channels the event should broadcast on.
     *
     * @return \Illuminate\Broadcasting\Channel|array
     */
    public function broadcastOn()
    {
        return new Channel("{$this->room_id}");
    }
}
このクラスのインスタンスが作られると送信されたチャットの情報と、ルームIDがコンストラクタで
プロパティに代入されて、ルームのチャンネルに接続しているユーザー全員に配信されます。
イベントクラスのインスタンスは、チャットの情報がAPI側にPOSTで送られたタイミングで作成しています。
<?php

namespace App\Http\Controllers;

use App\Message;
use Illuminate\Http\Request;
use App\Events\MessageRecieved;

class MessageController extends Controller
{
    /**
     * メッセージの受信
     *
     * @param \Illuminate\Http\Request $request
     */
    public function store(Request $request)
    {
        $message = new Message();
        $message->user_id = $request->user_id;
        $message->room_id = $request->room_id;
        $message->message = $request->message;
        $message->save();

        event(new MessageRecieved($message, $request->room_id));

        return response($message, 201);
    }

    /**
     * メッセージの一覧取得
     *
     * @param String $id
     * @return App\Message $messages
     */
    public function show(String $id)
    {
        $messages = Message::where('room_id', $id)
                        ->orderBy(Message::CREATED_AT)->get();

        return $messages ?? abort(404);
    }
}
メソッドstore()で送られてきたメッセージをDBに保存して、そのあとで保存したメッセージの情報とルームIDを引数にして、MessageRecievedのインスタンスを作成しています。
このときにevent関数の引数として、イベントクラスのインスタンスを渡すことでブロードキャストイベントとして発行されます。
PHP側で発行されたイベントを、Room.vueの関数connectChannel()のリスナーで受け取って、その情報をコンポーネントのdataプロパティmessagesに追加しています。
以上でメッセージがチャット画面に反映されて、ルーム内のユーザー全てにチャットが送られました。