 流行っているのでいますぐ試したい
いま話題の画像生成AI Stable Diffusionを使ってみます。
Google Colaboratoryはコピペでしか使ったことがない、というレベルの方向けのStable Diffusion実行メモです。つまり自分向けメモです。
参考
(↑こちらの記事でわかる方は以下を読む必要はありません!)
手順1 Stable Diffusionを導入する
上記のすばらしい記事にとてもわかりやすく導入手順が紹介されています。
指示に沿うだけで Stable Diffusionを導入が完了します。ありがとうございます。
以下、表示の部分だけ補足します。
手順2 生成と表示
まず、画像表示用のライブラリをインポートしておきます。
from IPython.display import Image,display_png
次に、生成と表示を行います。
text = "super yummy japanese food new" #ここに生成ワードを入力します
image = pipe(text)["sample"][0]
image.save("{}.png".format(text))
display_png(Image(text+'.png'))
実行して30秒ぐらいで生成された絵が出ます。

新作の創作日本料理が出ました。右下の©キャプションのあたりとか、いかにもネットの画像検索で学習しました感がありますが、そんなことよりさすがの精度です。
あとはキーワードを変更して実行するだけで、1枚ずつですが生成ガチャが楽しめます。
とりいそぎ。
留意点
話題としてよく取り上げられる話ですが、明らかに著作権を感じる類似画像を出力しがちなので取り扱い注意です。
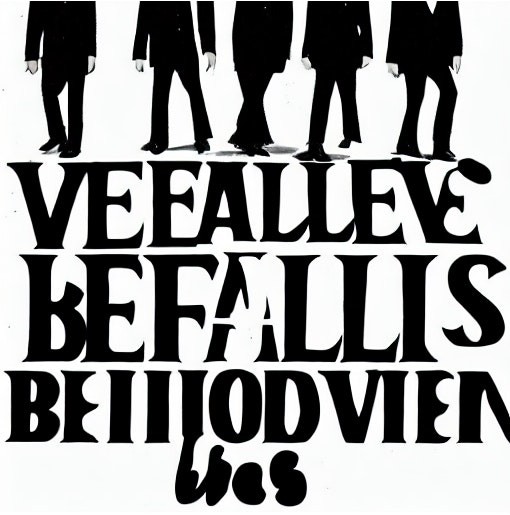
試しに著名なアーティストの名前を1単語だけ入れてみました。
これはセーフな感じでしょうか。5人いますし...
もとになった単語あてるパーティーゲームなんかはすぐに作れそうですね。