こんにちは。Unityでも ML-Agentsを使えば強化学習ができるということでインストールしてサンプルを動かすまでやってみました。
環境
- Windows10
- Python3.7(Anaconda4.7.12) ※ML-agnetsの使用にはPython3.6.1以上が必要です
- Unity 2019.1.2f1
- ML-Agents (Release3)
Anaconda, Unity, ML-Agentsのインストール
-
Anacondaはこちらからインストールできます。
※インストールする際に"Add Anaconda to the system PATH environment variable"にチェックを入れておくと、後でパスを通す必要がなくなります。 -
UnityはこちらからUnity Hubをインストールした後、Unity Hubから任意のバージョンのUnityをインストールします。
-
ML-Agentsはこちらの"Releases & Documentation"の所からzipをDLし、任意のディレクトリに展開します。
Pythonの仮想環境構築
AnacondaをインストールしただけではPowerShellからcondaコマンドは使えません。
まずはcondaコマンドを使えるようにするために以下のコマンドを実行します。
conda create -n ml-agents python=3.7
一度PowerShellを終了し、再度管理者権限で起動します。再起動後に以下のコマンドを実行すると、次回からは通常通り起動できます。
Set-ExecutionPolicy RemoteSigned
次に以下のコマンドを実行してML-Agentsの仮想環境を作成し起動します。
# 仮想環境の作成
conda create -n ml-agents python=3.7
# 仮想環境の起動
conda activate ml-agents
ml-agents-release_3ディレクトリに移動し、以下のコマンドを実行します。
pip install -e ./ml-agents-envs
pip3 install -e ./ml-agents
これで仮想環境は準備できました。
Unityプロジェクトの準備
Unityの新規プロジェクトを3Dで作成します。
エディタが起動したらツールバーのWindowからPackage Managerを起動し、+ボタンを押下してAdd package from diskを選択します。
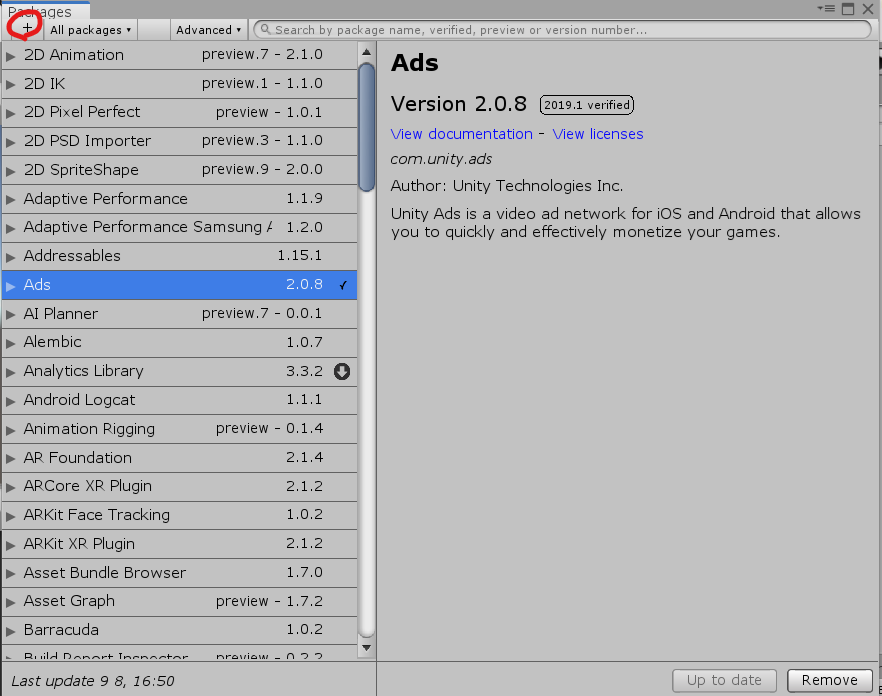
~\ml-agents-release_3\com.unity.ml-agents\package.jsonを選択してインポートします。
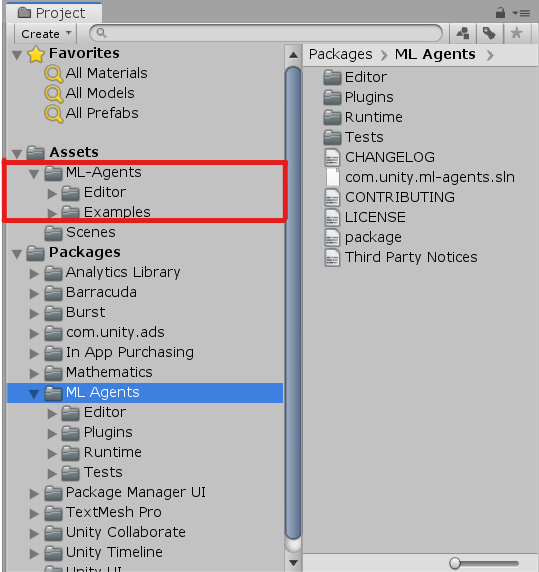
エディタのPackagesディレクトリ以下にML-Agentsディレクトリができます。
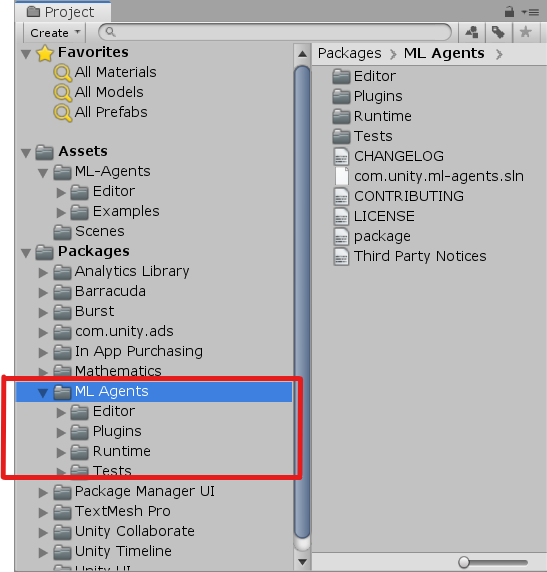
次に~\ml-agents-release_3\Project\Assets\にあるML-AgentsディレクトリをプロジェクトのAssetsディレクトリ配下にコピーします。これでサンプルを使えるようになります。
サンプルを動かす
プロジェクトのAssets/ML-Agents/Examples/3DBall/Sceneディレクトリから3DBallを開きます。
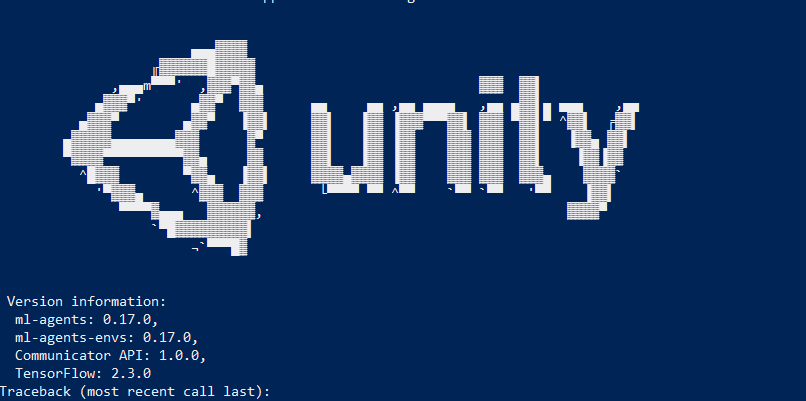
学習はコマンドで実行します。PowerShellで以下のコマンドを実行します。idはrunするごとに変更します。数字でなくても良いので、後からわかるような文字列を指定します。
mlagents-learn ./config/ppo/3DBall.yaml --run-id=1
通常はこれで学習が開始されますが、私の環境では以下のエラーが出ました。
ERROR: After October 2020 you may experience errors when installing or updating packages. This is because pip will change the way that it resolves dependency conflicts.

We recommend you use --use-feature=2020-resolver to test your packages with the new resolver before it becomes the default.

tensorflow 2.3.0 requires numpy<1.19.0,>=1.16.0, but you'll have numpy 1.19.0 which is incompatible.
tensorflow2.3.0ではnumpy1.19.0が使えないということなので、一度numpyをアンインストールしてnumpy1.18.0をインストールしました。
# numpyをアンインストール
pip3 uninstall numpy
# numpy 1.18.0をインストール
pip3 install numpy==1.18.0
これで学習を開始できます。もう一度以下コマンドを実行します。
mlagents-learn ./config/ppo/3DBall.yaml --run-id=1
コマンドが実行されると、PowerShellに以下のようにログが表示されます。
その後すぐに以下のように表示されるので、UnityエディタのPlayボタンを押すと学習が開始されます。
INFO [environment.py:199] Listening on port 5004. Start training by pressing the Play button in the Unity Editor.
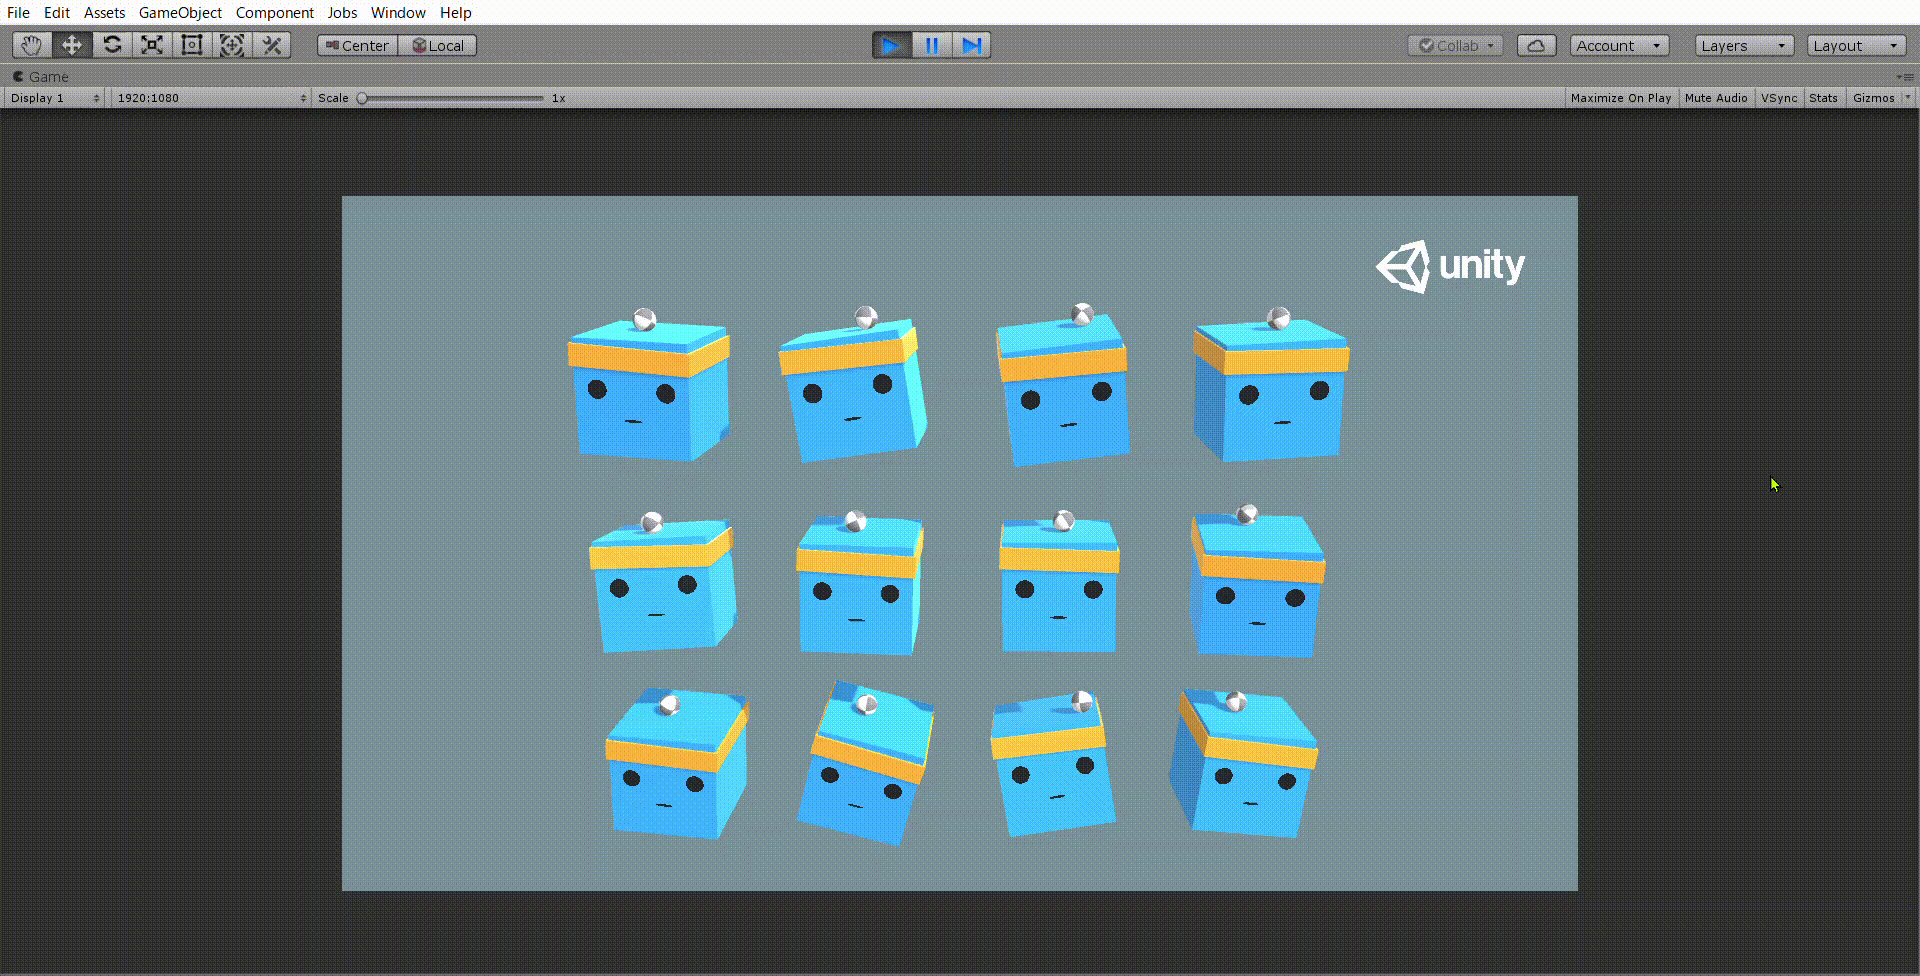
初めはボールが落ちていましたが、学習するにつれボールが落下しなくなります。
before

after
学習中はPowerShellにStep(学習の試行回数)のログが出ます。
~\ml-agents-release_3\config\ppoにある3DBall.yamlでは、最大ステップ数が5,00,00回になっています。
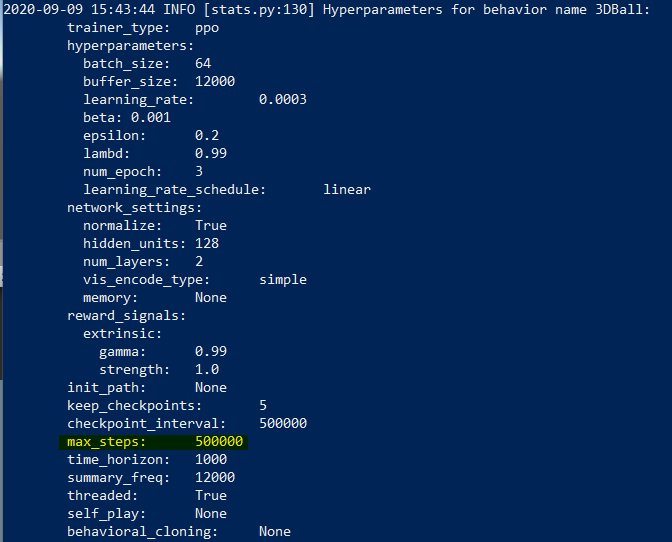
ログを確認しながら、ステップ数が5,00,00回に達したらUnityエディタの停止ボタンを押して学習を終了します。
おわりに
ML-Agentsを使用すれば割と簡単に強化学習を体験できることがわかりました。今回はサンプルを動かしただけですが、今後自分でモデルを作る所までやってみようと思います。