はじめに
Discordで使ってるチャット読み上げbotが一時的に使えなくなってしまったので臨時で自作しました。
Discordのチャットを読み上げるbotの作成を参考に一部コード書き換えて作ってます。
事前準備
bot作成と環境構築は下記を見ながらやりました。
ffmpegは解凍したファイルをC:\open_jtalk\binに配置してます。
Pathの設定をわすれずに…
botのソースコード
一番下の行のbot作成時の時にコピーしたトークンの箇所は各々botのトークンを書き換えてください。
GitGubはこちら(ちょっとずつ改修してます。)
import discord
from discord.ext import commands
import asyncio
import os
import subprocess
import ffmpeg
from voice_generator import creat_WAV

client = commands.Bot(command_prefix='.')
voice_client = None


@client.event
async def on_ready():
    print('Logged in as')
    print(client.user.name)
    print(client.user.id)
    print('------')


@client.command()
async def join(ctx):
    print('#voicechannelを取得')
    vc = ctx.author.voice.channel
    print('#voicechannelに接続')
    await vc.connect()

@client.command()
async def bye(ctx):
    print('#切断')
    await ctx.voice_client.disconnect()

@client.event
async def on_message(message):
    msgclient = message.guild.voice_client
    if message.content.startswith('.'):
        pass

    else:
        if message.guild.voice_client:
            print(message.content)
            creat_WAV(message.content)
            source = discord.FFmpegPCMAudio("output.wav")
            message.guild.voice_client.play(source)
        else:
            pass
    await client.process_commands(message)


client.run("bot作成時の時にコピーしたトークン")
音声ファイルのソースコード
ボイスファイルのパスのところにいろいろコメントアウトして書いてあるんですけど、MMDAgentにあるSample ScriptのSource codeをダウンロードしてもらうと女性声に変更できます。
(解凍したファイルのVoice/meiディレクトリのhtsvoiceファイルがあるのでmeiディレクトリをソースコードと同じ階層に配置してください)
import subprocess
import re

# remove_custom_emoji
# 絵文字IDは読み上げない
def remove_custom_emoji(text):
    pattern = r'<:[a-zA-Z0-9_]+:[0-9]+>'    # カスタム絵文字のパターン
    return re.sub(pattern,'',text)   # 置換処理

# urlAbb
# URLなら省略
def urlAbb(text):
    pattern = "https?://[\w/:%#\$&\?\(\)~\.=\+\-]+"
    return re.sub(pattern,'URLは省略するのデス!',text)   # 置換処理

# creat_WAV
# message.contentをテキストファイルに書き込み
def creat_WAV(inputText):
        # message.contentをテキストファイルに書き込み

    inputText = remove_custom_emoji(inputText)   # 絵文字IDは読み上げない
    inputText = urlAbb(inputText)   # URLなら省略
    input_file = 'input.txt'

    with open(input_file,'w',encoding='shift_jis') as file:
        file.write(inputText)

    command = 'C:/open_jtalk/bin/open_jtalk -x {x} -m {m} -r {r} -ow {ow} {input_file}'

    #辞書のPath
    x = 'C:/open_jtalk/bin/dic'

    #ボイスファイルのPath
    m = 'C:/open_jtalk/bin/nitech_jp_atr503_m001.htsvoice'
    #m = 'C:/open_jtalk/bin/mei/mei_sad.htsvoice'
    #m = 'C:/open_jtalk/bin/mei/mei_angry.htsvoice'
    #m = 'C:/open_jtalk/bin/mei/mei_bashful.htsvoice'
    #m = 'C:/open_jtalk/bin/mei/mei_happy.htsvoice'
    #m = 'C:/open_jtalk/bin/mei/mei_normal.htsvoice'

    #発声のスピード
    r = '1.0'

    #出力ファイル名 and Path
    ow = 'output.wav'

    args= {'x':x, 'm':m, 'r':r, 'ow':ow, 'input_file':input_file}

    cmd= command.format(**args)
    print(cmd)

    subprocess.run(cmd)
    return True

if __name__ == '__main__':
    creat_WAV('テスト')
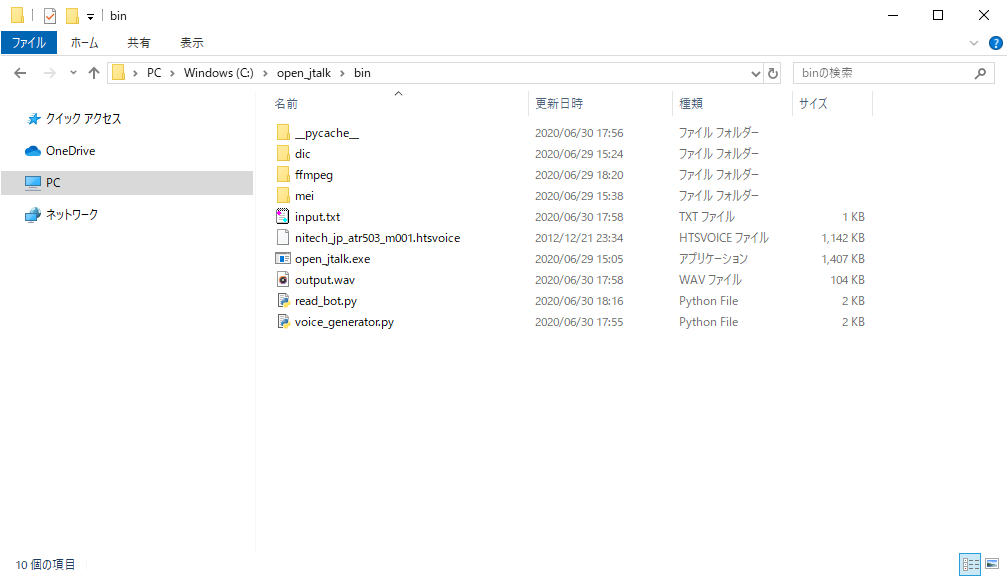
ディレクトリ構成
構成としてはこんなかんじです。
使い方
botを招待するところまでは記載があったのですが使い方については書かれていなかったので適当に書いておきます。
コマンドプロンプト起動
C:\open_jtalk\binの「read_bot.py」をコマンドプロンプトにドラッグアンドドロップしてEnter
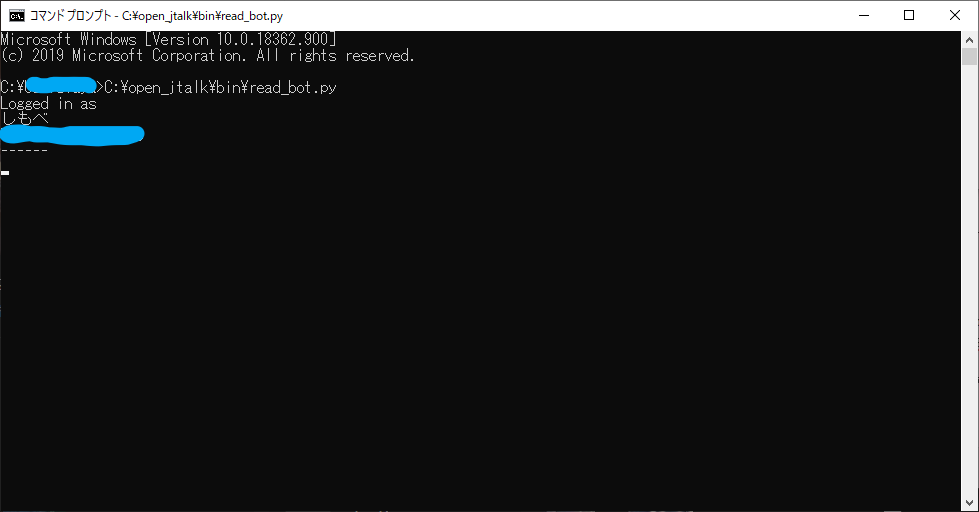
するとbotがログインしてくれます

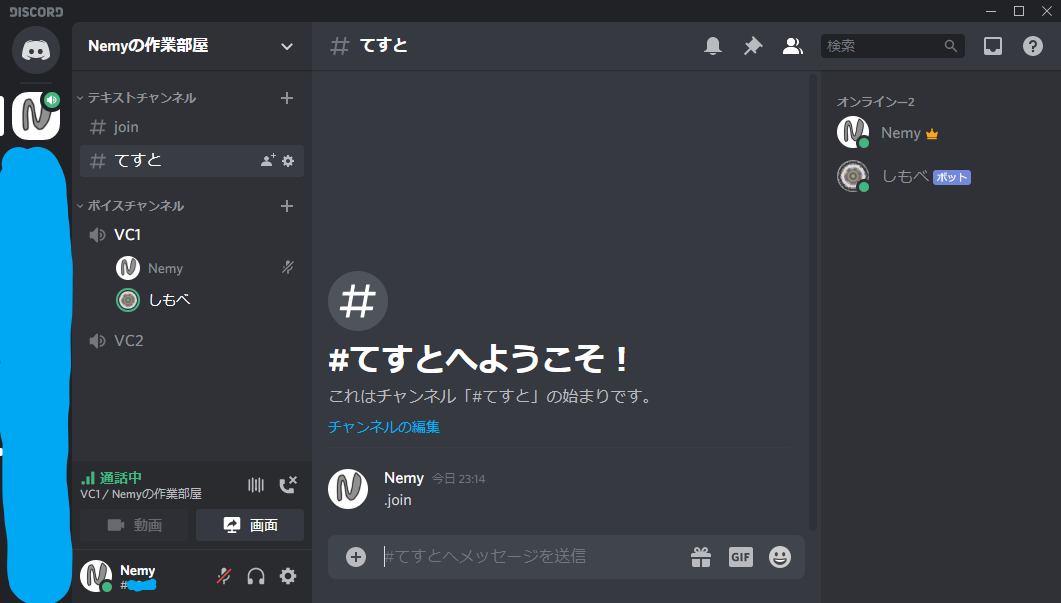
ボイスチャンネルに呼ぶ
まず自分がボイチャに入ります。
(このbotは基本的にボイチャに呼んだ人のところに入ってきます。)
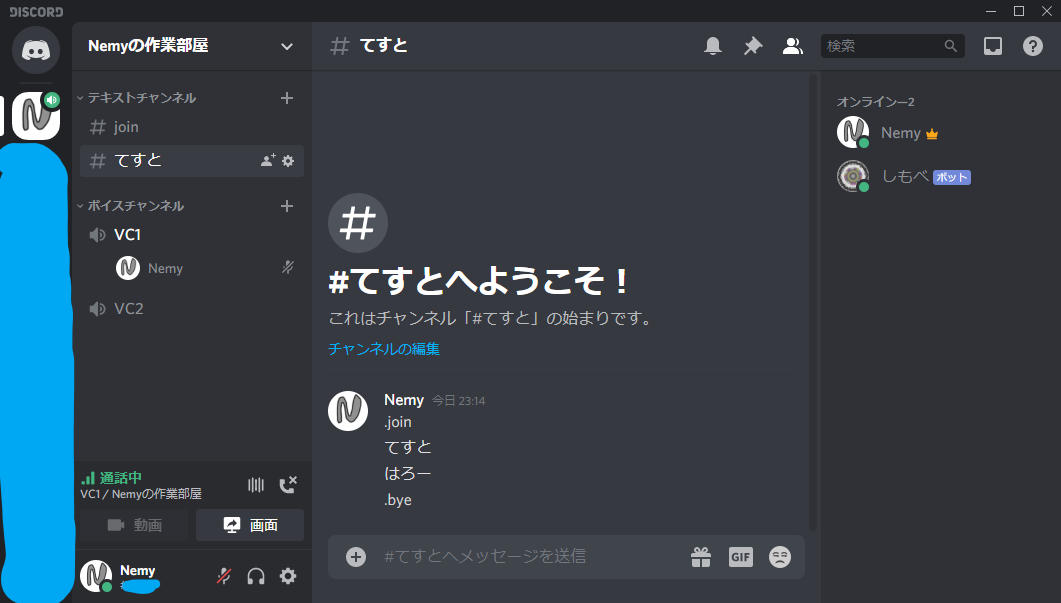
呼ぶコマンドは.joinです
しゃべらせる
適当にチャットすれば読んでくれます。
絵文字とかカスタム絵文字は読んでくれません…
あと、URLは省略するようにしてます。
退出させる
ボイスチャンネルからbotを退出させるコマンドは.byeです
後片付け
コマンドプロンプトはCtrl + Cかウィンドウを閉じましょう。
おわり
簡単な英語も割とアルファベットで読まれちゃう感じがあるので、辞書登録機能とか追加できたらいいなーって思いますね。
まあそれはそのうちやります。たぶん