MIERUNE Advent Calendar 2020 8日目の記事です。
7日目は@nokonoko_1203 さんの「QGISで3D巨大都市(の一部)を召喚する」でした!
今度「3Dでベル・ハーバー召喚してーな」ってなったら試してみようと思います!(いつなるんだろう....)
7日目は海外でベル・ハーバーだったので、今日は国内の東京でいろいろやろうと思います。
TL;DR
Next.js + Deck.glをゆるくゆるく試しつつ、行政区域データ(市区町村の境界のデータ)を表示してみるっていう記事です。
Githubにコードがあります: https://github.com/Nekoya3/nextjs_deckgl_example
Netlifyで公開もしてますので試したい方はぜひ: https://gallant-goodall-a481e2.netlify.app/
ついでにVercelでも公開していますのでぜひ: https://nextjs-deckgl-example.vercel.app
(Vercelのほうが体感早い感じします...後ろで出てくるdata.jsonのせいで重たいですが...通常はAPIとかを使いましょう...)
はじめに
Next.jsとは?
Next.jsのチュートリアルのはじめにはこうのっています
- 直感的なページベースのルーティングシステム(ダイナミックルートをサポート
- プリレンダリングでは、スタティック生成(SSG)とサーバーサイドレンダリング(SSR)の両方がページ単位でサポートされています。
- ページ読み込みを高速化するための自動コード分割
- 最適化されたプリフェッチによるクライアントサイドルーティング
- 組み込みの CSS と Sass のサポート、および任意の CSS-in-JS ライブラリのサポート
- 高速リフレッシュ対応の開発環境
- サーバーレス関数でAPIエンドポイントを構築するためのAPIルート
- 完全に拡張可能
https://nextjs.org/learn/basics/create-nextjs-app の Next.js: The React Framework から引用
DeepLで翻訳しました。
要するに何よ???
Vercelによって開発されたJavaScriptフレームワークで、Reactと組み合わせてウェブアプリ開発を強化するフレームワークで。
Reactアプリのサーバーサイドレンダリング(SSR)を可能にするものでもある。
でも今はSSRよりもSSGを推してるっぽい(私もSSG好き)
(VueでいうNuxtみたいなものですね...)
Deck.GLとは?
Deck.GLはUberがオープンソースで公開しているWebGLベースの地理情報可視化フレームワーク。
Reactでの使用が推奨されていますが、Vue.jsなどでも使用することができる。
Deck.GLには様々なLayerと呼ばれるものが用意されているので、簡単にオープンデータを可視化できる。
手順
Next.js の初期設定
npx create-next-appで作ってもいいんですが、余計なのがついてくるし、Typescriptで書きたいので手動でInitializeします。
YarnのInitialize
> mkdir nextjs_deckgl_example
> cd nextjs_deckgl_example
> yarn init nextjs_deckgl_example -y
Next.jsのインストール
必要最低限のライブラリをインストールします。
> yarn add next react react-dom
必要なフォルダを作ります。
> mkdir public src/pages src/components
TypeScriptを使いたいのでTypeScriptと型定義をインストールします。
> yarn add -D typescript @types/node @types/react @types/react-dom
確認のために src/pages/index.tsx を作ります。
import { NextPage } from "next";

const Page: NextPage = () => <h1>はろーわーるど!こんにちは Next.js!</h1>;
export default Page;
package.jsonのscriptsをNext.js用に編集します。
{
  "scripts": {
    "dev": "next",
    "build": "next build",
    "start": "next start"
  }
}
yarn devで開発用サーバが立ち上がり http://localhost:3000 ではろーわーるど!こんにちは Next.js!と表示されることを確認します。
この時にNext.jsがTypeScriptを検出して tsconfig.jsonを作ってくれるので、"strict": false, を "strict": true,に変更します。
ESLint と Prettierの初期設定
PrettierとESLintとそのLintルールをインストールします
> yarn add -D eslint prettier eslint-plugin-react eslint-config-prettier eslint-plugin-prettier @typescript-eslint/parser @typescript-eslint/eslint-plugin eslint-config-airbnb
.eslintrc.json を作成します。
{
  "extends": [
    "airbnb",
    "eslint:recommended",
    "plugin:react/recommended",
    "plugin:@typescript-eslint/recommended",
    "plugin:@typescript-eslint/eslint-recommended",
    "plugin:prettier/recommended",
    "prettier/@typescript-eslint"
  ],
  "plugins": [
    "@typescript-eslint",
    "react"
  ],
  "parser": "@typescript-eslint/parser",
  "env": {
    "browser": true,
    "node": true,
    "es6": true
  },
  "parserOptions": {
    "sourceType": "module",
    "ecmaFeatures": {
      "jsx": true
    }
  },
  "rules": {
    "react/prop-types": "off",
    "react/react-in-jsx-scope": "off",
    "@typescript-eslint/no-explicit-any": "off"
  }
}
TypeScriptの設定をする
importが相対パスだと気持ち悪いので設定を変更します。
これを
import Hello from "../../../components/Hello";
こうしたいので
import Hello from "~/components/Hello";
tsconfig.json をこうします
(pathとbaseUrlはこの設定のためですが、typeRootsに関してはこの後のDeckGLの設定のためです)
{
  "compilerOptions": {
    "baseUrl": "./",
    "paths": {
      "~/*": ["src/*"]
    },
    "target": "es5",
    "lib": [
      "dom",
      "dom.iterable",
      "esnext"
    ],
    "allowJs": true,
    "skipLibCheck": true,
    "strict": true,
    "forceConsistentCasingInFileNames": true,
    "noEmit": true,
    "esModuleInterop": true,
    "module": "esnext",
    "moduleResolution": "node",
    "resolveJsonModule": true,
    "isolatedModules": true,
    "jsx": "preserve"
  },
  "include": [
    "next-env.d.ts",
    "**/*.ts",
    "**/*.tsx"
  ],
  "typeRoots": ["./types", "./node_modules/@types"],
  "exclude": [
    "node_modules"
  ]
}
next.config.jsも同様に記述します。
const path = require("path");

module.exports = {
  webpack: config => {
    config.resolve.alias = {
      ...config.resolve.alias,
      "~": path.resolve(__dirname, "./src")
    };
    return config;
  },
};
正しく動いているかの確認のためにコンポーネント作って、importしてみます
import React from "react";

const Test: React.FC = () => <h1>てすとくん</h1>;

export default Test;
import { NextPage } from "next";
import Test from "~/components/Test";

const Page: NextPage = () => <Test />;
export default Page;
.envの設定
開発時は.envを使いたいのでdotenv-webpackを使えるようにします。
> yarn add -D dotenv-webpack
それに伴い next.config.jsも修正します
const path = require("path");
const Dotenv = require("dotenv-webpack");

module.exports = {
  webpack: config => {
    config.resolve.alias = {
      ...config.resolve.alias,
      "~": path.resolve(__dirname, "./src")
    };
    config.plugins = [
      ...config.plugins,

      // 環境変数を優先して読み込む
      new Dotenv({
        systemvars: true
      })
    ];
    return config;
  }
};
.gitignoreの作成
gitignoreないことに気づいたので作ります
.idea
# next.js build output
.next
# dotenv environment variables file
.env
# Dependency directories
node_modules/
# Logs
npm-debug.log*
yarn-debug.log*
yarn-error.log*
やっとこれでNext.jsの初期設定が終わりです。
Deck.GLの初期設定
Deck.GLとreact-map-glをインストールする
> yarn add deck.gl react-map-gl
> yarn add -D @danmarshall/deckgl-typings @types/react-map-gl
yarnを使っていると @danmarshall/deckgl-typingsがバグってしまうことがあるので、deck.d.tsを追加します
> mkdir types
import * as DeckTypings from '@danmarshall/deckgl-typings';

declare module 'deck.gl' {
  export namespace DeckTypings {}
}
これでDeck.GLの初期設定は終わりです
react-map-glとNext.jsの動作確認をする
_document.tsxを設定する
画面全体にマップを表示したいので、_document.tsxでhtmlとbodyのmarginとpaddingを0にします。
import Document, {DocumentContext, Head, Html, Main, NextScript} from 'next/document'

export default class MyDocument extends Document {
  static async getInitialProps(ctx: DocumentContext) {
    const initialProps = await Document.getInitialProps(ctx)
    return {...initialProps}
  }

  render() {
    return (
      <Html>
        <Head>
          <style>{`html,body { margin: 0; padding: 0; }`}</style>
        </Head>
        <body>
          <Main />
          <NextScript />
        </body>
      </Html>
    )
  }
}
react-map-glを試すための準備
Deck.GLを試す前に、react-map-glの表示テストをしましょう。
index.tsxをreact-map-glが表示されるように編集します。
せっかくなのでMaptilerを使いましょう!
https://maptiler.jp の右上のSign inからログインをします。
その後、Mapsをクリックし
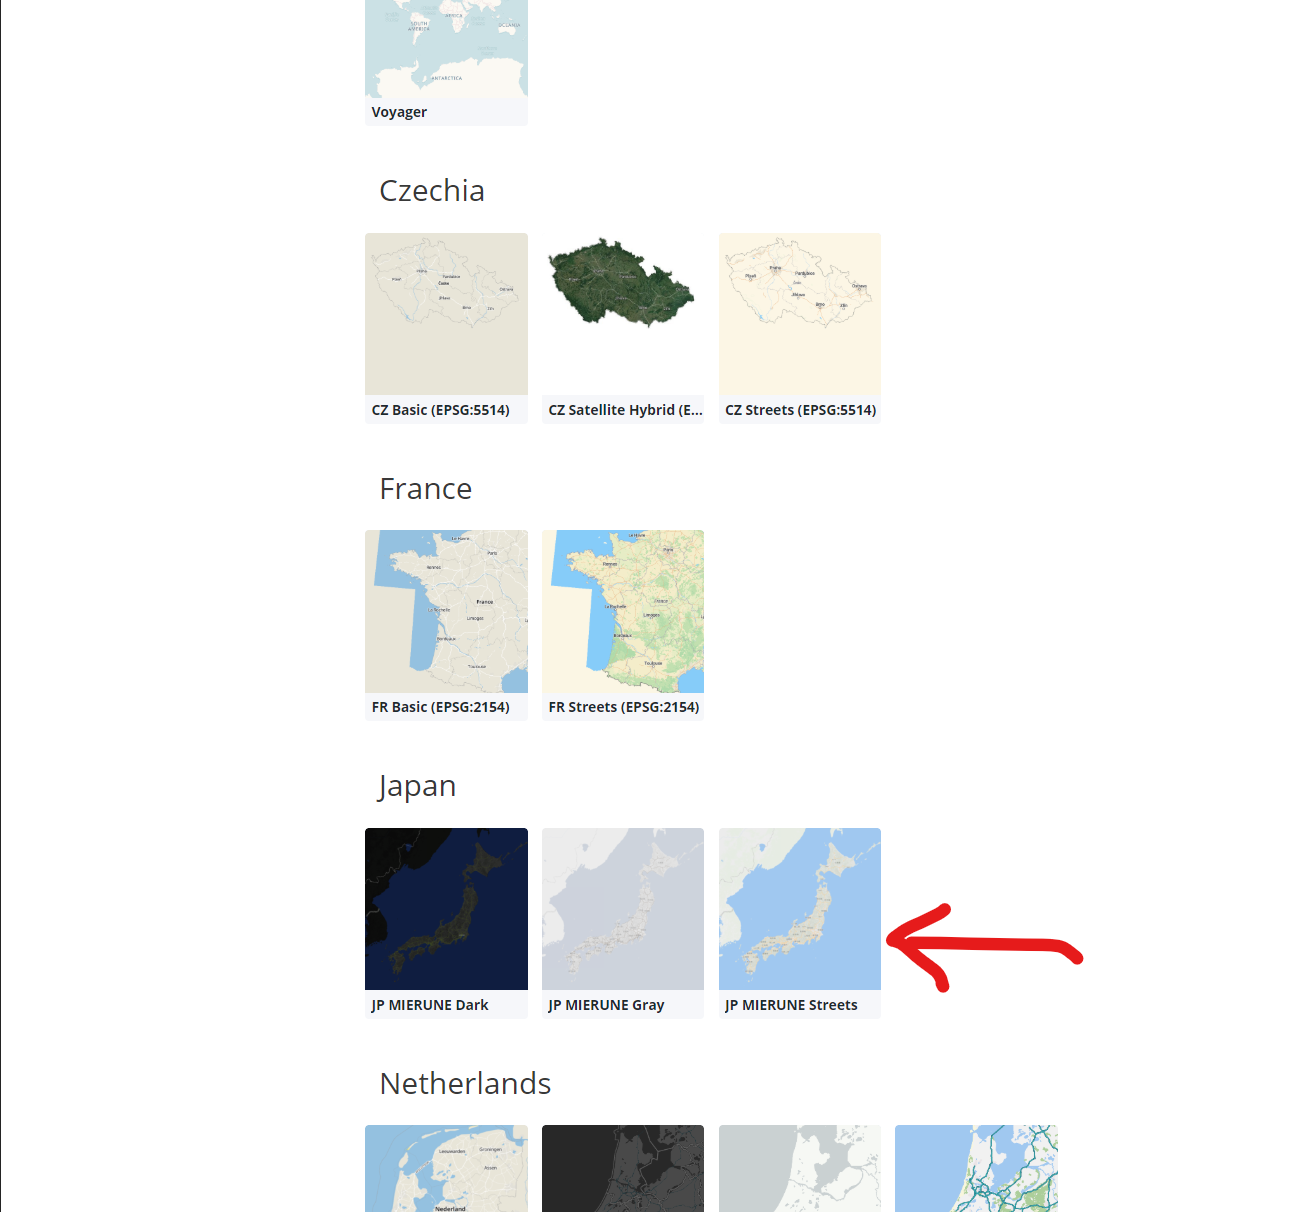
Japan にある JP MIERUNE Streetsを選択して
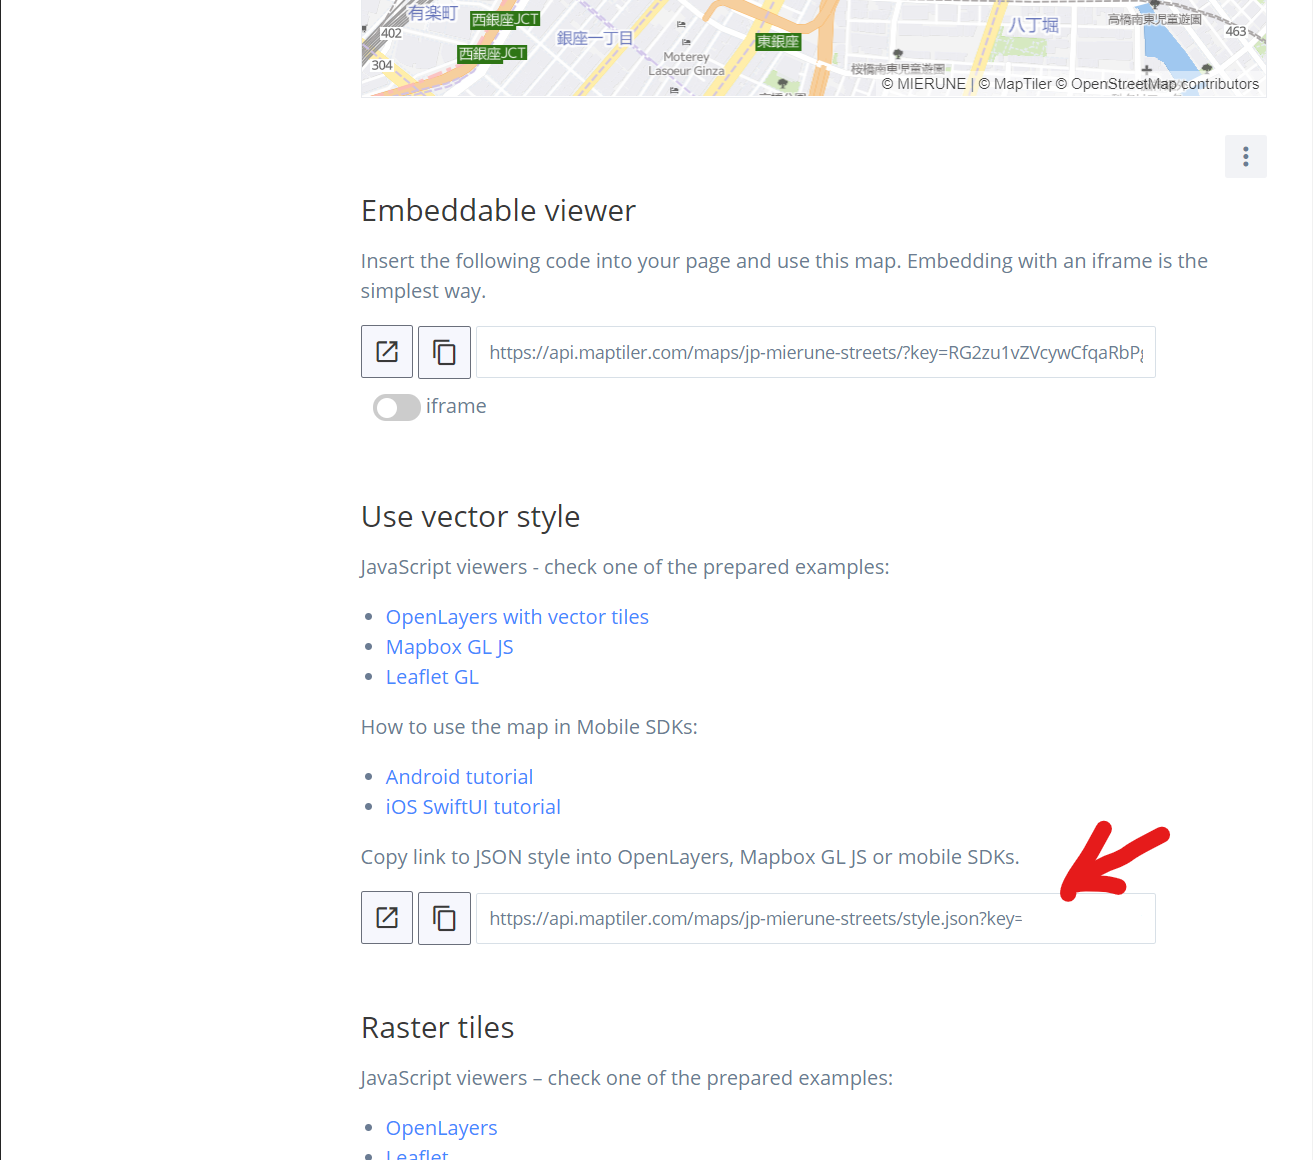
Use Vector StyleにあるURLをどこか(メモ帳とか)にメモしておきます。
(keyを使うのでそれ以降だけでもOKです。)
https://account.mapbox.com からAccess Tokenを取得してどこかにメモしておきます
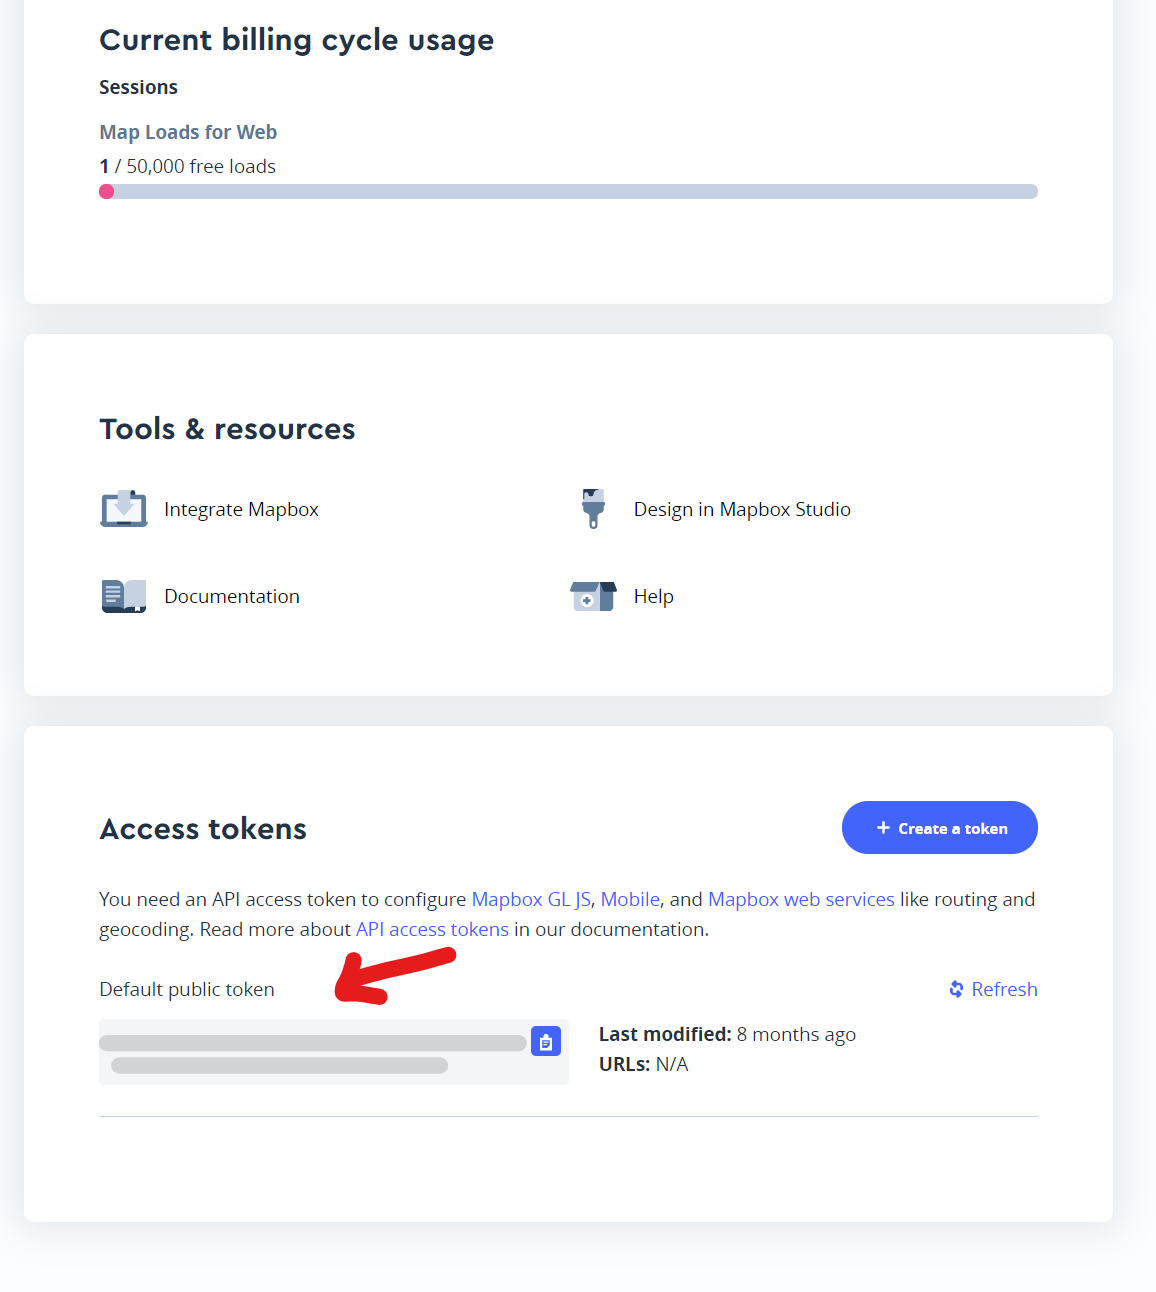
.envにアクセストークンを書きます(本番環境では環境変数にしましょう)
空欄にしているのでそこにそれぞれを張り付けてください
# MapBoxのToken
MAPBOX_ACCESSS_TOKEN =
# MaptilerのKey
MAPTILER_ACCESS_TOKEN =![Something went wrong]()
react-map-glを試す
いよいよreact-map-glで実際に表示してみます。
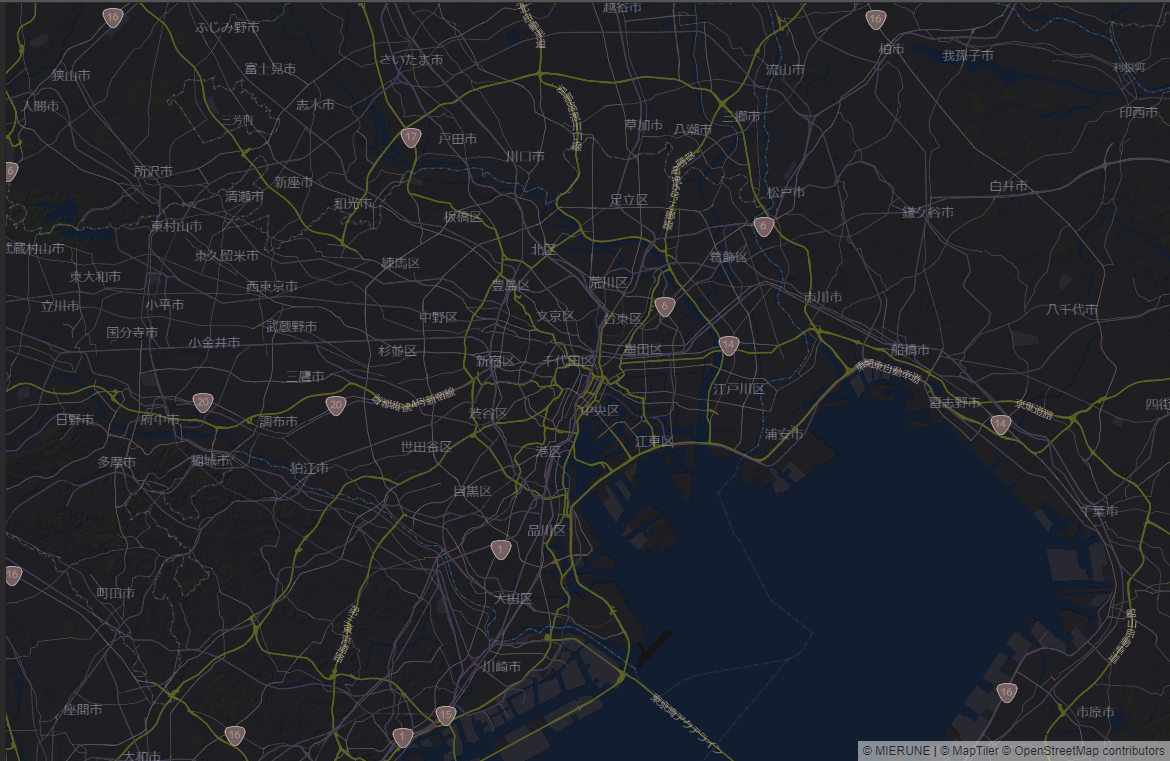
src/pages/index.tsxを下のコードに帰ると東京周辺のマップが表示されて、マウスでぐりぐり動かせるはずです!
import { NextPage } from "next";
import ReactMapGL from 'react-map-gl';
import {useState} from "react";

const Page: NextPage = () => {
    const [viewport, setViewport] = useState({
        width: 400,
        height: 400,
        latitude: 35.681236,
        longitude: 139.767125,
        zoom: 10
    });

    return (
        <ReactMapGL
            {...viewport}
            width={"100vw"}
            height={"100vh"}
            mapStyle={'https://api.maptiler.com/maps/jp-mierune-dark/style.json?key=' + process.env.MAPTILER_ACCESS_TOKEN}
            mapboxApiAccessToken={process.env.MAPBOX_ACCESSS_TOKEN}
            onViewportChange={nextViewport => setViewport(nextViewport)}
        />
    )
}
export default Page;
こんな感じ↓
さて、ここで動作の確認ができたらそろそろ最初の目的である「Next.js+Deck.glで行政区域データ(市区町村の境界のデータ)を表示してみる」をやりましょう!
Next.js+Deck.glで行政区域データ(市区町村の境界のデータ)を表示してみる
データを用意する
国土数値情報 から、データをダウンロードします。
東京の平成31年のデータ(N03-190101_13_GML.zip)をダウンロードします。
zipを解凍してから、N03-19_13_190101.geojsonをdata.jsonにリネームして、src内にdatasフォルダを作り入れておきます。
Deck.GL用にコードを変更する
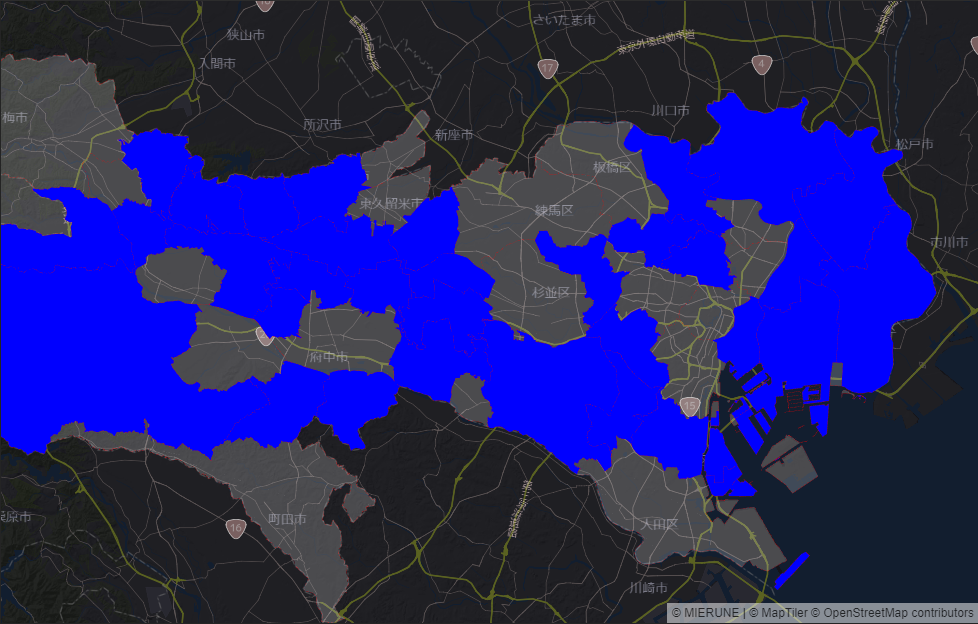
上で用意したデータがもとはgeojson形式なので、GeoJsonLayerとして読みこみます。
それぞれの表示色をランダムにしたいのでgetFillColorでランダムにしています。
import { NextPage } from "next";
import {StaticMap} from 'react-map-gl';
import {useState} from "react";
import {GeoJsonLayer} from "@deck.gl/layers";
import {DeckGL} from "deck.gl";

const Page: NextPage = () => {

    const data = require('~/datas/data.json')
    const [viewport, setViewport] = useState({
        width: 400,
        height: 400,
        latitude: 35.681236,
        longitude: 139.767125,
        zoom: 10
    });

    const layer = new GeoJsonLayer({
        data,
        filled: true,
        stroked: true,
        getLineWidth: 10,
        getLineColor: [255, 0, 0],
        getFillColor: () => {
            const rand = Math.floor(Math.random() * Math.floor(10))
            if (rand <= 5) {
                return [0, 0, 255]
            }
            return [255, 255, 255, 50]
        }
    })

    return (
        <DeckGL
            width={"100vw"}
            height={"100vh"}
            controller
            layers={[layer]}
            viewState={viewport}
            onViewStateChange={(viewState) => setViewport(viewState.viewState)}
        >
            <StaticMap
                width={100}
                height={100}
                mapStyle={'https://api.maptiler.com/maps/jp-mierune-dark/style.json?key=' + process.env.MAPTILER_ACCESS_TOKEN}
                mapboxApiAccessToken={process.env.MAPBOX_ACCESSS_TOKEN}
            />
        </DeckGL>
    )
}
export default Page;
下のように表示されたら終了です!
(毎回ランダムなので色の場所は変わります!)
さいごに
思っていた数十倍すんなり動いて感激してます。
通常のcreate-react-appで作ったものよりもカスタマイズがしやすく、ESLintとかPrettierとかの設定がしやすい印象でした。
create-react-appで作ったものよりも動作も心なしかサクサクだったようなので、こっちを使っていこうかなという感じです。
全国でやってみるとかは別な記事で....
読んでいただきありがとうございました!ノシ