DeepFakeを調査していたら、下記のGithubにたどり着きました。
をUbuntu22.04にInstallして
python run_pdb.py -s images/powell.jpg -t images/000002.jpg -o im
ages/out/
を実行すると、target(images/000002.jpg)の顔をsource(images/powell.jpg)風に変換することができます。
images/powell.jpg:

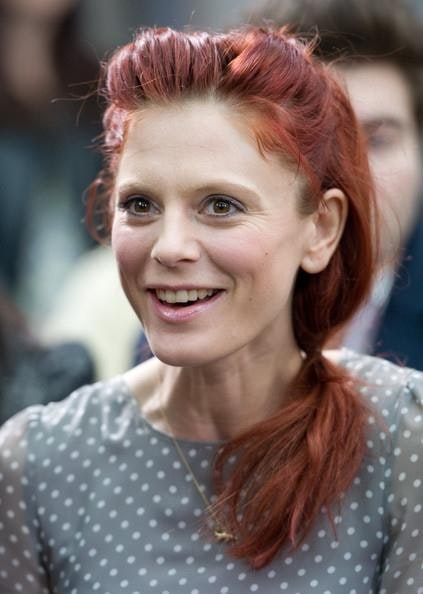
images/000002.jpg:
なら、実行結果は
images/out/powell-000002.jpg
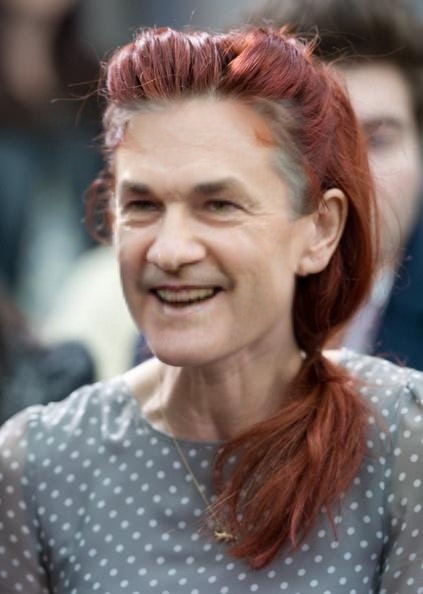
となります。
ソースをデバックしてみると、
の46~56行目でinswapper_128.onnxがsession.run()されていた。
    def get(self, img, target_face, source_face, paste_back=True):
        aimg, M = face_align.norm_crop2(img, target_face.kps, self.input_size[0])
        blob = cv2.dnn.blobFromImage(aimg, 1.0 / self.input_std, self.input_size,
                                      (self.input_mean, self.input_mean, self.input_mean), swapRB=True)
        latent = source_face.normed_embedding.reshape((1,-1))
        latent = np.dot(latent, self.emap)
        latent /= np.linalg.norm(latent)
        pred = self.session.run(self.output_names, {self.input_names[0]: blob, self.input_names[1]: latent})[0]
        #print(latent.shape, latent.dtype, pred.shape)
        img_fake = pred.transpose((0,2,3,1))[0]
        bgr_fake = np.clip(255 * img_fake, 0, 255).astype(np.uint8)[:,:,::-1]
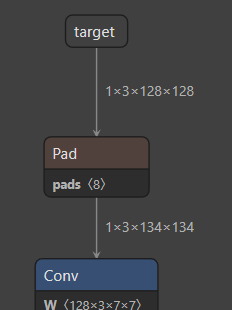
inswapper_128.onnxの入力は2種類で、
target(=blob): 1x3x128x128
source(=latent): 1x512

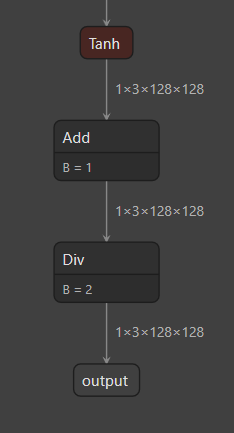
出力は1種類、
output(=pred): 1x3x128x128
inswapper_128.onnxを単体で動かすためには、
- step1. target画像から顔画像をcrop, 正規化して、1x3x128x128にreshapeしたtensorを用意(=blob)
- step2. source画像からxxxして1x512のtensorを用意(=latent)
- step3. blobとlatentをinswapper_128.onnxに入力
する必要がある。
Step2.のxxxが何してるか調査中。。