はじめに
Next.js×Auth0を使ってログイン機能を作成します。
公式のページが一番分かりやすく、簡単だったのでそちらの方法で進めていきます。
必要なもの
1.Auth0のアカウント
2.npm install @auth0/nextjs-auth0
1.アカウントを作成する。
アカウントを作成したらDashboardからApplications

アプリケーションを作成

名前を決めて、SPAを選択
ダッシュボードページに移行したら
Settingの

Allowed Callback URLをhttp://localhost:3000/api/auth/callback
Logout URLをhttp://localhost:3000
と設定します。
QuickStartページに移行し、Next.jsと入力します。


2.Next.js
authインストール
auth0をインストールします。
npm install @auth0/nextjs-auth0
keyを取得
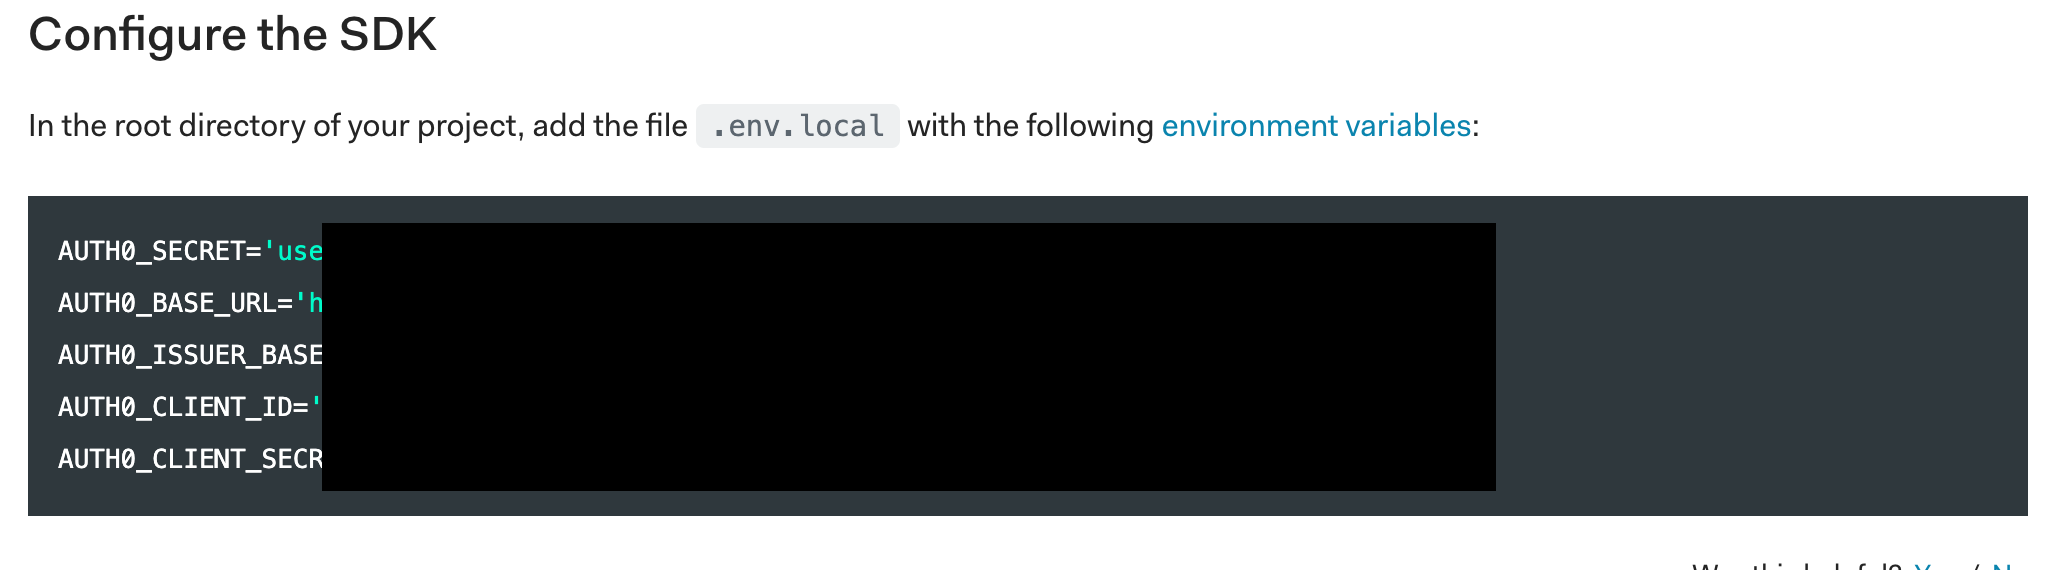
ルートディレクトリの中に***.env.local***ファイルを作成し、以下の内容をコピペします。
page/apiの中にauth/[...auth0].jsを作成
[...auth0].js
import { handleAuth } from '@auth0/nextjs-auth0';

export default handleAuth();
UseProviderを設定
``pages/_app.jsx`にuseProviderをimportします。
_app.jsx
import React from 'react';
import { UserProvider } from '@auth0/nextjs-auth0';

export default function App({ Component, pageProps }) {
  return (
    <UserProvider>
      <Component {...pageProps} />
    </UserProvider>
  );
}
Loginボタン,Logoutボタンを作成
<a href="/api/auth/login">Login</a>
<a href="/api/auth/logout">Logout</a>
クリックするとログインページに移動します。

参考にしたページ