はじめに
Githubでソースの管理を行って、Herokuでアプリを動かしている場合、
GithubへのpushとHerokuへのデプロイのために、
$ git push origin master
$ git push origin heroku
のようなコマンドを実行しているケースがあると思われます。
本投稿では、Github の masterブランチへ commit が行われたら CircleCI に Heroku へのデプロイを実行させるための手順を紹介します。
もくじ
- CircleCIにProject(リポジトリ)を登録
- Github と CircleCI を連携させる
- CircleCI と Heroku を連携させる
手順
1. CircleCIにProject(リポジトリ)を登録
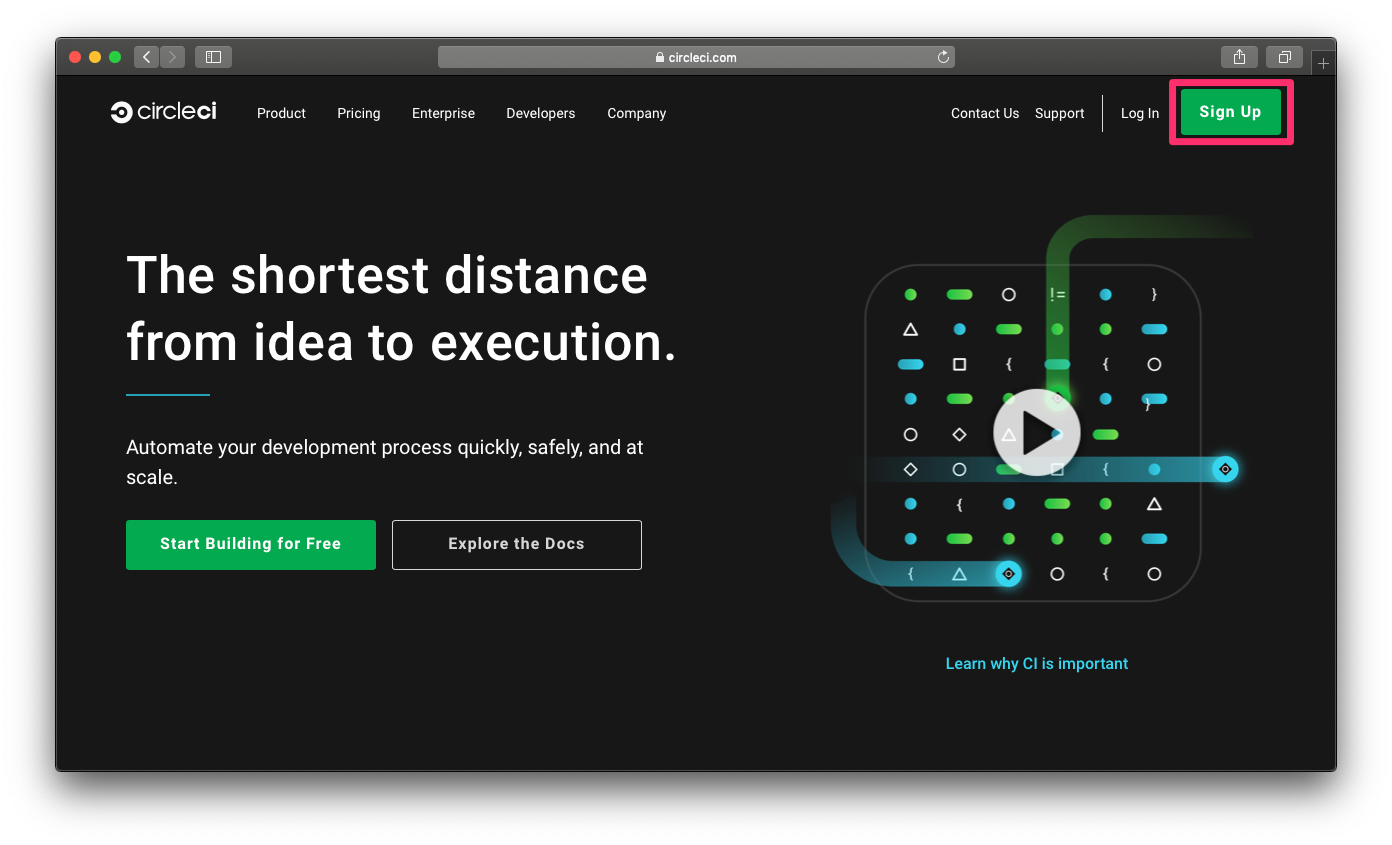
1.1 CircleCIにSignUp
CircleCIを利用したことがない場合は、SingUpします。
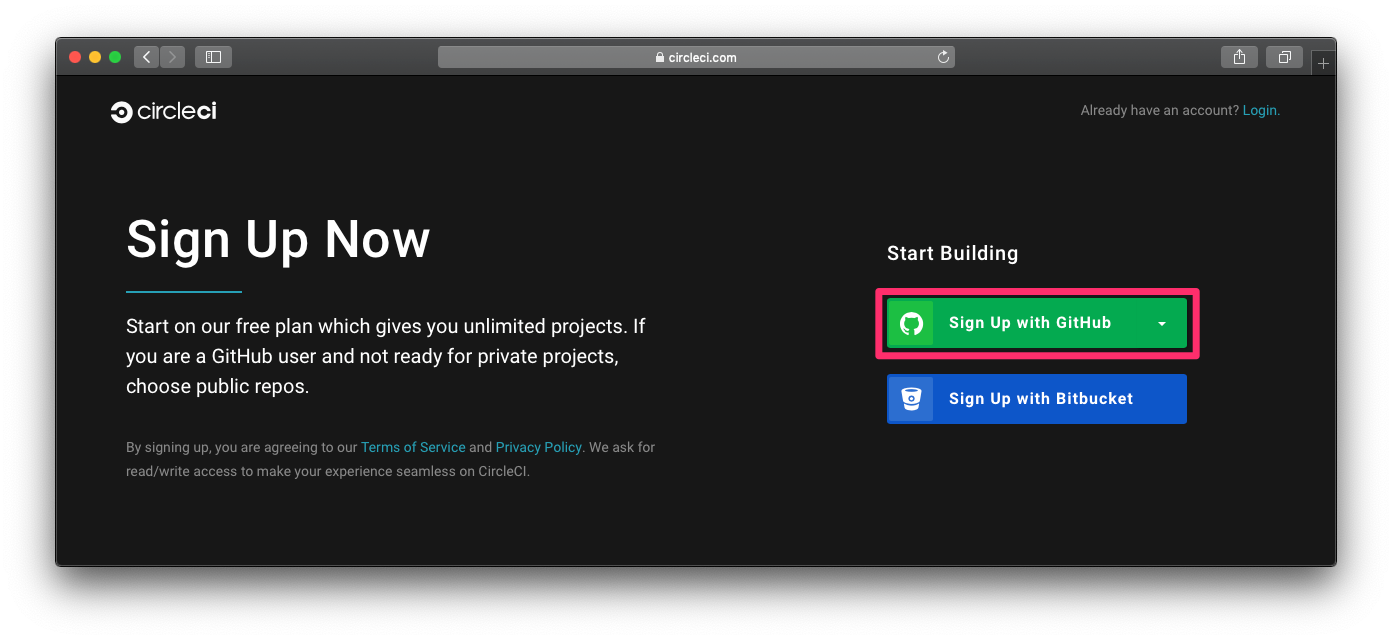
SignUpする際にGithubアカウントを指定することによってリポジトリをCircleCIのProjectとして登録出来るようになります。
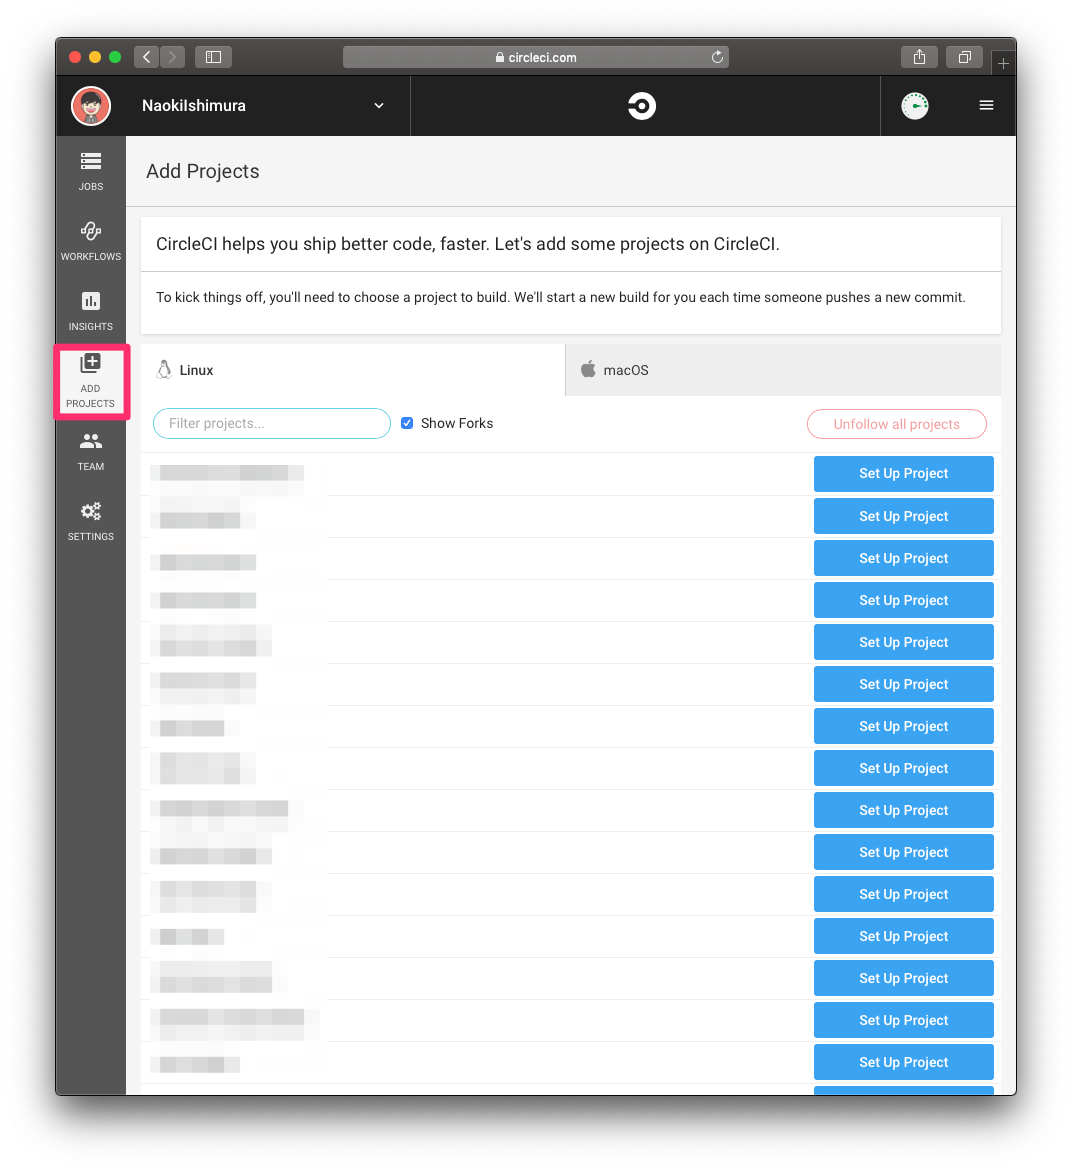
1.2 CircleCIにProjectとしてリポジトリを登録
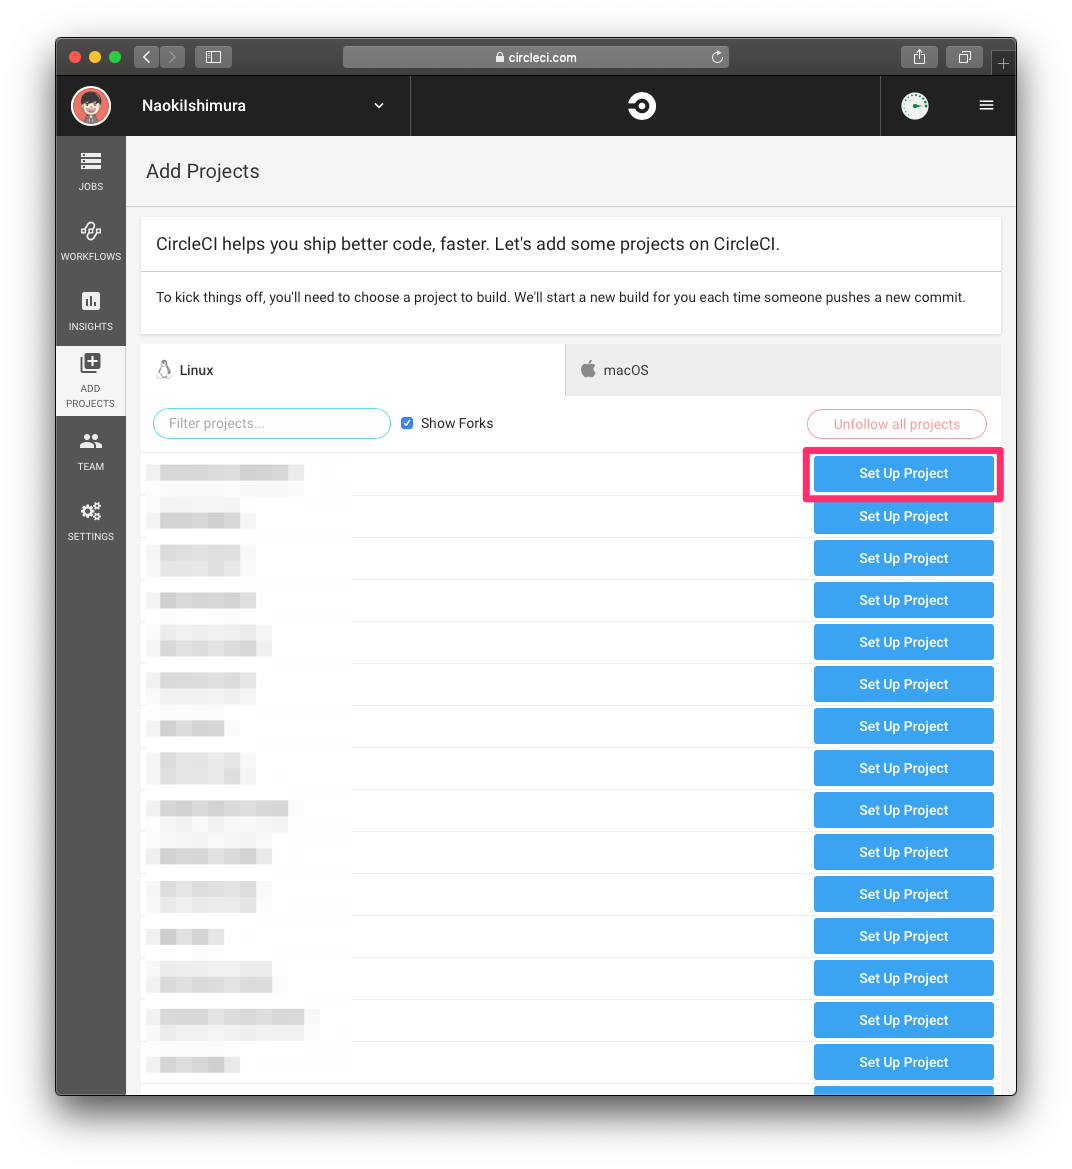
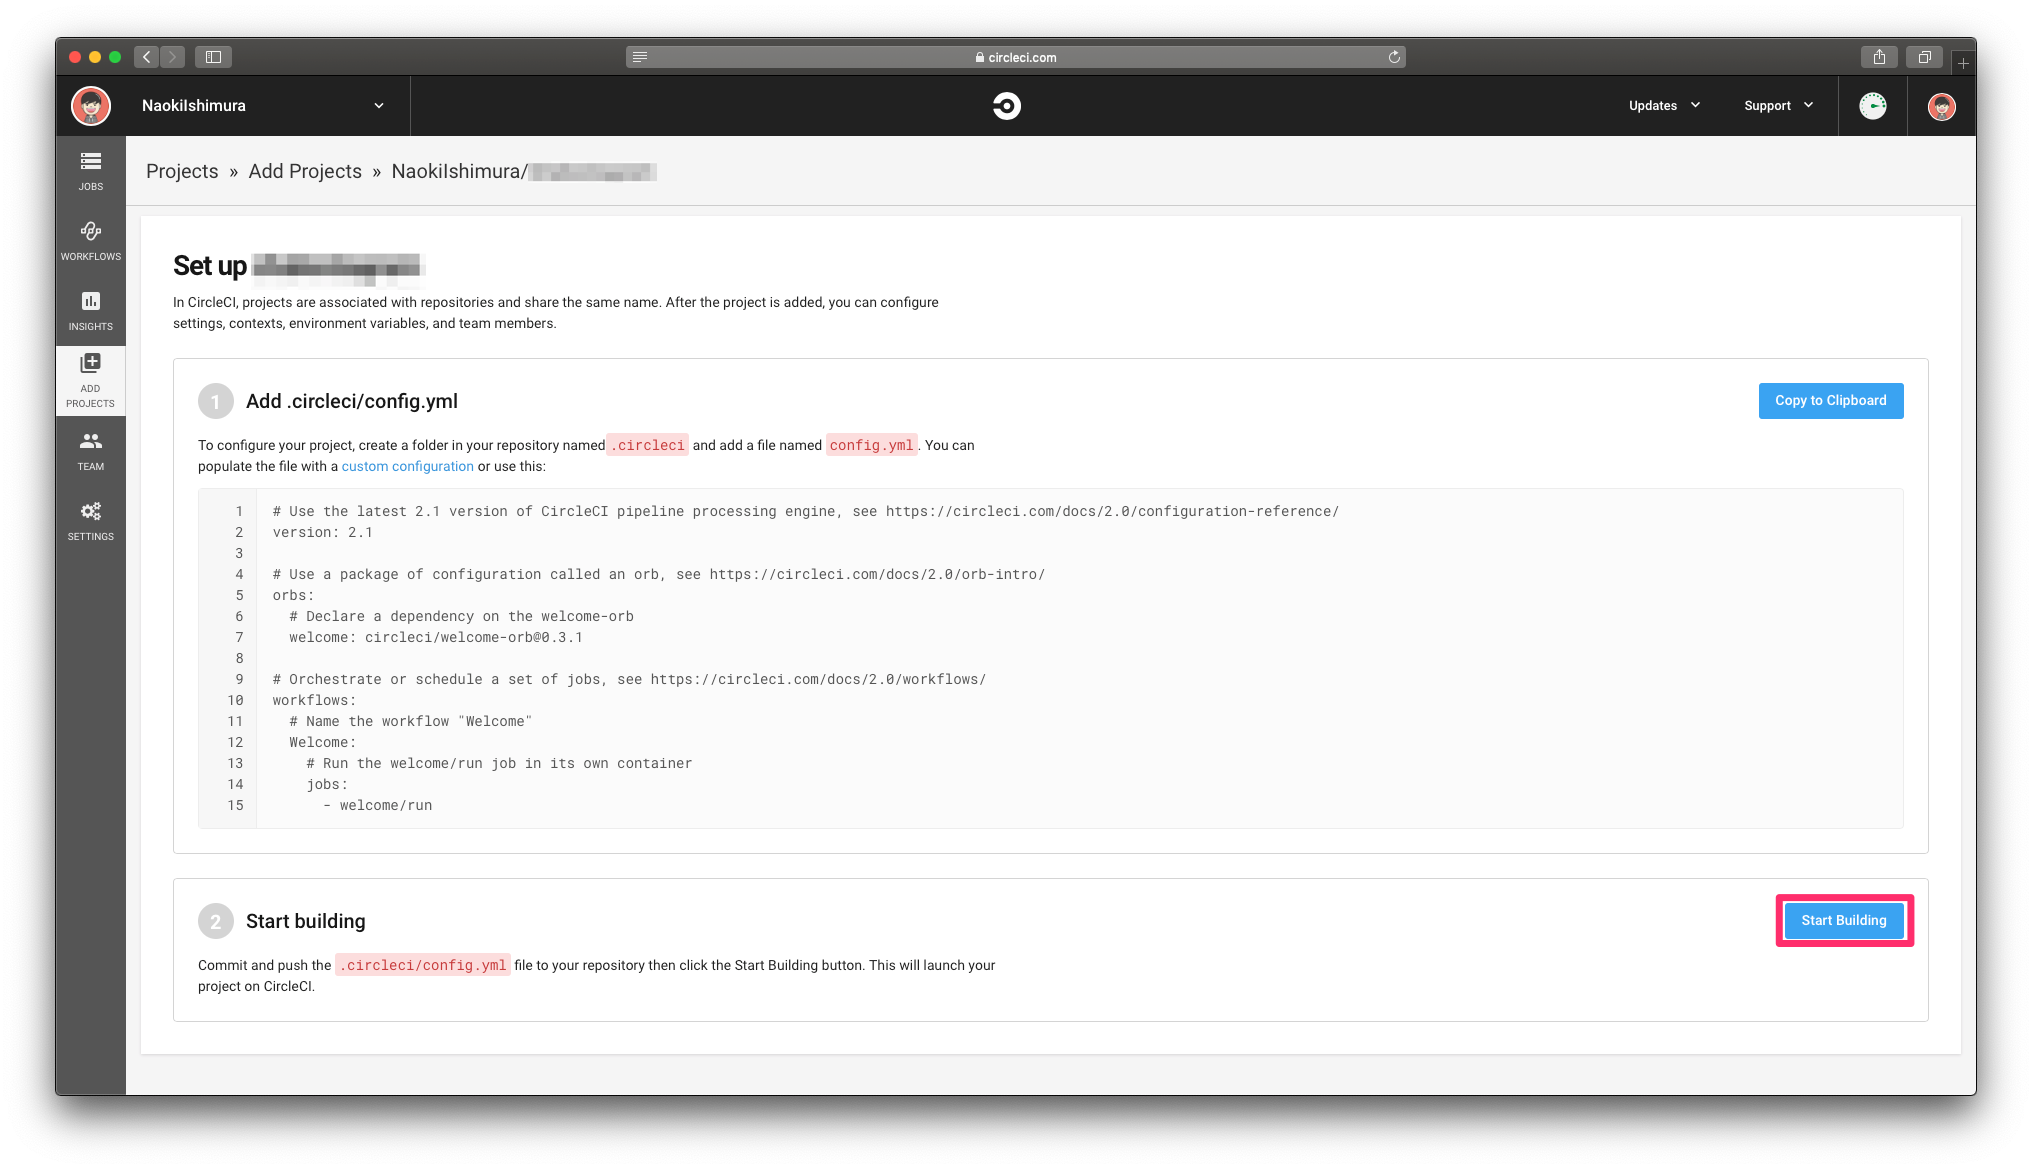
HerokuへデプロイさせたいソースのリポジトリをCircleCIにProjectとして登録します。
「Start Building」ボタンをクリックしたタイミングでリポジトリに.circleci/config.ymlが存在しないとビルドが失敗しますが、問題ありません。
2. Github と CircleCI を連携させる
2.1 リポジトリに.circleci/config.ymlを追加
GithubとCircleCIが連携できてることを確認するために、リポジトリに.circleci/config.ymlを追加します。
# Use the latest 2.1 version of CircleCI pipeline processing engine, see https://circleci.com/docs/2.0/configuration-reference/
version: 2.1

# Use a package of configuration called an orb, see https://circleci.com/docs/2.0/orb-intro/
orbs:
  # Declare a dependency on the welcome-orb
  welcome: circleci/welcome-orb@0.3.1

# Orchestrate or schedule a set of jobs, see https://circleci.com/docs/2.0/workflows/
workflows:
  # Name the workflow "Welcome"
  Welcome:
    # Run the welcome/run job in its own container
    jobs:
      - welcome/run
2.2 リポジトリをcommitして、Githubへpush
.circleci/config.ymlの追加をcommitして、Githubへpushします。
$ git add  .circleci/
$ git cm -m 'Add .circleci/config.yml'
$ git push origin master
2.3 CircleCIでビルドが実行されることを確認
GithubへのcommitをトリガーにCircleCIがビルドを実行するので、CircleCIのコンソールでビルドが実行→成功したことを確認します。
3. CircleCI と Heroku を連携させる
3.1 Heroku の API token を取得
Heroku CLIで CircleCIからのデプロイで必要となる API token を取得します。
$ heroku auth:token
 ›   Warning: token will expire MM/DD/YYYY
 ›   Use heroku authorizations:create to generate a long-term token
xxxx-xxxx-xxxx-xxxx-xxxx
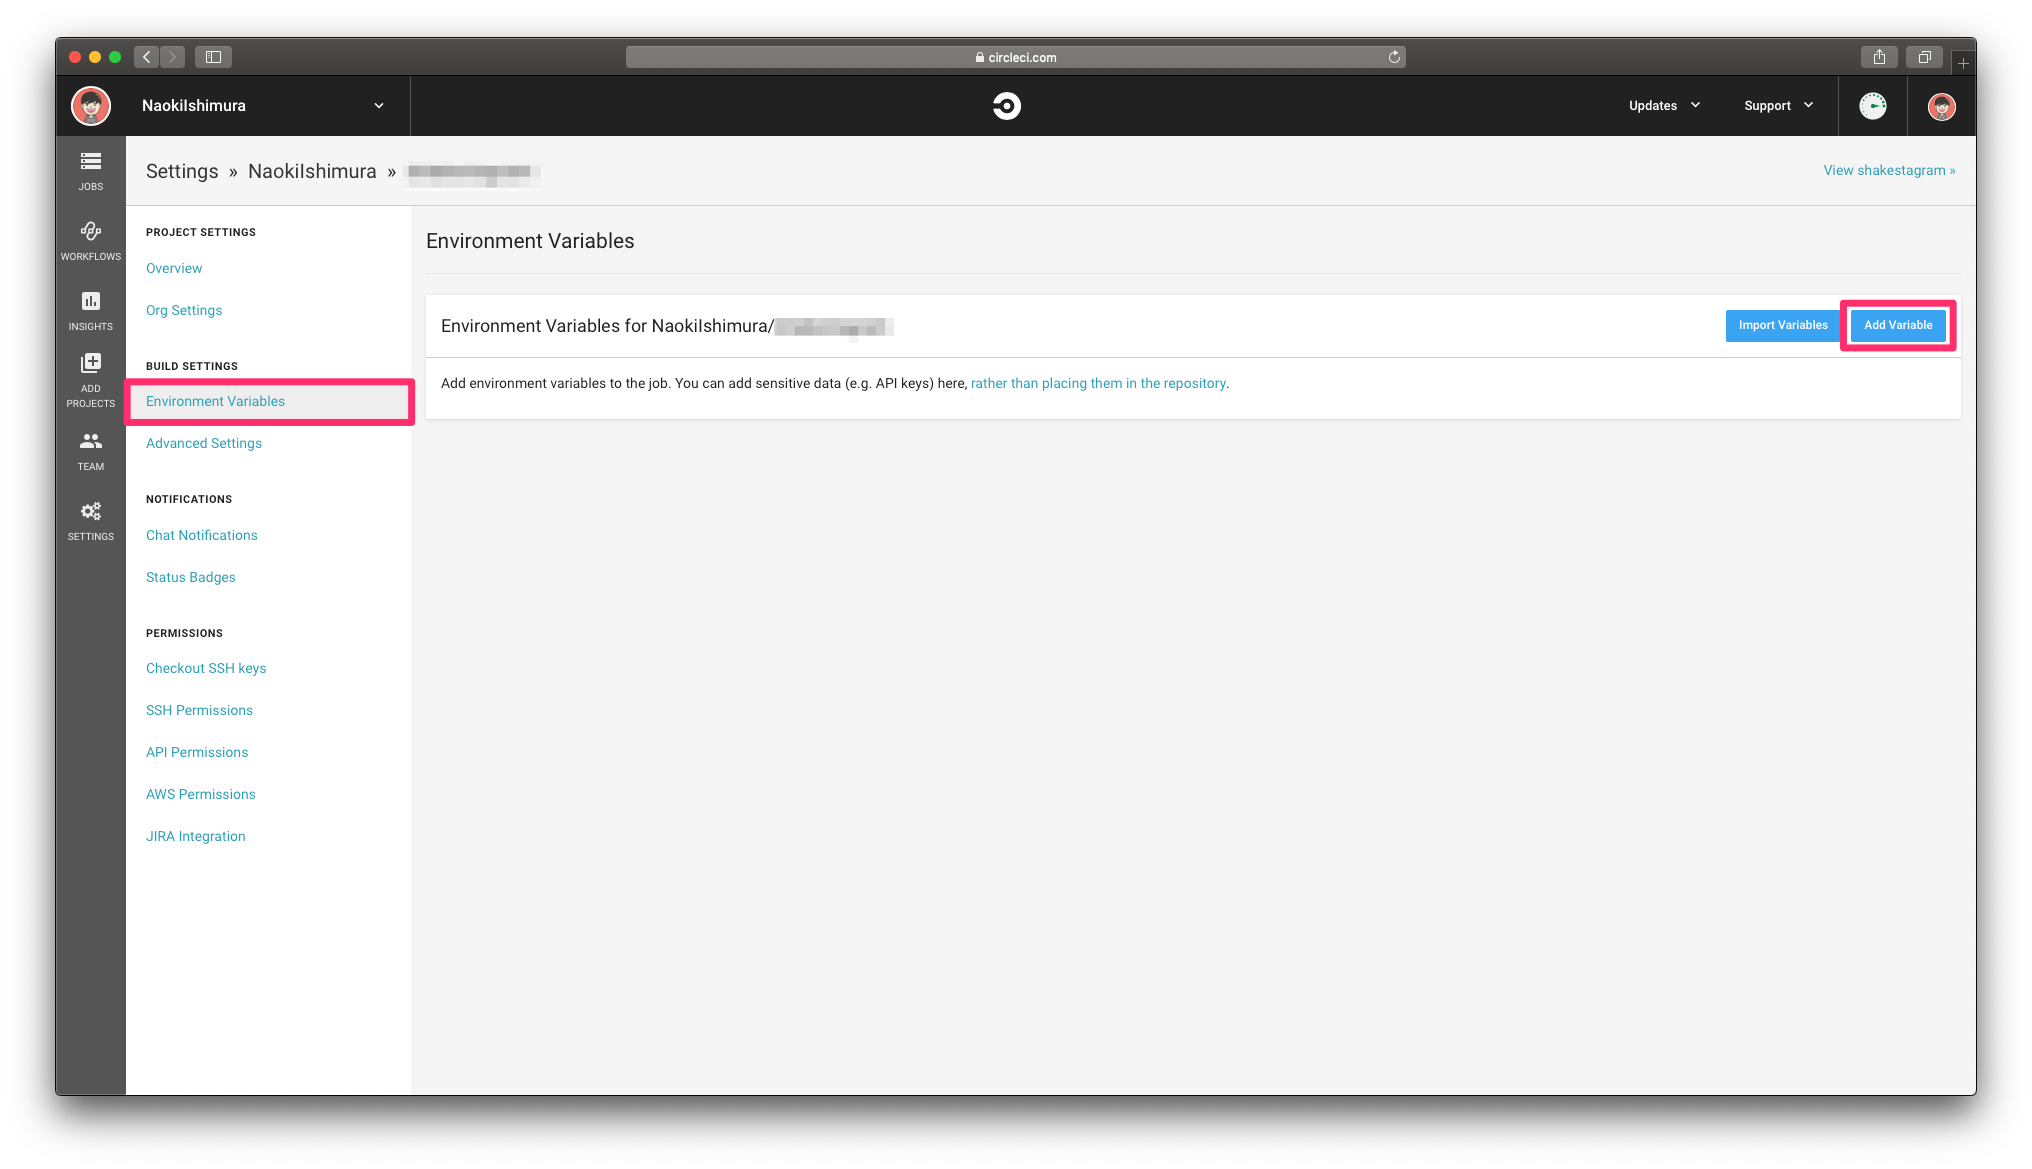
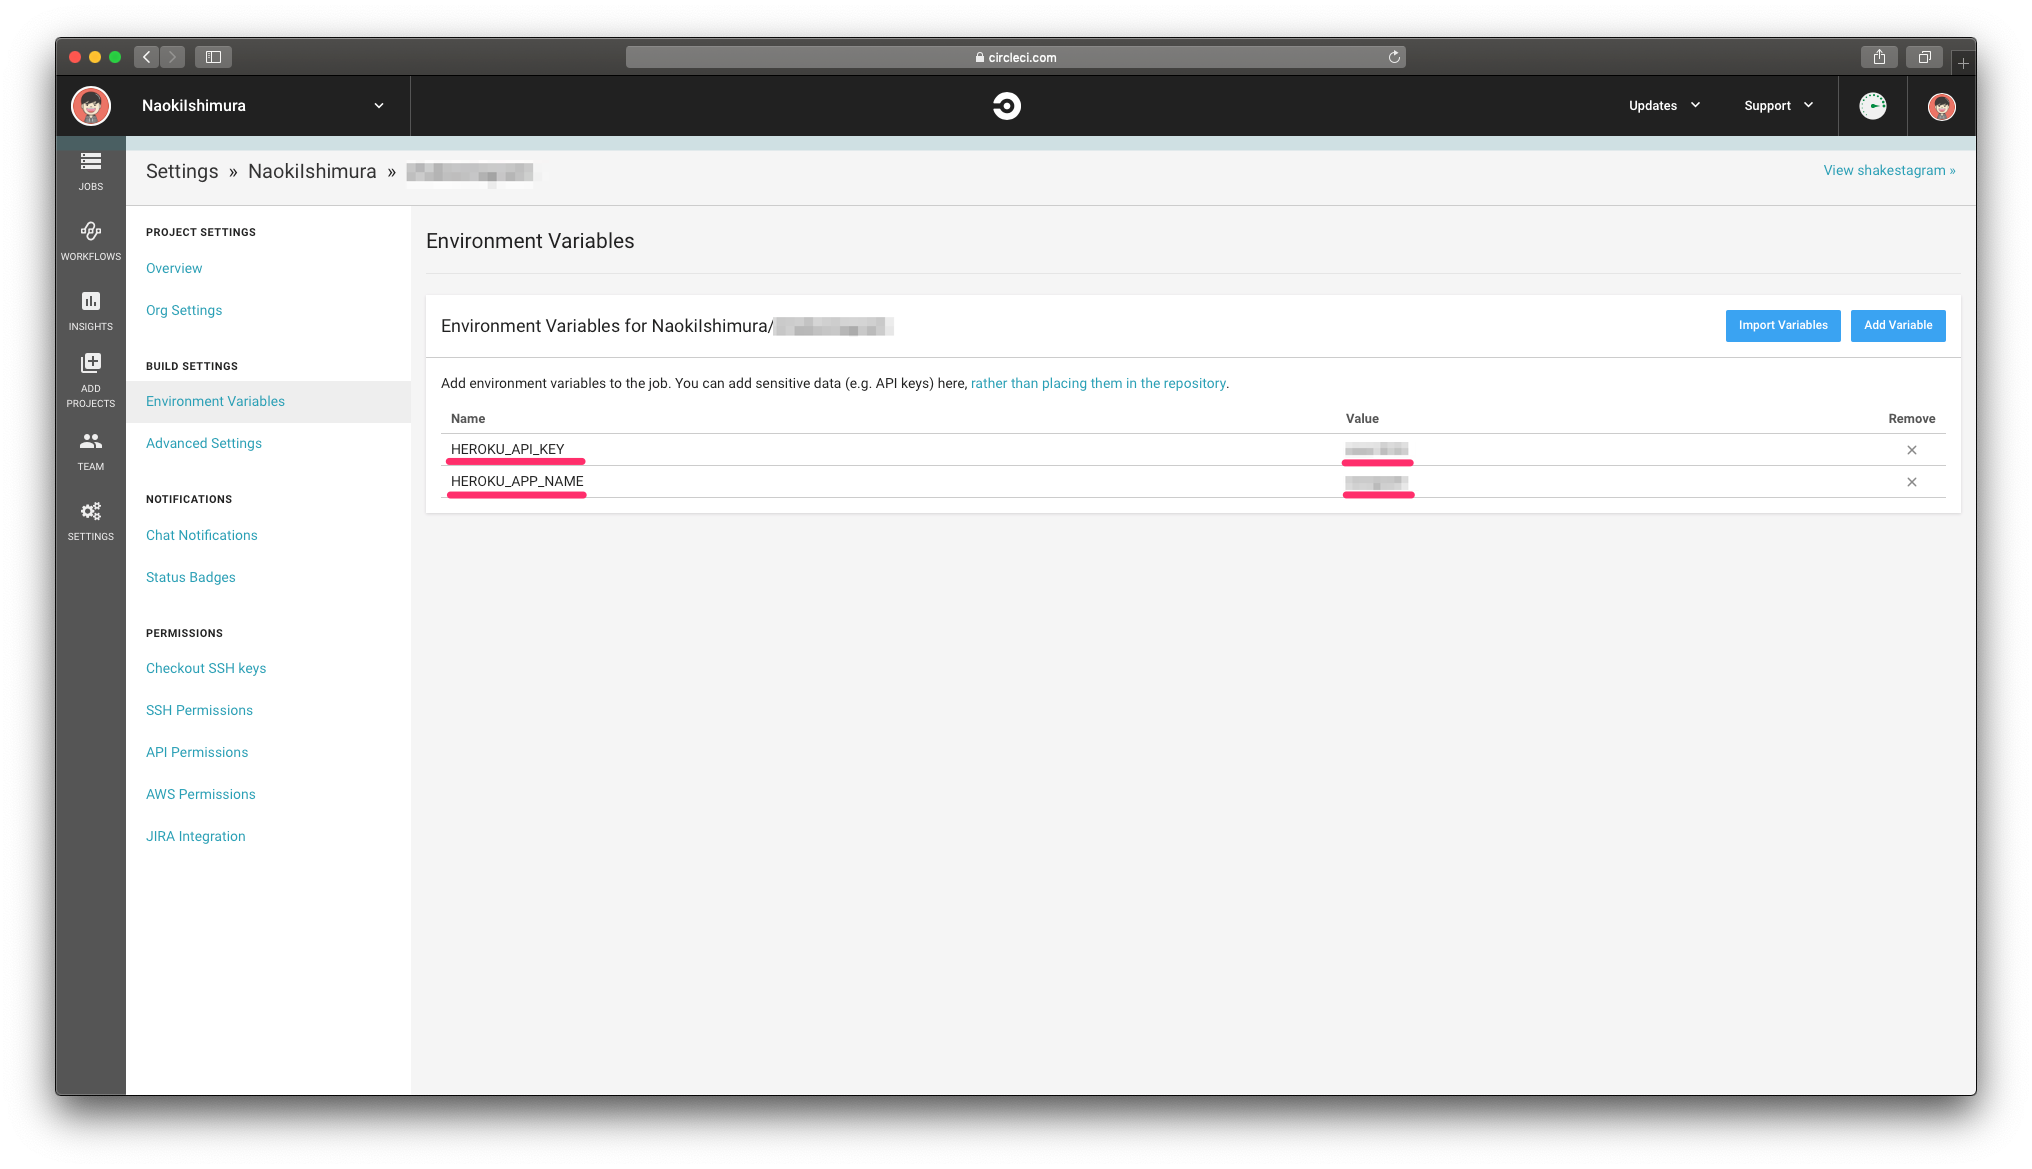
3.2 CircleCI で 環境変数を設定
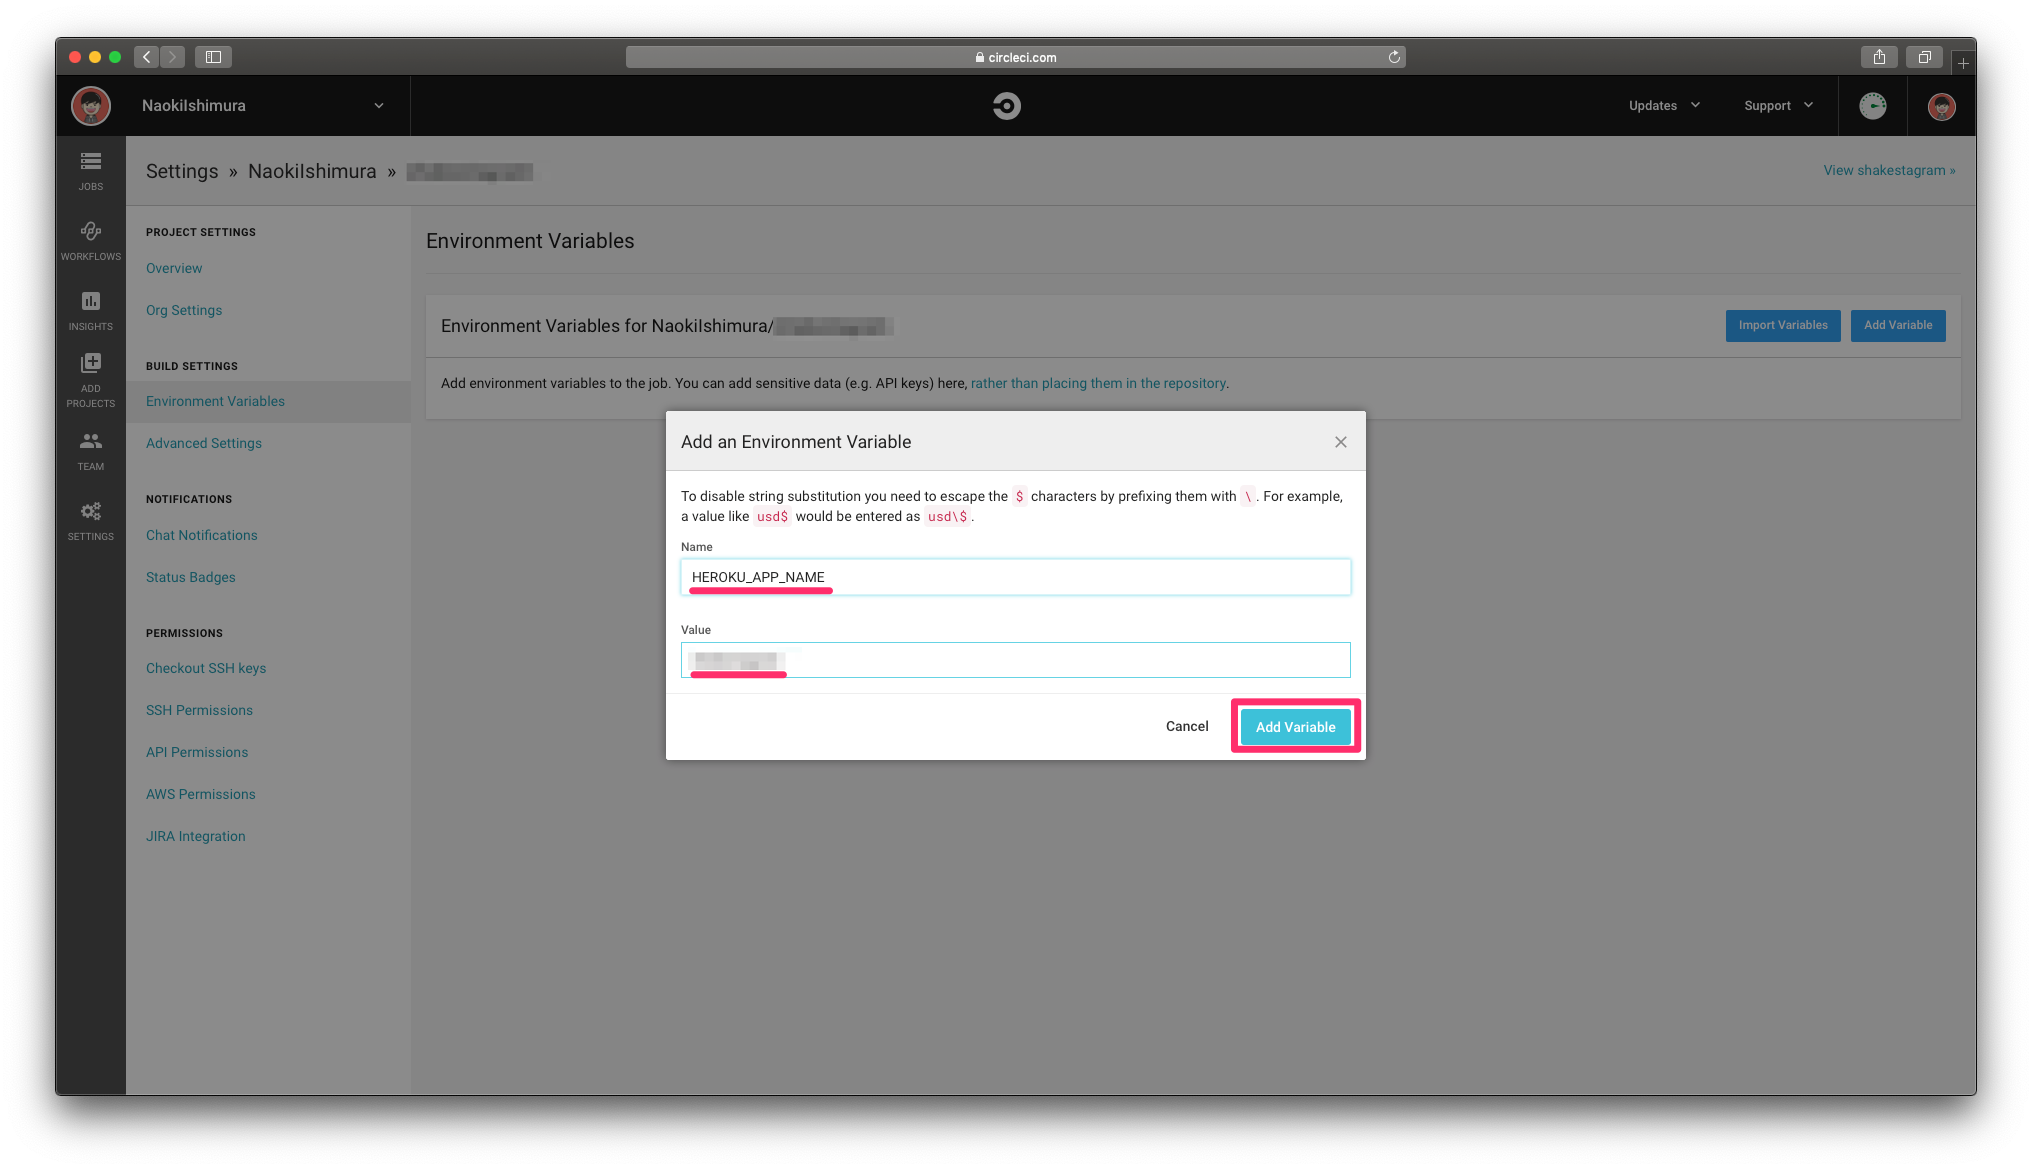
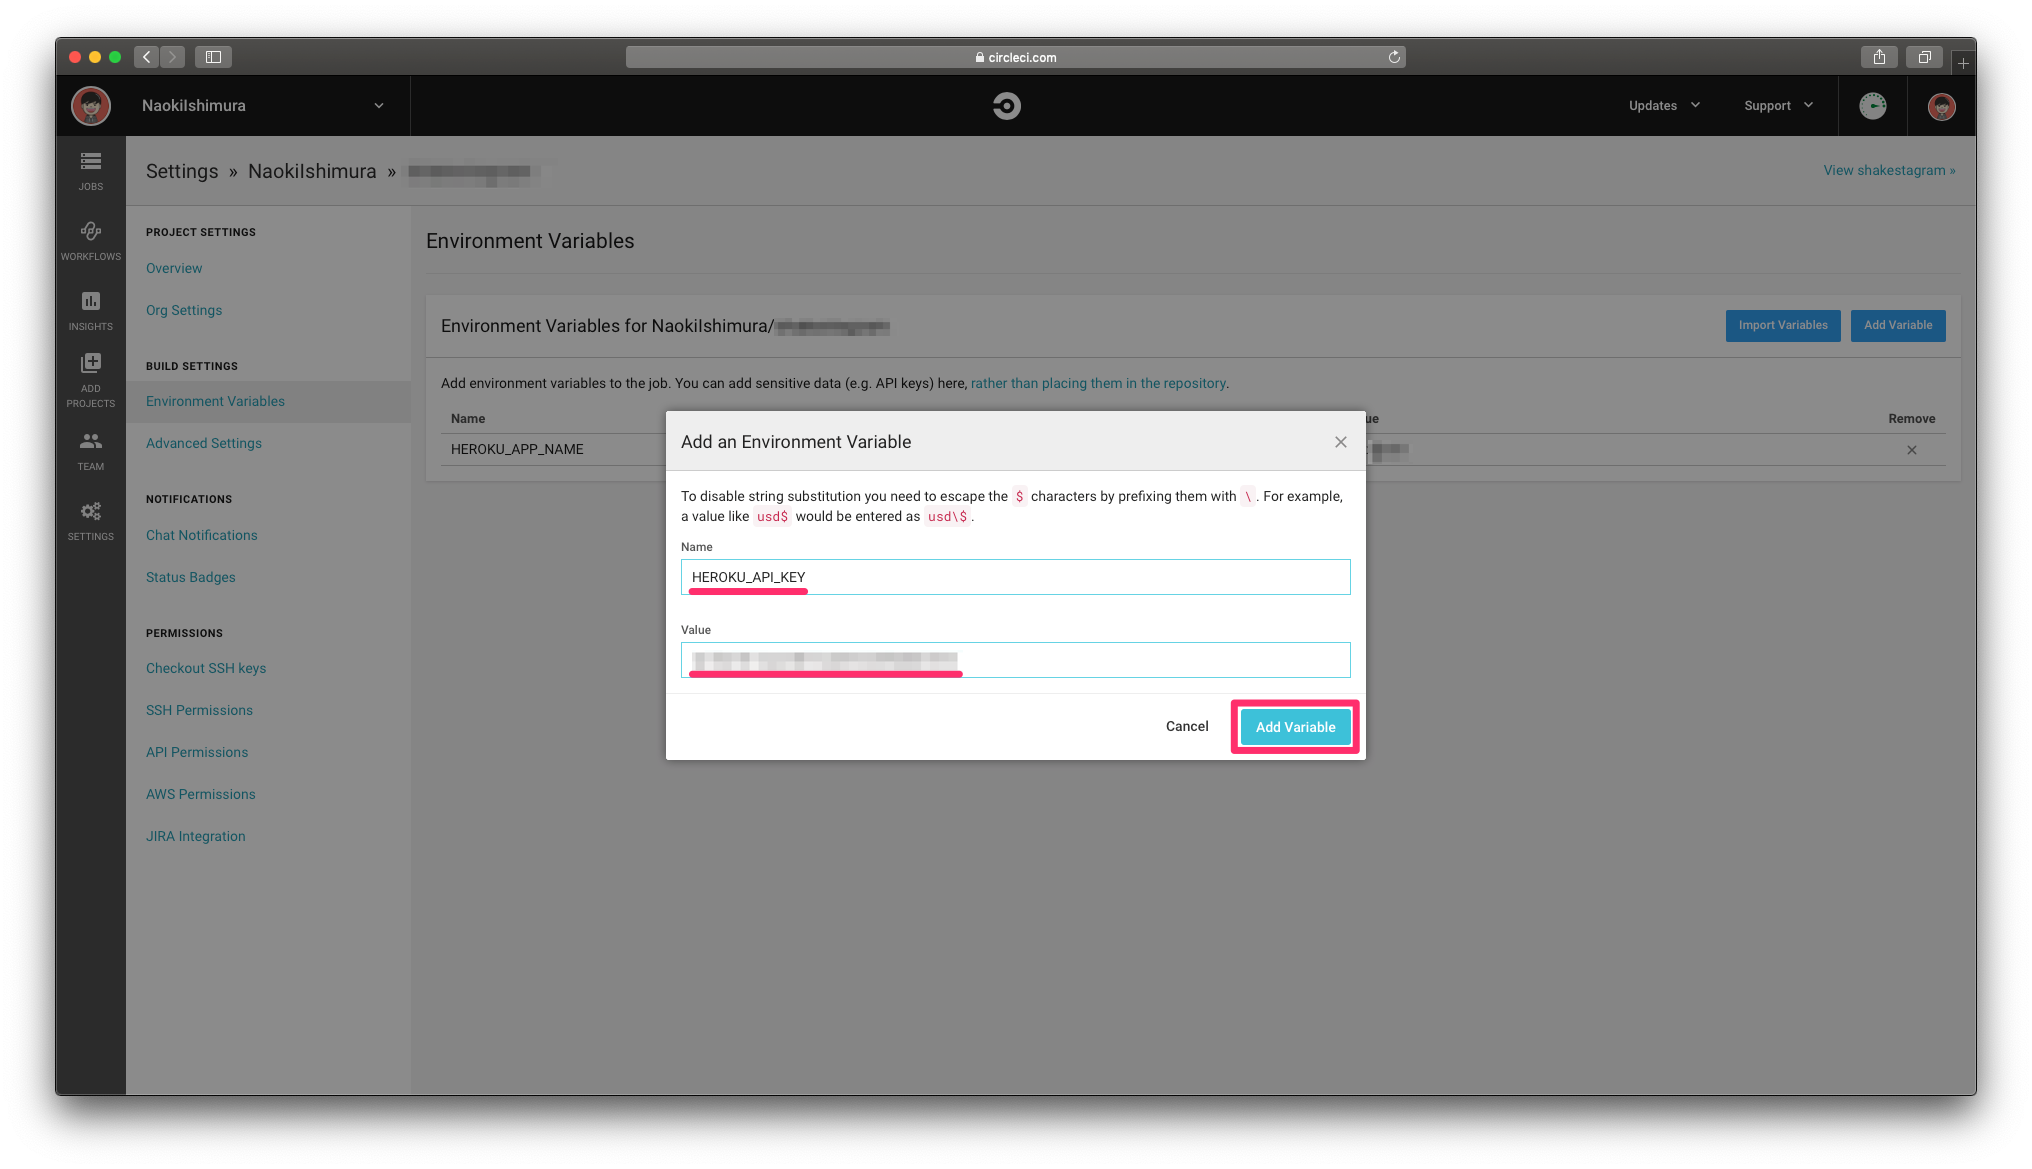
CircleCIのコンフィグでHerokuへのデプロイに必要な環境変数を設定します。
BUILD SETTINGS > Environment Values
| key | value |
|---|---|
| HEROKU_APP_NAME | herokuアプリ名 |
| HEROKU_API_KEY | API token |
3.3 .circleci/config.ymlを編集
Github の masterブランチへ commit が行われたら CircleCI に Heroku へのデプロイを実行させるように.circleci/config.ymlを編集して、Githubへpushします。
version: 2.1
orbs:
  heroku: circleci/heroku@0.0.8
workflows:
  heroku_deploy:
    jobs:
      - deploy
jobs:
  deploy:
    executor: heroku/default # Uses the basic buildpack-deps image, which has the prerequisites for installing heroku's CLI.
    steps:
      - checkout
      - heroku/install # Runs the heroku install command, if necessary.
      - heroku/deploy-via-git: # Deploys branch to Heroku via git push.
          only-branch: master # If you specify an only-branch, the deploy will not occur for any other branch.
$ git cm -am 'Update .circleci/config.yml'
$ git push origin master
3.4 Herokuへデプロイされたことを確認
CircleCIのコンソールでビルドが成功したことを確認
Heroku のログからデプロイが実行されたことを確認
$ heroku logs --source app --dyno api

2019-06-18T05:13:41.000000+00:00 app[api]: Build started by user xxxxx@gmail.com
2019-06-18T05:14:06.909755+00:00 app[api]: Deploy xxxxx by user xxxxx@gmail.com
2019-06-18T05:14:06.909755+00:00 app[api]: Release vxx created by user xxxxx@gmail.com
2019-06-18T05:14:13.000000+00:00 app[api]: Build succeeded
注意事項
CircleCIの公式ドキュメントではorbsにheroku@1.0.0が指定されているが、本投稿の執筆時点ではheroku@1.0.0は存在しないバージョンのため、ビルドエラーになった。
リリース済みの最新バージョンを確認したところ、0.0.8となっていたので、本投稿ではこのバージョンを利用した。
version: 2.1
orbs:
  heroku: circleci/heroku@1.0.0
workflows:
  heroku_deploy:
    jobs:
      - heroku/deploy-via-git
