はじめに
久しぶりにCentOSへRailsをインストールする機会があったので、nginxのインストールからRails連携までの手順をメモしました。
環境
CentOS 7.3.1611
Rails 5.1.2
nginx 1.10.2
もくじ
- nginx インストール
- nginx アクセス確認
- nginx バーチャルホスト設定
- Rails puma設定
- nginx→Railsアクセス確認
- nginx 自動起動設定
前提条件
Railsアプリは/home/xxx/hello-appに配置された状態
1. nginx インストール
# インストール
$ sudo yum install -y nginx

# バージョン確認
$ nginx -v
yumコマンドでnginxがインストールできなかった場合はこちらをご参考ください。
CentOSにnginxをインストールする方法 - Qiita
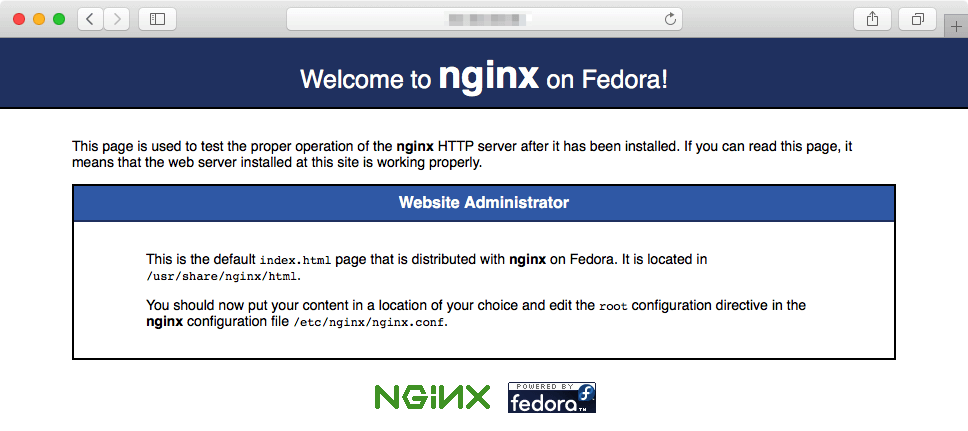
2. nginx アクセス確認
# nginx起動
$ sudo nginx
ブラウザでサーバのアドレスにアクセスする
https://example.com
# nginx停止
sudo nginx -s stop
3. nginx バーチャルホスト設定
コンフィグファイルを修正する
vi /etc/nginx/nginx.conf
user nginx;
worker_processes auto;
error_log /var/log/nginx/error.log;
pid /run/nginx.pid;

include /usr/share/nginx/modules/*.conf;

events {
    worker_connections 1024;
}

http {
    log_format  main  '$remote_addr - $remote_user [$time_local] "$request" '
                      '$status $body_bytes_sent "$http_referer" '
                      '"$http_user_agent" "$http_x_forwarded_for"';

    access_log  /var/log/nginx/access.log  main;

    sendfile            on;
    tcp_nopush          on;
    tcp_nodelay         on;
    keepalive_timeout   65;
    types_hash_max_size 2048;

    include             /etc/nginx/mime.types;
    default_type        application/octet-stream;

    include /etc/nginx/conf.d/*.conf;
    include /etc/nginx/sites-enabled/*;
}
バーチャルホスト設定ファイル配置ディレクトリを用意する
$ mkdir /etc/nginx/sites-available
$ mkdir /etc/nginx/sites-enabled
バーチャルホスト設定ファイルを作成する
# アプリ名をhello-appとする場合
vi /etc/nginx/sites-available/hello-app
# アプリ名:hello-app
# アプリ配置ディレクトリ:/home/xxx/hello-app
# アプリで使用するポート:3000

upstream hello-app {
  server unix:/home/xxx/hello-app/tmp/sockets/puma.sock;
}

server {
  listen 80;
  server_name .*;

  root /home/xxx/hello-app/public;

  location / {
    try_files $uri @app;
  }

  location @app {
    proxy_set_header    Host                $http_host;
    proxy_set_header    X-Real-IP           $remote_addr;
    proxy_set_header    X-Forwarded-Host    $host;
    proxy_set_header    X-Forwarded-For     $proxy_add_x_forwarded_for;
    proxy_set_header    X-Forwarded-Proto   $scheme;
    proxy_pass http://hello-app;
  }
}
/etc/nginx/sites-enabledディレクトリにバーチャルホスト設定ファイルをコピーする
$ ln -s /etc/nginx/sites-available/hello-app /etc/nginx/sites-enabled/hello-app
4. Rails puma設定
puma.rbに設定を追記する
$ cd ~/hello-app
$ vi /config/puma.rb
# 追記
bind "unix://#{Rails.root}/tmp/sockets/puma.sock"
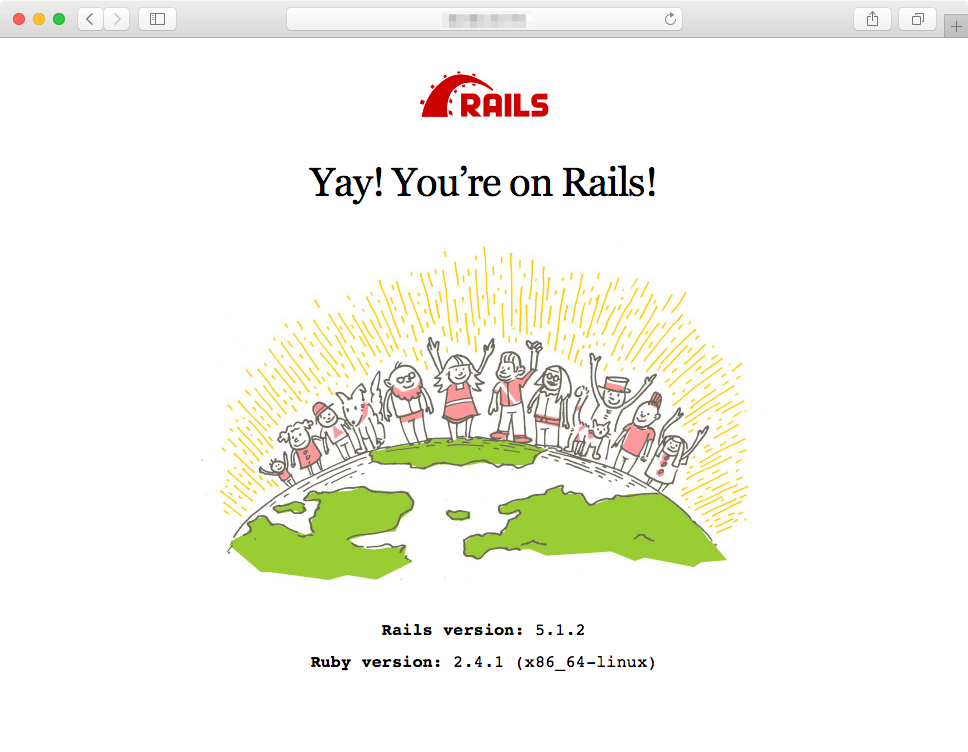
5. nginx→Railsアクセス確認
# nginx起動
$ sudo nginx

# Railsサーバ起動
$ cd ~/hello-app
$ sudo env PATH=$PATH bin/rails s -p 3000
ブラウザでサーバのアドレスにアクセスする
https://example.com
# Railsサーバ停止
Ctrl + C

# nginx停止
$ sudo nginx -s stop
6. 自動起動設定
アクセス確認して問題なければ自動起動設定をする
# 自動起動ON
$ sudo systemctl enable nginx

# 状態確認
$ sudo systemctl status nginx
おまけ
うまくアクセス出来ない場合はこちらもご参考ください。
【忘却録】nginx, Rails連携時に「502 Bad Gateway」となる場合のSELinux設定 - Qiita
【忘却録】nginx, Rails連携時にassets配下のファイルにアクセスできない場合の解決方法 - Qiita

