この記事の内容について
こんにちは!プログラミングのオンラインスクールで学習をしている初学者です。
以前に投稿させていただいたDockerを用いたRailsの環境構築をチームで使用した際に幾つかの問題が発生したので、そちらの改善版になります。
前回と同様、間違い等もあるかと思いますので、ご指摘等いただけたら幸いです。
前回に投稿した記事について
前回に投稿させていただいた記事は下記になります!実装方法などかなり変わっているので、一応記載しておきます。
Ruby on Railsでの開発環境をDockerを用いて構築する
Dockerで作成した環境(私の作成した際のバージョン)
Ruby 3.14
Rails 7.0.8
Mysql 8.1.0
Node.js 20.5.1
開発PC Mac
環境構築の流れ
- プロジェクトディレクトリの作成
- 必要ファイルの作成
- dockerfile / docker-compose.yml / Gemfileの変更
- プロジェクトの作成
- DB接続の設定を変更
- DBの作成
- イメージ起動&確認
環境構築を始める前に
以下の内容を先に決めておきましょう!
- アプリ名
- DBのユーザー名
- DBのパスワード
記事の中では以下のように設定しています。
- アプリ名(sample_app)
- DBのユーザー名(root)
- DBのパスワード(password)
1. プロジェクトディレクトリの作成
プロジェクトを作成するディレクトリに移動し、ターミナルで以下のコマンドを実行する。
※ 「sample_app」は「アプリケーション名」です。
mkdir sample_app
作成したディレクトリに移動する
cd sample_app
2. 必要ファイルの作成
この時点で必要なファイルは手動で作成していきます。
主に必要なファイルは下記になります。
- dockerfile
- docker-compose.yml
- Gemfile
- Gemfile.lock
- yarn.lock
touch dockerfile
touch docker-compose.yml
touch Gemfile
touch Gemfile.lock
touch yarn.lock
3. dockerfile / docker-compose.yml / Gemfileの変更
「sample_app」と記載している部分は、最初に定義した「アプリケーション名」を使用してください。
dockerfile
# ベースとなるDockerイメージを選択(ruby 3.1.4を使用する)
ARG RUBY_VERSION=ruby:3.1.4
ARG NODE_VERSION=20

FROM $RUBY_VERSION
ARG RUBY_VERSION
ARG NODE_VERSION
ENV LANG C.UTF-8
ENV TZ Asia/Tokyo

# 「Node.js」および「yarnパッケージ」のダウンロードを行っている。
# -----
RUN curl -sL https://deb.nodesource.com/setup_${NODE_VERSION}.x | bash - \
&& wget --quiet -O /tmp/pubkey.gpg https://dl.yarnpkg.com/debian/pubkey.gpg && apt-key add /tmp/pubkey.gpg \
&& echo "deb https://dl.yarnpkg.com/debian/ stable main" | tee /etc/apt/sources.list.d/yarn.list \
&& apt-get update -qq \
&& apt-get install -y build-essential nodejs yarn
# -----

#作成予定のアプリケーション名を使用する
RUN mkdir /sample_app
WORKDIR /sample_app

# RubyGemsのバージョンがRuby 3.1.4に対応するように「system 3.3.3」を指定している。
RUN gem update --system 3.3.3

RUN gem install bundler
COPY Gemfile /sample_app/Gemfile
COPY Gemfile.lock /sample_app/Gemfile.lock
COPY yarn.lock /sample_app/yarn.lock
RUN bundle install
RUN yarn install
COPY . /sample_app
docker-compose-yml
services:
  db:
    image: mysql:latest
    platform: linux/amd64
    environment:
      TZ: Asia/Tokyo

      # 作成するデータベースの「ユーザー名」と「パスワード」を設定する
      MYSQL_DATABASE: root
        MYSQL_ROOT_PASSWORD: password

    volumes:
      - mysql_data:/var/lib/mysql
    ports:
      - 3306:3306
  web:
    build: .
    command: bash -c "rm -f tmp/pids/server.pid && bundle exec rails s -p 3000 -b '0.0.0.0'"
    tty: true
    stdin_open: true
    volumes:
      - .:/sample_app
      - bundle_data:/usr/local/bundle:cached
      - node_modules:/sample_app/node_modules
    environment:
      TZ: Asia/Tokyo
    ports:
      - "3000:3000"
    depends_on:
      - db
volumes:
  mysql_data:
  bundle_data:
  node_modules:

# ボリュームのマウントとは?
# アプリケーションのデータ管理や永続化、コンテナ間のデータ共有などで使用する
# 特に、データベース、設定ファイル、ログファイル、アプリケーションコードなどを永続化するために頻繁に利用される。
Gemfile
source 'https://rubygems.org'
gem 'rails', '~>7.0.1'
Gemfile.lock
ファイルの作成のみ
yarn.lock
ファイルの作成のみ
4. プロジェクトの作成
下記コマンドを実行し、Railsアプリケーションを作成する。
docker-compose run web rails new . --force --no-deps --database=mysql
オプションの説明(ChatGPTから引用)
- --force
既存のディレクトリに対しても上書きを強制します。このオプションは、既存のファイルやディレクトリがある場合にも新しいRailsアプリケーションを作成できるようにします。 - --no-deps
依存関係のサービスを起動しないようにします。通常、docker-compose runは依存関係のサービスも起動しますが、このオプションを指定することでそれを回避します。 - --database=mysql
MySQLをデータベースとして使用するように新しいRailsプロジェクトを構成します。このオプションは、デフォルトではSQLiteが使用される設定を上書きしています。
5. DB接続の設定を変更
# MySQL. Versions 5.5.8 and up are supported.
#
# Install the MySQL driver
#   gem install mysql2
#
# Ensure the MySQL gem is defined in your Gemfile
#   gem "mysql2"
#
# And be sure to use new-style password hashing:
#   https://dev.mysql.com/doc/refman/5.7/en/password-hashing.html
#
default: &default
  adapter: mysql2
  encoding: utf8mb4
  pool: <%= ENV.fetch("RAILS_MAX_THREADS") { 5 } %>

  # docker-compose.ymlで指定したものを記載する
  username: root
  password: password
  # hostはdbに変更する
  host: db

development:
  <<: *default
  database: sample_app_development

# Warning: The database defined as "test" will be erased and
# re-generated from your development database when you run "rake".
# Do not set this db to the same as development or production.
test:
  <<: *default
  database: sample_app_test

# As with config/credentials.yml, you never want to store sensitive information,
# like your database password, in your source code. If your source code is
# ever seen by anyone, they now have access to your database.
#
# Instead, provide the password or a full connection URL as an environment
# variable when you boot the app. For example:
#
#   DATABASE_URL="mysql2://myuser:mypass@localhost/somedatabase"
#
# If the connection URL is provided in the special DATABASE_URL environment
# variable, Rails will automatically merge its configuration values on top of
# the values provided in this file. Alternatively, you can specify a connection
# URL environment variable explicitly:
#
#   production:
#     url: <%= ENV["MY_APP_DATABASE_URL"] %>
#
# Read https://guides.rubyonrails.org/configuring.html#configuring-a-database
# for a full overview on how database connection configuration can be specified.
#
production:
  <<: *default
  database: sample_app_production
  username: sample_app
  password: <%= ENV["APP_DATABASE_PASSWORD"] %>
6. DB作成
下記のコマンドを実行し、DBを作成する
docker-compose run web rails db:create
7. イメージ起動&確認
下記のコマンドを実行し、イメージを起動する
docker-compose up
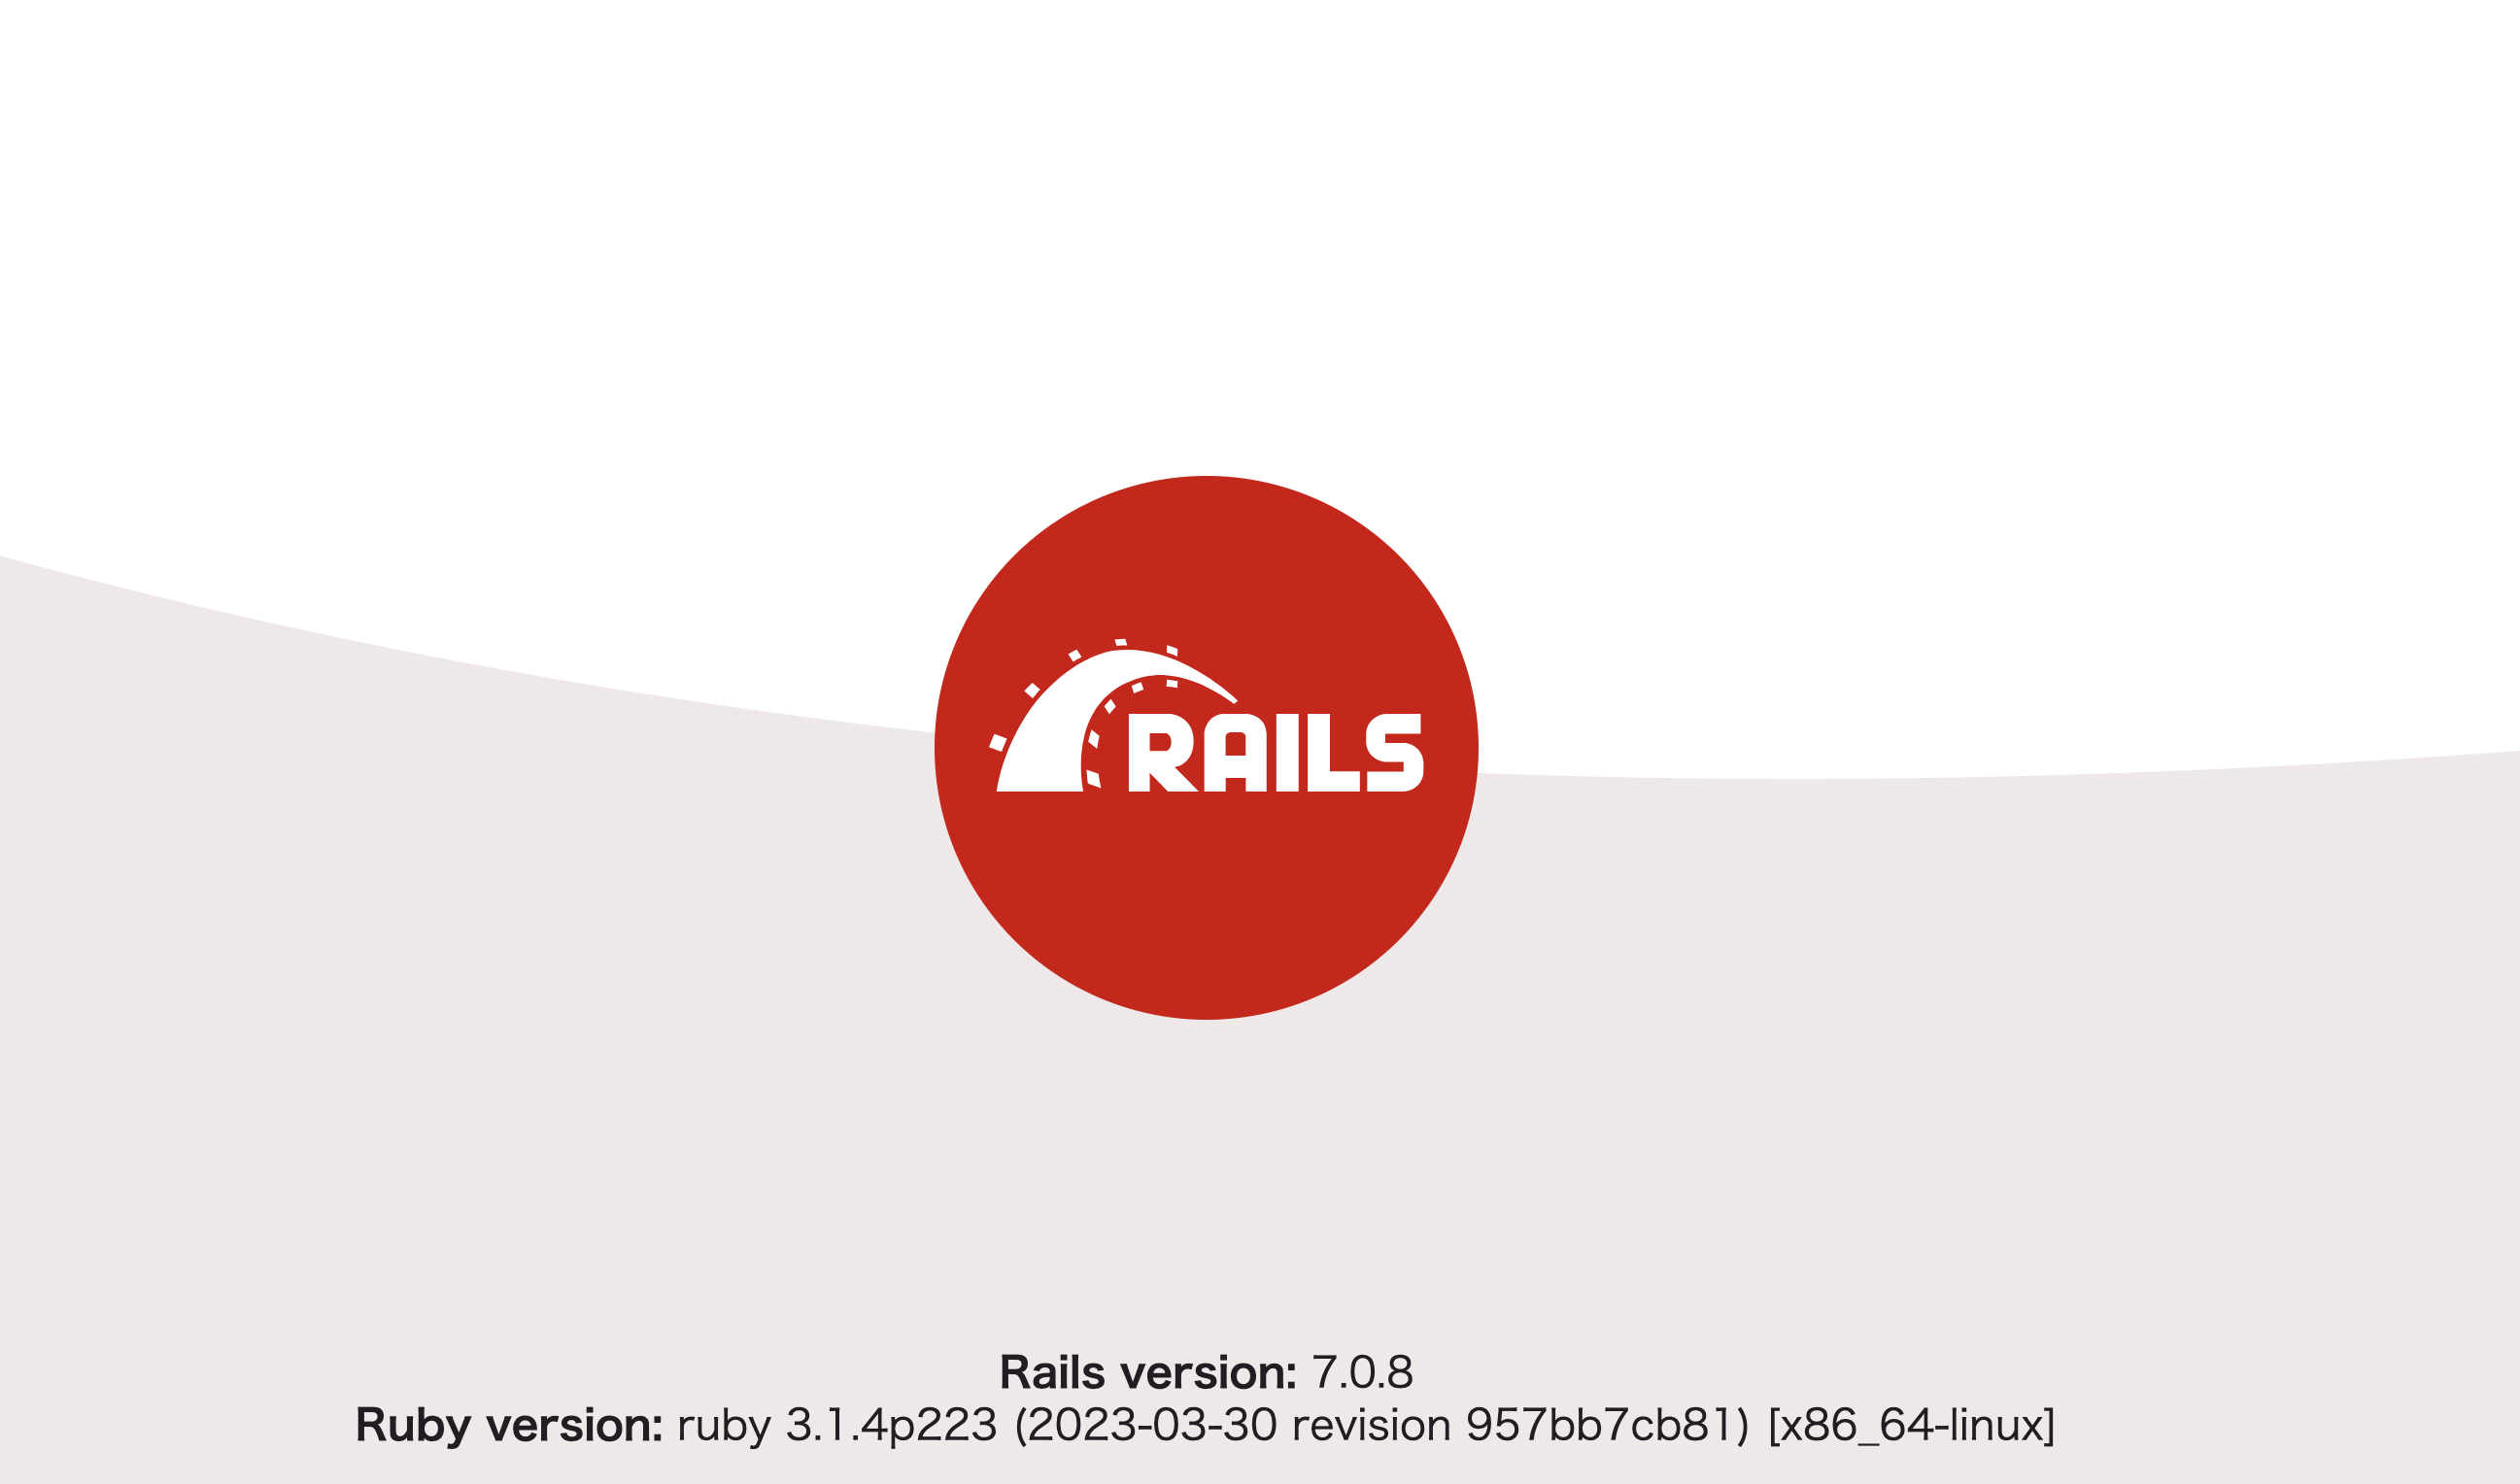
「http://localhost:3000/」にアクセスし、下記のような画像が表示されれば成功!!
参考文献
この記事は以下の情報を参考にして執筆しました。
