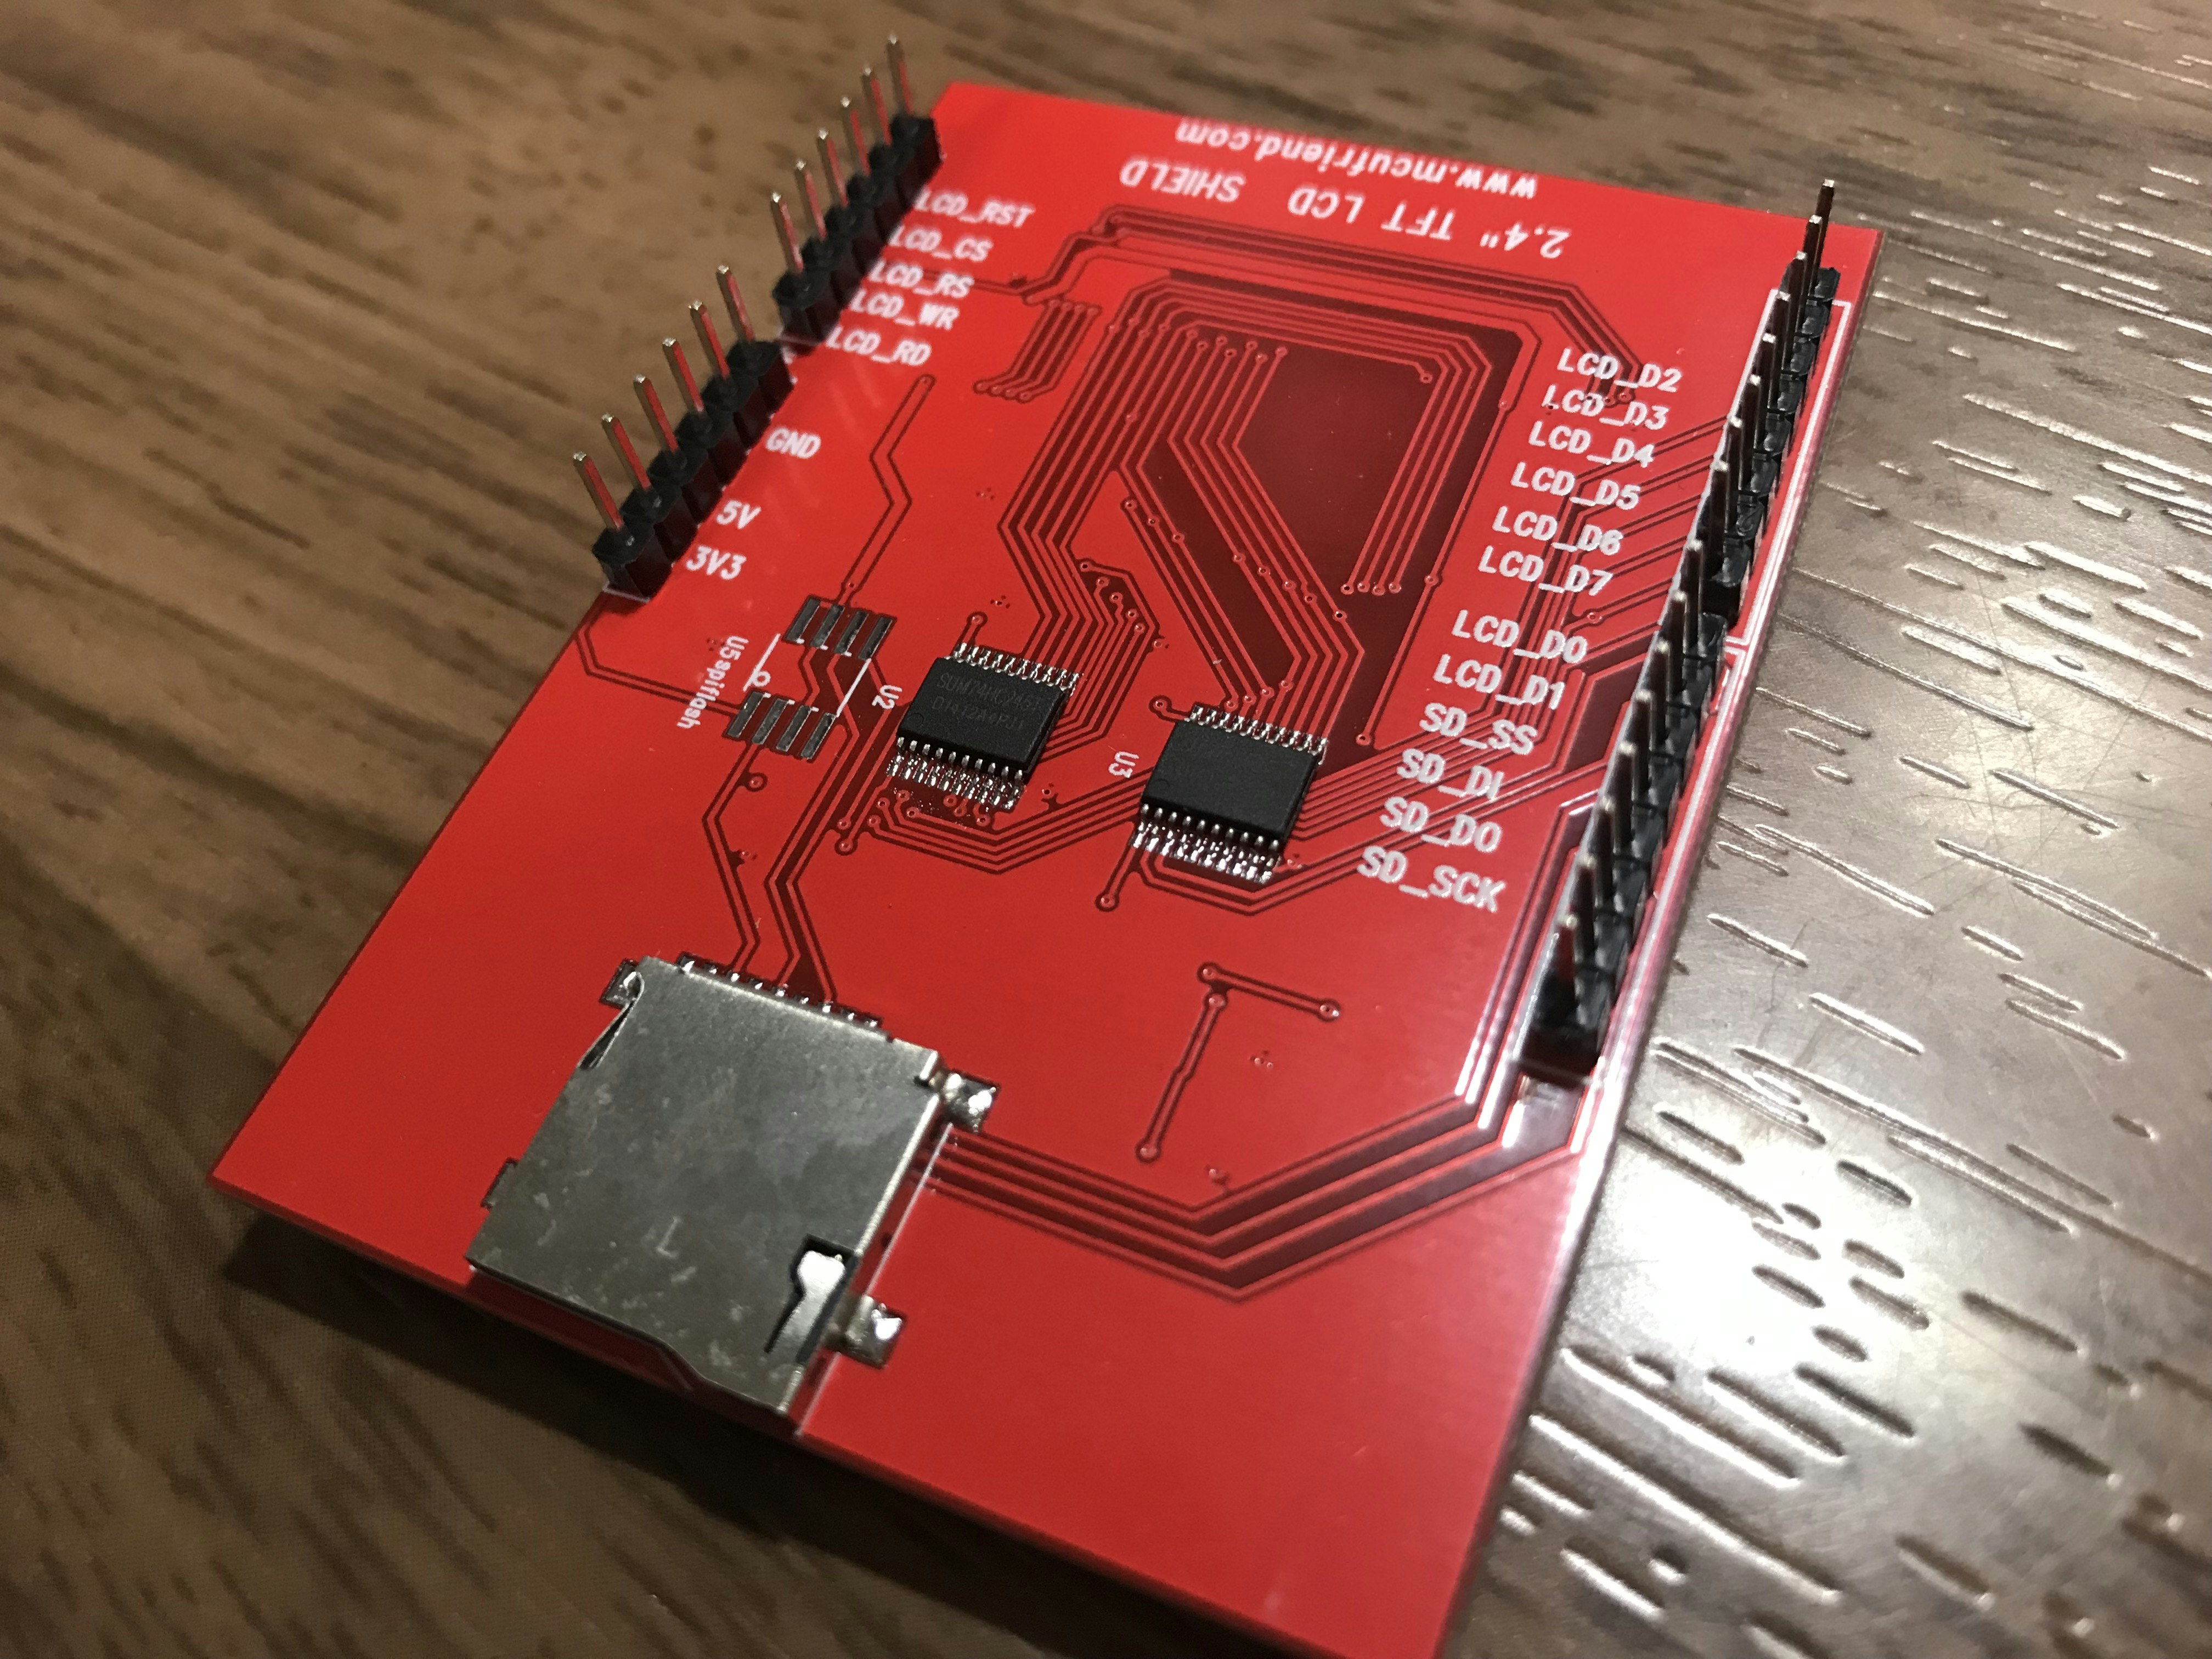
# include <Adafruit_GFX.h> // Core graphics library
//#include <Adafruit_TFTLCD.h> // Hardware-specific library
# include <MCUFRIEND_kbv.h>
MCUFRIEND_kbv tft;
# include <SD.h>
# include <SPI.h>

# define LCD_CS A3 // Chip Select goes to Analog 3
# define LCD_CD A2 // Command/Data goes to Analog 2
# define LCD_WR A1 // LCD Write goes to Analog 1
# define LCD_RD A0 // LCD Read goes to Analog 0

// When using the BREAKOUT BOARD only, use these 8 data lines to the LCD:
// For the Arduino Uno, Duemilanove, Diecimila, etc.:
// D0 connects to digital pin 8 (Notice these are
// D1 connects to digital pin 9 NOT in order!)
// D2 connects to digital pin 2
// D3 connects to digital pin 3
// D4 connects to digital pin 4
// D5 connects to digital pin 5
// D6 connects to digital pin 6
// D7 connects to digital pin 7


// 色の数値を設定します。各RGBを16ビットで指定
// 赤"1111 1000 0000 0000"
// 緑"0000 0111 1110 0000"
// 青"0000 0000 0001 1111"
// もっと細かく設定すれば中間色も出せそうです。
//0xは16進数の意味です。
# define BLACK 0x0000
# define BLUE 0x001F
# define RED 0xF800
# define GREEN 0x07E0
# define CYAN 0x07FF
# define MAGENTA 0xF81F
# define YELLOW 0xFFE0
# define WHITE 0xFFFF

# define SD_CS 10 // Set the chip select line to whatever you use (10 doesnt conflict with the library)
//Adafruit_TFTLCD tft(LCD_CS, LCD_CD, LCD_WR, LCD_RD, A4);


void setup()
{
Serial.begin(9600);

tft.reset();

uint16_t identifier = tft.readID();
tft.begin(identifier);
SD.begin(SD_CS);

}
void loop()
{
tft.setRotation(1);
bmpDraw("0000.bmp", 0, 0);
delay(2000);

tft.fillScreen(0);
tft.setRotation(1);
bmpDraw("0001.bmp", 0, 0);
delay(2000);

tft.fillScreen(0);
tft.setRotation(0);
bmpDraw("0002.bmp", 0, 0);
delay(2000);

tft.fillScreen(0);
tft.setRotation(0);
bmpDraw("0003.bmp", 0, 0);
delay(2000);

tft.fillScreen(0);
tft.setRotation(1);
bmpDraw("0004.bmp", 0, 0);
delay(2000);

tft.fillScreen(0);
tft.setRotation(1);
bmpDraw("0005.bmp", 0, 0);
delay(2000);

tft.fillScreen(0);
tft.setRotation(1);
bmpDraw("0006.bmp", 0, 0);
delay(2000);

tft.fillScreen(0);
tft.setRotation(1);
bmpDraw("0007.bmp", 0, 0);
delay(2000);

tft.fillScreen(0);
}

# define BUFFPIXEL 20

void bmpDraw(char *filename, int x, int y) {

File bmpFile;
int bmpWidth, bmpHeight; // W+H in pixels
uint8_t bmpDepth; // Bit depth (currently must be 24)
uint32_t bmpImageoffset; // Start of image data in file
uint32_t rowSize; // Not always = bmpWidth; may have padding
uint8_t sdbuffer[3*BUFFPIXEL]; // pixel in buffer (R+G+B per pixel)
uint16_t lcdbuffer[BUFFPIXEL]; // pixel out buffer (16-bit per pixel)
uint8_t buffidx = sizeof(sdbuffer); // Current position in sdbuffer
boolean goodBmp = false; // Set to true on valid header parse
boolean flip = true; // BMP is stored bottom-to-top
int w, h, row, col;
uint8_t r, g, b;
uint32_t pos = 0, startTime = millis();
uint8_t lcdidx = 0;
boolean first = true;

if((x >= tft.width()) || (y >= tft.height())) return;

// Open requested file on SD card
if ((bmpFile = SD.open(filename)) == NULL) {
Serial.print("File not found ");
Serial.println(filename);
return;
}

// Parse BMP header
if(read16(bmpFile) == 0x4D42) { // BMP signature
Serial.println(F("File size: ")); Serial.println(read32(bmpFile));
(void)read32(bmpFile); // Read & ignore creator bytes
bmpImageoffset = read32(bmpFile); // Start of image data
Serial.print(F("Image Offset: ")); Serial.println(bmpImageoffset, DEC);
// Read DIB header
Serial.print(F("Header size: ")); Serial.println(read32(bmpFile));
bmpWidth = read32(bmpFile);
bmpHeight = read32(bmpFile);
if(read16(bmpFile) == 1) { // # planes -- must be '1'
bmpDepth = read16(bmpFile); // bits per pixel
Serial.print(F("Bit Depth: ")); Serial.println(bmpDepth);
if((bmpDepth == 24) && (read32(bmpFile) == 0)) { // 0 = uncompressed

goodBmp = true; // Supported BMP format -- proceed!

// BMP rows are padded (if needed) to 4-byte boundary
rowSize = (bmpWidth * 3 + 3) & ~3;

// If bmpHeight is negative, image is in top-down order.
// This is not canon but has been observed in the wild.
if(bmpHeight < 0) {
bmpHeight = -bmpHeight;
flip = false;
}

// Crop area to be loaded
w = bmpWidth;
h = bmpHeight;
if((x+w-1) >= tft.width()) w = tft.width() - x;
if((y+h-1) >= tft.height()) h = tft.height() - y;

// Set TFT address window to clipped image bounds
tft.setAddrWindow(x, y, x+w-1, y+h-1);

for (row=0; row<h; row++) { // For each scanline...
// Seek to start of scan line. It might seem labor-
// intensive to be doing this on every line, but this
// method covers a lot of gritty details like cropping
// and scanline padding. Also, the seek only takes
// place if the file position actually needs to change
// (avoids a lot of cluster math in SD library).
if(flip) // Bitmap is stored bottom-to-top order (normal BMP)
pos = bmpImageoffset + (bmpHeight - 1 - row) * rowSize;
else // Bitmap is stored top-to-bottom
pos = bmpImageoffset + row * rowSize;
if(bmpFile.position() != pos) { // Need seek?
bmpFile.seek(pos);
buffidx = sizeof(sdbuffer); // Force buffer reload
}

for (col=0; col<w; col++) { // For each column...
// Time to read more pixel data?
if (buffidx >= sizeof(sdbuffer)) { // Indeed
// Push LCD buffer to the display first
if(lcdidx > 0) {
tft.pushColors(lcdbuffer, lcdidx, first);
lcdidx = 0;
first = false;
}
bmpFile.read(sdbuffer, sizeof(sdbuffer));
buffidx = 0; // Set index to beginning
}

// Convert pixel from BMP to TFT format
b = sdbuffer[buffidx++];
g = sdbuffer[buffidx++];
r = sdbuffer[buffidx++];
lcdbuffer[lcdidx++] = tft.color565(r,g,b);
} // end pixel
} // end scanline
// Write any remaining data to LCD
if(lcdidx > 0) {
tft.pushColors(lcdbuffer, lcdidx, first);
}
Serial.print(F("Loaded in "));
Serial.print(millis() - startTime);
Serial.println(" ms");
} // end goodBmp
}
}

bmpFile.close();
if(!goodBmp) Serial.println(F("BMP format not recognized."));
}

// These read 16- and 32-bit types from the SD card file.
// BMP data is stored little-endian, Arduino is little-endian too.
// May need to reverse subscript order if porting elsewhere.

uint16_t read16(File f) {
uint16_t result;
((uint8_t *)&result)[0] = f.read(); // LSB
((uint8_t *)&result)[1] = f.read(); // MSB
return result;
}

uint32_t read32(File f) {
uint32_t result;
((uint8_t *)&result)[0] = f.read(); // LSB
((uint8_t *)&result)[1] = f.read();
((uint8_t *)&result)[2] = f.read();
((uint8_t *)&result)[3] = f.read(); // MSB
return result;
}

