やりたいこと
Home Assistantのカスタムインテグレーション開発環境(以下、HA開発環境)において、
これまで開発用とリリース用で分けていたGitリポジトリを一本化しました。
リリース作業の簡素化、IssueなどのGitHub機能の一元管理を目的としたもので、
リリース用リポジトリにdevelopブランチを作成し、開発も同じリポジトリで行う構成に変更しています。
Git操作にまだ不慣れなところもあるため、備忘録として移行作業の手順を残しておきます。
ちなみに、今回出てくるHome Assistantのカスタムインテグレーションはこちらです。
■現状
- 開発用リポジトリ:homeassistant_config(プライベート)
- リリース用リポジトリ:homeassistant_nature_remo(パブリック)
※開発・リリースが別々のリポジトリで管理されていた
■変更後
- リリース用リポジトリ homeassistant_nature_remo に develop ブランチを作成
- 開発環境も同一リポジトリ内で行うことで、GitHub機能を一元活用
開発環境
- OS:Ubuntu
- 構成:
~/homeassistant-dev/configに開発用リポジトリをクローン済み - Home Assistant Core(venv構成)
- 開発リポジトリの履歴は移行しない方針
やりたいこと
- 開発・リリース統合リポジトリへ環境を切り替え
- developブランチで開発継続
- Home Assistantがこれまで通り動作すること
移行手順
Step 1:既存の開発用リポジトリのバックアップ
sudo apt update
sudo apt install zip

cd ~/homeassistant-dev
zip -r config_backup_$(date +%Y%m%d).zip config
※ zip が入っていない環境では、最初にインストールします
※ config_backup_20250415.zip のように日付付きファイルが作成されます
Step 2:リリース用リポジトリに develop ブランチを作成
GitHubのWeb UIから操作するのが簡単です:
1. main ドロップダウンをクリック
2. develop と入力して「Create branch develop from main」をクリック
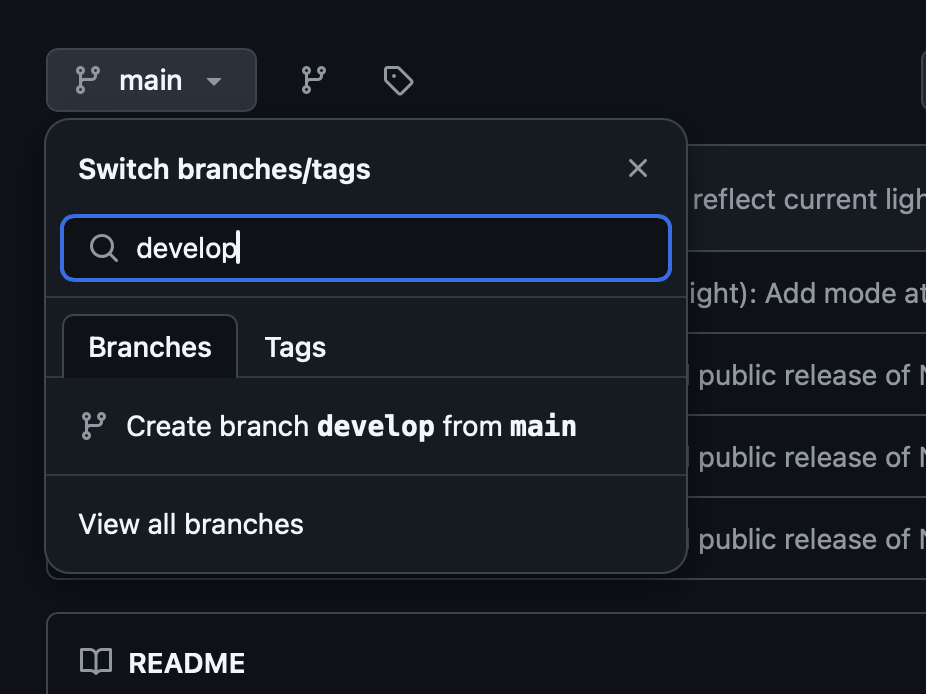
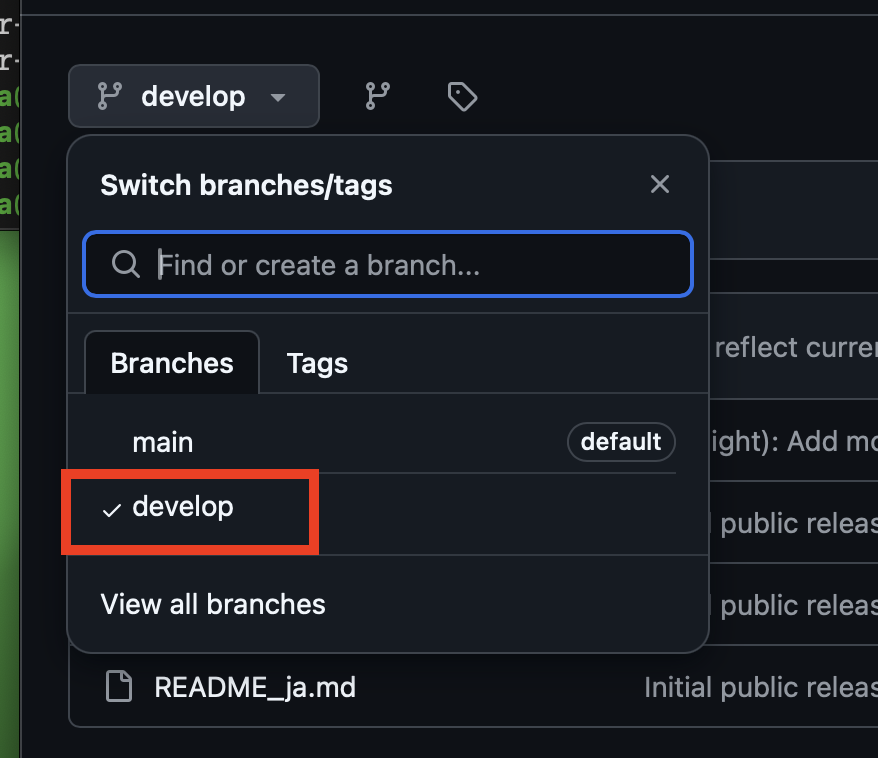
3. ブランチ作成を確認
Step 3:開発環境の config/ を切り替える
# .git削除してGit追跡を外す
cd ~/homeassistant-dev/config
rm -rf .git

# config ディレクトリを退避
cd ~/homeassistant-dev
mv config config_old

# developブランチを新しくクローン
git clone -b develop https://github.com/NaNaLinks/homeassistant_nature_remo.git config

# developブランチになっていることを確認
cd config
git branch
Step 4:旧configから必要なファイルを移植
cd ~/homeassistant-dev

# カスタム統合をコピー
cp -r config_old/custom_components/nature_remo config/custom_components/

# 基本設定ファイルをコピー
cp config_old/configuration.yaml config/
cp config_old/secrets.yaml config/
cp config_old/automations.yaml config/
cp config_old/scripts.yaml config/
cp config_old/scenes.yaml config/
Step 5:.gitignore を整理
.gitignore
# Python
__pycache__/
*.pyc
.env
.venv/
.idea/
.vscode/
*.egg-info/
dist/
build/

# Home Assistant
*.log
*.db
*.db-shm
*.db-wal
secrets.yaml
.cloud
.storage/
home-assistant.log*
deps/
.HA_VERSION
blueprints/
configuration.yaml
automations.yaml
scenes.yaml
scripts.yaml

# optional
custom_components/__pycache__/
.yaml ファイルはGit管理しない方針にしています
Step 6:移行後の環境でHome Assistantを起動
source ~/homeassistant-dev/venv/bin/activate
hass -c ~/homeassistant-dev/config
- 初回起動時はユーザー登録画面が表示される
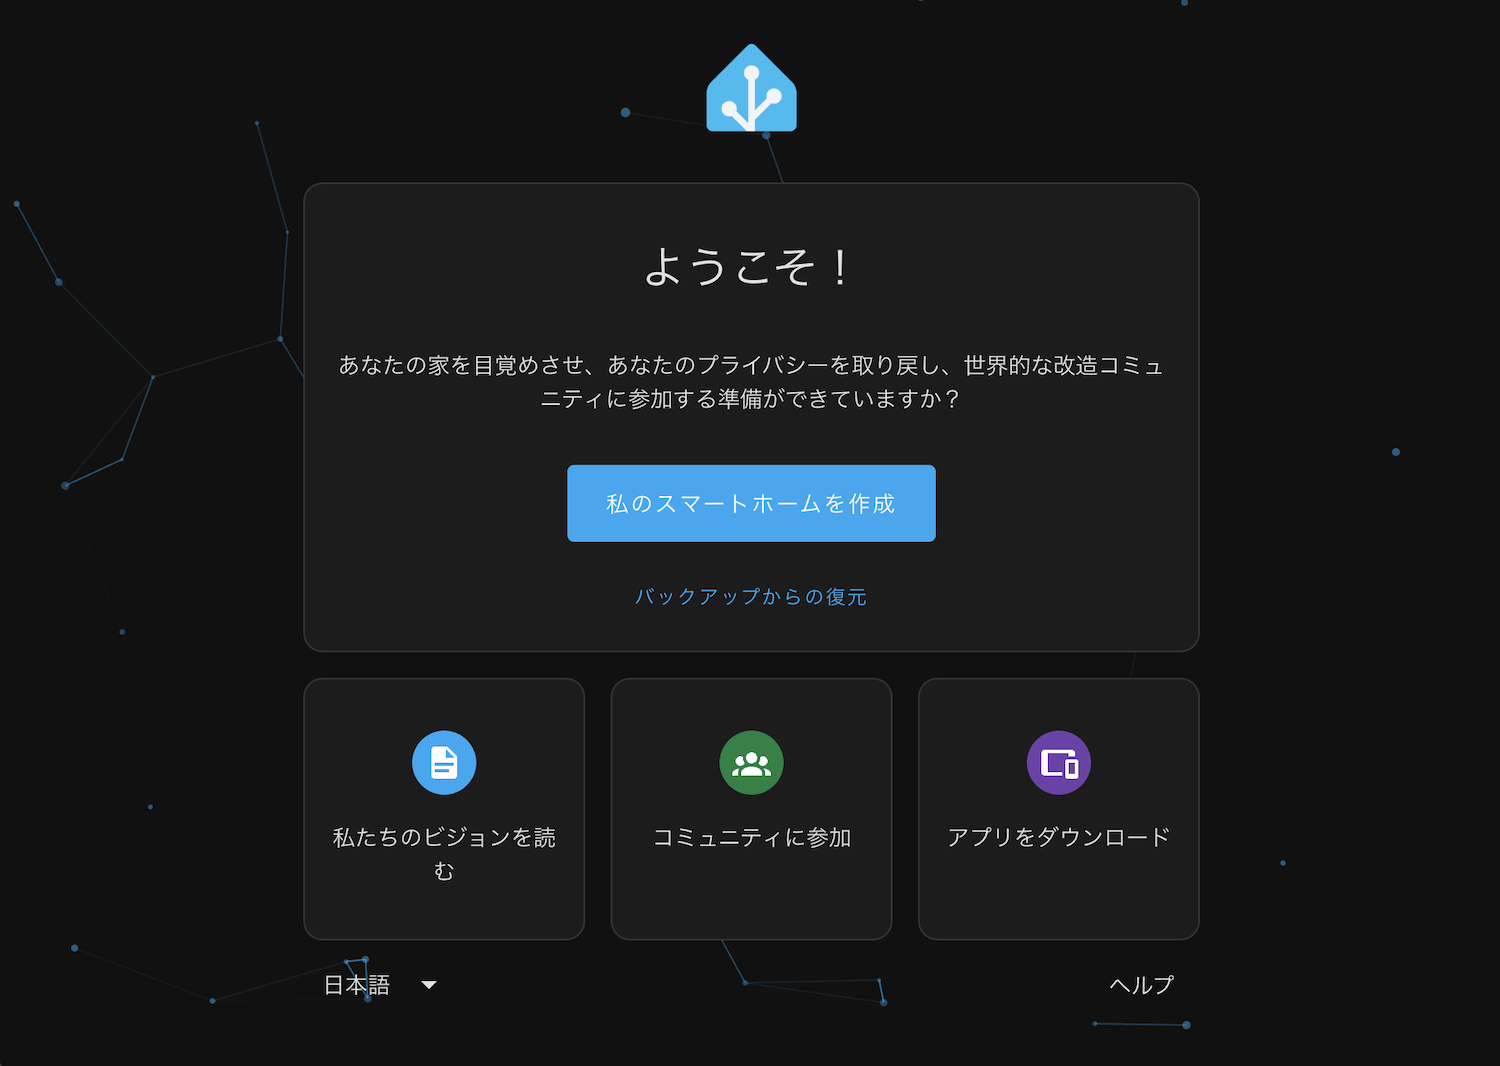
- DBは移行していないため、新規環境としてセットアップされる
Step 7:旧環境 config_old を削除
rm -rf ~/homeassistant-dev/config_old
まとめ
- リポジトリを一つに統合することで、運用がかなり楽になりました。
- ブランチを活用することで、開発・検証・リリースのフローもスムーズにできそうです。