はじめに
WordPressのインストール記事は多く見つかるが、LEMP Stack (Linux, Nginx, MySQL, PHP) を使わずに個別インストールした手順をメモしておきます。Vultrには最初からWordPressが入ったVPSも選べますが、CentOS7ベースなのでCentOS8を使いたい場合は自分でインストールする必要があります。
私の知る限り、Vultrより安いWordPressが動くVPSは無かったです。Vultrはキャンペーンで紹介者のリンク経由で新規申込した場合に$100分のクレジットがもらえますので、是非使ってください。$100あれば複数VPSを立てたり、クラスタ構成を試したり、いろいろできます。紹介者にもちょっとだけクレジットが入ります。
このリンクで$100もらえます

私もリファラー経由でアカウントを作ったので$100もらえました。これで最初にあれやこれや試すのは無料でできます。

1. CentOS8をVultr VPSで構成
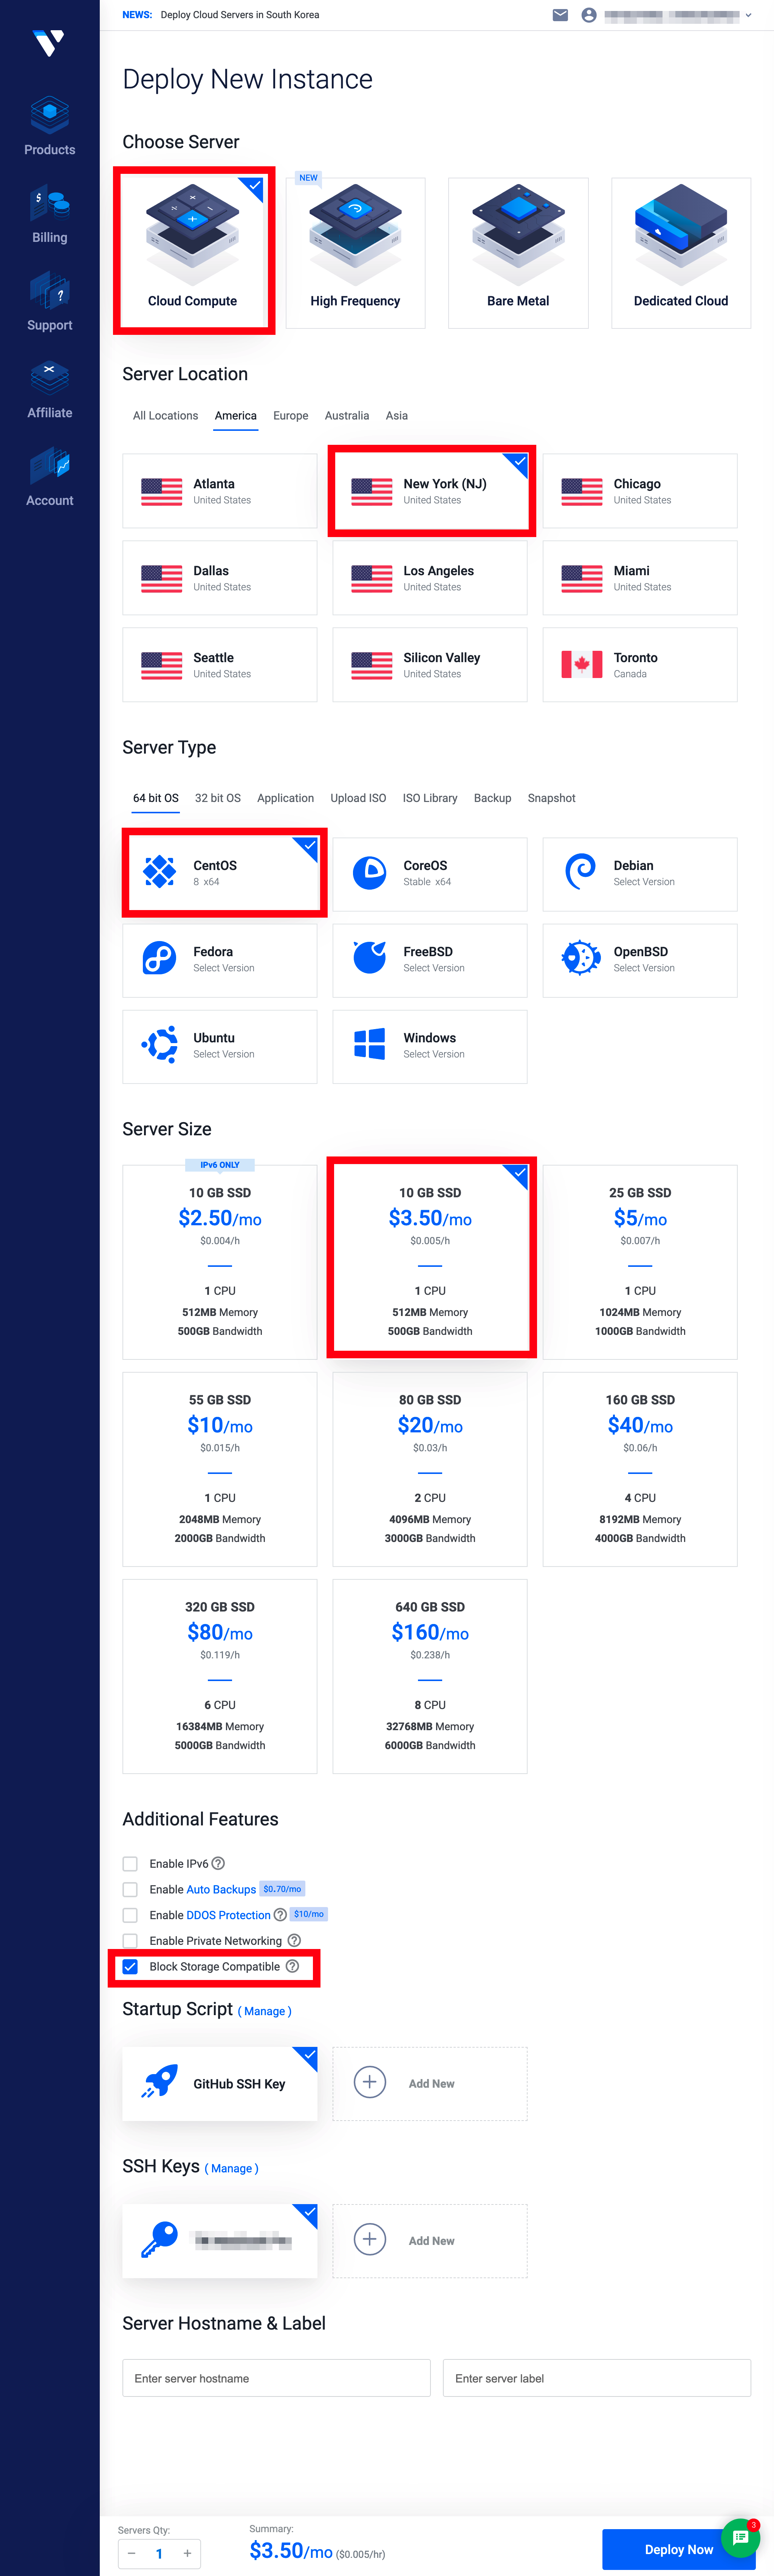
とりあえずのお試しなので、一番安いサーバーを選択した。GB単価の安いBlock StorageにWordPressの画像を入れるかも知れないので、Block StorageのチェックをON。別記事で使ったSSH鍵も使えるようにしておくとSSH接続が楽です。なお、画像ファイルが250GBを超える事が想定される場合は最初からVultr Object Storageを使った方がストレージ費用が安くなる(250GB/$5から)と思いますが、その規模ならこの記事の対象読者にならないでしょうからVultr Object Storageは割愛します。
(1) VPS作成
$ ssh -i ~/.ssh/vultr2 root@VultrのIPアドレス
The authenticity of host 'IPアドレス (IPアドレス)' can't be established.
ECDSA key fingerprint is SHA256:xxxxxxxxxxxxxxxxxxxxxxxxxxxxxxxxxx.
Are you sure you want to continue connecting (yes/no/[fingerprint])? yes
Warning: Permanently added 'IPアドレス' (ECDSA) to the list of known hosts.
root@IPアドレス's password:
Activate the web console with: systemctl enable --now cockpit.socket
(2) OSの構成
私の過去記事の5〜6をやってSwap領域やFirewallを構成しておく。
過去記事
Vultr VPSにCentOS7, Ruby on Rails 6, Puma, Capistrano3でのProduction環境デプロイ
2. Nginxインストール
(1) yumでインストール
# yum update
# yum info nginx
Last metadata expiration check: 0:00:58 ago on Mon 01 Jun 2020 02:22:09 AM UTC.
Available Packages
Name         : nginx
Epoch        : 1
Version      : 1.14.1
Release      : 9.module_el8.0.0+184+e34fea82
Architecture : x86_64
Size         : 570 k
Source       : nginx-1.14.1-9.module_el8.0.0+184+e34fea82.src.rpm
Repository   : AppStream
Summary      : A high performance web server and reverse proxy server
URL          : http://nginx.org/
License      : BSD
Description  : Nginx is a web server and a reverse proxy server for HTTP, SMTP, POP3 and
             : IMAP protocols, with a strong focus on high concurrency, performance and low
             : memory usage.

# yum install nginx
(2) Start Nginx on Centos 8
# systemctl start nginx
# systemctl enable nginx
Created symlink /etc/systemd/system/multi-user.target.wants/nginx.service → /usr/lib/systemd/system/nginx.service.
# systemctl status nginx
● nginx.service - The nginx HTTP and reverse proxy server
   Loaded: loaded (/usr/lib/systemd/system/nginx.service; enabled; vendor preset: disabled)
   Active: active (running) since Mon 2020-06-01 02:31:37 UTC; 1min 23s ago
 Main PID: 2820 (nginx)
    Tasks: 2 (limit: 2864)
   Memory: 7.3M
   CGroup: /system.slice/nginx.service
           ├─2820 nginx: master process /usr/sbin/nginx
           └─2821 nginx: worker process

Jun 01 02:31:36 vultrguest systemd[1]: Starting The nginx HTTP and reverse proxy server...
Jun 01 02:31:36 vultrguest nginx[2816]: nginx: the configuration file /etc/nginx/nginx.conf syntax is ok
Jun 01 02:31:36 vultrguest nginx[2816]: nginx: configuration file /etc/nginx/nginx.conf test is successful
Jun 01 02:31:37 vultrguest systemd[1]: nginx.service: Failed to parse PID from file /run/nginx.pid: Invalid argument
Jun 01 02:31:37 vultrguest systemd[1]: Started The nginx HTTP and reverse proxy server.
一応、基本的なコマンドを書いておきます。OSのバージョンとかで少し違うので。
# systemctl stop nginx
# systemctl restart nginx
# systemctl reload nginx
NginxはDefault構成でも動作確認できるので、ブラウザにVultr VPSのIPアドレスを入れて確認します。

(3) Nginxの構成
構成ファイルの場所
- Nginx configuration directory: /etc/nginx
- Nginx root directory: /usr/share/nginx/html
- Master/Global configuration file: /etc/nginx/nginx.conf
3. PHP 7.4のインストール
(1) EPEL と Remi リポジトリの追加
dnfコマンドでリポジトリを追加します。
# dnf install https://dl.fedoraproject.org/pub/epel/epel-release-latest-8.noarch.rpm
# rpm -qa | grep epel
epel-release-8-8.el8.noarch
# dnf install https://rpms.remirepo.net/enterprise/remi-release-8.rpm
# rpm -qa | grep remi
remi-release-8.1-2.el8.remi.noarch
(2) PHPのインストール
利用可能なPHPモジュールを確認します。
# dnf module list php
Remi's Modular repository for Enterprise Linux 8 - x86_64                                                                                              474 kB/s | 569 kB     00:01
Safe Remi's RPM repository for Enterprise Linux 8 - x86_64                                                                                             982 kB/s | 1.5 MB     00:01
CentOS-8 - AppStream
Name                               Stream                                 Profiles                                                 Summary
php                                7.2 [d]                                common [d], devel, minimal                               PHP scripting language
php                                7.3                                    common, devel, minimal                                   PHP scripting language

Remi's Modular repository for Enterprise Linux 8 - x86_64
Name                               Stream                                 Profiles                                                 Summary
php                                remi-7.2                               common [d], devel, minimal                               PHP scripting language
php                                remi-7.3                               common [d], devel, minimal                               PHP scripting language
php                                remi-7.4                               common [d], devel, minimal                               PHP scripting language

Hint: [d]efault, [e]nabled, [x]disabled, [i]nstalled
remi-7.4が最新なので、有効化します。
# dnf module enable php:remi-7.4
Last metadata expiration check: 0:01:40 ago on Mon 01 Jun 2020 02:48:32 AM UTC.
Dependencies resolved.
=======================================================================================================================================================================================
 Package                                     Architecture                               Version                                      Repository                                   Size
=======================================================================================================================================================================================
Enabling module streams:
 php                                                                                    remi-7.4

Transaction Summary
=======================================================================================================================================================================================

Is this ok [y/N]: y
Complete!
PHP remi-7.4モジュールを有効化したら、PHPと関連パッケージをインストールします。
# dnf install php php-cli php-common
Last metadata expiration check: 0:03:08 ago on Mon 01 Jun 2020 02:48:32 AM UTC.
Dependencies resolved.
=======================================================================================================================================================================================
 Package                                    Architecture                   Version                                                          Repository                            Size
=======================================================================================================================================================================================
Installing:
 php                                        x86_64                         7.4.6-1.el8.remi                                                 remi-modular                         3.0 M
 php-cli                                    x86_64                         7.4.6-1.el8.remi                                                 remi-modular                         4.6 M
 php-common                                 x86_64                         7.4.6-1.el8.remi                                                 remi-modular                         1.2 M
Installing dependencies:
 apr                                        x86_64                         1.6.3-9.el8                                                      AppStream                            125 k
 apr-util                                   x86_64                         1.6.1-6.el8                                                      AppStream                            105 k
 centos-logos-httpd                         noarch                         80.5-2.el8                                                       AppStream                             24 k
 httpd                                      x86_64                         2.4.37-16.module_el8.1.0+256+ae790463                            AppStream                            1.7 M
 httpd-filesystem                           noarch                         2.4.37-16.module_el8.1.0+256+ae790463                            AppStream                             35 k
 httpd-tools                                x86_64                         2.4.37-16.module_el8.1.0+256+ae790463                            AppStream                            103 k
 mod_http2                                  x86_64                         1.11.3-3.module_el8.1.0+213+acce2796                             AppStream                            158 k
 oniguruma                                  x86_64                         6.8.2-1.el8                                                      AppStream                            188 k
 libsodium                                  x86_64                         1.0.18-2.el8                                                     epel                                 162 k
 php-json                                   x86_64                         7.4.6-1.el8.remi                                                 remi-modular                          74 k
Installing weak dependencies:
 apr-util-bdb                               x86_64                         1.6.1-6.el8                                                      AppStream                             25 k
 apr-util-openssl                           x86_64                         1.6.1-6.el8                                                      AppStream                             27 k
 php-fpm                                    x86_64                         7.4.6-1.el8.remi                                                 remi-modular                         1.6 M
 php-mbstring                               x86_64                         7.4.6-1.el8.remi                                                 remi-modular                         527 k
 php-opcache                                x86_64                         7.4.6-1.el8.remi                                                 remi-modular                         334 k
 php-pdo                                    x86_64                         7.4.6-1.el8.remi                                                 remi-modular                         143 k
 php-sodium                                 x86_64                         7.4.6-1.el8.remi                                                 remi-modular                          87 k
 php-xml                                    x86_64                         7.4.6-1.el8.remi                                                 remi-modular                         215 k
Enabling module streams:
 httpd                                                                     2.4

Transaction Summary
=======================================================================================================================================================================================
Install  21 Packages

Total download size: 14 M
Installed size: 65 M
Is this ok [y/N]: y
インストールしたPHPとPHP-FPMのバージョンを確認します。2020年6月時点で最新の7.4が入りました。
# php -v
PHP 7.4.6 (cli) (built: May 12 2020 08:09:15) ( NTS )
Copyright (c) The PHP Group
Zend Engine v3.4.0, Copyright (c) Zend Technologies
    with Zend OPcache v7.4.6, Copyright (c), by Zend Technologies

# php-fpm -v
PHP 7.4.6 (fpm-fcgi) (built: May 12 2020 08:09:15)
Copyright (c) The PHP Group
Zend Engine v3.4.0, Copyright (c) Zend Technologies
    with Zend OPcache v7.4.6, Copyright (c), by Zend Technologies
(3) 最大ファイルサイズ設定の変更
DefaultではPHPは2MBまでのファイルしかアップロードできないので、より大きなファイルをアップロードできりょうにphp.iniのupload_max_filesizeおよびnginx.confを変更します。
; Maximum allowed size for uploaded files.
; http://php.net/upload-max-filesize
upload_max_filesize =256M

; Maximum size of POST data that PHP will accept.
; Its value may be 0 to disable the limit. It is ignored if POST data reading
; is disabled through enable_post_data_reading.
; http://php.net/post-max-size
post_max_size = 256M
http {
....

    client_max_body_size 256M;

....
}
# systemctl restart php-fpm
# systemctl restart nginx
(4) NginxとPHPの連携の確認
phpinfo();がブラウザでアクセスして見えるように構成します。
# echo "<?php phpinfo(); ?>" > /var/www/html/index.php
# chown nginx.nginx /var/www/html/index.php
何も構成しない状態でブラウザアクセスすると、エラーになりました。

nginx-PHP連携のソケットを確認します。
# cat /etc/nginx/conf.d/php-fpm.conf
# PHP-FPM FastCGI server
# network or unix domain socket configuration

upstream php-fpm {
        server unix:/run/php-fpm/www.sock; これをメモしておく。
}
server {
   server_name VPSのIPアドレス;
   root /var/www/html;

   location / {
       index index.html index.htm index.php;
   }

   location ~ \.php$ {
      include /etc/nginx/fastcgi_params;
      fastcgi_pass unix:/run/php-fpm/www.sock; ここはさっき確認したソケットのフルパス
      fastcgi_index index.php;
      fastcgi_param SCRIPT_FILENAME $document_root$fastcgi_script_name;
   }
}
/etc/nginx/conf.d/wordpress.confの変更をnginxに読み込みます。
# systemctl reload nginx
php-fpmの/etc/php-fpm.d/www.conf設定ファイルでユーザーとグループをnginxに変更します。
- user = apache
- group = apache

+ user = nginx
+ group = nginx
/etc/php-fpm.d/www.confの変更を反映させるため、php-fpmを再起動します。
# systemctl restart php-fpm
設定したら、index.phpが読めるかどうか、ブラウザで確認します。以下のような画面が出れば正しく設定できています。

4. MySQL 8のインストール
(1) MariaDBをアンインストール
MariaDBをインストールしてしまっていたら、事前にアンインストールします。
# dnf list installed | grep mariadb
mariadb.x86_64            3:10.3.11-2.module_el8.0.0+35+6f2527ed
mariadb-common.x86_64     3:10.3.11-2.module_el8.0.0+35+6f2527ed
# dnf remove mariadb
(2) MySQL8.0のインストール
インストールできるバージョンをMySQLのYumリポジトリで確認します。
# dnf info mysql
Last metadata expiration check: 0:09:51 ago on Mon 01 Jun 2020 02:48:32 AM UTC.
Available Packages
Name         : mysql
Version      : 8.0.17
Release      : 3.module_el8.0.0+181+899d6349
Architecture : x86_64
Size         : 11 M
Source       : mysql-8.0.17-3.module_el8.0.0+181+899d6349.src.rpm
Repository   : AppStream
Summary      : MySQL client programs and shared libraries
URL          : http://www.mysql.com
License      : GPLv2 with exceptions and LGPLv2 and BSD
Description  : MySQL is a multi-user, multi-threaded SQL database server. MySQL is a
             : client/server implementation consisting of a server daemon (mysqld)
             : and many different client programs and libraries. The base package
             : contains the standard MySQL client programs and generic MySQL files.
8.0.17をインストールします。
# dnf install @mysql:8.0
# dnf install php-mysqlnd
以上でMySQL8.0のインストールが完了ですが、自動起動の設定をして、MySQLを起動させます。
# systemctl enable mysqld
Created symlink /etc/systemd/system/multi-user.target.wants/mysqld.service → /usr/lib/systemd/system/mysqld.service.
# systemctl start mysqld
(3) MySQLの初期設定
MySQLの初期設定は簡単です。私は全てyで設定しました。
# mysql_secure_installation

Securing the MySQL server deployment.

Connecting to MySQL using a blank password.

VALIDATE PASSWORD COMPONENT can be used to test passwords
and improve security. It checks the strength of password
and allows the users to set only those passwords which are
secure enough. Would you like to setup VALIDATE PASSWORD component?

Press y|Y for Yes, any other key for No: y

There are three levels of password validation policy:

LOW    Length >= 8
MEDIUM Length >= 8, numeric, mixed case, and special characters
STRONG Length >= 8, numeric, mixed case, special characters and dictionary                  file

Please enter 0 = LOW, 1 = MEDIUM and 2 = STRONG: 2
Please set the password for root here.

New password:

Re-enter new password:

Estimated strength of the password: 100
Do you wish to continue with the password provided?(Press y|Y for Yes, any other key for No) : y
By default, a MySQL installation has an anonymous user,
allowing anyone to log into MySQL without having to have
a user account created for them. This is intended only for
testing, and to make the installation go a bit smoother.
You should remove them before moving into a production
environment.

Remove anonymous users? (Press y|Y for Yes, any other key for No) : y
Success.


Normally, root should only be allowed to connect from
'localhost'. This ensures that someone cannot guess at
the root password from the network.

Disallow root login remotely? (Press y|Y for Yes, any other key for No) : y
Success.

By default, MySQL comes with a database named 'test' that
anyone can access. This is also intended only for testing,
and should be removed before moving into a production
environment.


Remove test database and access to it? (Press y|Y for Yes, any other key for No) : y
 - Dropping test database...
Success.

 - Removing privileges on test database...
Success.

Reloading the privilege tables will ensure that all changes
made so far will take effect immediately.

Reload privilege tables now? (Press y|Y for Yes, any other key for No) : y
Success.

All done!
(4) WordPress用のMySQLユーザーの作成
後でWordPressの初期設定画面に入れるユーザーを作成しておきます。wpuserというユーザー名にしましたが、任意で。
# mysql -u root -p
Enter password:
Welcome to the MySQL monitor.  Commands end with ; or \g.
Your MySQL connection id is 10
Server version: 8.0.17 Source distribution

Copyright (c) 2000, 2019, Oracle and/or its affiliates. All rights reserved.

Oracle is a registered trademark of Oracle Corporation and/or its
affiliates. Other names may be trademarks of their respective
owners.

Type 'help;' or '\h' for help. Type '\c' to clear the current input statement.

mysql> CREATE USER 'wpuser'@'localhost' IDENTIFIED BY '任意のパスワード';
Query OK, 0 rows affected (0.02 sec)

mysql> CREATE DATABASE wordpress;
Query OK, 1 row affected (0.01 sec)

mysql> GRANT ALL ON wordpress.* TO `wpuser `@`localhost`;
Query OK, 0 rows affected (0.00 sec)

mysql> FLUSH PRIVILEGES;
Query OK, 0 rows affected (0.01 sec)

mysql> exit
Bye
5. WordPressのインストール
(1) 前提ソフトのインストール
# dnf install tar curl php-json
Last metadata expiration check: 0:46:02 ago on Mon 01 Jun 2020 02:48:32 AM UTC.
Package tar-2:1.30-4.el8.x86_64 is already installed.
Package curl-7.61.1-11.el8.x86_64 is already installed.
Package php-json-7.4.6-1.el8.remi.x86_64 is already installed.
Dependencies resolved.
Nothing to do.
Complete!
(2) WordPressのインストール
WordPressをダウンロードして、NginxのRootディレクトリに展開します。/tmpにダウンロードしましたが、どこでも構いません。tarで展開したら、ディレクトリ丸ごとnginxのRootディレクトリにコピーします。
# cd /tmp
# curl https://wordpress.org/latest.tar.gz --output wordpress.tar.gz
  % Total    % Received % Xferd  Average Speed   Time    Time     Time  Current
                                 Dload  Upload   Total   Spent    Left  Speed
100 11.6M  100 11.6M    0     0  32.9M      0 --:--:-- --:--:-- --:--:-- 32.9M
# tar xf wordpress.tar.gz
# cp -r wordpress /var/www/html
最後にパーミッションとSELinux security contextを変更します。
# chown -R nginx.nginx /var/www/html/wordpress
# chcon -t httpd_sys_rw_content_t /var/www/html/wordpress -R
これでWordPressのインストールは完了です。WordPressのトップページ (http://IPアドレス/wordpress) をブラウザで確認して、以下の画面になっていれば成功です。

(3) WordPressの構成
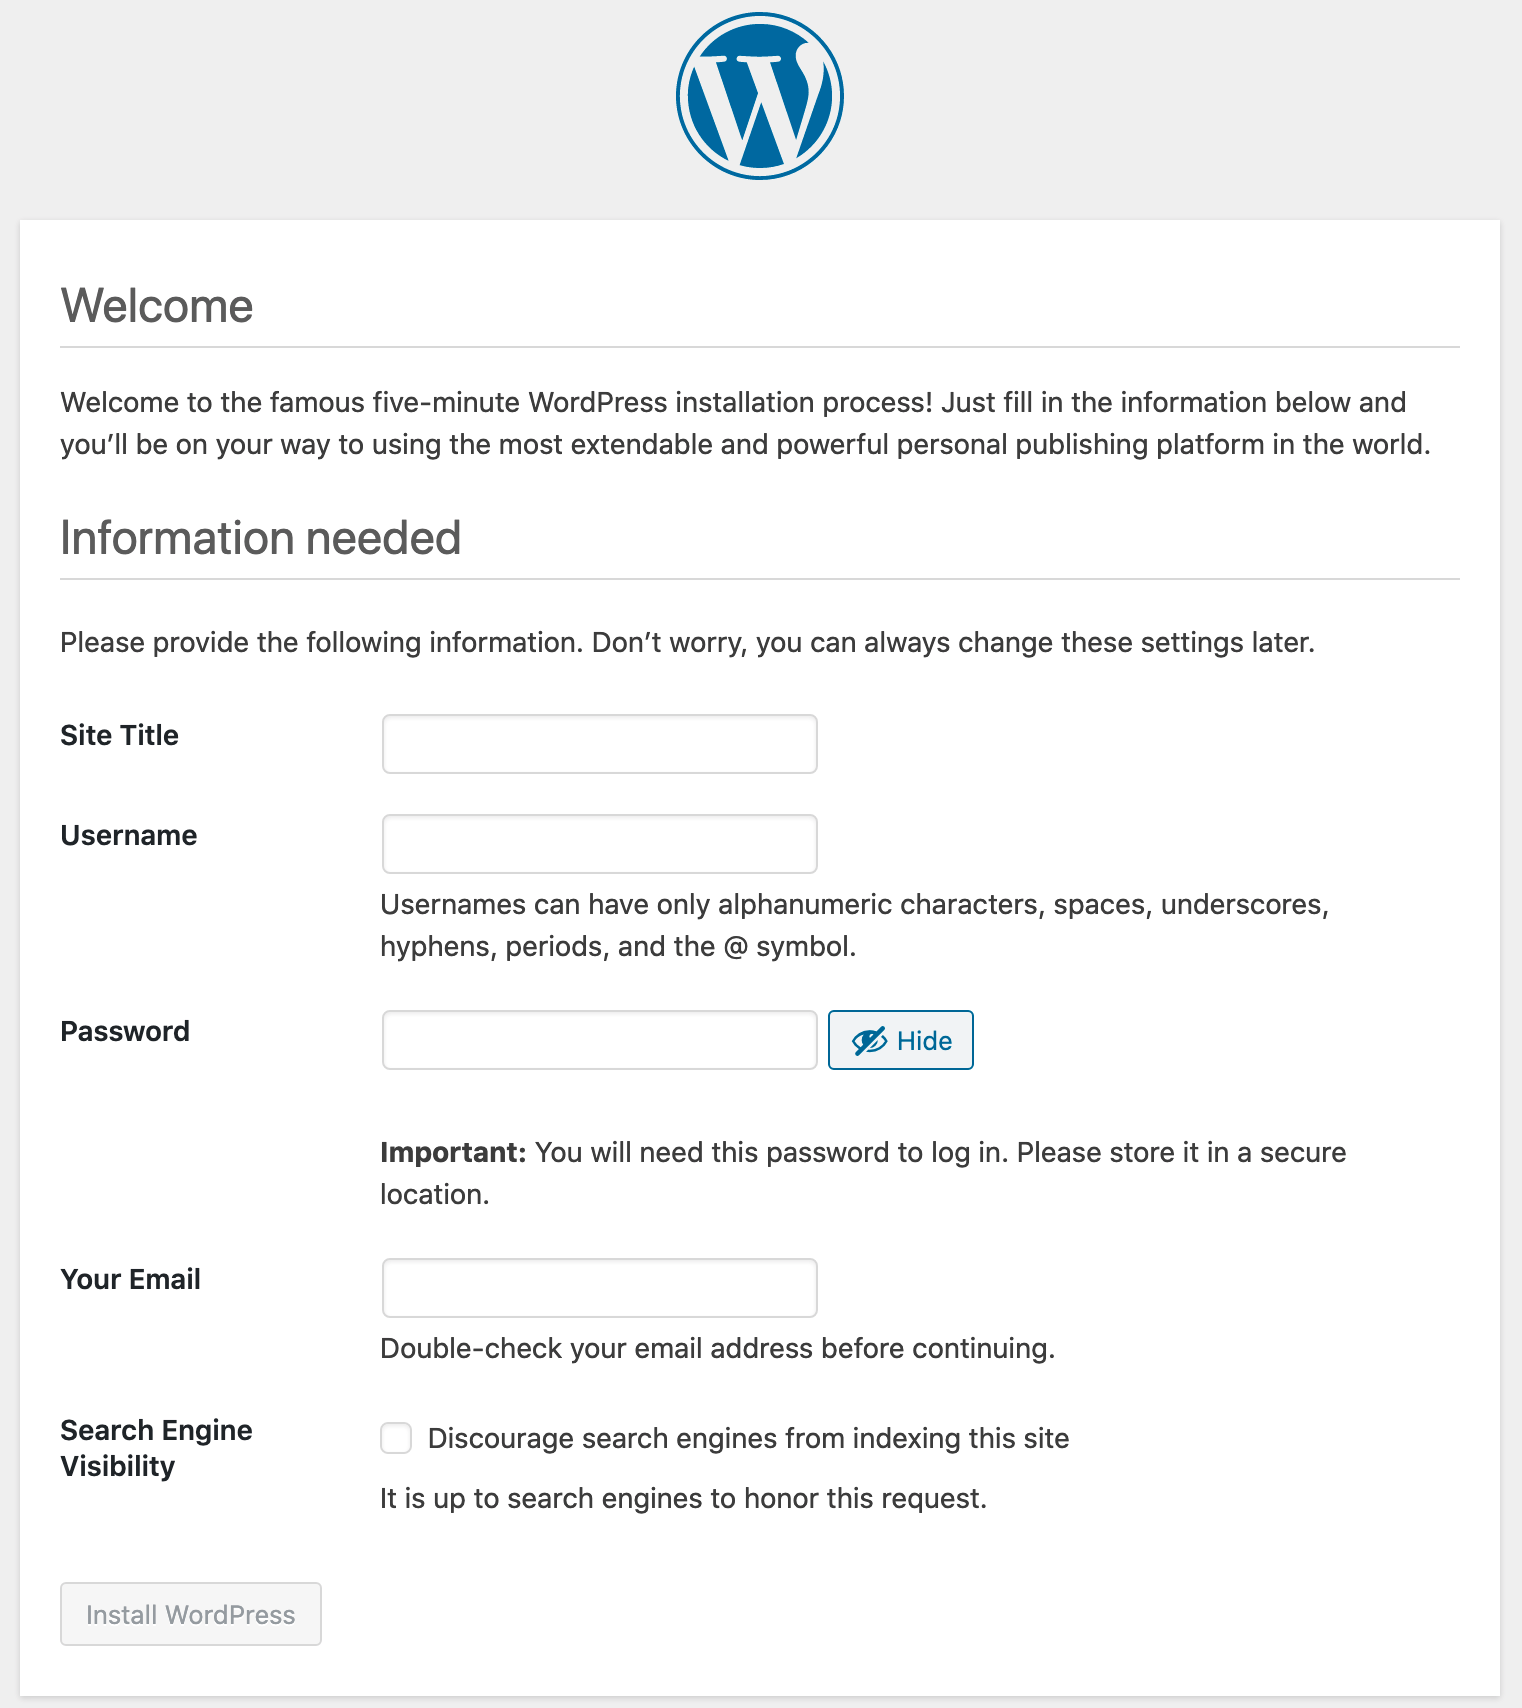
WordPressの構成はWordPressの初期画面のLet's go!ボタンをクリックして開始します。

必要項目を入力したらSubmitすると以下の画面になるのでRun the installationをクリックして実行します。

WordPressのUsernameやパスワードなどを設定して、Install WordPressをクリックします。
以下の画面になれば、WordPressのインストールは完了ですので、ログインしてWordPress管理画面に入ります。

ログイン画面は http://IPアドレス/wordpress/wp-login.php です。

ここから先はWordPressの世界ですので、好きなスキンでコンテンツを作ってください。

参考記事
- How To Install And Configure Nginx On CentOS 8
- How to Install PHP 7.4 on CentOS 8
- CentOS8.0にMySQL8.0をインストールする
- How to install WordPress on RHEL 8 / CentOS 8 Linux
- How To Install Linux, Nginx, MariaDB, PHP (LEMP Stack) On CentOS 8 / RHEL 8
- How to Install MySQL 8.0 on CentOS 8 / RHEL 8
- How To Install WordPress with Nginx on CentOS 8 / RHEL 8