これは、以下の記事を参考に書いています。
https://forum.seeedstudio.com/t/reterminal-dm-web-app-kiosk/272467
https://www.1ft-seabass.jp/memo/2021/10/25/seeed-studio-reterminal-node-red-install/ 、
https://lab.seeed.co.jp/entry/2022/01/20/120000
Node-REDを実行させ、KIOSKモードでダッシュボードを表示したいですよね。
**** Dashboardのボタンが使えなかったり、日本語がNGなので 記録として残します ****
**** 採用したのはこちら ****
試した環境
ReTerminal(CM4104032)
RaspberryPi CM4ボード(eMMC32GBが載っているのでSDカードの心配が要らない)
メモリ4GB
eMMC32GB
Touch Display 5Inch
リアルタイムクロック:NXP PCF8563T
加速度センサ:STMicroelectronics LIS3DHTR
Encryption:Microchip ATECC608A
光センサ(Levelek LTR-303ALS-01)、デジタル光センサ
インターナル IO 拡張機能:Microchip MCP23008-E
ブザー:≧85dB @10cm 2700±300Hz
PC(Windows 10)
- TertermなどのSSHターミナル。
(分解用)
- ヘラ
- ドライバー(reterminalに付属のもの)
USB-C ケーブル(PCとreTerminalを接続するもの)
Raspbianのインストール
64bitの最新版を使いたいので、 https://wiki.seeedstudio.com/reTerminal/#getting-started-with-reterminal-extended に沿ってインストールします。
rpiboot_tool を https://github.com/raspberrypi/usbboot/raw/master/win32/rpiboot_setup.exe からダウンロードし、インストールします。
Imager(Windows版)を https://www.raspberrypi.com/software/ からダウンロードし、インストールします。
reTerminalの裏ブタを開けて、bootモードスイッチを下にします。
ヒートシンク下の部分が空けにくいのでヘラが必要です。ネジをなくさないよう。
(暖かくなりますが、たぶん、ヒートシンクは外したままで大丈夫です)
PCと接続します。
rpibootを起動します。
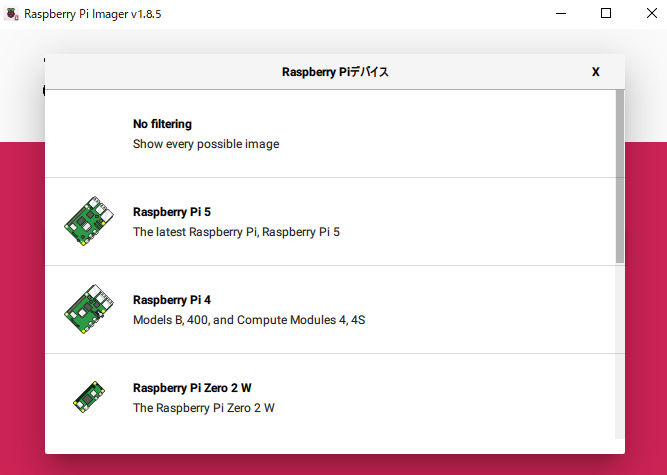
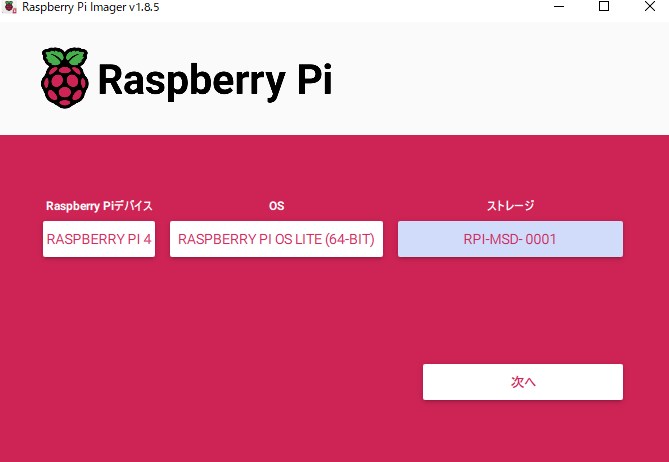
Imagerを起動します。
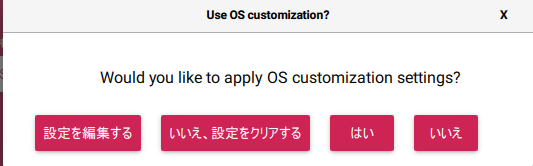
Ctrl+Shift+X キーを押し設定を行います。
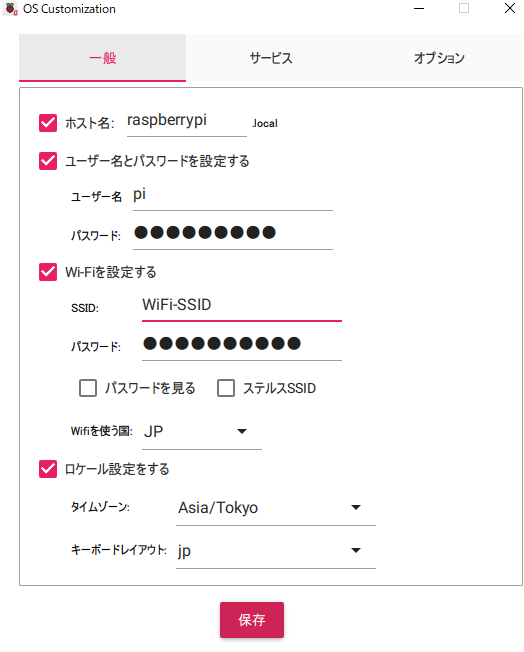
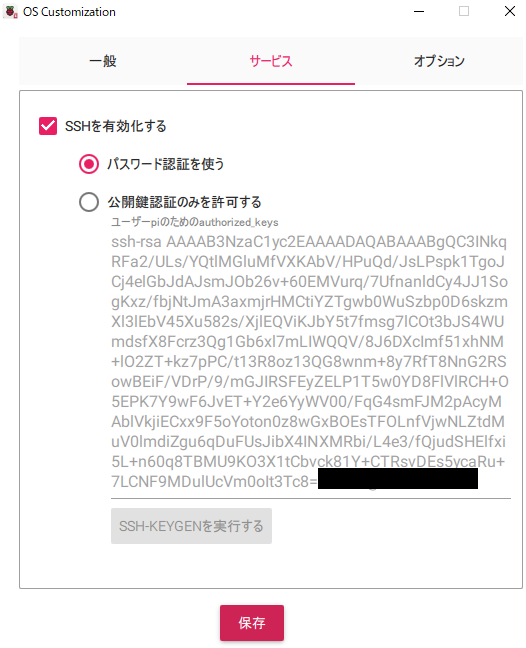
保存を押し、元の画面に戻ります。
デバイスはRaspberryPi4(ComputerModule4)を選択します。
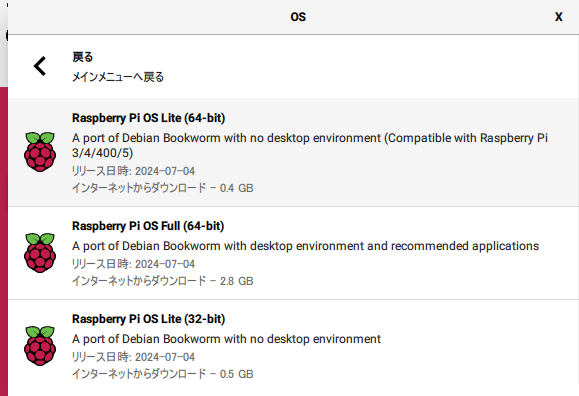
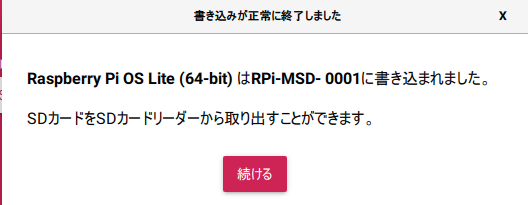
OSはRaspberryPi OS(other)-->RaspberryPi OS Lite(64-bit)を選択します。
インストールが終わったらBootモードスイッチを元に戻します。
ヒートシンクを取付けて、元に戻します。
reTerminalを電源に接続し、起動します。
(画面は表示されない。。)
起動迄少し待ちます。(SYSランプの点滅が終わるぐらいまで)
PCからSSHでつなぎます。接続先は、Imagerで定義したアドレスです。ここではraspberrypi.localになります。
id,パスワードを入力します。
下記のコマンドを入力し、reTerminalのドライバをインストールします。
sudo apt install git -y
$ git clone --depth 1 https://github.com/Seeed-Studio/seeed-linux-dtoverlays
$ cd seeed-linux-dtoverlays
$ sudo ./scripts/reTerminal.sh
(再起動します)
$ sudo reboot
画面が表示されます。(ただしターミナルです)
再度SSHで接続します。
(システムを更新します。)
$ sudo apt update
Node-REDのインストール
SSHで再度つないで
$ bash <(curl -sL https://raw.githubusercontent.com/node-red/linux-installers/master/deb/update-nodejs-and-nodered)
(インストール前の質問は両方ともyで答えます。インストール後の質問はid,pass以外は既定値です。)
$ cd ~/.node-red
(reTerminal用のライブラリのインストール)
$ npm i node-red-contrib-reterminal
(node-red dashboardのインストール)
$ npm i node-red-dashboard
(自動起動)
$ sudo systemctl enable nodered.service
(再起動)
$ sudo reboot
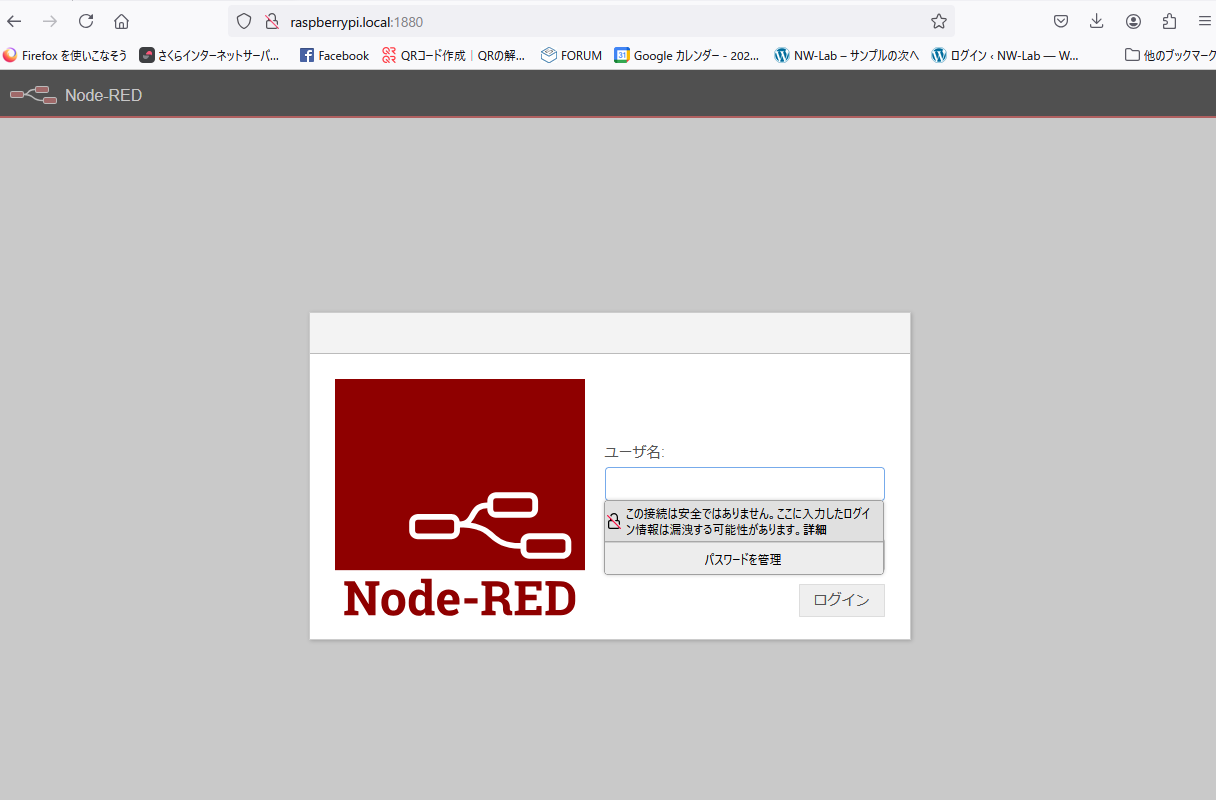
PCのブラウザでhttp://raspberrypi.local:1880/ でつなぎます。
サンプル1の実行
キーを押すとLEDが光るフローです。

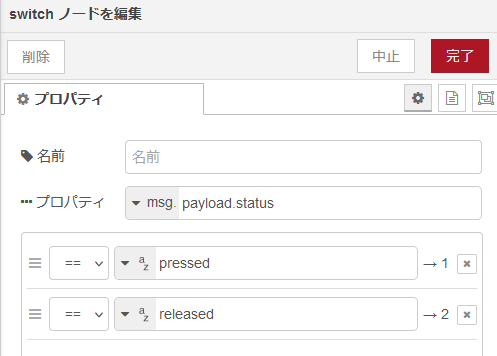
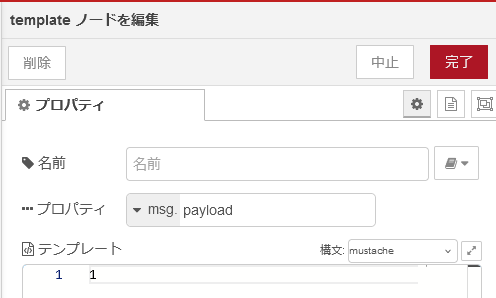
デプロイして確認してみましょう
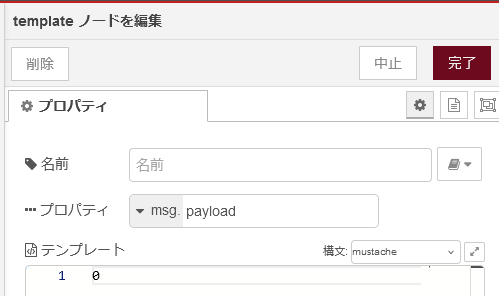
DASHBOARDのサンプル
フローにGageを追加して、最小、最大を0,1に設定します。
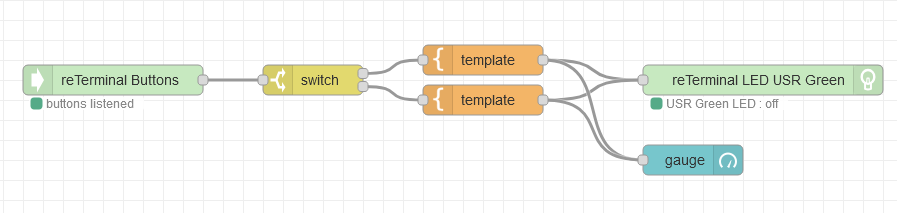
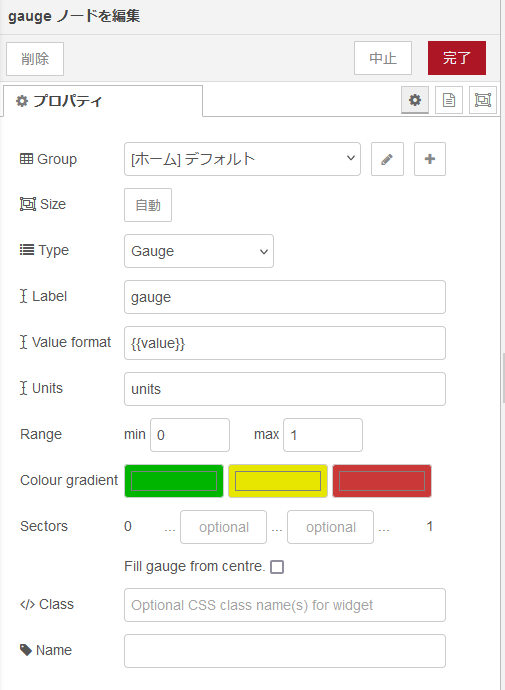
グループやタブなどのダッシュボードの設定は適当に設定してください。
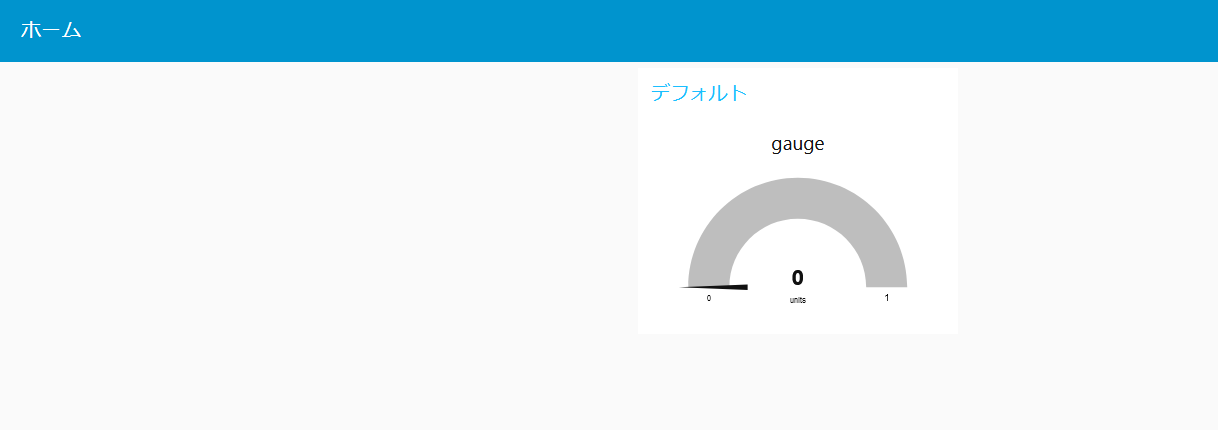
デプロイすると、UIのページに表示されます。
Webkit KIOSKのインストール
再度SSHでつないでPCから設定します。
$ sudo apt install snapd
(再起動)
$ sudo reboot
再度SSHでつなぎます。
$ sudo snap install core
$ sudo snap install ubuntu-frame
$ sudo snap set ubuntu-frame daemon=true
$ sudo snap install wpe-webkit-mir-kiosk
$ sudo snap connect wpe-webkit-mir-kiosk:wayland
$ sudo snap set wpe-webkit-mir-kiosk daemon=true
$ sudo snap set wpe-webkit-mir-kiosk url=http://localhost:1880/ui
$ sudo snap start wpe-webkit-mir-kiosk
向きの変更
$ sudo snap get ubuntu-frame display > display-configuration

(ファイルの変更)
$ vi display-configration
rotationをrightにする。
# keys here are layout labels (used for atomically switching between them).
# The yaml anchor 'the_default' is used to alias the 'default' label

  default:
    cards:
    # a list of cards (currently matched by card-id)

    - card-id: 0
      HDMI-A-1:
        # (disconnected)

      HDMI-A-2:
        # (disconnected)

      DSI-1:
        # This output supports the following modes: 720x1280@60.0
        #
        # Uncomment the following to enforce the selected configuration.
        # Or amend as desired.
        #
        state: enabled  # {enabled, disabled}, defaults to enabled
        mode: 720x1280@60.0     # Defaults to preferred mode
        position: [0, 0]        # Defaults to [0, 0]
        orientation: right     # {normal, left, right, inverted}, defaults to normal
        scale: 1
        group: 0        # Outputs with the same non-zero value are treated as a single display

  side_by_side:
    cards:
    # a list of cards (currently matched by card-id)

    - card-id: 0
      HDMI-A-1:
        # (disconnected)

      HDMI-A-2:
        # (disconnected)

      DSI-1:
        # This output supports the following modes: 720x1280@60.0
        #
        # Uncomment the following to enforce the selected configuration.
        # Or amend as desired.
        #
        state: enabled  # {enabled, disabled}, defaults to enabled
        mode: 720x1280@60.0     # Defaults to preferred mode
        position: [0, 0]        # Defaults to [0, 0]
        orientation: normal     # {normal, left, right, inverted}, defaults to normal
        scale: 1
        group: 0        # Outputs with the same non-zero value are treated as a single display
(設定を書き込む)
$ sudo snap set ubuntu-frame display="`cat display-configuration`"
スクリーンキーボードが必要な場合
$ sudo snap install ubuntu-frame-osk
$ snap connect ubuntu-frame-osk:wayland
$ sudo snap set ubuntu-frame-osk daemon=true
(テーマを適用したい場合)
$ sudo snap set ubuntu-frame-osk theme=dark
$ sudo snap set ubuntu-frame-osk theme=light
ネットワークが起動する前に表示しようとしてDNSエラーが出る場合
$sudo nano /lib/dhcpd/hooks/01-Test
(最後に追加します)
if [ $reason = “BOUND”] || [ $reason = “STATIC”];
then
    snap set wpe-webkit-mir-kiosk url=https://demo.inductiveautomation.com
fi