はじめに
PlatformIOを使うと、USB経由でのビルドできます。
GithubからもってきたExamplesは、たぶん、ほぼそのまま動きます。
Zephyr-bleは、エラーがでるのでその個所を修正すればOK
したかったChennel-Soundingが現状platformIOではできそうにないので、途中で記事にしました。
参考情報
https://www.seeedstudio.com/XIAO-nRF54L15-p-6493.html
https://wiki.seeedstudio.com/xiao_nrf54l15_sense_getting_started/
環境整備
※XIAO nRF54L15は現時点ではArduino IDEはサポートされていません。
1 VS Codeをインストール
2 VS Codeの"PlatformIO IDE"機能拡張をインストール
サンプルプロジェクト1
3 github から https://github.com/Seeed-Studio/platform-seeedboards.git を clone します。
4 PlatformIOで cloneしたフォルダの platform-seeedboards\examples\zephyr-blink を開きます。少し時間がかかります。
5 Build します。
サンプルプロジェクトその2<この方法はなぜかエラーが出る。>
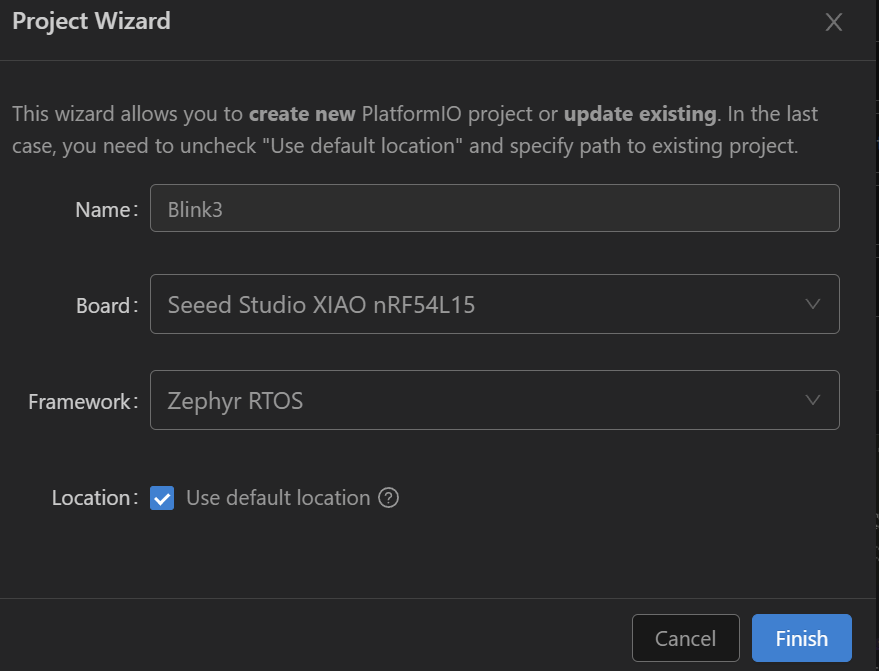
6 PIO Homeの "+ New Project"をクリック
BoardはnRF54 と入力すると出てきます(Boardとかがないので)
サンプルプロジェクトその2<この方法でとりあえず回避>
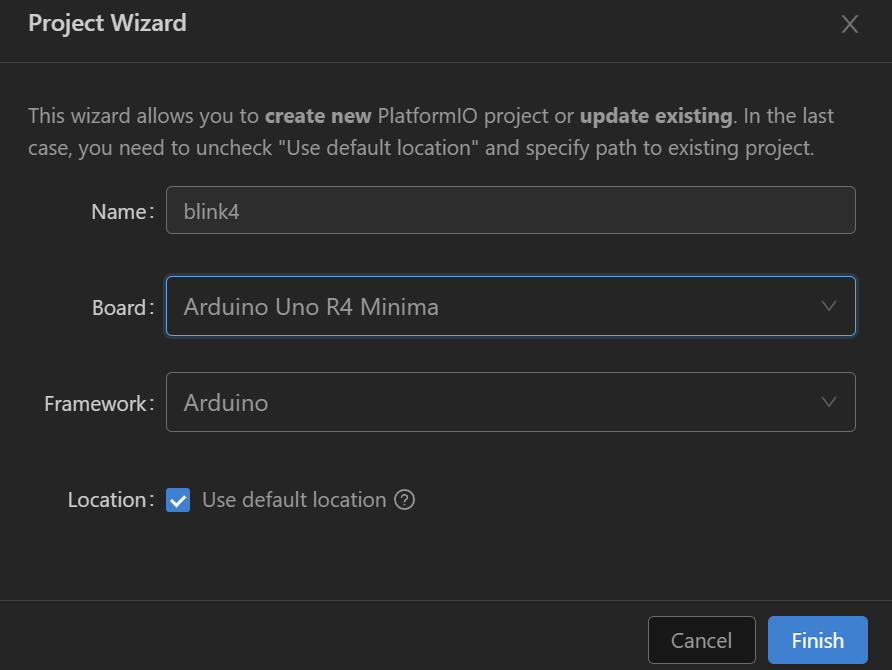
6 PIO Homeの "+ New Project"をクリック
Boardは適当(例えば R4 minima)に入力する
7 Projectができたらplatform.iniを編集
[env:seeed-xiao-nrf54l15]
platform = https://github.com/Seeed-Studio/platform-seeedboards.git
framework = zephyr
board = seeed-xiao-nrf54l15
Ctrl+sで保存したら、少し時間がかかります。
8 zephyr/CMakeLists.txtを修正します。
projectの行は適宜変更
set(BOARD_ROOT "$ENV{ZEPHYR_BASE}/../../platforms/Seeed Studio/zephyr")

cmake_minimum_required(VERSION 3.13.1)
find_package(Zephyr REQUIRED HINTS $ENV{ZEPHYR_BASE})
include($ENV{ZEPHYR_BASE}/cmake/app/boilerplate.cmake NO_POLICY_SCOPE)
project(blink)

FILE(GLOB app_sources ../src/*.c*)
target_sources(app PRIVATE ${app_sources})
9 src/main.cをサンプルに書き換えます。
/*
 * Copyright (c) 2016 Intel Corporation
 *
 * SPDX-License-Identifier: Apache-2.0
 */

 #include <zephyr/kernel.h>
 #include <zephyr/device.h>
 #include <zephyr/drivers/gpio.h>
 #include <nrfx_power.h>

 /* 1000 msec = 1 sec */
 #define SLEEP_TIME_MS   1000

 /* The devicetree node identifier for the "led0" alias. */
 #define LED0_NODE DT_ALIAS(led0)

 /*
  * 获取 LED 的 GPIO 规范
  */
 static const struct gpio_dt_spec led = GPIO_DT_SPEC_GET(LED0_NODE, gpios);

 int main(void)
 {
	 int ret;
	 bool led_is_on = true;
	nrfx_power_constlat_mode_request();
	 if (!gpio_is_ready_dt(&led)) {
		 return -1;
	 }

	 ret = gpio_pin_configure_dt(&led, GPIO_OUTPUT_ACTIVE);
	 if (ret < 0) {
		 return ret;
	 }

	 while (1) {
		 ret = gpio_pin_set_dt(&led, (int)led_is_on);
		 if (ret < 0) {
			 return ret;
		 }
		 led_is_on = !led_is_on;
		 k_msleep(SLEEP_TIME_MS);
	 }

	 return 0;
 }
10 ステータスバーのbuild
を実行して成功することを確認します。
実際ステータスバーの
をクリックして、書き込み、動作することを確認します。
おわりに
PlatformIOでnRF54をするのはまだ時期早々見たい。ただし基本機能はいけそう。