1. この記事は
SwitchbotをRaspberry piで動作させる方法をメモします。
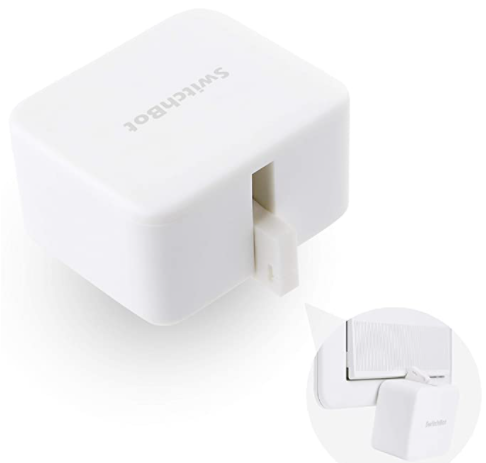
Switchbotは下記サイトに説明があります。リモートで物理的にボタンを押すことができます。
https://www.amazon.co.jp/dp/B07B7NXV4R?ref=ppx_pop_mob_ap_share
2. 方法
(注)下記に説明する方法は、Raspberry Pi4では動作しないようです。Raspberry Pi3であればOKでした。
2-1 (準備)Raspberry Pi3に関連モジュールをインストールします。
製造メーカーが作成したサイト
下記のコマンドを実行してください。
example
sudo apt-get update
sudo apt-get install python-pexpect
sudo apt-get install libusb-dev libdbus-1-dev libglib2.0-dev
sudo apt-get install libudev-dev libical-dev libreadline-dev
sudo pip install bluepy
git clone https://github.com/OpenWonderLabs/python-host.git
cd python-host
2-2 Switchbot本体のMACアドレスを調べる
スマホに下記のアプリをインストールする。
https://play.google.com/store/apps/details?id=com.theswitchbot.switchbot&hl=ja
下記図のとおり操作するとSwitchbot本体のMACアドレスが分かる。
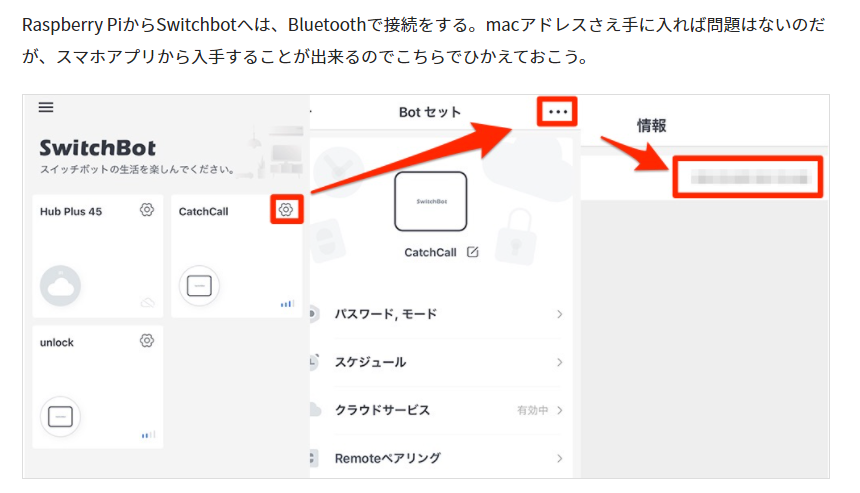
2-3 Raspberry Pi本体とSwitchbotをbluetooth接続する。

2-4 Raspberry Pi3からSwitchbotに信号を送る
Raspberry Piからコマンドを送り以下のとおり「Complete」となればOK
example
pi@raspberrypi:~ $ cd python-host
pi@raspberrypi:~/python-host $ sudo python switchbot.py
Usage: "sudo python switchbot.py [mac dev_type cmd]" or "sudo python switchbot.py"
Scanning...
Scan timeout.
(' 0', [u'd1:xx:xx:xx:xx:xx', 'Bot', 'Press'])
Input the device number to control:0
[u'd1:xx:xx:xx:xx:xx', 'Bot', 'Press']
Preparing to connect.
Connection successful.
Complete
'd1:xx:xx:xx:xx:xx'はSwitchbot本体のMACアドレスを示します。