+++2022年1月10日現在、公式よりアナウンスがされています+++
npm 経由で Mirakurun 2.14.0 ~ 3.9.0-beta.25 をインストール・アップデートしないでください
+++追記2022年1月12日現在、公式よりアナウンスがされています+++
✔️⭐ Mirakurun 3.8.1
✔️⭐ Mirakurun 3.9.0-beta.26
・colors 依存パッケージを削除しました
PLEX-S1UDのドライバーインストール
Windows版-BonDriver等のセットアップ
Mirakurun設定に移る前にこの状態で視聴できるか確認します。
# テレビ東京
c:\DTV\BonRecTest.exe --decoder c:\DTV\B25Decoder.dll --driver c:\DTV\BonDriver_S1UD-T0.dll --output - --space 0 --channel 10 | c:\DTV\ffmpeg\ffplay.exe -i - -v warning -x 960 -y 540
Node.js v14.18.1 install
最新のEPGStation (v2.6.12~v2.6.15)ではNode.js v16ではインストールに失敗する
いためv14.10以上を使用する。
Mirakurun on Win
use Windows PowerShell as Admin.
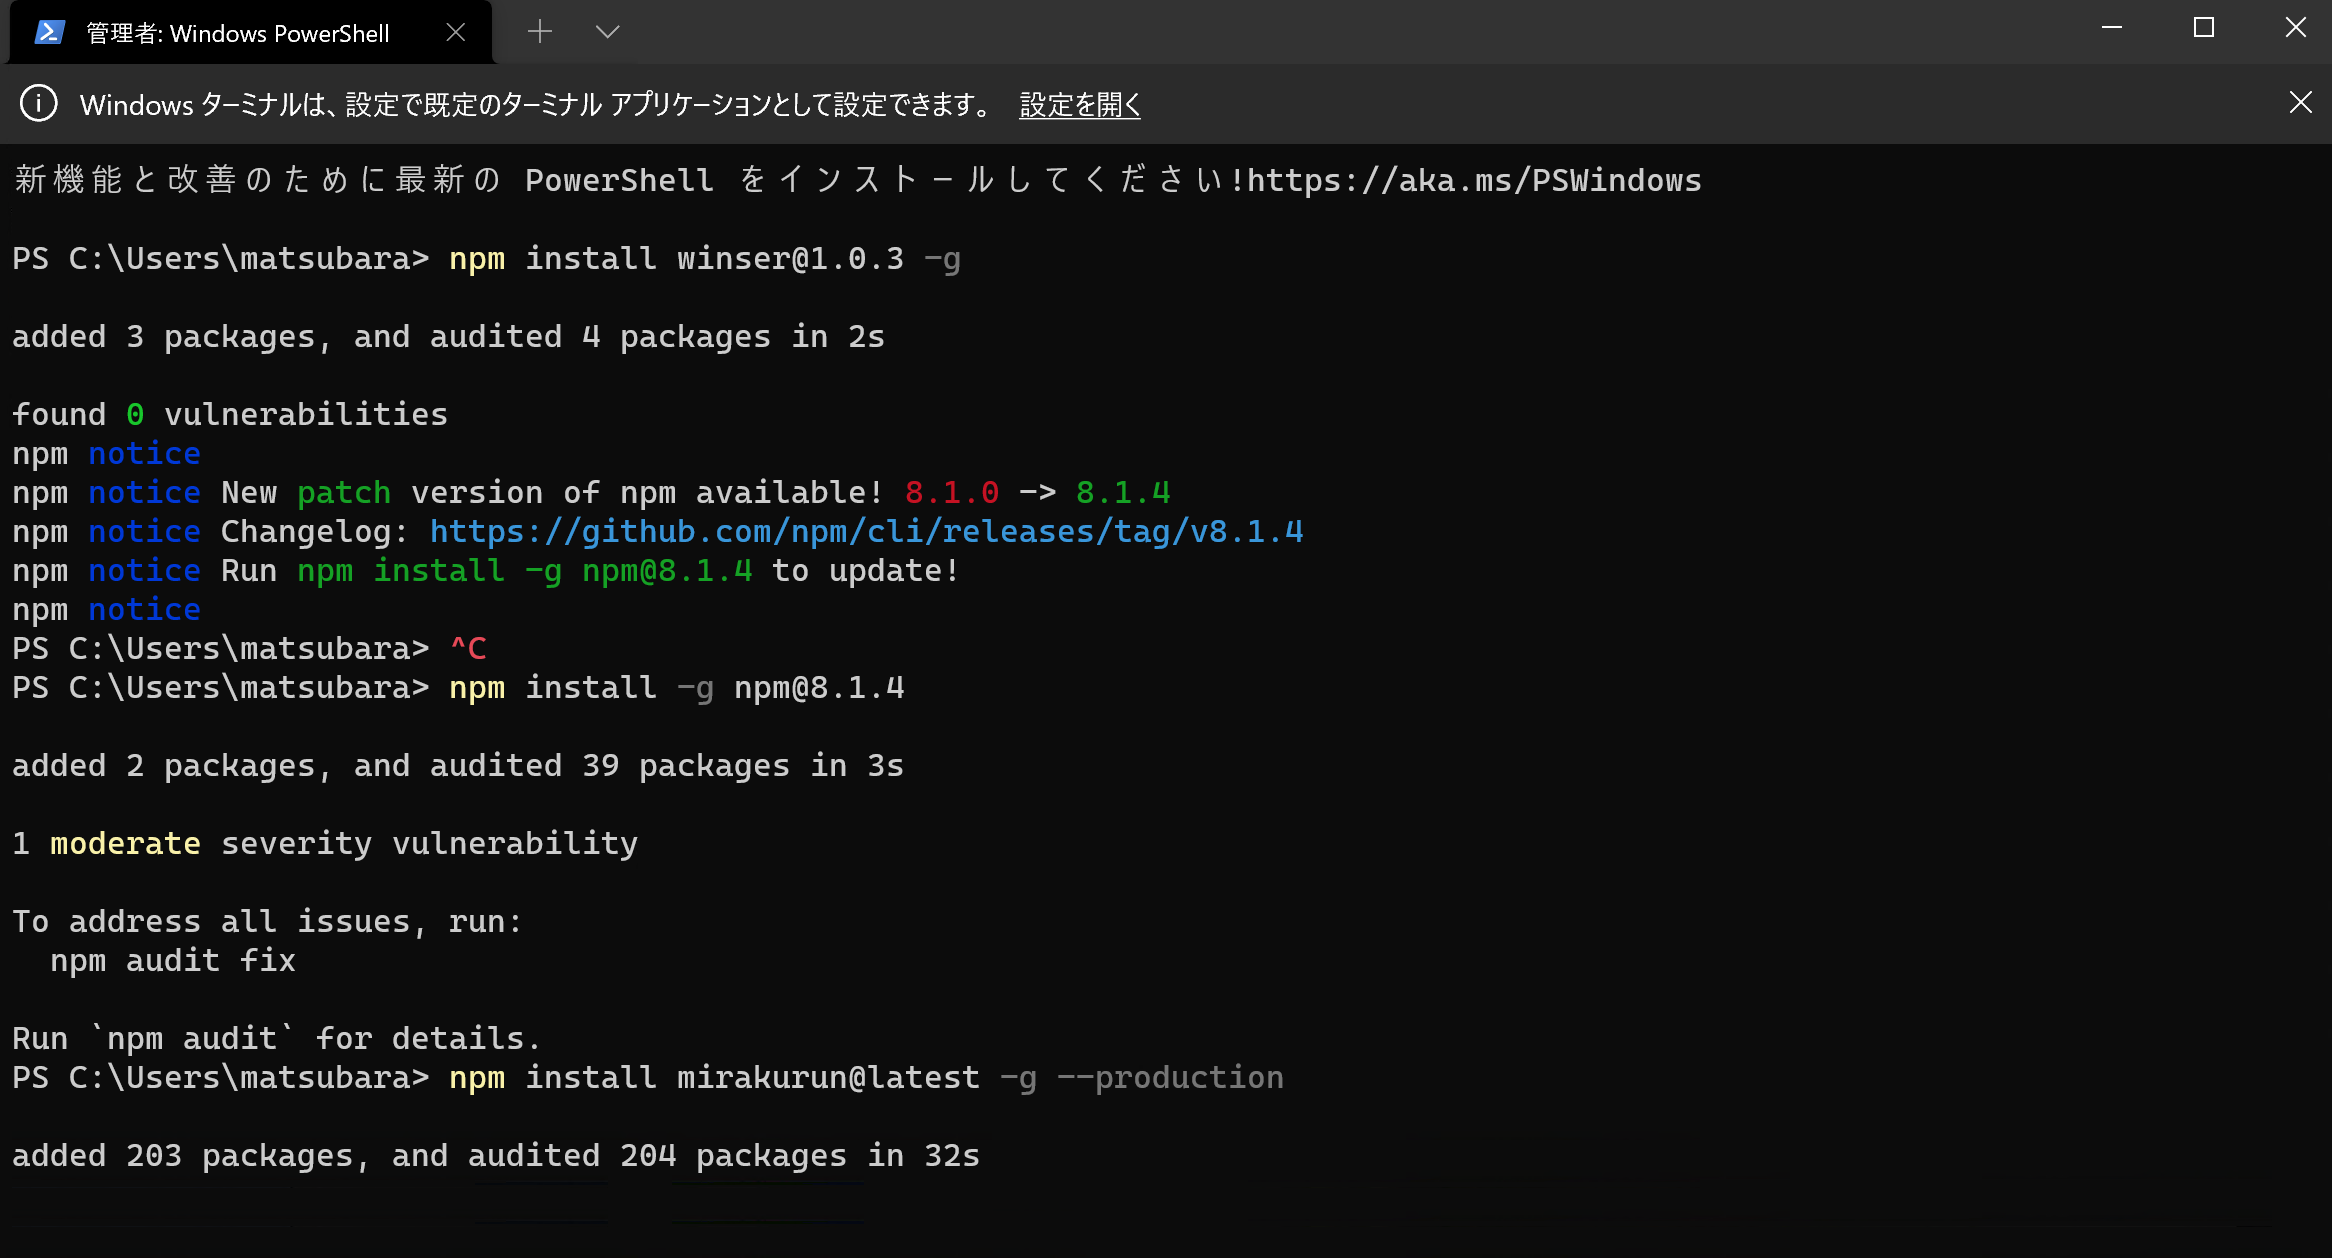
# Installing winser (npmサービスの起動に必要なパッケージ)
npm install winser@1.0.3 -g
# install
npm install mirakurun@latest -g --production
# installしたらここでチューナー設定
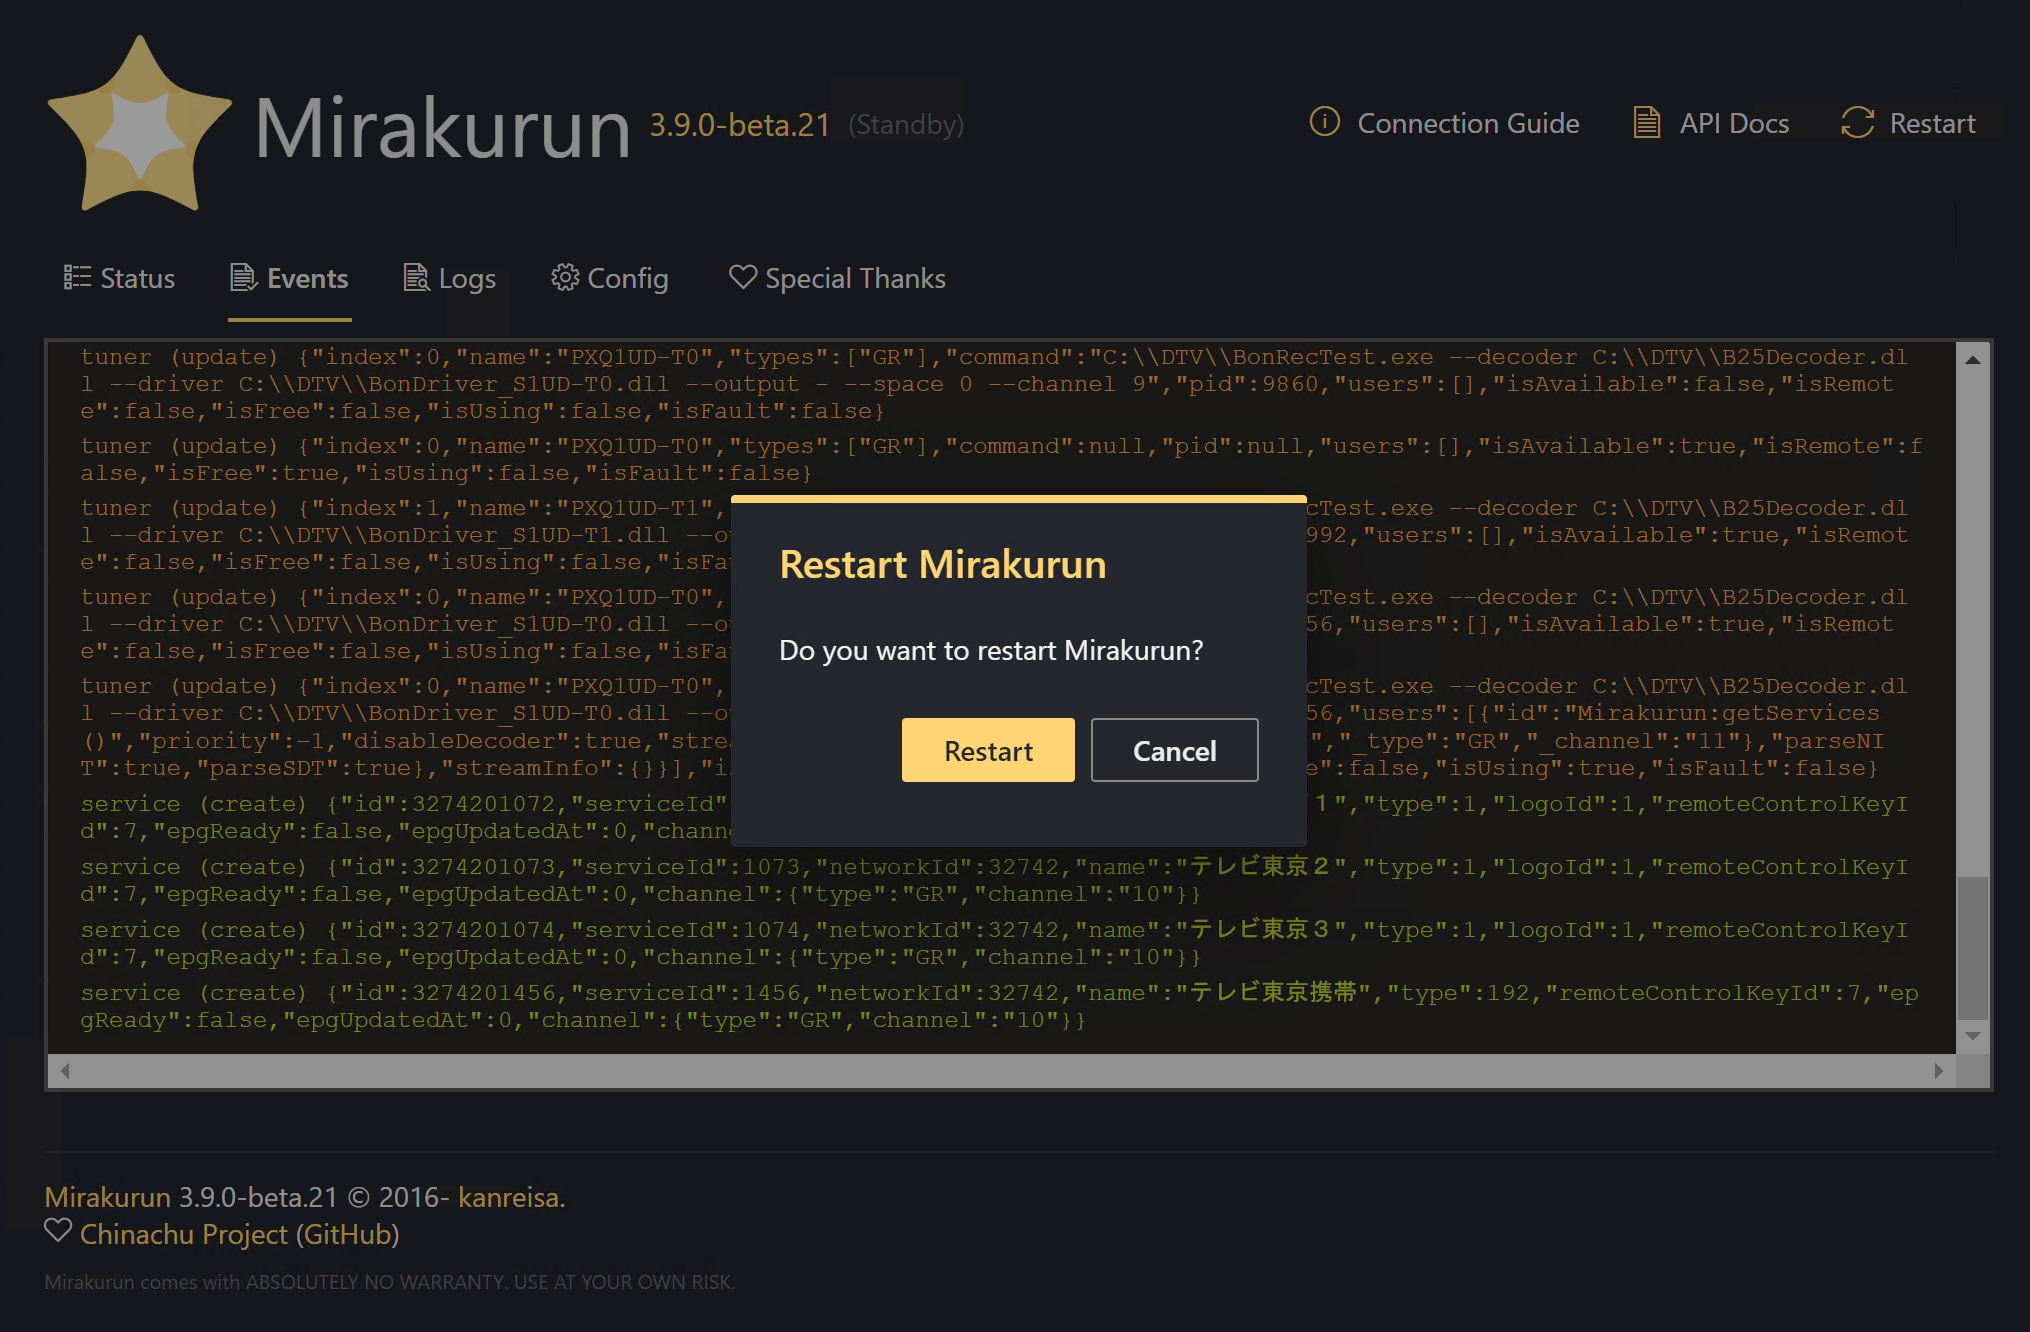
# チューナー設定後、MirakurunをWebから再起動させる
# Uninstall
npm uninstall mirakurun -g
# Service Management
# start
Start-Service mirakurun
# stop
Stop-Service mirakurun
C:\Users(username).Mirakurun\の中に、3つのymlファイルがあるはず。※UTF-8+LF改行で保存
# チューナー設定のDL
wget -O tuners.yml https://gist.github.com/Yuu-stack/f05dbce24508d77a4f55321a47647f7b/raw/e2e533a97860a08d5a8a423228860368ddbd110e/tuners.yml && \
wget -O channels.yml https://gist.github.com/Yuu-stack/f05dbce24508d77a4f55321a47647f7b/raw/82628e27f159cd71a65bd04bea89016297e8ddfa/channels.yml

# "ファイル名を指定して実行"で下記を入力
# WinKey + R
notepad %USERPROFILE%\.Mirakurun/tuners.yml
notepad %USERPROFILE%\.Mirakurun/channels.yml

# 設定後に Mirakurun-Web-UIから再起動
http://localhost:40772/
チャンネルスキャン
Mirakurunのチャンネルスキャン
地デジのチャンネル設定に関してはチャンネルスキャンが行える(ただし、ケーブルテレビのC13~C63には対応していない模様)。curlコマンドを使用するので予めインストールしておく。終了したらMirakurunを再起動する。
参考:Windows10 で EPGStation セットアップ(2021年7月) - Qiita
curl -X PUT "http://localhost:40772/api/config/channels/scan?type=GR&minCh=1&maxCh=14&refresh=true" -H "accept: text/plain"
sudo apt-get install -y curl
curl -X PUT "http://localhost:40772/api/config/channels/scan"
sudo mirakurun restart
EPGStation on Win
v2.6.11以上はビルドが出来なくなっているので公式で解決されるまでこのバージョンを使用する。
公式:l3tnun/EPGStation v2.6.11
node --version
Invoke-WebRequest http://localhost:40772/api/version
npm info windows-build-tools
EPGStation インストール
ダウンロードする際に改行コードが変換されないように autocrlf false としています。これをやらないと次のbuildでeslintがCRを検出して大量にエラーをはきます。
# Chocolatey を使った git install
# Chocolateyのインストール
Set-ExecutionPolicy Bypass -Scope Process -Force; [System.Net.ServicePointManager]::SecurityProtocol = [System.Net.ServicePointManager]::SecurityProtocol -bor 3072; iex ((New-Object System.Net.WebClient).DownloadString('https://community.chocolatey.org/install.ps1'))
# installしたら powershellを再度、管理者権限で起動
choco install git.install
# ダウンロードする際に改行コードが変換されないように
git config --global core.autocrlf false
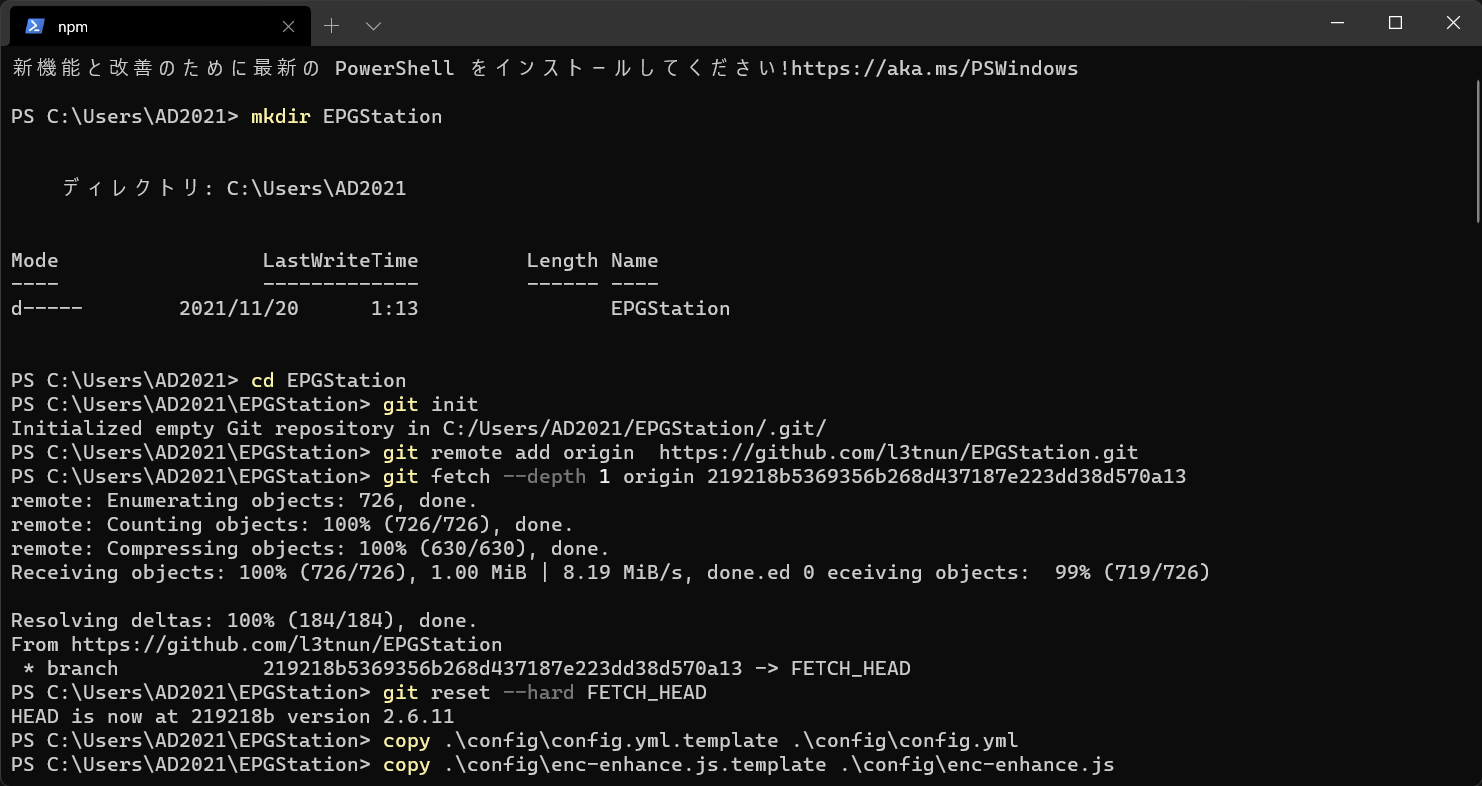
# v2.6.11 のコミットを指定してclone
mkdir EPGStation
cd EPGStation
git init
git remote add origin https://github.com/l3tnun/EPGStation.git
git fetch --depth 1 origin 219218b5369356b268d437187e223dd38d570a13
git reset --hard FETCH_HEAD
# ビルド
npm run all-install
npm run build
# 設定ファイル(v2.6.11)
copy .\config\config.yml.template .\config\config.yml
copy .\config\enc-enhance.js.template .\config\enc-enhance.js
copy .\config\enc.js.template .\config\enc.js
copy .\config\epgUpdaterLogConfig.sample.yml .\config\epgUpdaterLogConfig.yml
copy .\config\operatorLogConfig.sample.yml .\config\operatorLogConfig.yml
copy .\config\serviceLogConfig.sample.yml .\config\serviceLogConfig.yml

# "ファイル名を指定して実行"で下記を入力
# WinKey + R
notepad %USERPROFILE%\EPGStation\config\config.yml
port: 8888,
mirakurunPath: 'http://localhost:40772'
ffmpeg: 'C:\\ffmpeg\\ffmpeg.exe'
ffprobe: 'C:\\ffmpeg\\ffprobe.exe'
参照:Windows版Mirakurunの設定に手間取ってたわけ
# 手動で起動する場合
npm start

# windowsサービスに登録
npm run install-win-service
# サービスの開始
net start epgstation

# 手動で終了する場合
npm stop

# 自動起動した EPGStation を終了する場合
net stop epgstation

# サービスから削除する場合は以下のコマンドを管理者権限で実行します
npm run uninstall-win-service
参考:npmのキャッシュ削除
# npmのキャッシュ削除
npm cache clean
npm cache clean --force
npm cache ls

rm -r -fo ~/EPGStation
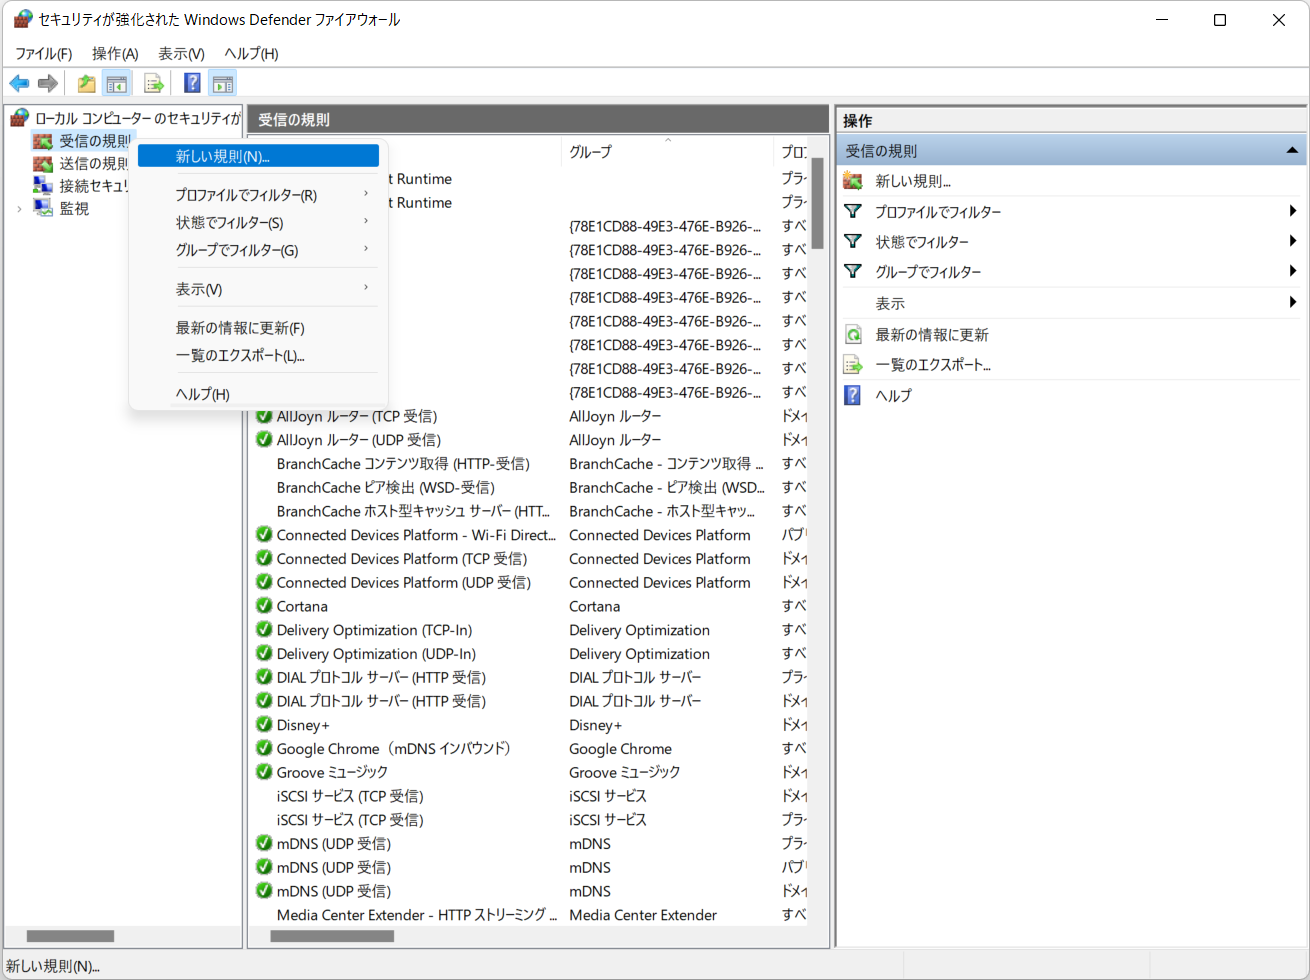
Windows ポート開放
コントロールパネル>システムとセキュリティ>Windowsファイヤーウォール>左の詳細設定>受信の規則
新しい規則から
40772,8888ポートを追加してあげる。
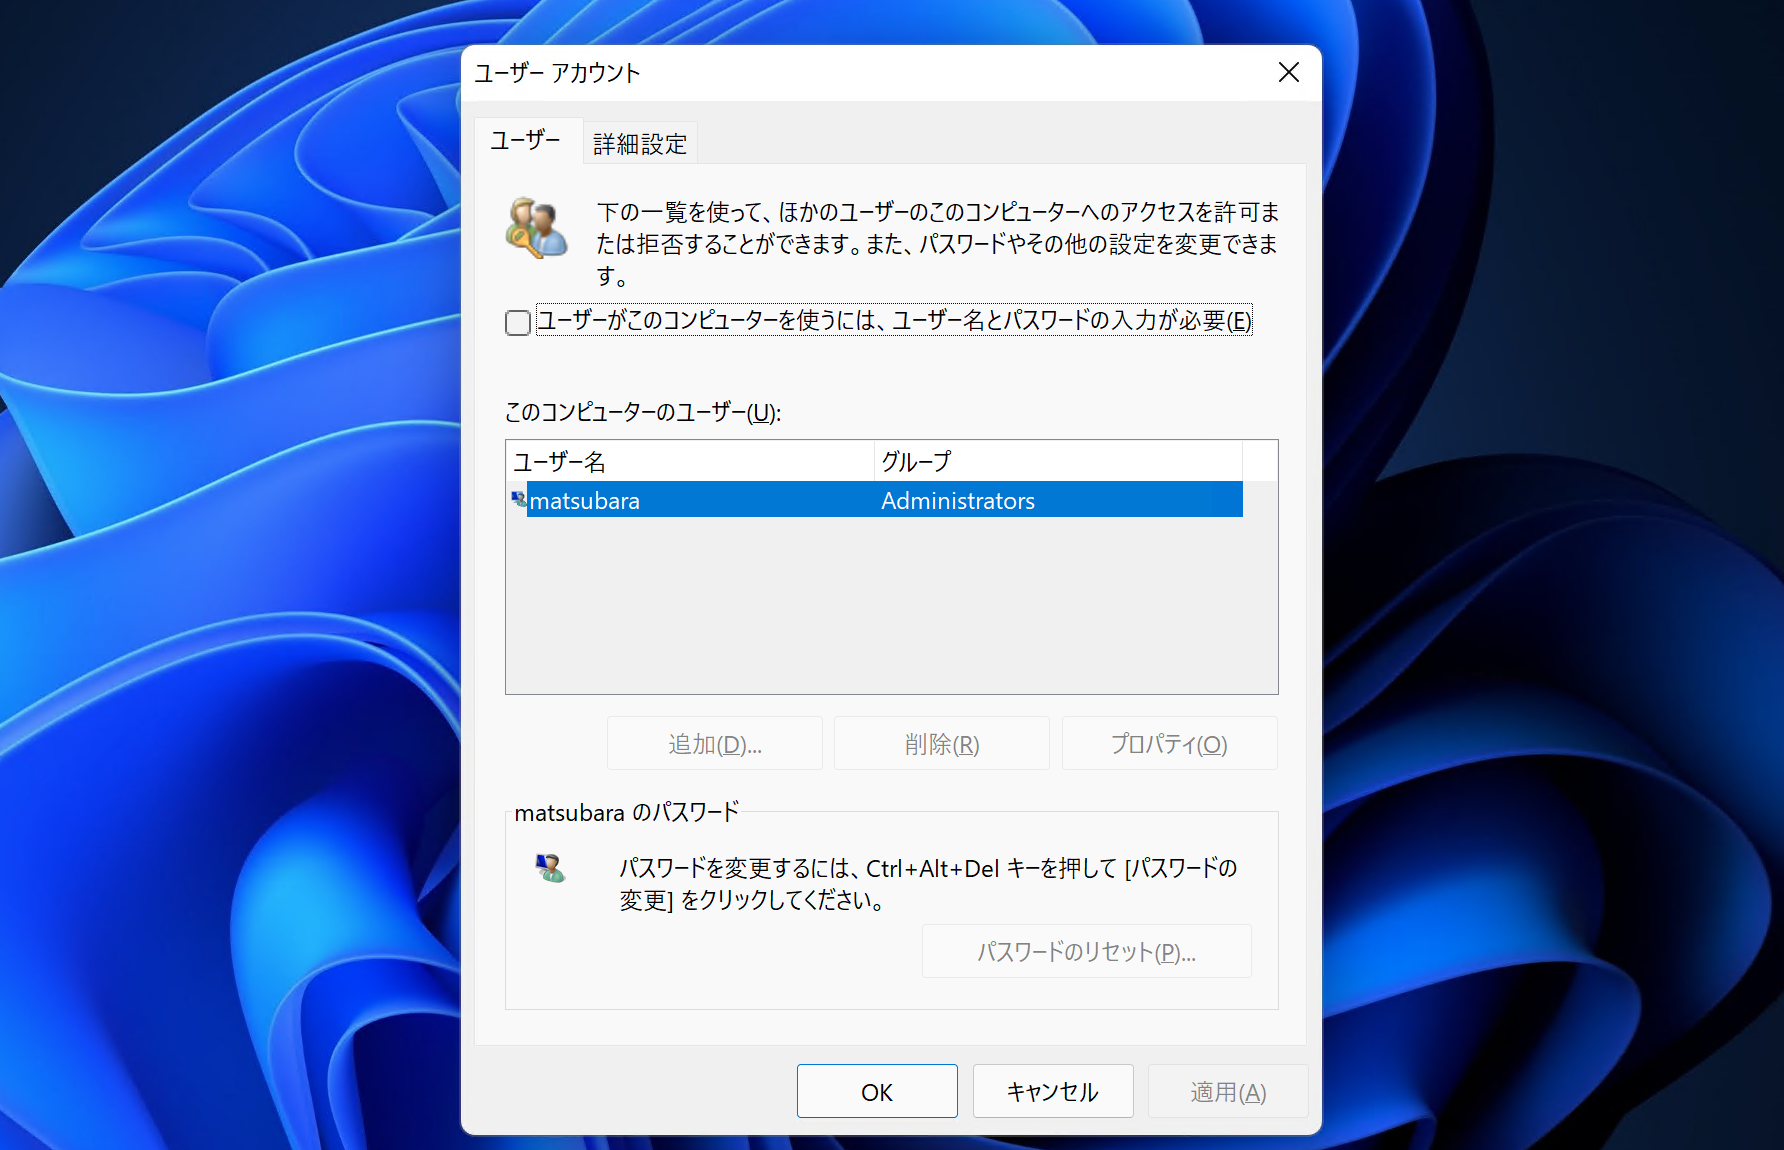
Windows 自動ログイン
WinKey + R + netplwiz
チェックを外す