あらすじ
会社で使用している機器のGPIO機能をテストしようと思ったので環境構築して使ってみたの巻。
tinygoを入れる
https://tinygo.org/getting-started/install/windows/
これに従えばOK。
scoopを使わずにManual Installに従ったほうがシンプル。
好きなところに解凍してexeにpathを通す。
avrのツールを入れる
お手軽なのはArduino IDE内のavrdudeにPathを通す方法。
C:\Program Files (x86)\Arduino\hardware\tools\avr\bin
とかにあるはず。
その他
LLVMと本家goが必要といわれたらこれらもPathを通す。
コーディングする
今回使用するのはESP32くん。
tミリ秒で無限にLチカする関数を用意し、500msと300msでトグルするようにして呼び出す。
goキーワードを書き足すだけで以降の処理と並行して実行されるらしい。なんかすごい!
main.go
package main

import (
	"machine"
	"time"
)

func main() {
	a := machine.IO5
	a.Configure(machine.PinConfig{Mode: machine.PinOutput})
	b := machine.IO23
	b.Configure(machine.PinConfig{Mode: machine.PinOutput})
	go ltika(a, 500)
	ltika(b, 300)
}

func ltika(p machine.Pin, t int) {
	for {
		p.High()
		time.Sleep(time.Duration(t) * time.Millisecond)
		p.Low()
		time.Sleep(time.Duration(t) * time.Millisecond)
	}
}
書き込み
tinygo flash -target=esp32-coreboard-v2 main.go
結果
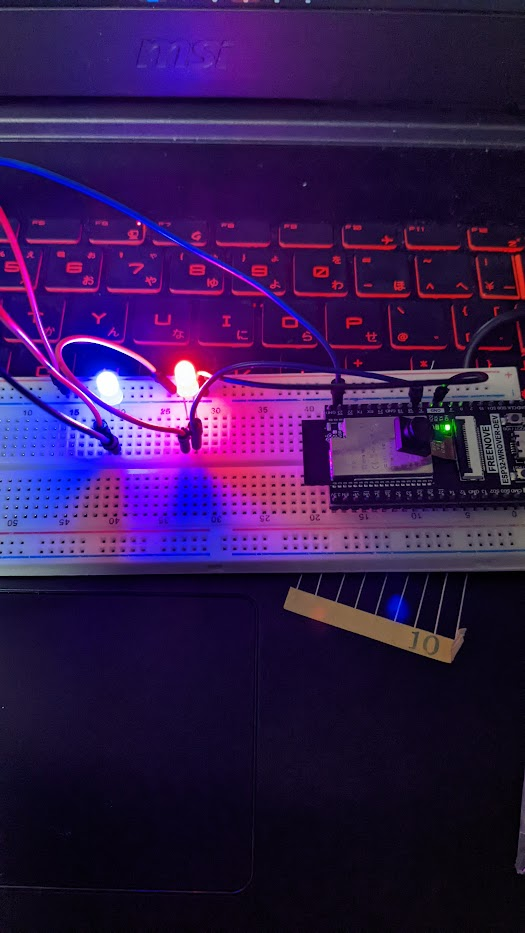
見事に並行実行できました!静止画じゃ多分わからないけど。。。良い子は抵抗を付けましょう。

書き込みにかかった時間は6.309秒。そこそこ速く、コードも難しくないから楽しい!!!!