記事を作成しようとしたきっかけ
GAEへデプロイしようとしたところ、かなり詰まったので自分なりにまとめてみました。
初心者なので間違えている点などありましたらご指摘ください。
作業には費用が発生しますのでご注意ください。
GCPに登録したばかりの人は無料クレジットで対応できます。
Google Cloud CLI をインストールする
上記のリンクより、gcloudSDKのインストールを行います。
gcloud CLI の最新バージョンのインストール
先ほどのリンクから開ける画面を少し下に移動すると、gcloud CLI の最新バージョンのインストールという項目があるかと思います。
こちらでは、今現在使用しているPCの機種を選択します。

機種に対応したパッケージをダウンロードする必要があるため、プラットフォームに対応したパッケージをダウンロードします。
uname -m
上記のコマンドを実行するとハードウェア名を確認することができます。
そちらと同じプラットフォームを選択してダウンロードしましょう。
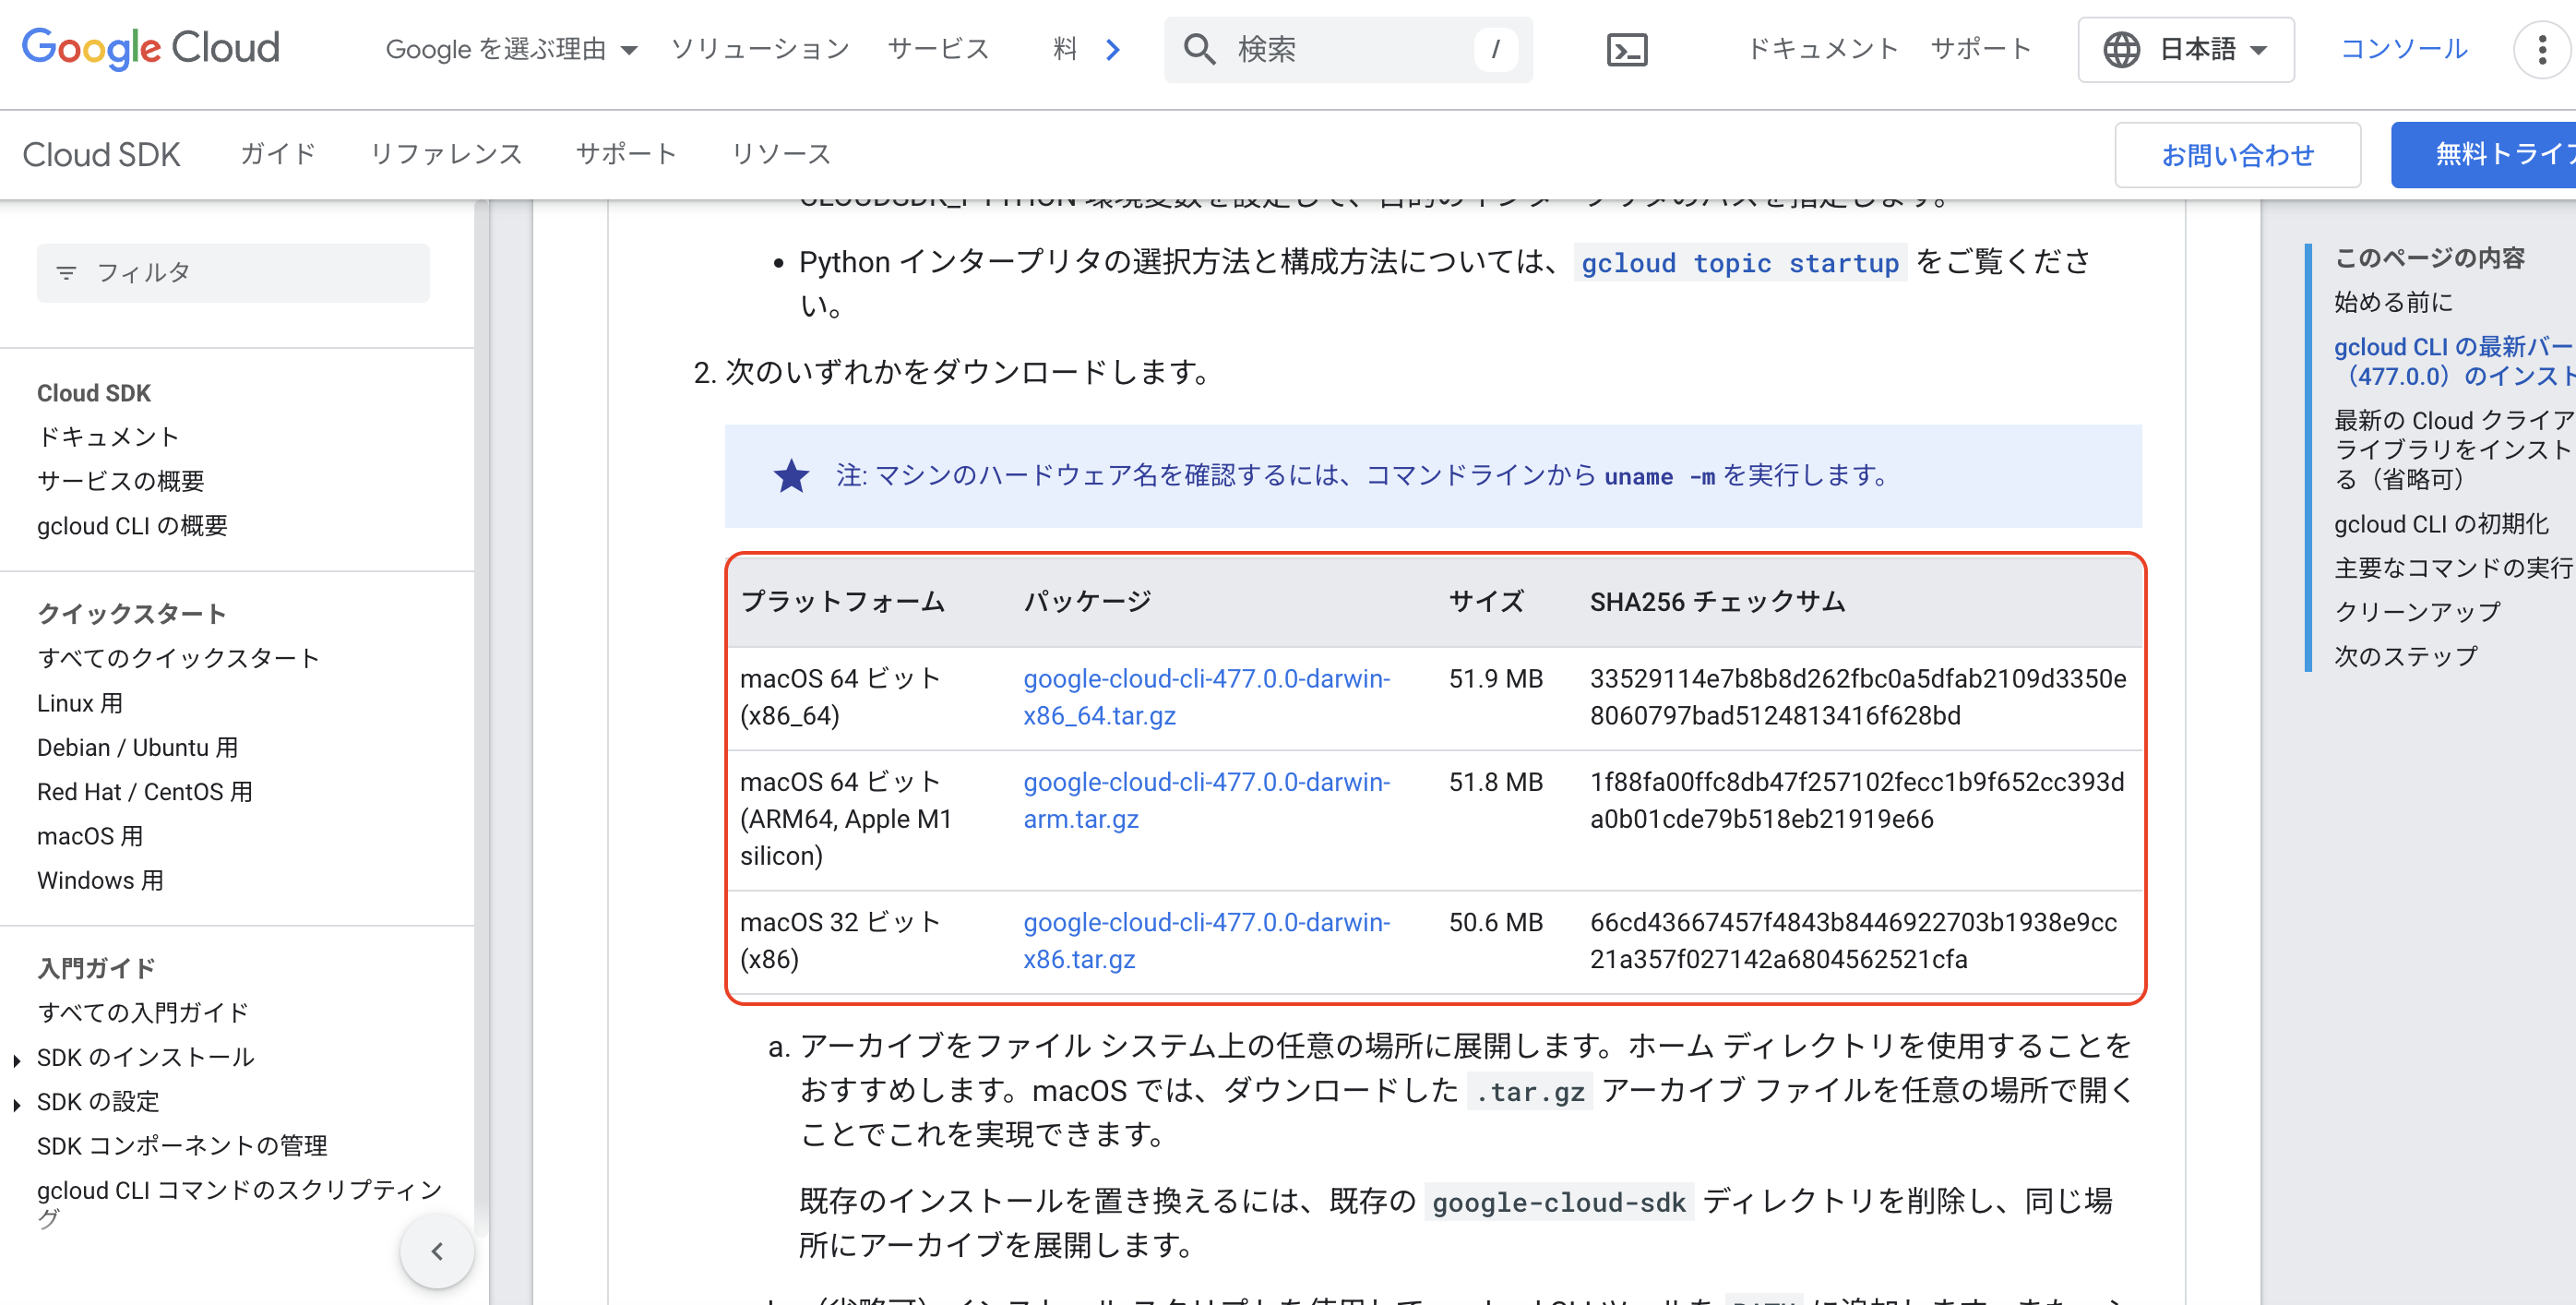
ダウンロードしたファイルは ホームディクトリへ移動させてください。
Google Cloud SDKのインストール
先ほどホームディレクトリへ移動させたパスまで移動してください。
macの場合はこんな感じです。
/Users/google-cloud-sdk
windowsなら
C:\Users\google-cloud-sdk
パスの確認が取れたら以下のコマンドを実行し、Google Cloud SDKをインストールしていきます。
./google-cloud-sdk/install.sh
いくつかの質問が投げられるので、答えていきましょう。
まず1つ目の質問
Do you want to help improve the Google Cloud SDK (y/N)?
意味としては、Google Cloud SDK の使用データやエラー報告を Google に送信して、SDK の改善に貢献するかどうかを問われています。
今は無視でOKなので「N」を選択します。
2つ目の質問
Modify profile to update your $PATH and enable shell command completion?

Do you want to containue (Y/n)?
簡単に説明すると、gcloudコマンドを使うパスは今のパスで良いか?という問いです。
nを選択すると手動で設定を行う必要があるため面倒です。
ここでは「Y」を選択し、自動で$PATHの更新を行ってもらいましょう。
3つ目の質問
Enter a path to an rc file to update, or leave black to use
[/Users/redordingguest/.zshrc]:
ここはEnterキーを押下でOKです。
意味としては、.zshrcファイルを更新しますが大丈夫ですか〜?みたいな感じです。
Google Cloud CLIの初期設定
ここまで完了すれば、続いてgcloud CLI の初期化を行っていきます。
こちらはホームディレクトリで実行し、対話形式で設定を行っていきます。
./google-cloud-sdk/bin/gcloud init
上記のコマンドを使います。
それでは流れを見ていきましょう。
% ./google-cloud-sdk/bin/gcloud init
Welcome! This command will take you through the configuration of gcloud.

⭐️ configration(設定名)を選択する必要がありますが、こちらは問答無用で1でOKです。 ⭐️
Pick configuration to use:
 [1] Re-initialize this configuration [default] with new settings
 [2] Create a new configuration
Please enter your numeric choice:  1

Your current configuration has been set to: [default]

You can skip diagnostics next time by using the following flag:
  gcloud init --skip-diagnostics

Network diagnostic detects and fixes local network connection issues.
Checking network connection...done.
Reachability Check passed.
Network diagnostic passed (1/1 checks passed).

⭐️ どのgoogleアカウントを使うかの設定をします。ここでは基本1で大丈夫です。 ⭐️
Choose the account you would like to use to perform operations for this configuration:
 [1] xxxxxx@gmail.com
 [2] Log in with a new account
Please enter your numeric choice:  1

You are logged in as: [xxxxxx@gmail.com].

⭐️ どのプロジェクトを使うかの設定をします。ご自身のプロジェクトを選択してください。 ⭐️
Pick cloud project to use:
 [1] xxxxxxx
 [2] xxxxxxx
 [3] Enter a project ID
 [4] Create a new project
Please enter numeric choice or text value (must exactly match list item):  2

Your current project has been set to: [ここはプロジェクトIDです].
 ~~~~~ ~~~~~ ~~~~~ ~~~~~~
* Run `gcloud --help` to see the Cloud Platform services you can interact with. And run `gcloud help COMMAND` to get help on any gcloud command.
* Run `gcloud topic --help` to learn about advanced features of the SDK like arg files and output formatting
* Run `gcloud cheat-sheet` to see a roster of go-to `gcloud` commands.
これにて設定は完了です。
GCPプロジェクトの作成
上記のリンクからGCPに遷移します。
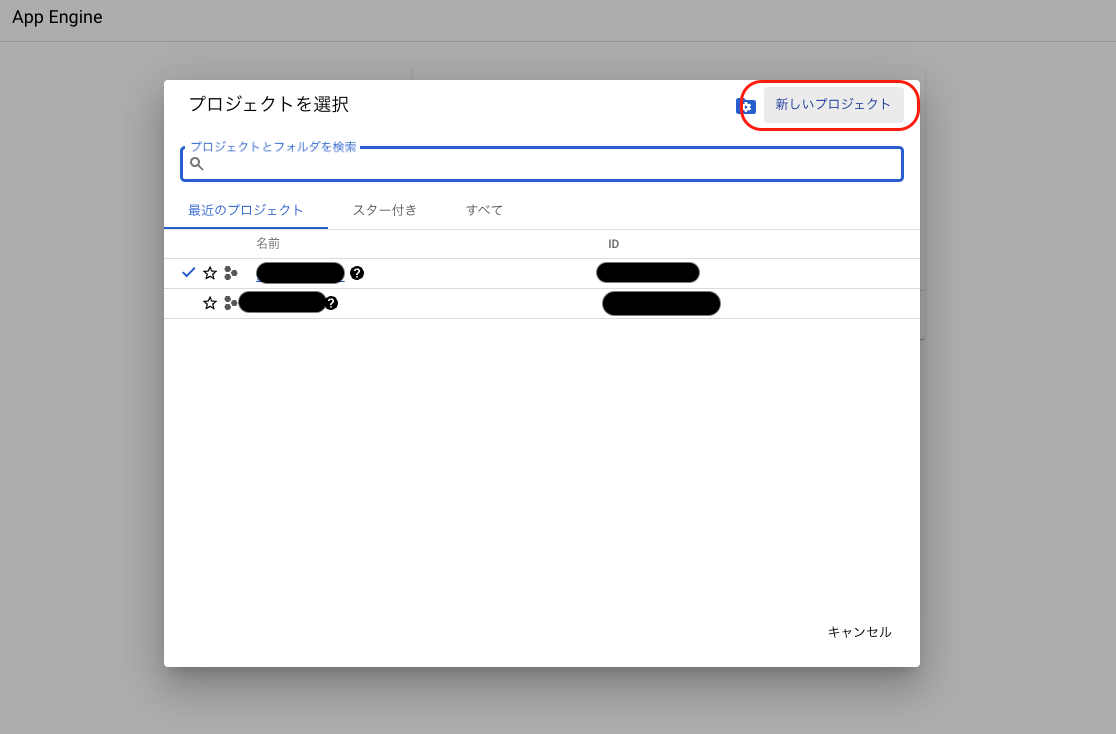
下記のような画面に遷移するため、プロジェクト項目を選択します。
続いて、新しいプロジェクトを選択します。
プロジェクト名を入力し、作成ボタンを押下します。
プロジェクト作成は以上になります。
GAE開始
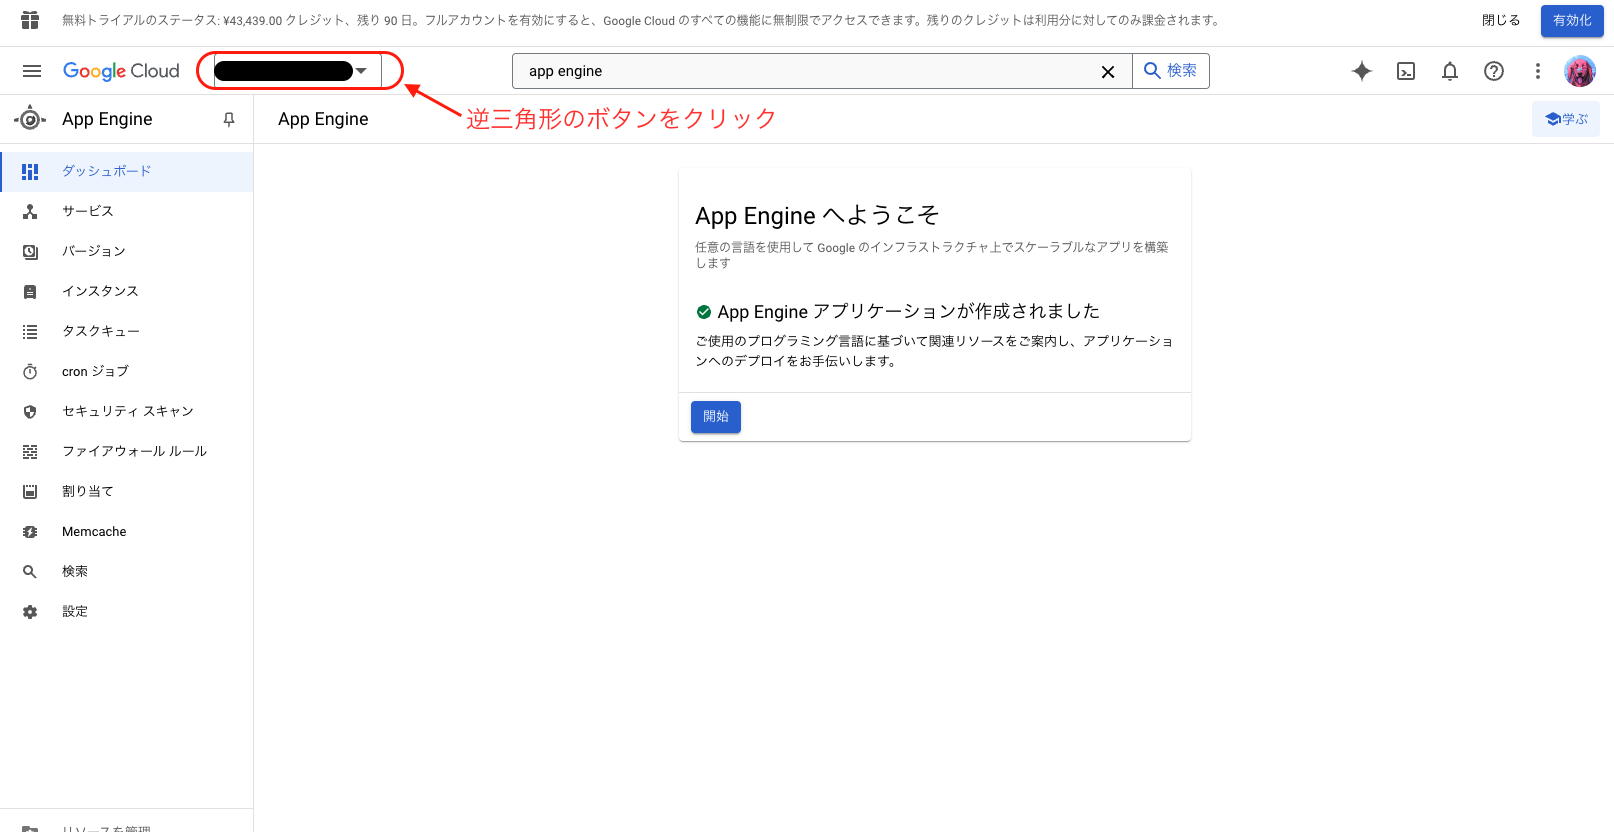
作成したプロジェクトに入り、検索バーから「App Engine」を検索し、選択します。
次に「アプリケーションを作成」ボタンを選択します。

アプリケーションが作成されたら、リージョンの設定を行なっていきます。
画像がなくすみません。。。
※App Engineの初期化中のエラーが出る場合
以下の画像のようにエラーが出る場合は、時間を置いてから再度実施すればOKです。
初期化中なので、GCP側で何かやってるんでしょう。笑

リージョンを「aisia-notheast1」で選択し「次へ」をクリックします。
aisia-notheast1とは東京リージョンのことです。
続いて、リソースの設定を行なっていきます。
Languageを「Python」に設定し、Enviromentを「標準」に設定します。

これにてApp Engineの設定は完了です。
app.yamlファイルの作成
GAEでデプロイを行う際は、app.yamlファイルをBASE_DIR直下に配置する必要があります。
ファイル構成としてはこのような形です。
project
├── config
│   ├── __init__.py
│   ├── asgi.py
│   ├── settings.py
│   ├── urls.py
│   └── wsgi.py # 重要
├── myapp
│   ├── __init__.py
│   ├── admin.py
│   ├── apps.py
│   ├── migrations
│   ├── models.py
│   ├── tests.py
│   └── views.py
├── ⭐️ app.yaml ⭐️ 新しくファイルを追加しましょう。
└── manage.py
app.yamlの中身はこちらを参考にしてください。
例ですが、以下のような形でファイルに書き込んでいきます。
runtime: python312 #pythonのバージョン

instance_class: F2 #使用するインスタンスのクラスを指定

entrypoint: gunicorn -b :$PORT config.wsgi:application
# Google App Engine 上でアプリケーションを起動コマンド
# configの中のwsgiを使いますよと指定しています。上のファイル構成の「重要」の部分ですね。

handlers: #URLパスに対応する処理方法
# Matches requests to /images/... to files in static/images/...
- url: /images
  static_dir: static/images

- url: /.*
  secure: always
  redirect_http_response_code: 301
  script: auto
このあたりの設定は個々で異なるため、公式ドキュメントを参考にしながら記述していきましょう。
ここに関しては自信ないので。。。すみません!!!
gunicornのインストールとrequrements.txtの作成
コマンドを実行する場所は、自分の開発環境です。
(例) (venv) User Mysite %
app.yamlにてentrypoint: gunicorn ~ の記述をしたため、ginicornをインストールする必要があります。
以下のコマンドを実行してください。
pip install gunicorn
gunicornのインストールが完了後、requrements.txtを作成します。
requrements.txtでは、GAEのサーバーにどのようなライブラリをインストールするかを教えています。
pip freeze > requirements.txt
新しくファイルが作成されたと思います。
ファイル構成としてはこのような形です。
project
├── config
│   ├── __init__.py
│   ├── asgi.py
│   ├── settings.py
│   ├── urls.py
│   └── wsgi.py
├── myapp
│   ├── __init__.py
│   ├── admin.py
│   ├── apps.py
│   ├── migrations
│   ├── models.py
│   ├── tests.py
│   └── views.py
├── app.yaml
├── requirements.txt # BASE_DIR直下に作成されます。
└── manage.py
GAEへデプロイ
※こちらもコマンドを実行する場所は、自分の開発環境です。
Google Cloud SDKの認証コマンドを実行します。
以下のコマンドを実行後、自動でGoogle Cloud SDKの画面へと遷移します。
gcloud auth login
以下の画面が表示されていればOKです。

※command not found: gcloud が出る場合は、ホームディレクトリにgoogle-cloud-sdkフォルダを移動させていないのが原因かもしれません。
続いて、どのプロジェクトを対象にコマンドを実行するかを指定するため、以下のコマンドを実行します。
gcloud config set project 自分のプロジェクトID
Updated property [core/project].が出力されればOKです。
デプロイのコマンドは以下になります。
gcloud app deploy --project 自分のプロジェクトID
意味としては、gcloud app deploy コマンドを使ってアプリケーションを Google App Engine (GAE) にデプロイすることです。
流れとしては以下のようになります。
gcloud app deploy --project 自分のプロジェクトID
Services to deploy:

descriptor:                  [/Users/xxxxxx/xxxxxx/app.yaml]
source:                      [/Users/xxxxx]
target project:              [xxxxxxx]
target service:              [default]
target version:              [xxxxxxxxx]
target url:                  [https://xxxxxxxxxxx]
target service account:      [xxxxxxxxxxx]


Do you want to continue (Y/n)?  y

Beginning deployment of service [default]...
╔════════════════════════════════════════════════════════════╗
╠═ Uploading 4136 files to Google Cloud Storage                ═╣
╚════════════════════════════════════════════════════════════╝
File upload done.

Updating service [default]...done.
Setting traffic split for service [default]...done.
Deployed service [default] to [https://xxxxxxxx]

⭐️ ログの確認はこのコマンドを使ってくれ〜 ⭐️
You can stream logs from the command line by running:
  $ gcloud app logs tail -s default

⭐️ Webでの表示コマンドはこれやで〜 ⭐️
To view your application in the web browser run:
  $ gcloud app browse
最後にアプリケーションが正しく動作するかをブラウザで確認してみましょう!!
以下のコマンドを実行してみてください。
gcloud app browse # このコマンドを実行

# 出力内容
Opening [https://xxxxxxxxxx] in a new tab in your default browser.
上記のhttps:// から始まるURLをWebで開くと閲覧ができると思います!
エラーがあった際はその都度修正します。修正が完了したら
gcloud app deploy --project 自分のプロジェクトID
と
gcloud app browse
を行い、再度デプロイ&Web表示させて確認してみましょう。
※DEBUG = Trueにしておくとエラー解決しやすくなります。
これにてデプロイは完了です! !
不安ばかりのデプロイでしたが、お疲れ様でした!!!!
参考記事
【初心者向け】DjnagoアプリをGAE(GCP)でデプロイする方法
https://note.com/saito_pythonista/n/n411bf9ccb02a