これは何?
ROSCon2022に参加した際に、"Native Rust components for ROS 2"のセッションでRustDDSを紹介していました。今回はRustDDSをソースからビルドして動作を確認しました。
対象とする読者
この記事はRustDDSを試してみたいROSユーザー向けに書いています。
環境
- ubuntu 22.04
- ROS Humble
- 言語 Rust 1.62.0
作業内容
- eProsimaのShapseDemoをビルドと動作確認
- RustDDSのデモがShapseDemoを使用する為
- RustDDSのビルドと実行
- こっちが今回の目的の方
作業準備
Rust, ROSはインストール済みとします。
eProsimaのShapes Demoのビルドと動作確認
e-ProsimaのShapes Demoのビルド方法を示します。
1.必要なソフトをインストールする
ビルドにな依存関係にあるソフトウェアをインストールします。
sudo apt install wget git
sudo apt install libasio-dev libtinyxml2-dev
colconなどがインストールされていない場合は、以下のコマンドを実行しでインストールします。
pip install -U colcon-common-extensions vcstool
2.ソースをダウンロードする
以下のコマンドでソースをダウンロードします。
mkdir -p ShapesDemo/src && cd ShapesDemo
wget https://raw.githubusercontent.com/eProsima/ShapesDemo/master/shapes-demo.repos
vcs import src < shapes-demo.repos
※ e-Prosimaのチュートリアルはreposファイルのアドレスが微妙に違うので修正してます。
3.ビルド
以下のコマンドでビルドします。
colcon build
4.動作確認
ビルドしたディレクトリ下で以下を実行します。
source install/setup.bash
ShapseDemo
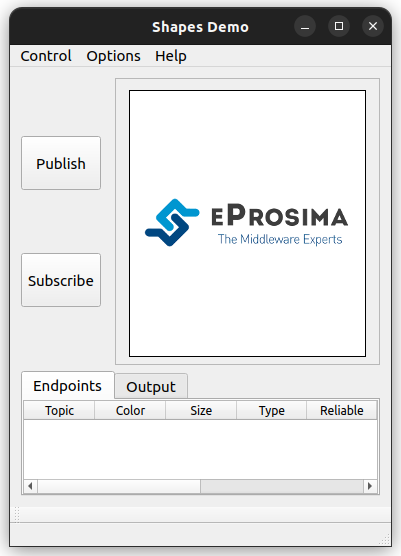
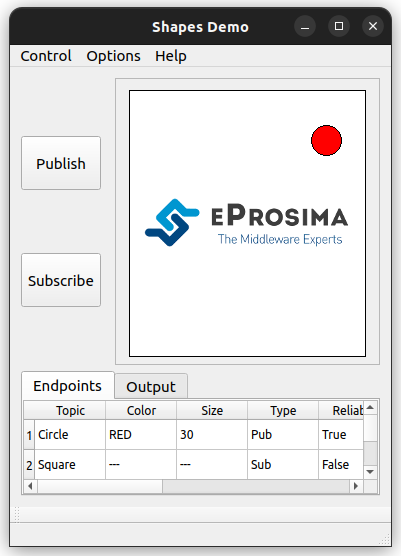
以下のようなGUIが立ち上がれば成功です。
動作確認ができたら、Ctrl+cで終了してください
RustDDSのビルド
1.リポジトリのクローン
以下のコマンドでRustDDSのリポジトリをクローンします。
git clone git@github.com:jhelovuo/RustDDS.git
2.ソースのビルド
以下のコマンドでダウンロードしてきたソースのディレクトリに移動しビルドしてください。
cd RustDDS/
cargo build
3.動作確認
以下のcargoコマンドでexampleを実行してください。
Circle GREEN 11 11 [21]のような文字列が連続して出力できれば成功です。
$ cargo run --example=shapes_demo -- -P -t Circle -r -c GREEN -S
    Finished dev [unoptimized + debuginfo] target(s) in 0.07s
     Running `target/debug/examples/shapes_demo -P -t Circle -r -c GREEN -S`
No config file found in current working directory.
Topic name is Circle. Type is ShapeType.
(中略)
Circle     GREEN       11  11 [21]
Circle     GREEN       14  14 [21]
Circle     GREEN       17  17 [21]
Circle     GREEN       20  20 [21]
......
動作確認ができたら、Ctrl+cで終了してください
デモの実行方法
1.Shpes Demo起動と設定
ShapesDemoをビルドしたディレクトリに行き、以下のコマンドを実行してください。
ShapesDemo
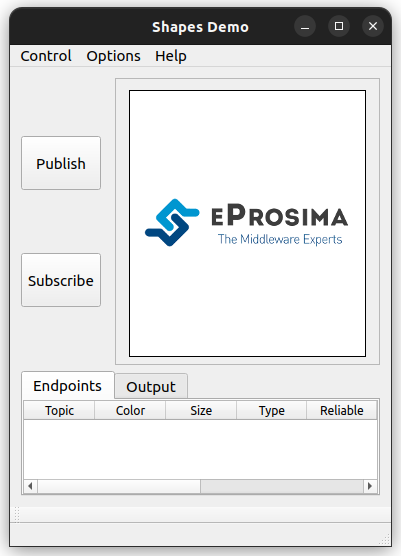
以下のGUIが立ち上がりますので[Publish]と書かれたボタンを押下してください。
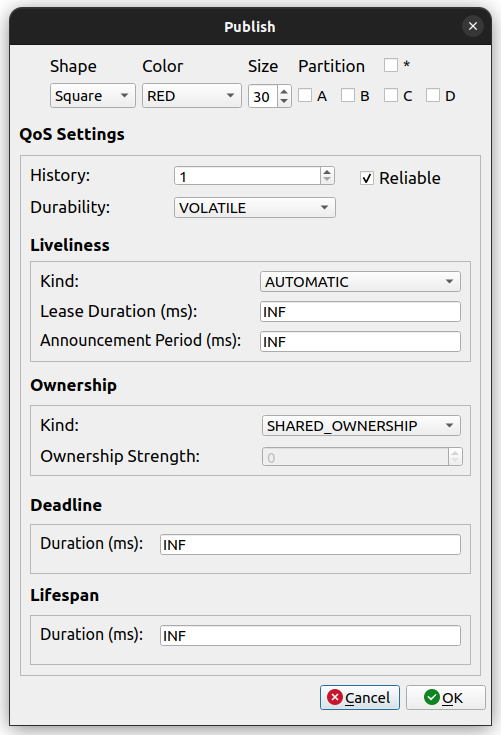
ダイアログが開かれますので以下を設定してください
- Shapeラベル下のドロップダウンリストから"Circle"を選択
- Colorラベル下のドロップダウンリストからREDを選択
- [
 OK]を押してダイアログを閉じる
次に[Subscribe]と書かれたボタンを押下します。
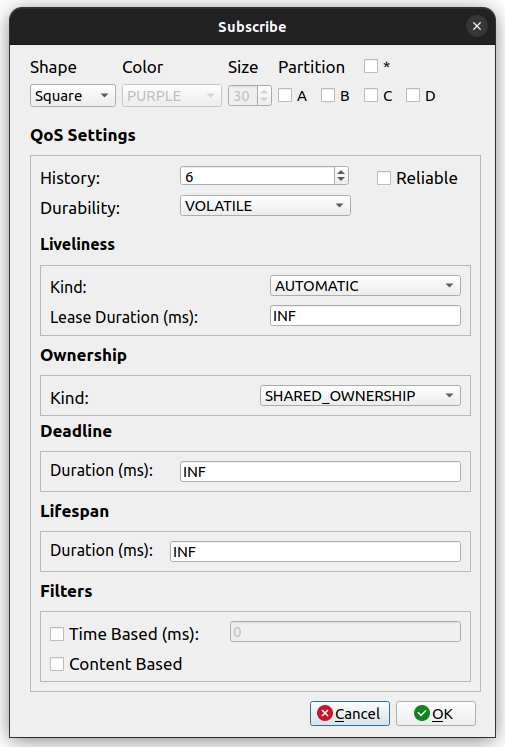
ダイアログが開かれますので以下を設定してください
- Shapeラベル下のドロップダウンリストから"Circle"を選
- [
 OK]を押してダイアログを閉じる
以下の図の用に赤い丸が動き回っていれば設定成功です。
これでShapeDemosの設定は完了しました。
2.RustDDSのデモの実行
新しく端末を開き、RustDDSをビルドしたディレクトリへ行ってください。
以下のコマンドを実行すれば、RustDDSのデモが実行されます。
cargo run --example=shapes_demo -- -P -t Circle -r -c GREEN -S
上手く行けば以下のような表示が端末に表示されるはずです。
Circle     GREEN      184 155 [21]
Circle     RED         97 225 [30]
Circle     RED        102 220 [30]
Circle     RED        107 215 [30]
Circle     GREEN      169 170 [21]
Circle     RED        112 210 [30]
....
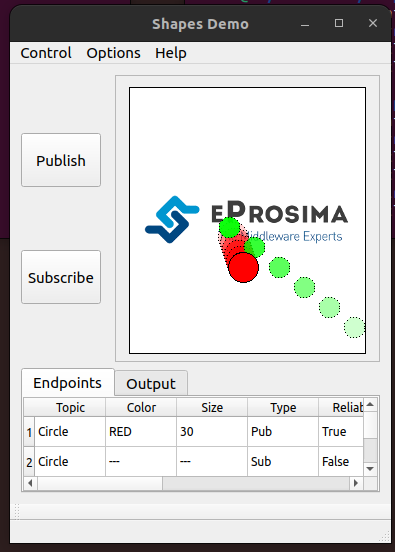
また、ShapseDemoのGUI上に緑色の丸が表示されるはずです。(数秒のラグがあるので、コマンドの実行後少し待ってください)
動作確認ができたら、Ctrl+cで終了してください
私が詰まったところ
- チュートリアル通りにソースが取得できなかった
- Ubuntuはデフォルトではlibasio-devがインストールされておらず、コンパイルできなかった
参考資料
-
e-Prosimaのチュートリアル
- 所々情報が古かったりするので注意
- RustDDSのexampleディレクトリ
