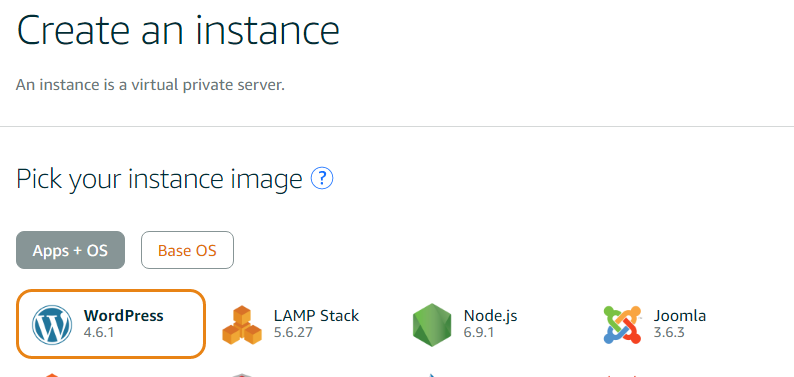
AWSから「lightsail」というVPSサービスが開始されたので、お試しとして使ってみた。
使ってみるついでにディープラーニングの学習環境として使いたかったので
Jupyterを入れて起動させてみた。その手順をここにまとめておく。
ちなみに学習するのはオライリーの「ゼロから作るDeep Learning」。
すごくわかりやすいのでおすすめ!

https://www.oreilly.co.jp/books/9784873117584/
前提
AWSアカウントをお持ちの方
lightsailの起動
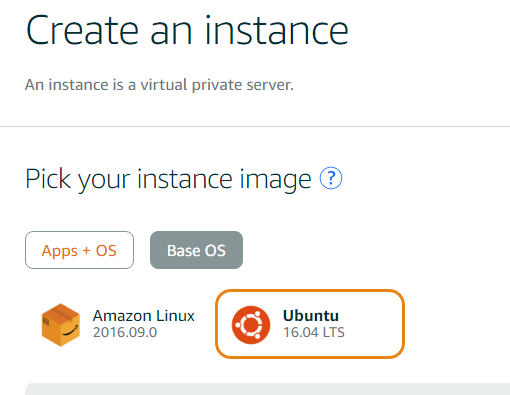
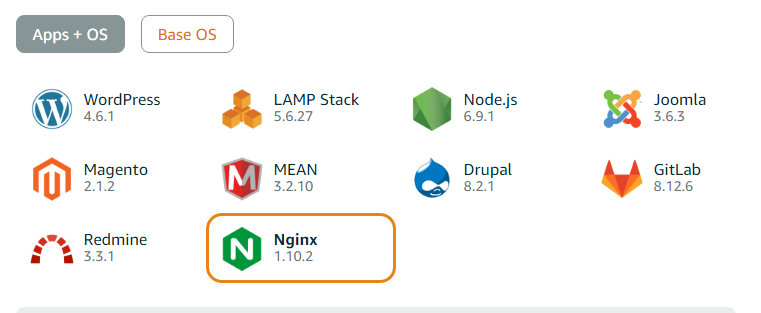
「Base OS」をクリック。
「Ubuntu」を選択して「Apps + OS」をクリック
「Nginx」をリバースプロキシとして使いたいので「Nginx」を選択
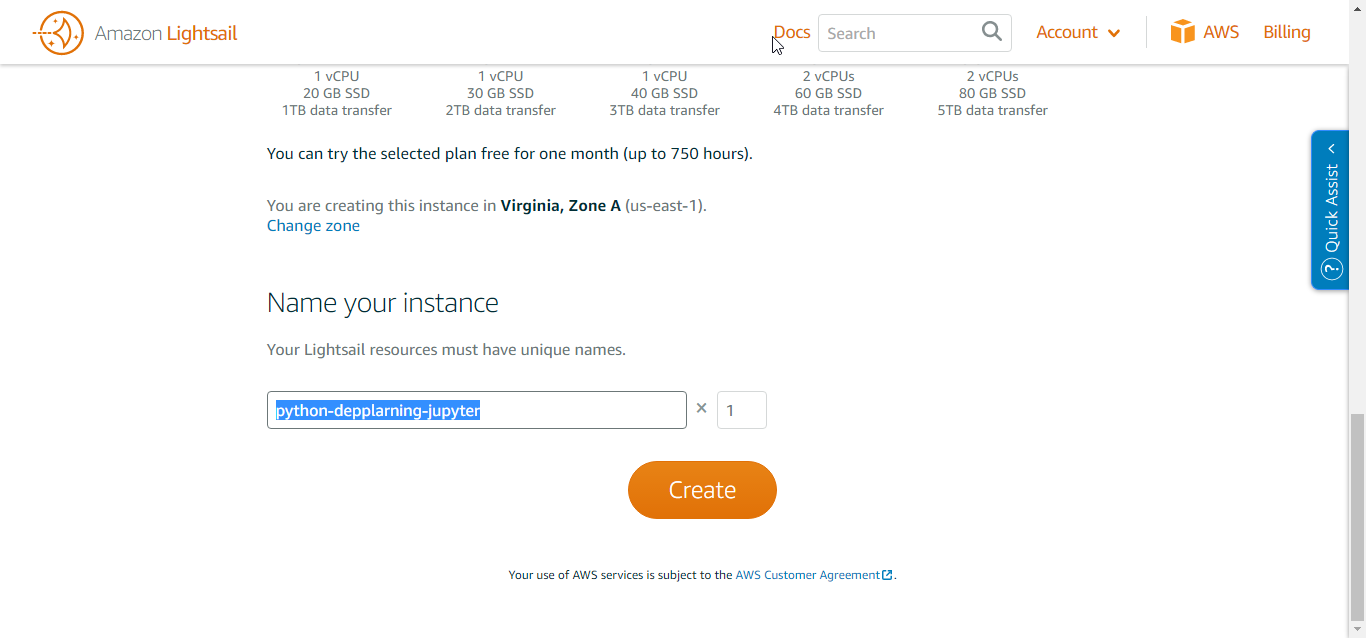
今回作成するインスタンスの名前を指定。
今回は「python-deeplarning-jupyter」で作成(実際作ったときはdepplarningとスペルミスしてる…)
名前が決まったら「Create」をクリック!
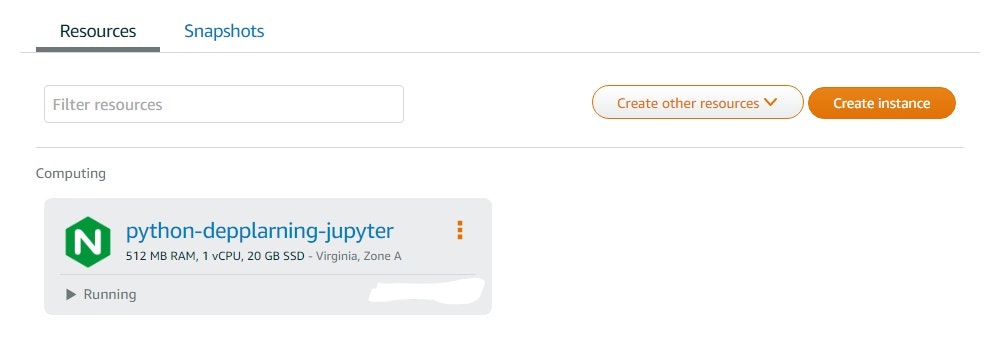
インスタンスができた!作成したインスタンスのリンクをクリック。
インスタンスの設定
ブラウザでJupyterを見たいわけなので、そのための設定をしていく。
Elastic IPの付与
毎回IPが変わるとブラウザアクセスの際、めんどくさいのでElastic IP(固定IP)をインスタンスに付与する。
Public IPのところの「Create Static IP」をクリック
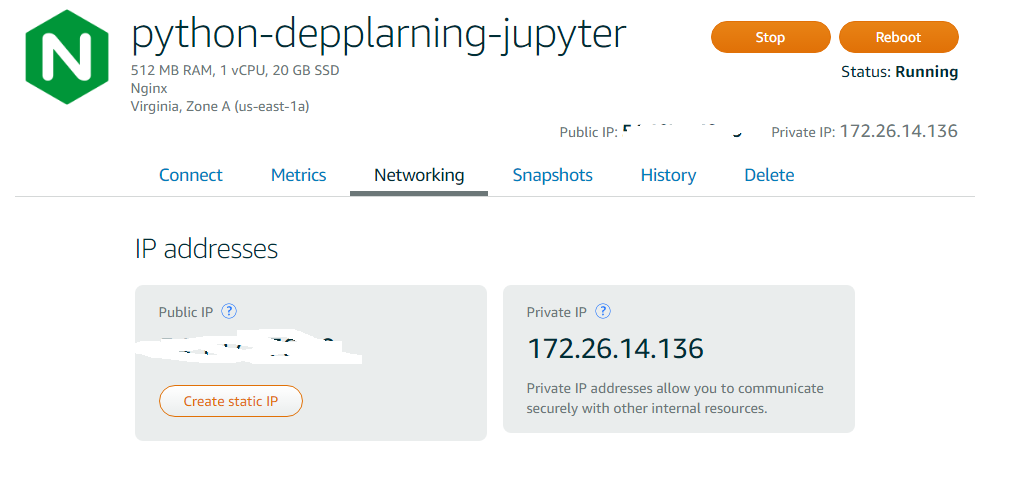
Static IPの名前をつけてとのことなので、適当に名前を付けて「Create」をクリック!
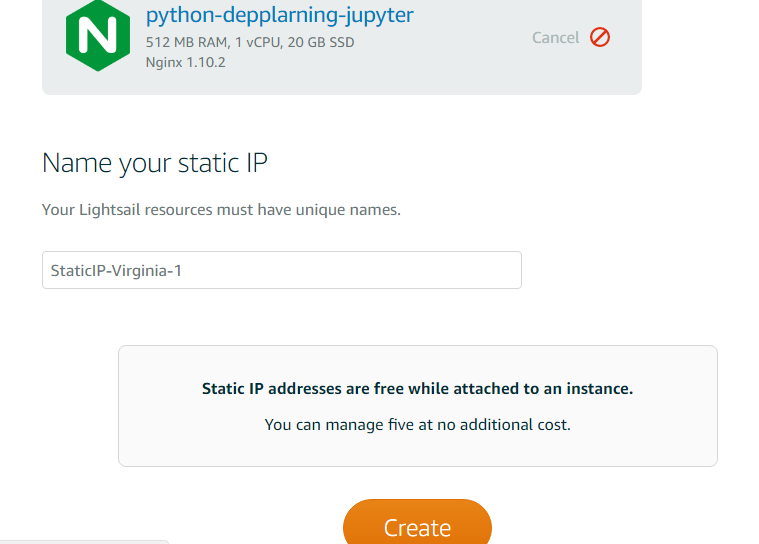
これで固定IPがもらえた!
Nginxの設定
さぁ、次はサーバーに入ってNginxの設定だ!
サーバーへログインするためにSSHしたいが、めんどくさいのでWebコンソールからログインしよう。
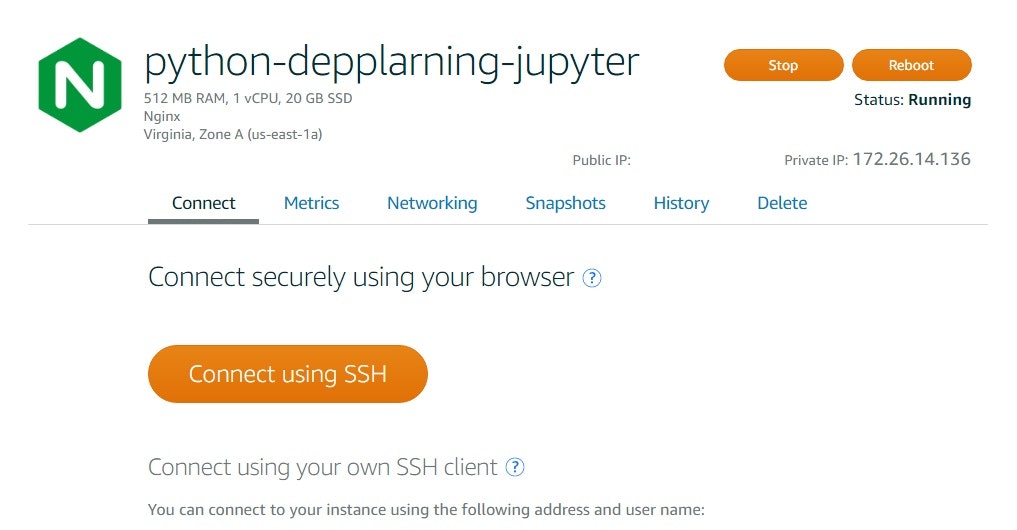
下記画面の「Connect using SSH」をクリック。
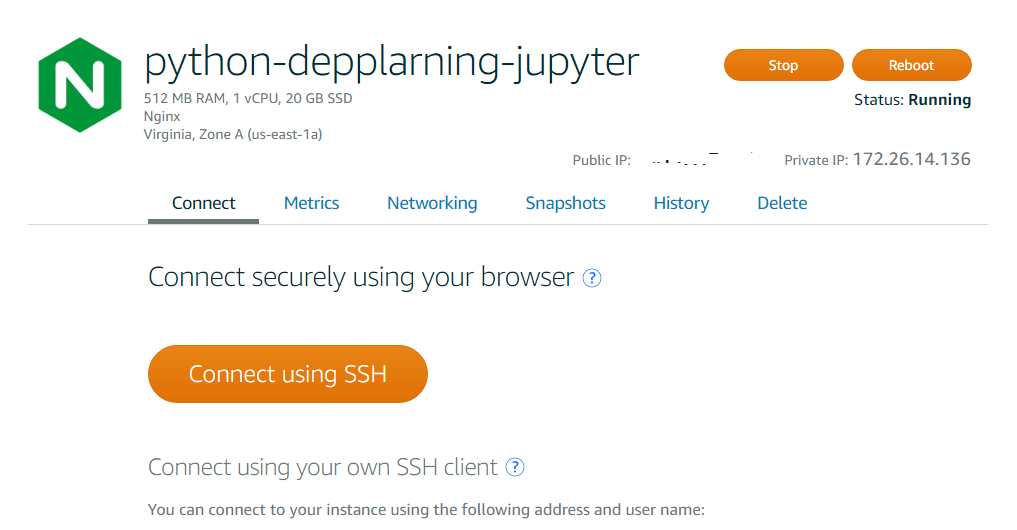
ここからはコンソールでの作業。
Nginxの設定ファイルを下記のように書き換える。
sudo vim /opt/bitnami/nginx/conf/bitnami/bitnami.conf
===
upstream jupyter {
    server localhost:8888;
}

server {
    listen      80;
    server_name localhost;

    allow xxx.xxx.xxx.xxx;
    deny all;

    location / {
        proxy_pass http://jupyter;

        proxy_set_header Upgrade $http_upgrade;
        proxy_set_header Connection "upgrade";
        proxy_set_header Origin "";
    }
}
===
JupyterをNginx経由で閲覧するための設定。
他人には当然見られたくないので
allow xxx.xxx.xxx.xxx;
のところで、自分のPCのグローバルIPアドレスを指定する。
locationのところの設定は、JupyterはWebSocketを使用するため、WebSocketの設定をする。
ここまで出来たらNginxの再起動。エラーが出なきゃおk
sudo /opt/bitnami/ctlscript.sh restart nginx
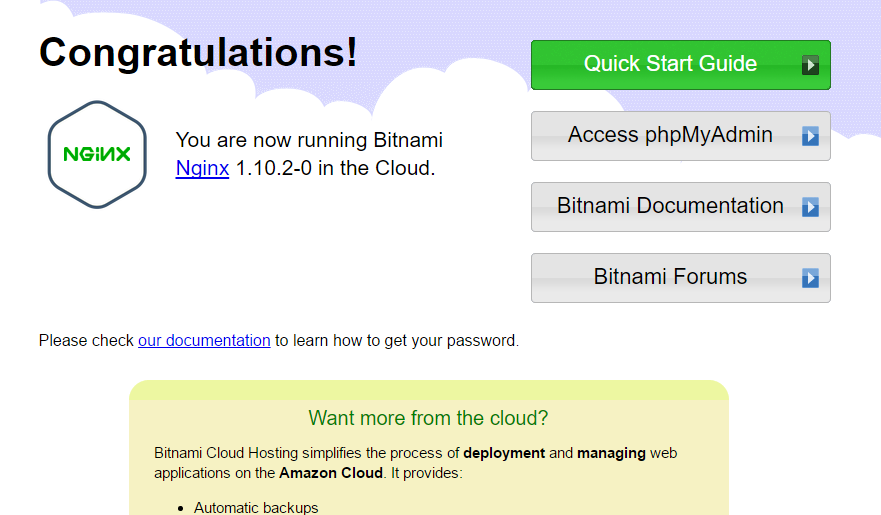
ここまで出来たらブラウザで、Elastic IP(固定IP)にアクセスしてみる。
http://xxx.xxx.xxx.xxx
Jupyterの設定
まずはJupyterをインストールする前に、pipのインストールを行う。
オライリーのディープラーニングの本はPython3が前提なのでPython3用を使う。
curl -kL https://raw.github.com/pypa/pip/master/contrib/get-pip.py | python
curl -kL https://bootstrap.pypa.io/get-pip.py | sudo python3
次にJupyterのインストール。
pip3 install jupyter
Jupyter内で生成されるファイルの保存先を作成。
どこでもよい。
mkdir ~/jupyter
Jupyterの設定ファイルを生成。
そして設定ファイルの編集。
jupyter notebook --generate-config

vim ~/.jupyter/jupyter_notebook_config.py
===
# 179行目 Jupyterのファイル保存先ディレクトリの指定。上記で作成したディレクトリ。
c.NotebookApp.notebook_dir = '/home/bitnami/jupyter'
# 185行目 Jupyterを起動するとブラウザが起動して邪魔なのでOFF
c.NotebookApp.open_browser = False
===
ここまで来たらJupyterを起動しよう。
jupyter notebook
さっきNginxの動作確認の時に見たページにブラウザでアクセス
http://xxx.xxx.xxx.xxx
最後に
ということで、lightsailでJupterを起動させることができた。
ほかのAWSのサービスは従量課金だが、このlightsailは定額なので初心者でも安心。
VMは重いから嫌だってひとにはおすすめ。
