はじめに
この記事はLife is Tech!Members Advent Calendar 2020 の12日目の記事です。
初めて記事を書くので至らない点もあると思いますが、よろしくお願いします。
環境
xcode12.3
swift 5.0以降
AVSpeechSynthesizerとは
まず、今回の記事で使用するAVSpeechSynthesizerについて説明します。
こちらのページによると、
テキストの発話から合成音声を生成し、進行中の音声の監視または制御を可能にするオブジェクト。
とあります。簡単にいうと、テキストを読み上げてくれるよーということですね。
コード
import UIKit
import AVFoundation //①

class SpeechService {
    private let synthesizer = AVSpeechSynthesizer()
    var rate: Float = AVSpeechUtteranceDefaultSpeechRate
    var voice = AVSpeechSynthesisVoice(language: "ja_JP") //②

    func say(_ phrase: String) {
        let utterance = AVSpeechUtterance(string: phrase) //③
        utterance.rate = rate
        utterance.voice = voice
        utterance.pitchMultiplier = 1.0 //④

        synthesizer.speak(utterance) //⑤
    }

    //⑥
    func stop() {
        synthesizer.stopSpeaking(at: AVSpeechBoundary.immediate)
    }
}
import UIKit
import AVFoundation //⑦

class ViewController: UIViewController{

    let speechService = SpeechService()

    @IBOutlet weak var textField: UITextField!

    override func viewDidLoad() {
        super.viewDidLoad()
    }

    @IBAction func tappedSpeakButton(_ sender: Any) {
        speechService.say(textField.text!) //⑧
    }

    @IBAction func tappedStopButton(_ sender: Any) {
        speechService.stop() //⑨
    }

}
コード解説
①AVFoundationをインポートしてあげてください。これによって、AVSpeechSynthesizerを使うことができます。
②言語を設定します。今回は日本語の文章を読むことを前提としているので、languageはja_JPです。英語の場合は、en_JPかen_USを入力してください。
③読み上げる文字を設定します。
④声の高さを調節します。0に近づく程、音が低くなります。
私の場合、1.0だと少し高いと思ったので、0.8などに設定して使っています。
⑤実際に話すところです。
⑥話すのを止めます。
⑦①と同じで、AVFoundationをインポートします。
⑧ボタンをタップすると、textFieldの内容を話します。
⑨ボタンをタップすると、読み上げを停止します。

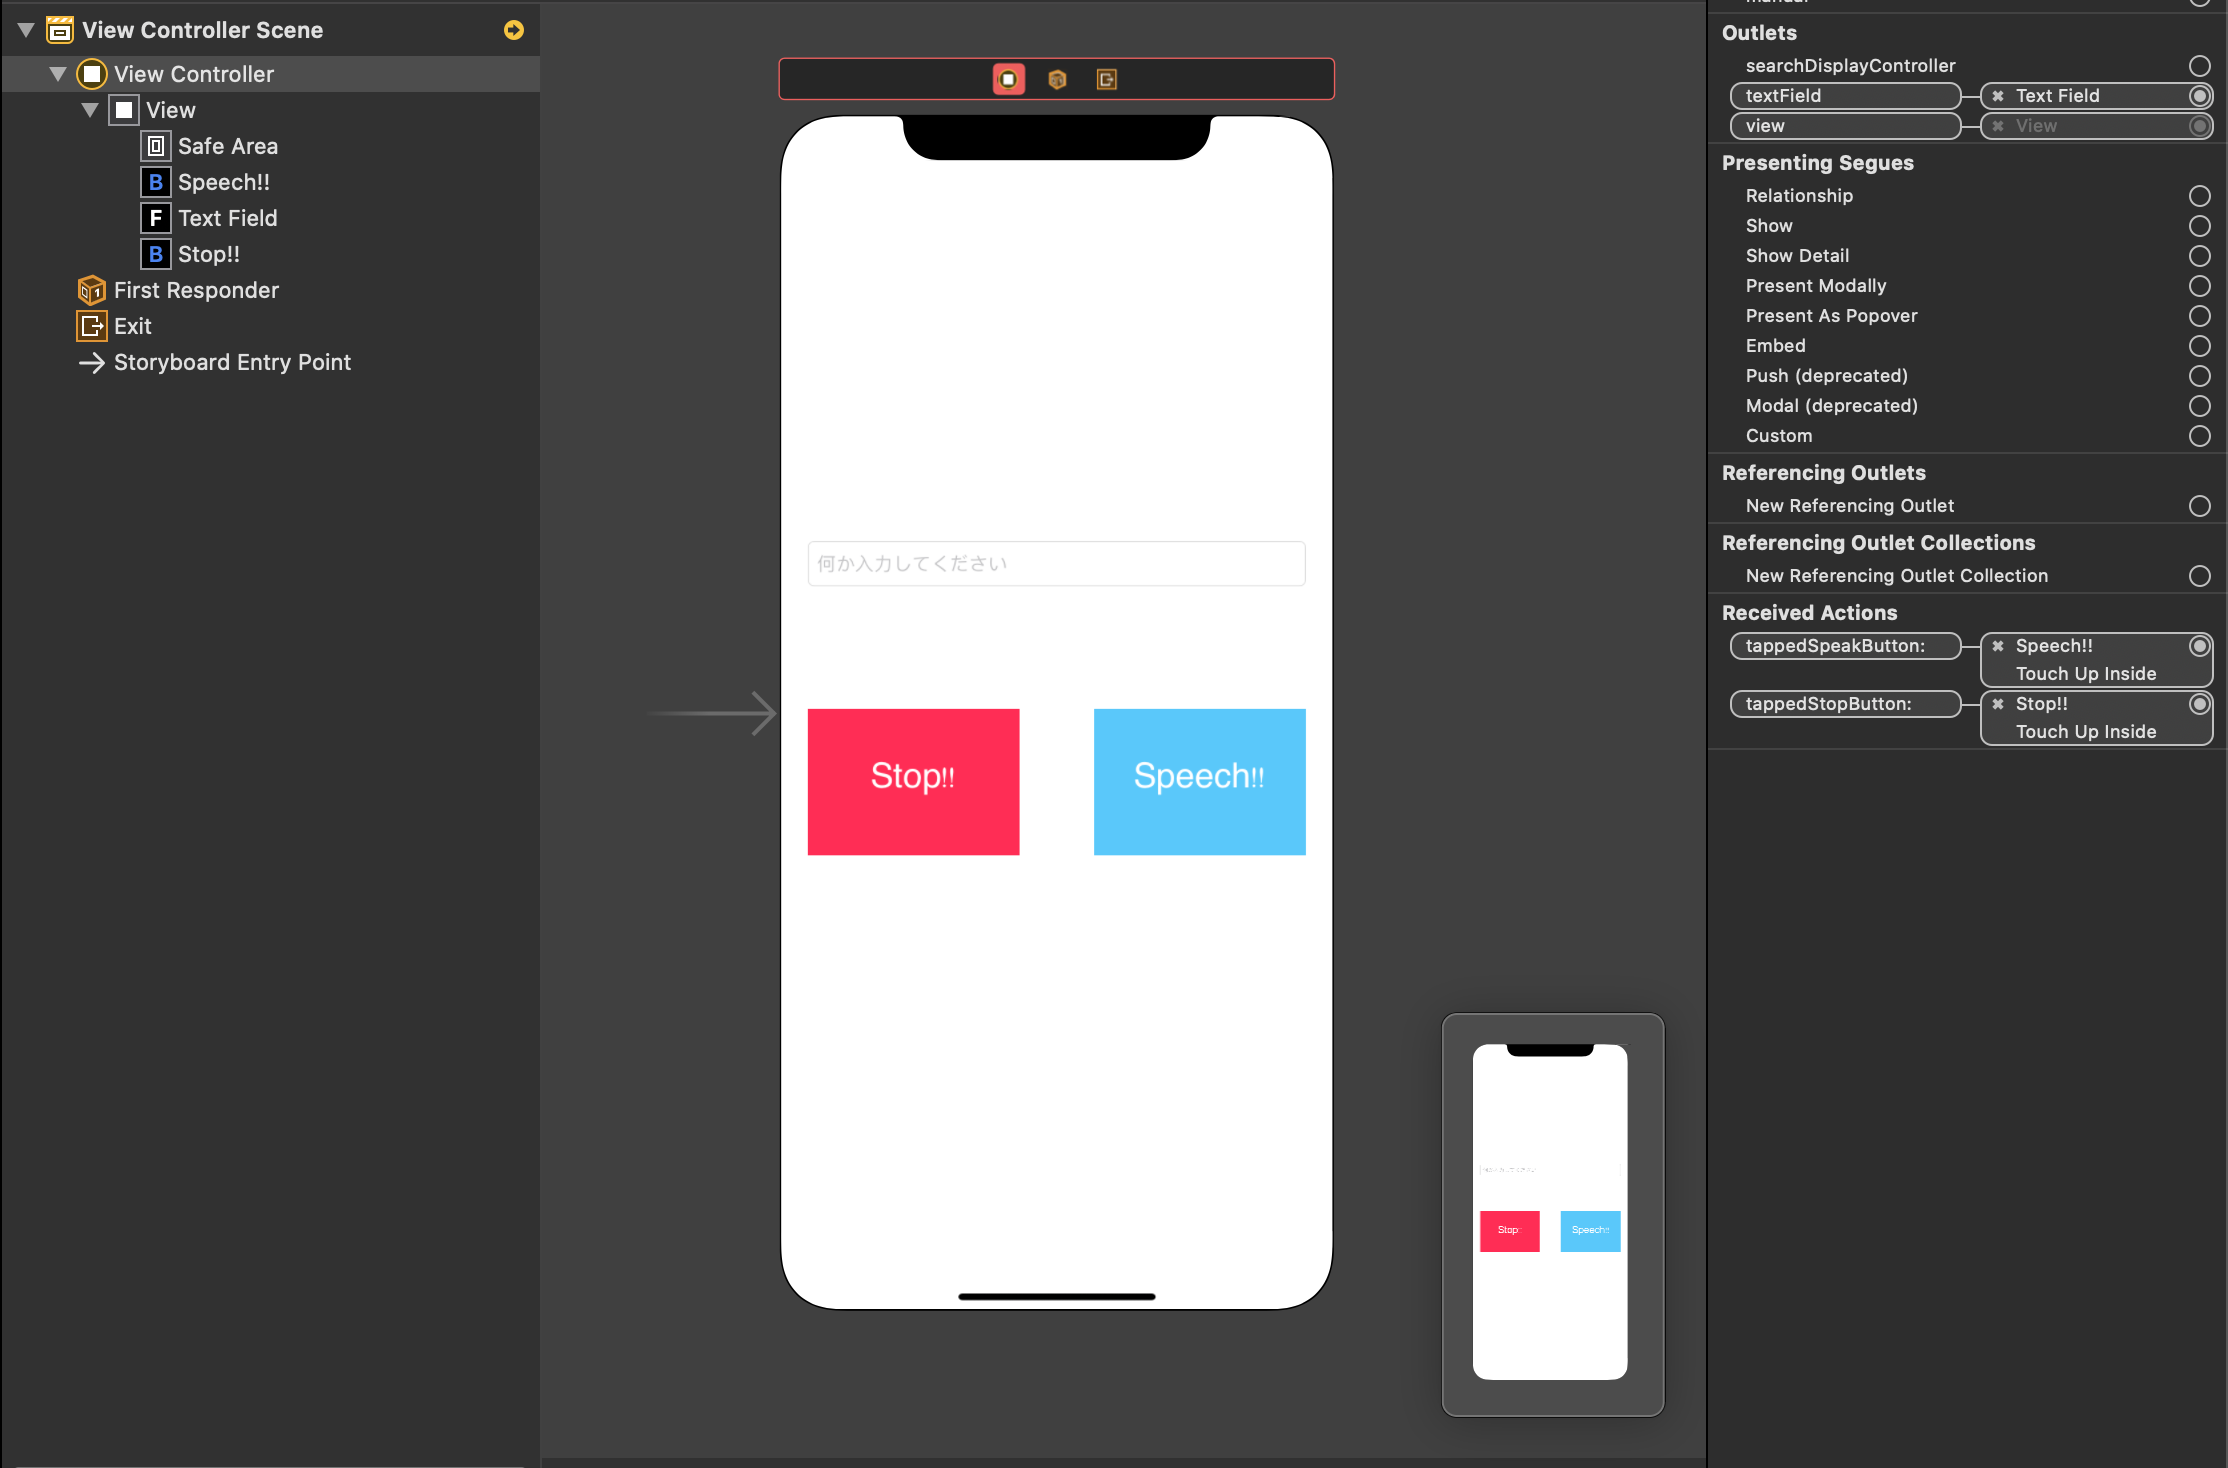
storyboardで、textField、tappedSpeakButton、tappedStopButtonを関連付けして完成です。
最後に
最後まで読んでいただき、ありがとうございました!
間違いだったり、わかりにくい点などありましたら、コメント欄にてご指摘ください。