Postmonとは
HTTPのメソッドを通して行なったリクエストの結果を、簡単に確認できるようにするツール。
APIを構築する時、ブラウザからHTTPリクエストをサーバーに出すことになる。Postmanを使うと、HTTPのリクエストを確認し、REST APIが機能しているかを、簡単にチェックすることができる。
インストール方法
「Download Postman for Mac」https://www.postman.com/downloads/
上記のページよりダウンロードする。
アカウントを作成し、Sign inする必要がある(googleアカウントでもサインイン可能)
APIからのリクエストを確認する
テストのためのファイルを作成
<作成方法1>
・「+New」をクリックし、「Request」を作成
・リクエストに名前をつける。HTTPの動作を確認する「Collections」を作成

・request name: テストしたい、APIのHTTPリクエスト名
(例:GETをテストしたいのか、DELETEをテストしたいのか、など)
・create folder: テストのためのフォルダーを作成。Postman上の既存のフォルダーに付け加えることもできる
・「Save to APIアプリ名」で保存
<作成方法2>
・「+New collection」 ・「Name」にコレクション名(テストしたいアプリ名)をつけて「Create」
・「...」をクリックし「Add request」を選択
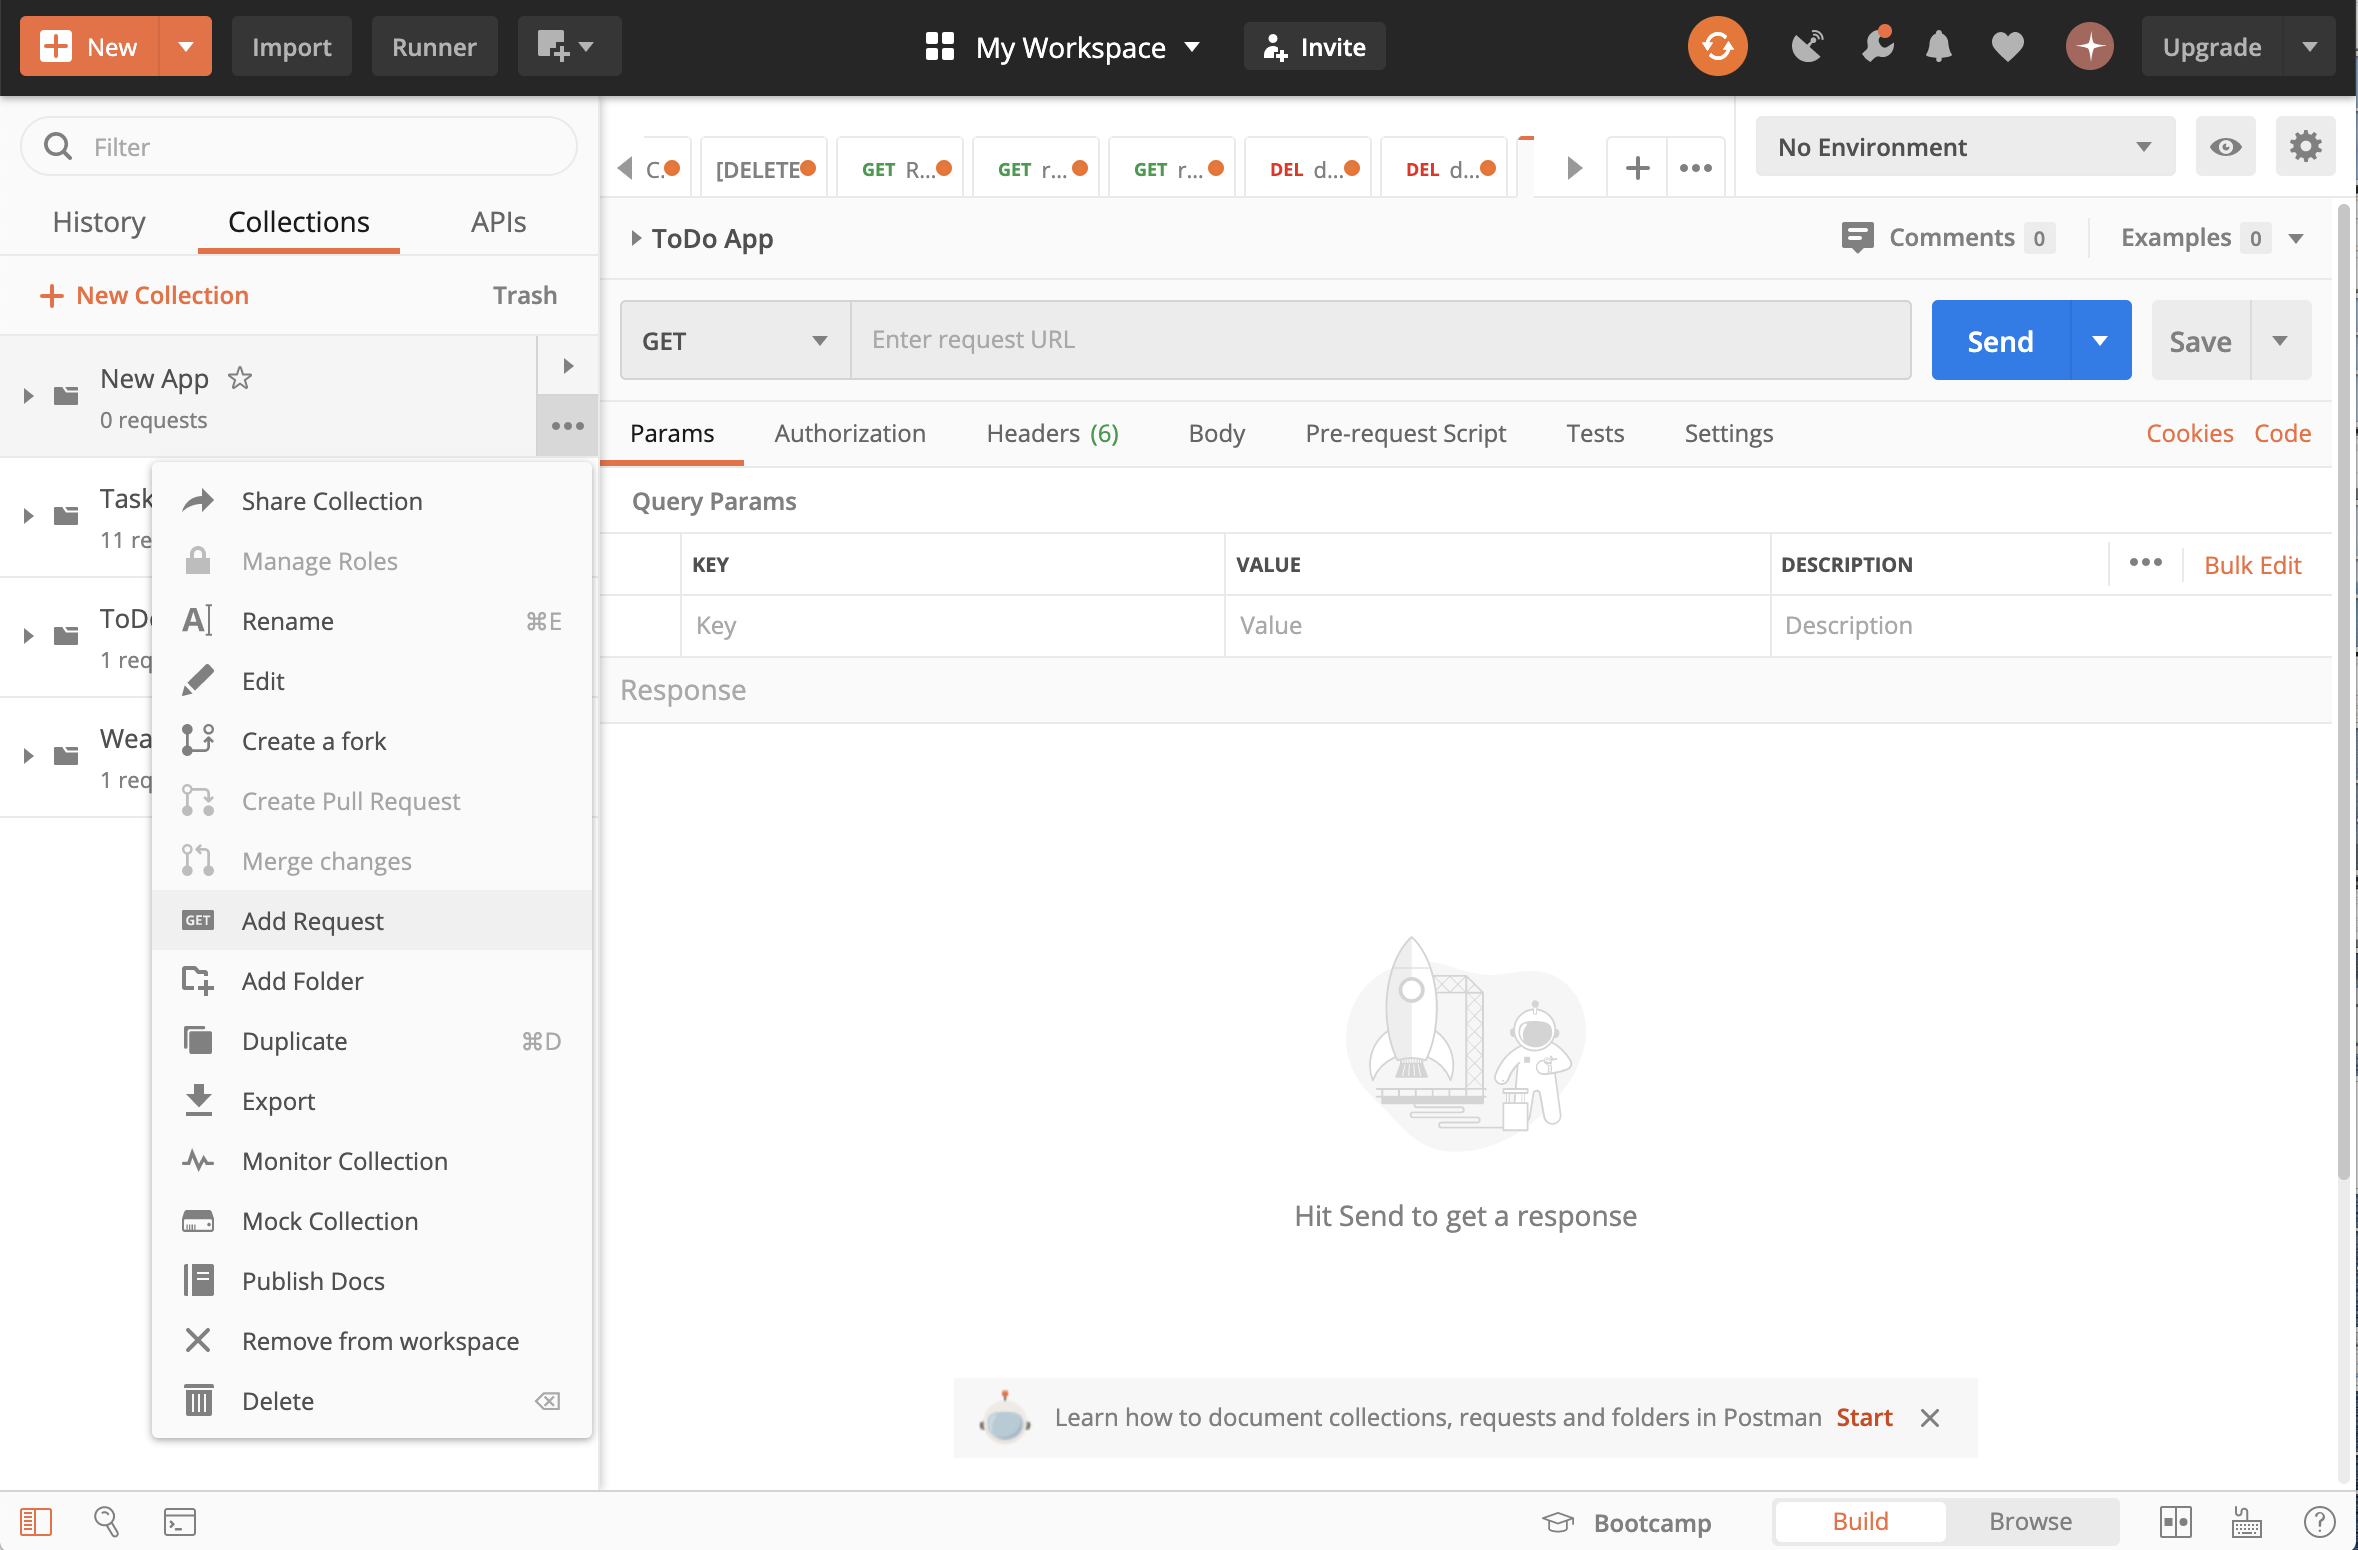
・request name(テストしたいHTTPリクエストの名前)をつける。
・「save to コレクション名」をクリックし保存

使ってみよう
①データをgetする

・テストしたいAPIのURLを入力
・テストしたいHTTPメソッドを選択(今回はGET)
・「send」をクリック
↓
「Body」にHTTPのレスポンスが表示される
②データをpostする

・テストしたいAPIのURLを入力
・テストしたいHTTPメソッドを選択(今回はPOST)
・POSTしたいデータをPostman上から入力する
「Body」>「raw」>「JSON」を選択し、POSTしたいデータをJOSN形式で書き込む。
・「send」を押してデータをPOST
↓
「Body」にHTTPのレスポンスが表示されるので、データがPOSTできているか確認する
<参考>今回のアプリで使用したコード
const express = require('express');
require('./db/mongoose')
const User = require('./models/user')
const Task = require('./models/task')

const app = express()

const port = process.env.PORT || 3000

//postしたデータを受け取る処理
app.use(express.json())

app.post('/users', (req, res)=> {
  const user = new User(req.body)
 //.save()でPromiseオブジェクトを作成し、インスタンスをデータベースに保存
  user.save().then(() => {
    res.send(user)
  }).catch((e) => { //.catchでエラー時の処理を分岐させる
    res.send(e)
  })
})
HTTPステータスを操作する
①返ってくるHTTPステータスの確認

「Body」に表示されるHTTPのレスポンスの「status」を確認。
ここに表示されているのが、返ってくるHTTPステータス
②返ってくるHTTPステータスの変更
app.post('/users', (req, res)=> {
  const user = new User(req.body)
  //.save()でPromiseオブジェクトを作成し、インスタンスをデータベースに保存
  user.save().then(() => {
    res.status(201).send(user)
  }).catch((e) => {
    res.status(400).send(e)

  })
})
返ってくるHTTPステータスは「.status()」で設定できる。
Postmanでレスポンスを確認する際はstatus欄も確認する。