2021年4月29日 更新
スケジュールの開始時刻も読み上げるようバージョンアップしました。
はじめに
Amazon echo 使ってますか?
我が家は、家電のON/OFF、天気予報やニュースの読み上げ、食事や運転や睡眠中のBGM、fire tv stickとの連携・・・etc.
本格的なリモートワークにシフトした今では、生活には欠かせない必需品です。
そんなechoの頭脳ともいえるAlexaに、O365 の予定表を読み上げてもらうことで、いつでもどこでも、声だけでスケジュールの確認をしてみたいと思いつきました。
本ツール作成の作成には、Microsft MVPのJunichi Kodamaさん(@KodamaJn)の(1. Alexa スキル編) 買い物メモを Alexa から LINE に送信する仕組みを Power Automate で作るを大変、大いに参考にさせていただきました。
いつもありがとうございます
概要
①「スケジュールの確認」というスキルを作成し、AutomateへリクエストをPosting
②Automateフローでカレンダスケジュールを取得
③スキルに取得したスケジュールを読み上げるよう応答
実際にはこんな感じです。
Alexaで365のスケジュールを読み上げるスキル、バージョンアップしました。
— Miyake Mito (@MiTo60448639) April 29, 2021
記事も更新しました。https://t.co/9vsiWiA9Vw pic.twitter.com/mJKozTd32c
それでは実際に作成していきます。
Alexa スキルの作成
alexa developer consoleにて作成します。
Junichi Kodamaさん(@KodamaJn)の(1. Alexa スキル編) 買い物メモを Alexa から LINE に送信する仕組みを Power Automate で作るにて大変丁寧に解説されていますので、参考にスキルを作成してください。
ただし、今回は呼びかけと応答は1つのみですので、スロットの定義は不要です。
またサンプル発話も一つだけ設定しました。
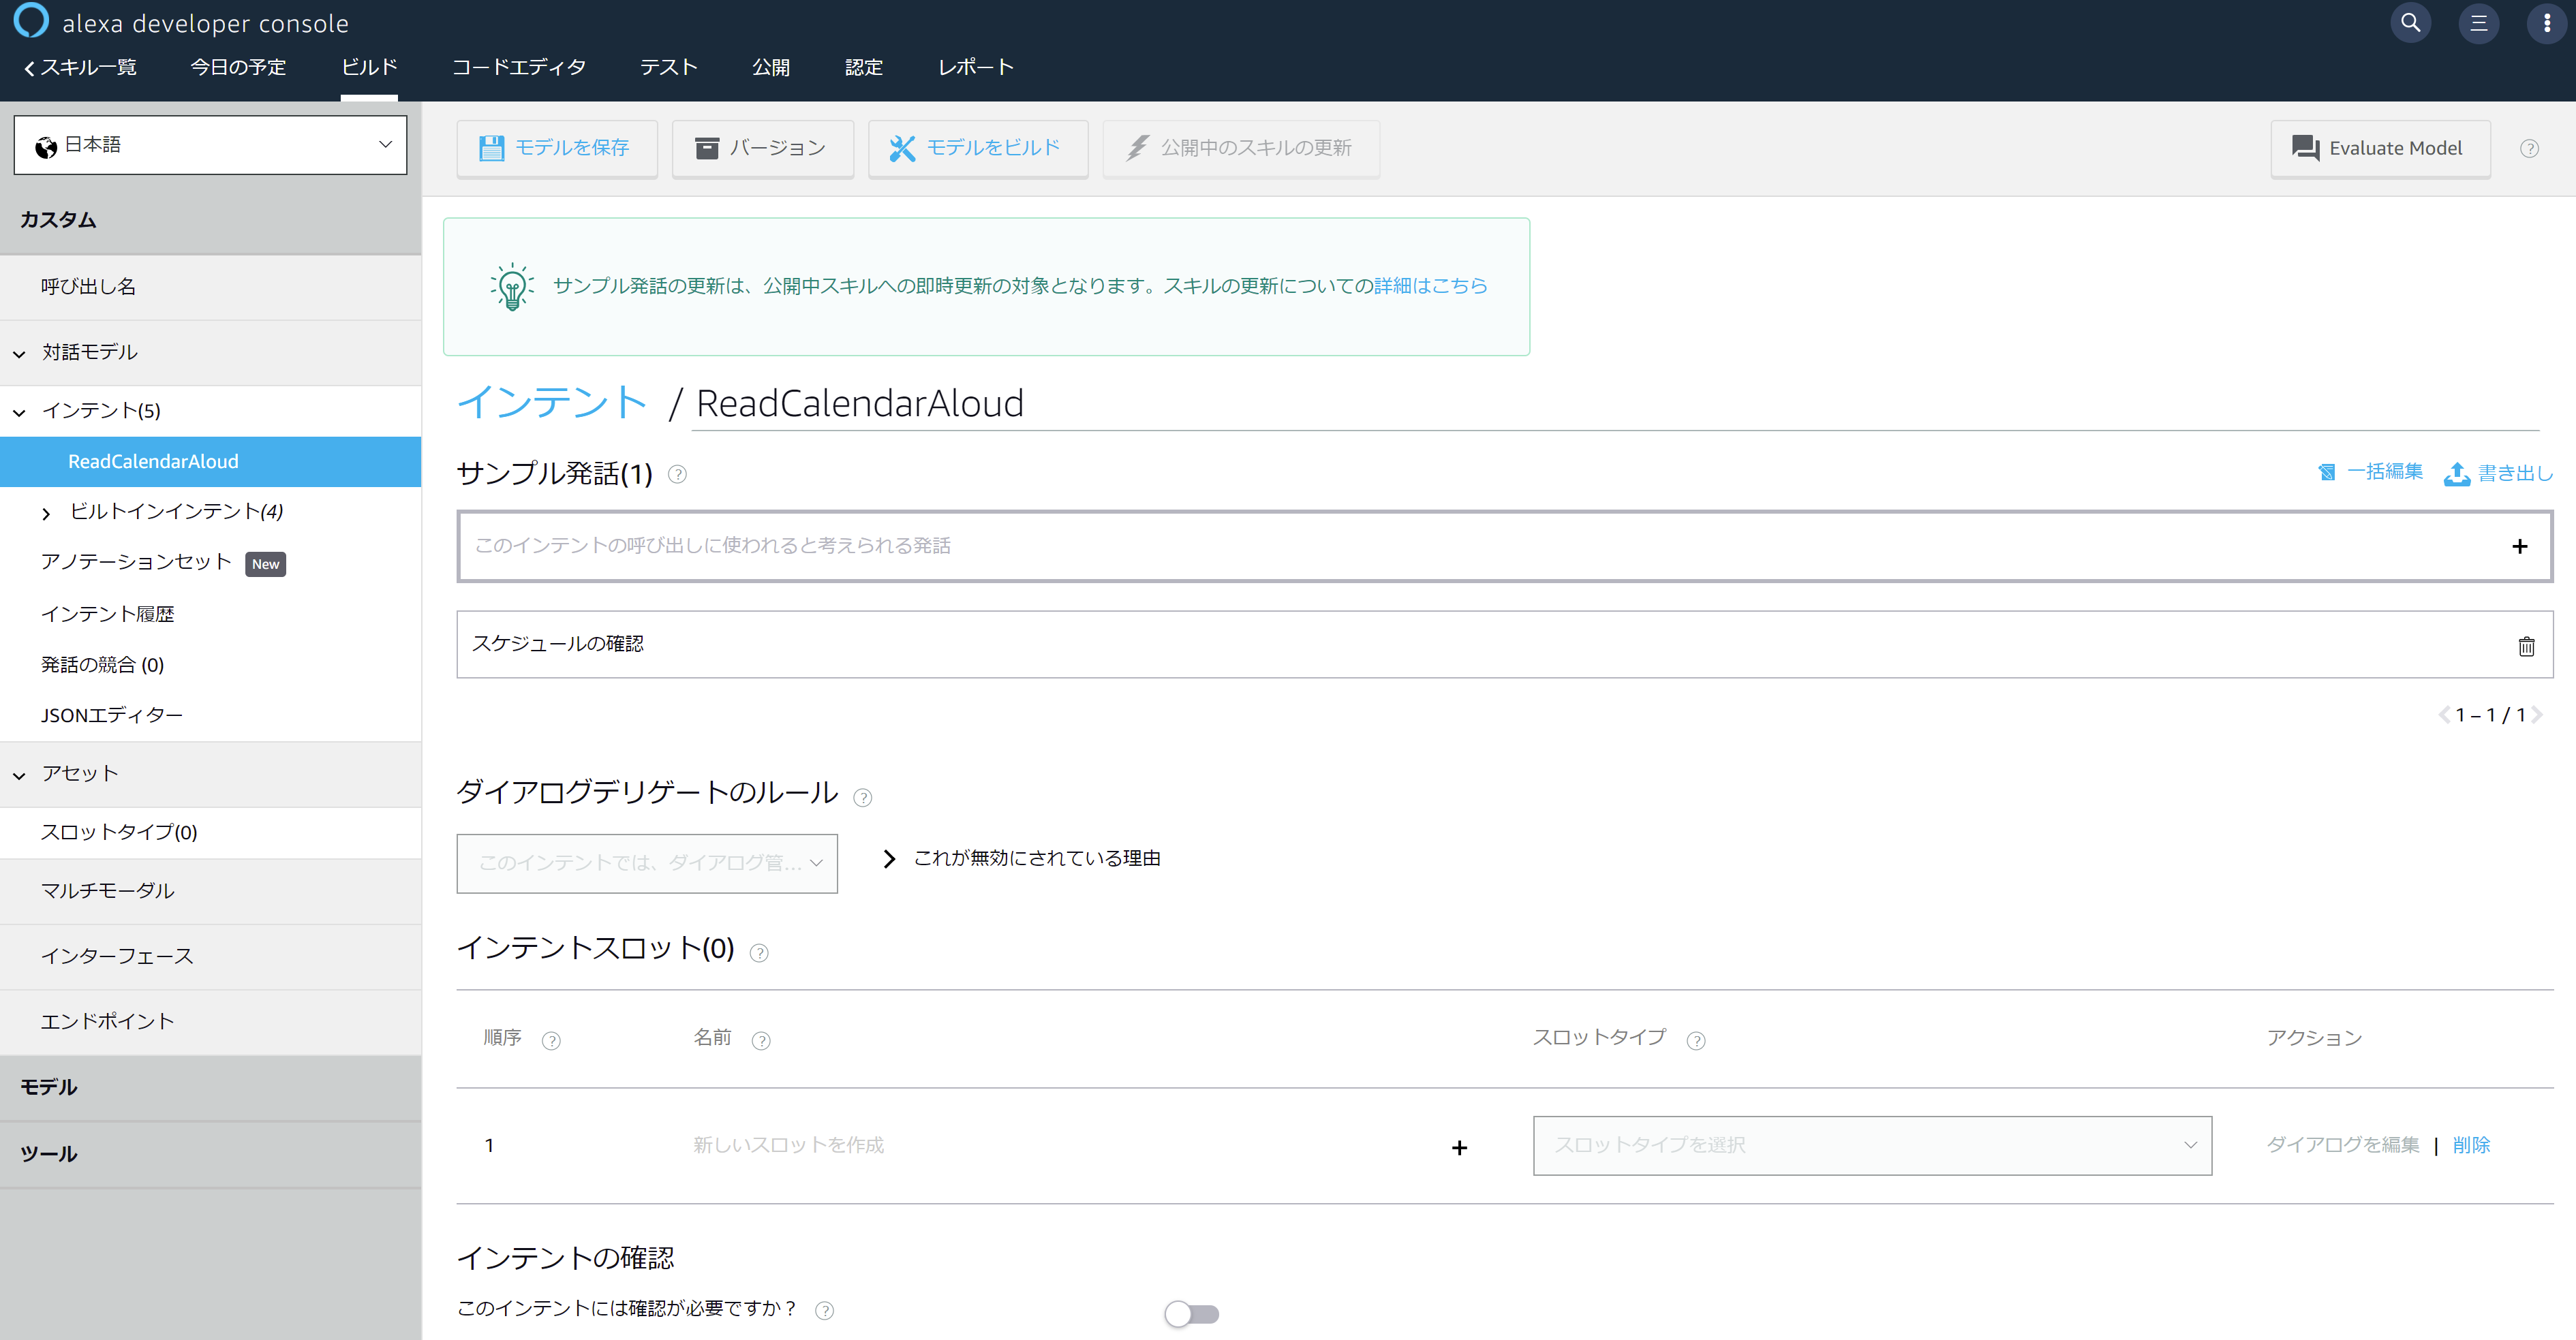
スキルの呼び出し名も任意ですが、今回は「スケジュールの確認」としておきました。

Automate フローの作成
Automateにて、365のスケジュールを取得し、Alexaスキルに応答するフローを作成します。
こちらも、Junichi Kodamaさん(@KodamaJn)の(3. Power Automate 編) 買い物メモを Alexa から LINE に送信する仕組みを Power Automate で作るにて丁寧に解説されていますので、参考にしてください。
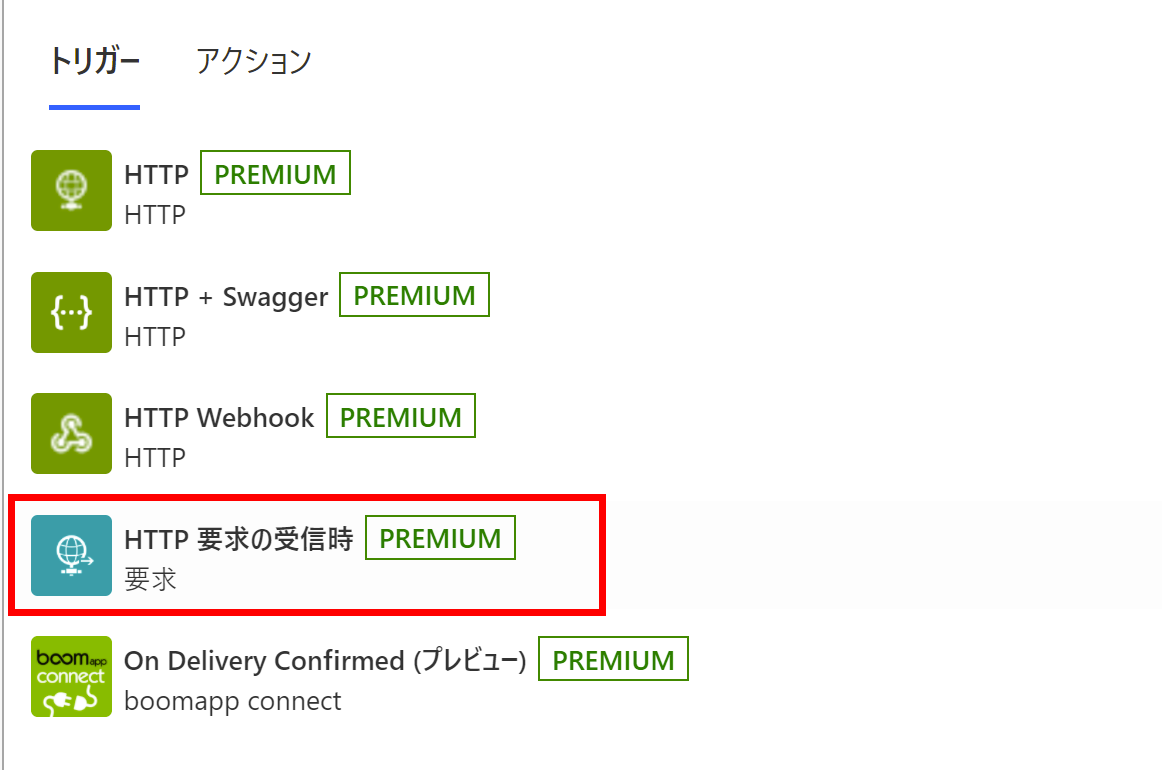
HTTP要求の受信時
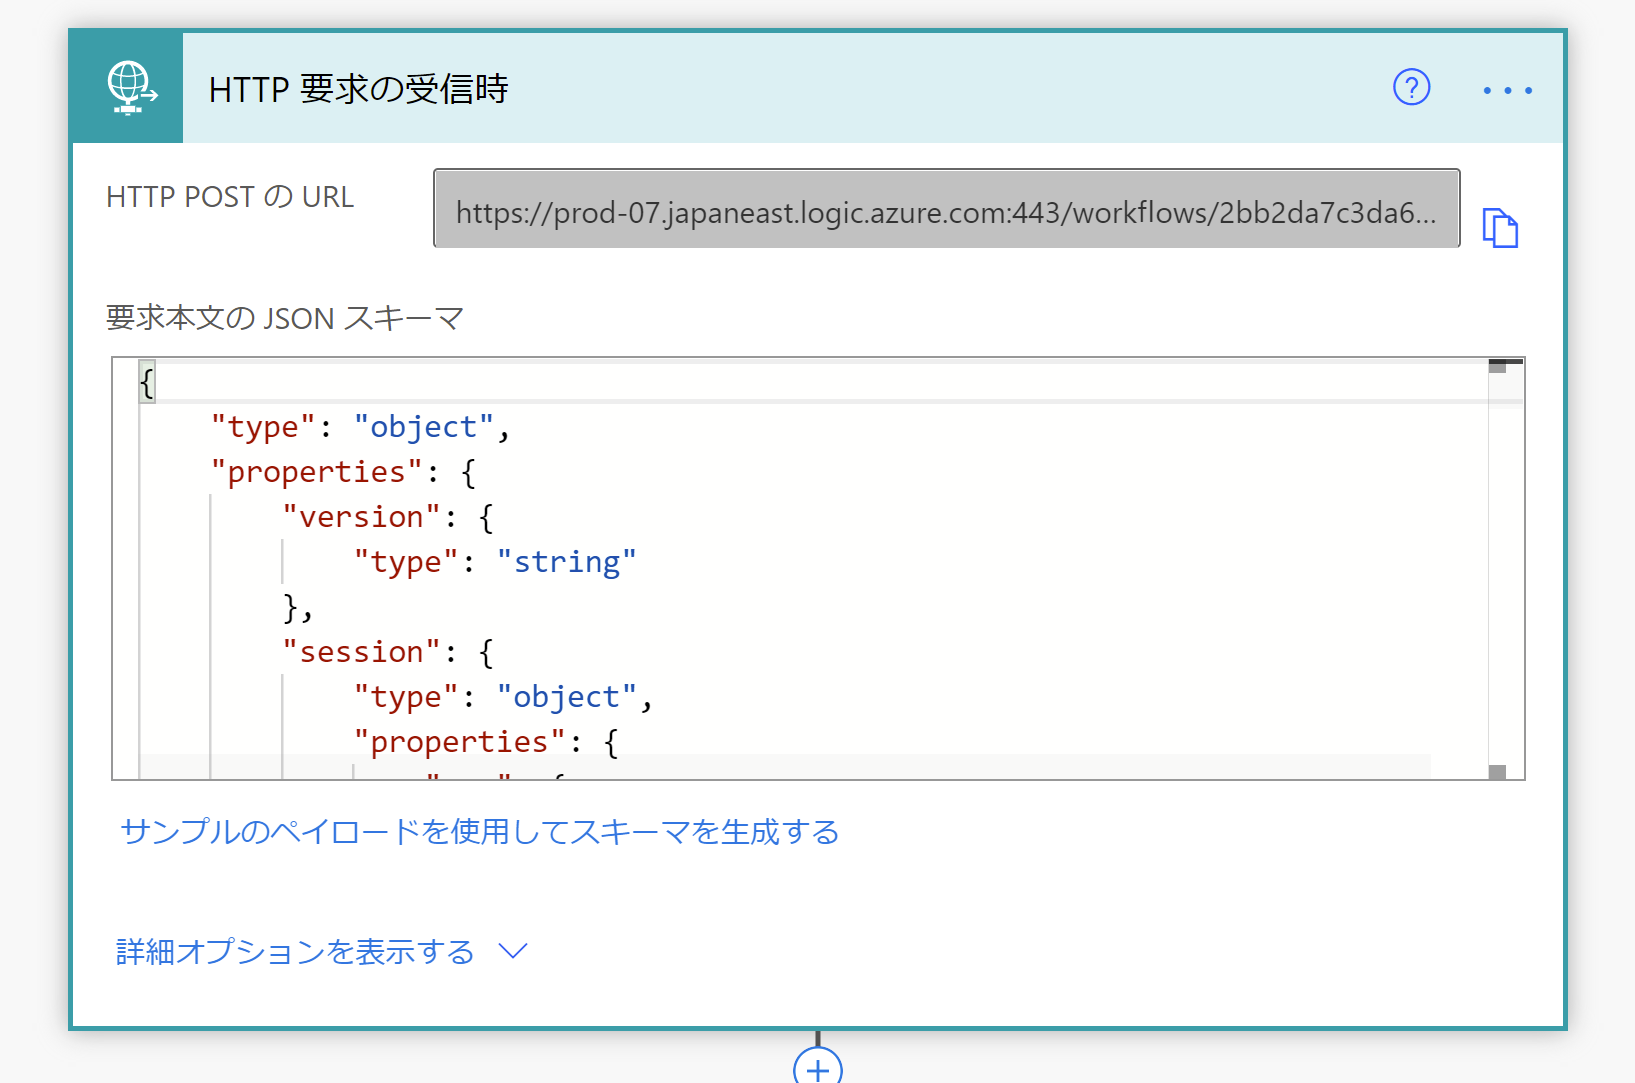
「サンプルのペイロードを使用してスキーマを作成する」に下記を入力し、JSONスキーマの定義を作成します。
{
"type": "object",
"properties": {
"version": {
"type": "string"
},
"session": {
"type": "object",
"properties": {
"new": {
"type": "boolean"
},
"sessionId": {
"type": "string"
},
"application": {
"type": "object",
"properties": {
"applicationId": {
"type": "string"
}
}
},
"attributes": {
"type": "object",
"properties": {
"locale": {
"type": "string"
}
}
},
"user": {
"type": "object",
"properties": {
"userId": {
"type": "string"
}
}
}
}
},
"context": {
"type": "object",
"properties": {
"Viewports": {
"type": "array",
"items": {
"type": "object",
"properties": {
"type": {
"type": "string"
},
"id": {
"type": "string"
},
"shape": {
"type": "string"
},
"dpi": {
"type": "integer"
},
"presentationType": {
"type": "string"
},
"canRotate": {
"type": "boolean"
},
"configuration": {
"type": "object",
"properties": {
"current": {
"type": "object",
"properties": {
"mode": {
"type": "string"
},
"video": {
"type": "object",
"properties": {
"codecs": {
"type": "array",
"items": {
"type": "string"
}
}
}
},
"size": {
"type": "object",
"properties": {
"type": {
"type": "string"
},
"pixelWidth": {
"type": "integer"
},
"pixelHeight": {
"type": "integer"
}
}
}
}
}
}
}
},
"required": [
"type",
"id",
"shape",
"dpi",
"presentationType",
"canRotate",
"configuration"
]
}
},
"Viewport": {
"type": "object",
"properties": {
"experiences": {
"type": "array",
"items": {
"type": "object",
"properties": {
"arcMinuteWidth": {
"type": "integer"
},
"arcMinuteHeight": {
"type": "integer"
},
"canRotate": {
"type": "boolean"
},
"canResize": {
"type": "boolean"
}
},
"required": [
"arcMinuteWidth",
"arcMinuteHeight",
"canRotate",
"canResize"
]
}
},
"mode": {
"type": "string"
},
"shape": {
"type": "string"
},
"pixelWidth": {
"type": "integer"
},
"pixelHeight": {
"type": "integer"
},
"dpi": {
"type": "integer"
},
"currentPixelWidth": {
"type": "integer"
},
"currentPixelHeight": {
"type": "integer"
},
"touch": {
"type": "array",
"items": {
"type": "string"
}
},
"video": {
"type": "object",
"properties": {
"codecs": {
"type": "array",
"items": {
"type": "string"
}
}
}
}
}
},
"System": {
"type": "object",
"properties": {
"application": {
"type": "object",
"properties": {
"applicationId": {
"type": "string"
}
}
},
"user": {
"type": "object",
"properties": {
"userId": {
"type": "string"
}
}
},
"device": {
"type": "object",
"properties": {
"deviceId": {
"type": "string"
},
"supportedInterfaces": {
"type": "object",
"properties": {}
}
}
},
"apiEndpoint": {
"type": "string"
},
"apiAccessToken": {
"type": "string"
}
}
}
}
},
"request": {
"type": "object",
"properties": {
"type": {
"type": "string"
},
"requestId": {
"type": "string"
},
"timestamp": {
"type": "string"
},
"locale": {
"type": "string"
},
"reason": {
"type": "string"
}
}
}
}
}
スケジュールイベントの取得
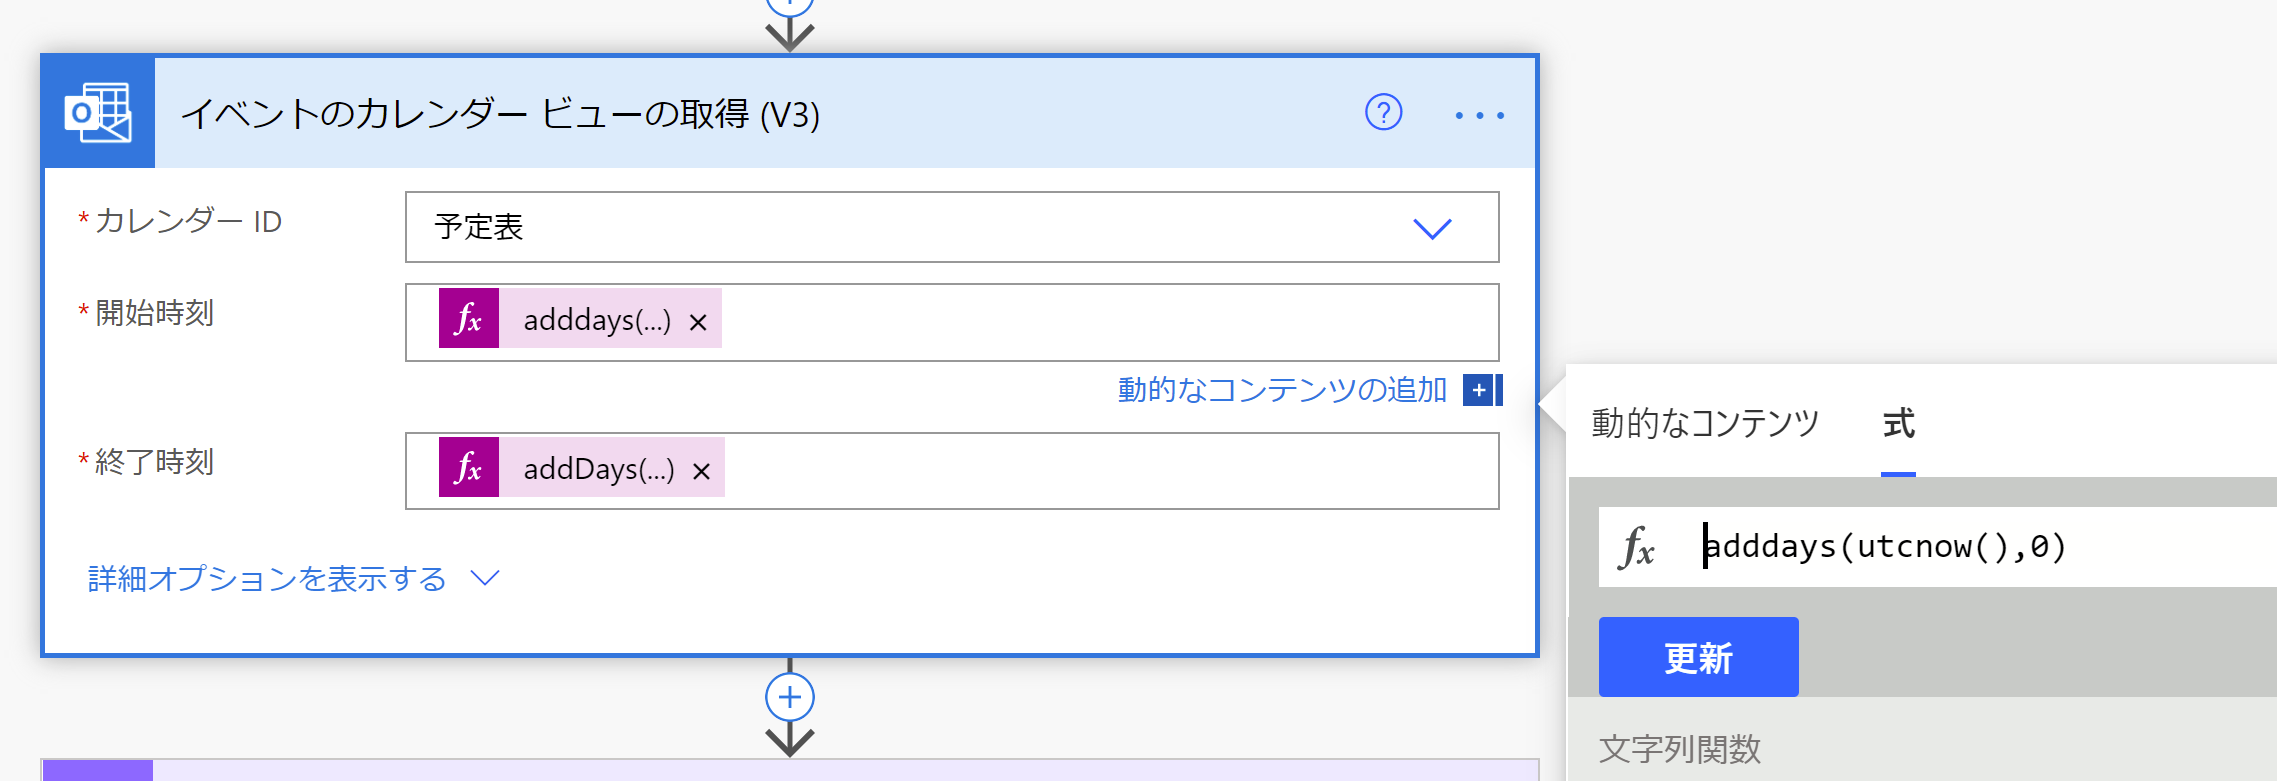
Office 365 Outlookより「イベントのカレンダービュー」を取得を選択し、
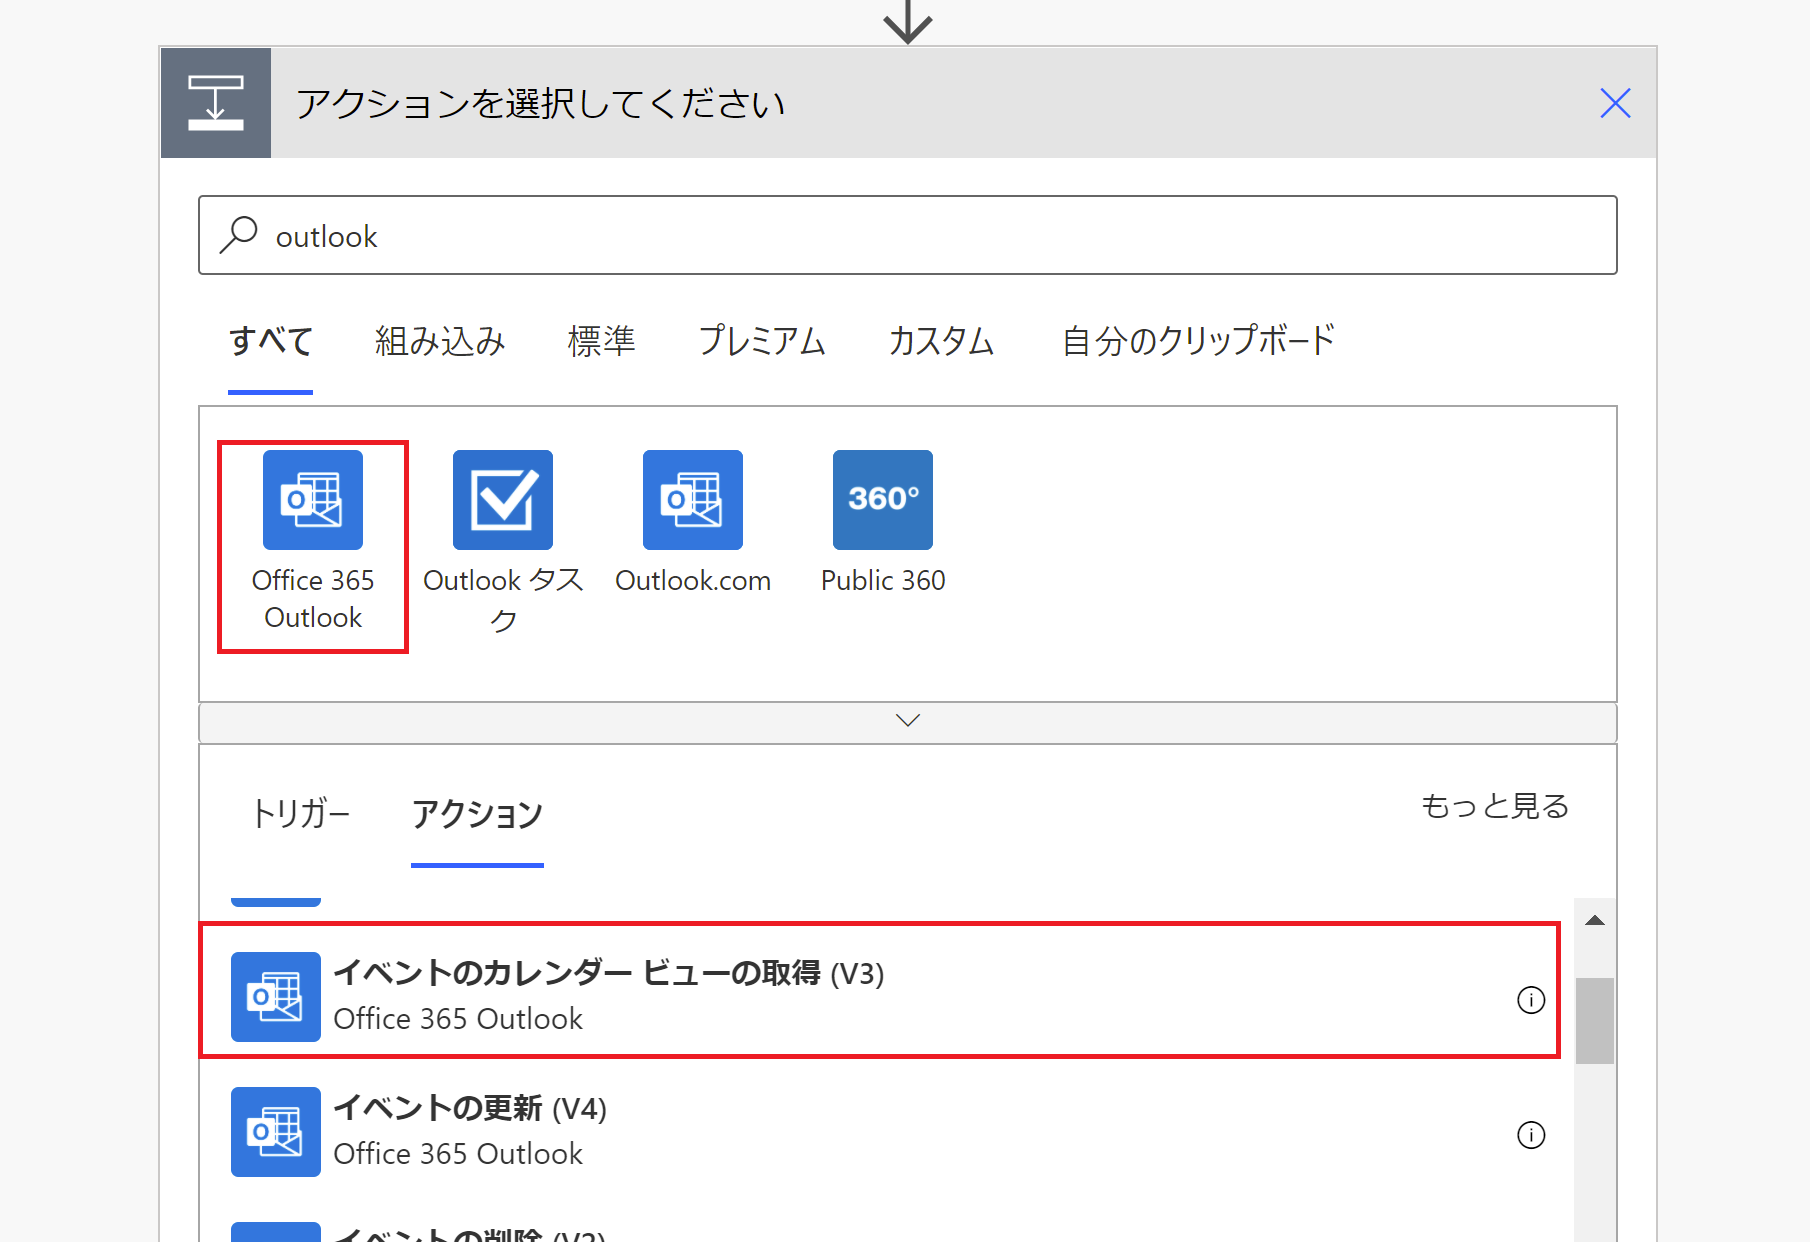
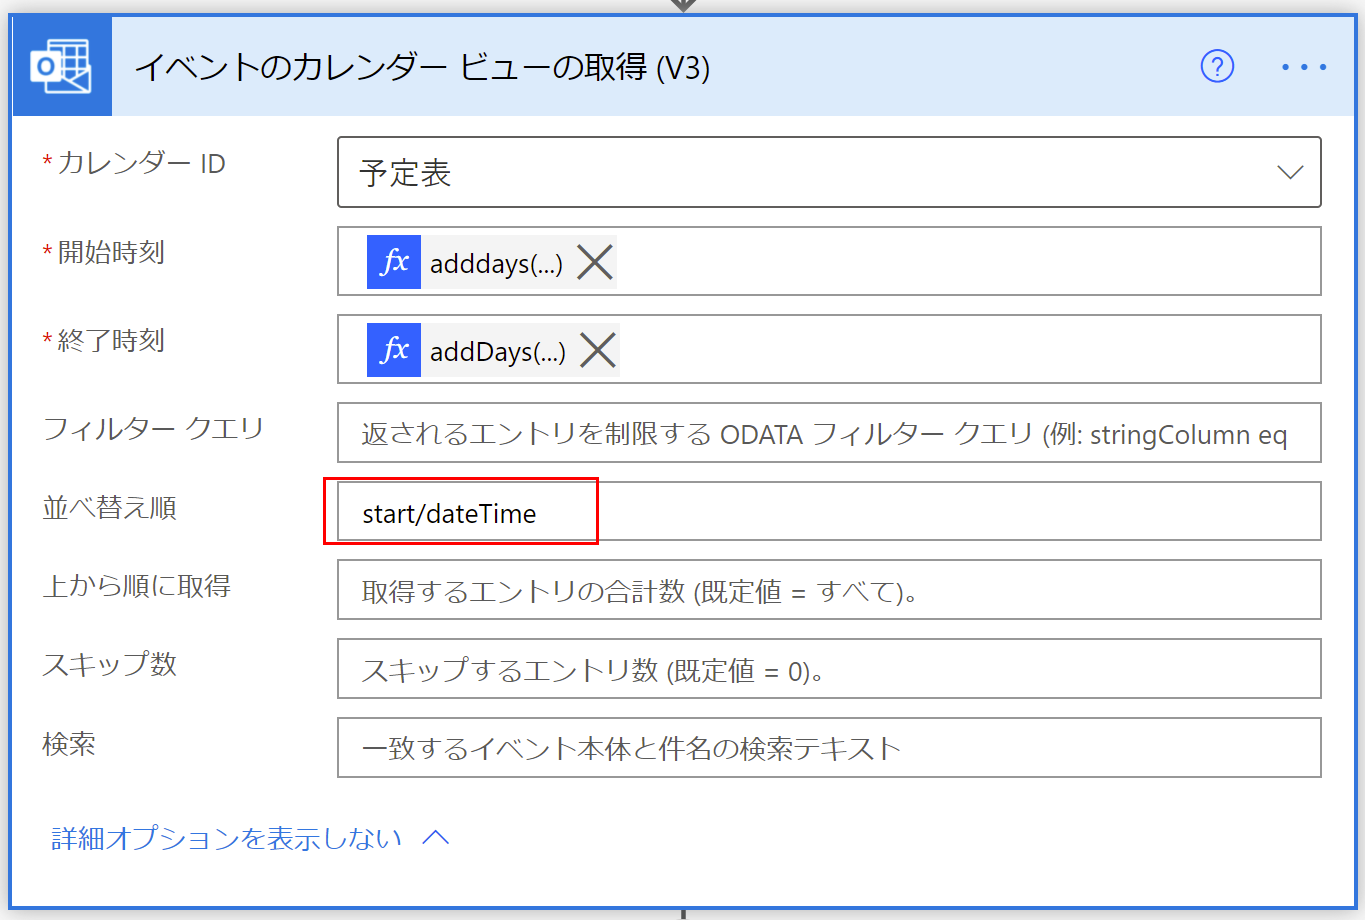
自身の予定表を選び、開始時刻と終了時刻を入力します。
下記の設定ですと、今から1日間のスケジュールを取得します。
スケジュールを開始時間順で取得したいので、並び替えに"start/dateTime"を入力します。
スケジュールの件名を取得
上記で取得した複数のスケジュールより、件名のみを取得します。
ここでも、Applay to eachを回避し、処理の高速化を図ります。
データ操作の選択を選びます。

開始には、イベントのカレンダービュー取得より、Value
マップには、予定の開始時刻と件名をセットします。
開始時刻は下記を入力してください。
concat(substring(convertTimeZone(item()?['start'],'UTC','Tokyo Standard Time'),0,10),' ',substring(convertTimeZone(item()?['start'],'UTC','Tokyo Standard Time'),11,5))
さらに、データ操作の参加を選び、
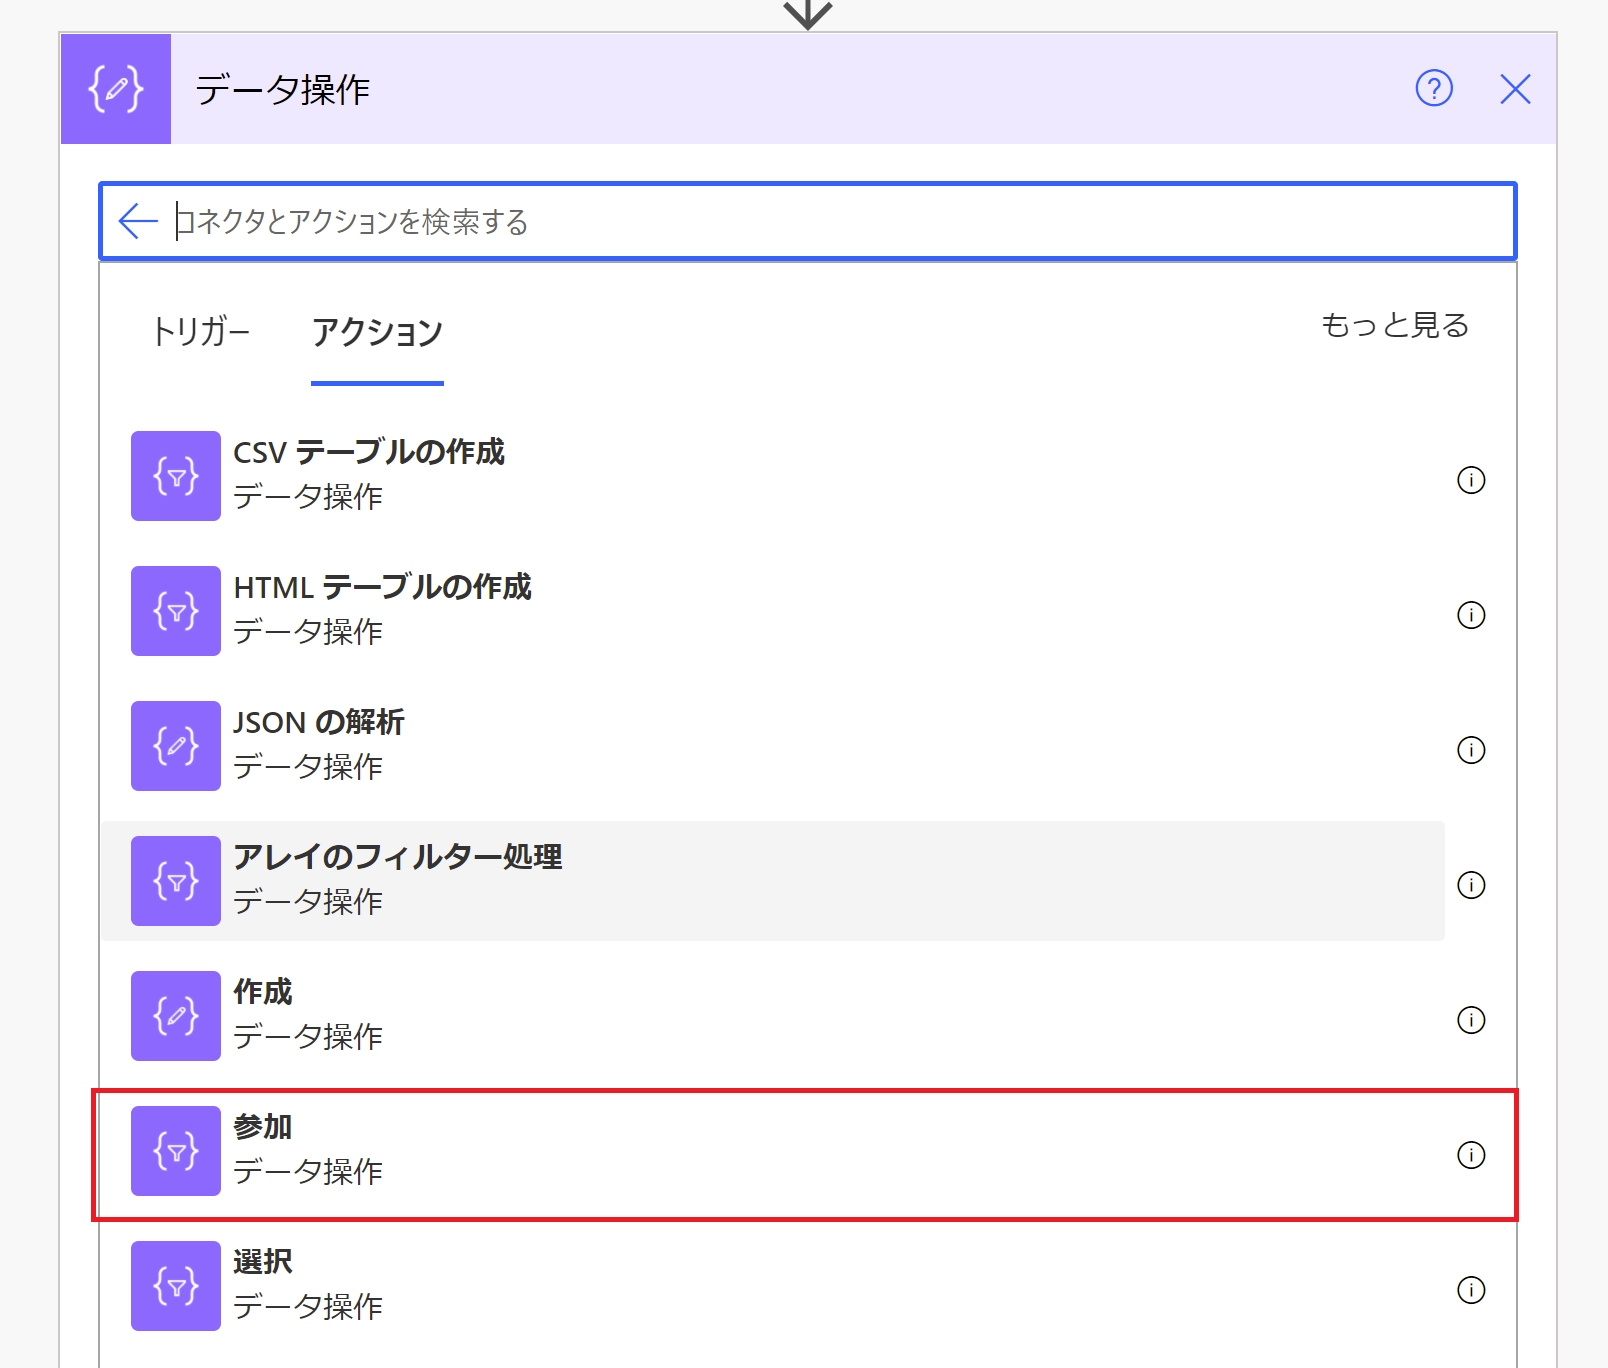
上記の選択の結果を「と」という文字で結合していきます。

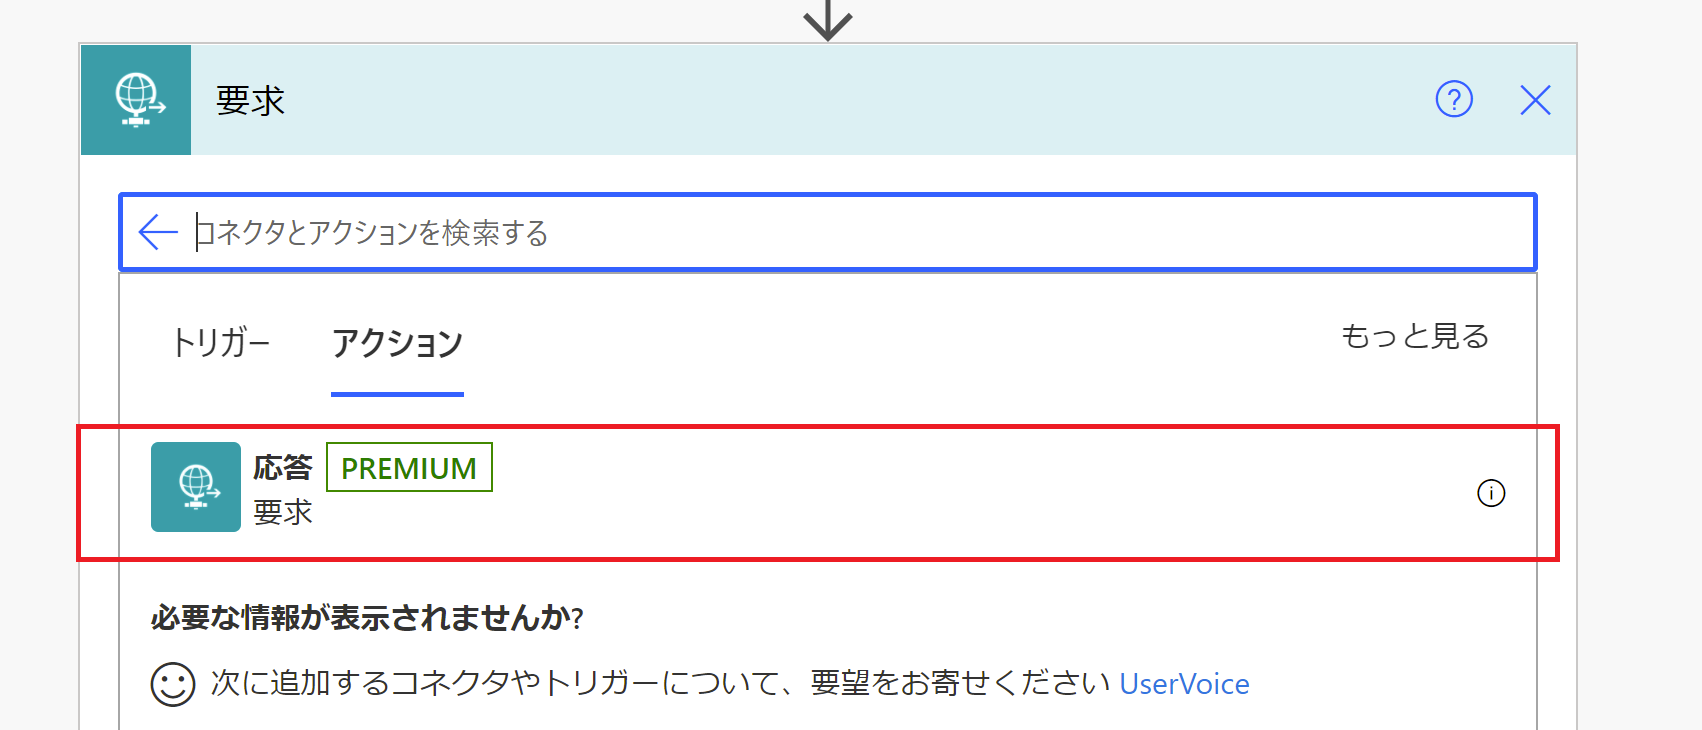
Alexaへ応答
ヘッダーに
Content-Type
application/json;charset=utf-8
本文に
{
  "response": {
    "outputSpeech": {
      "text": "[結合の出力]",
      "type": "PlainText"
    },
    "reprompt": {
      "outputSpeech": {
        "text": "[結合の出力]",
        "type": "PlainText"
      }
    },
    "shouldEndSession": true
  },
  "version": "1.0"
}
エンドポイントの取得
作成したフローを保存し再度開くと、トリガーのHTTP要求の受信時にある「HTTP POST の URL」の値をコピーします。

alexa developer consoleに戻り、エンドポイントを選択し、HTTPSを選択し、デフォルトの地域に上記のURLをペーストします。
さらに、「開発用のエンドポイントは、証明機関が発行したワイルドカード証明書をもつドメインのサブドメインです」を選択します。

以上で設定は完了です。
まとめ
「あれ、この後のスケジュールって何があったっけ?」といった時に役に立つスキルだと思います。
必要なスキルは自分で作る、ぜひ実感ください。


