続きをやっていきましょう。今日は2値化ファイルの画素値出力をした後、エッジ検出処理をやります。
画素値出力
#2値化ファイルの画素値出力
test_f = open(TEST_file_path,'w') #txtファイルを含めたパスを用意しました。

y_depth = img_gray_th_otsu.shape[0]
x_depth = img_gray_th_otsu.shape[1]

for y_num in range(y_depth):
	for x_num in range(x_depth):
		test_f.write("y_num["+str(y_num)+"] x_num["+str(x_num)+"]:"+str(img_gray_th_otsu[y_num][x_num])+"\n")

test_f.close()
としてみると、ちゃんと0か255になっていることがわかりました。
ヒストグラムみると若干違ったのでちょっと怪しんでましたが、まぁ良さそう。
エッジ検出
Canny法でのエッジ検出をやってみます。
参考資料:Canny法について
日本語がありがたい。
閾値を求めるのが難しそうだったのですが、一旦サンプル通り、100 200でやってみようと思います。
#Canny法を使ったエッジ検出処理
edges = cv2.Canny(img_gray_th_otsu,100,200)
#画像出力
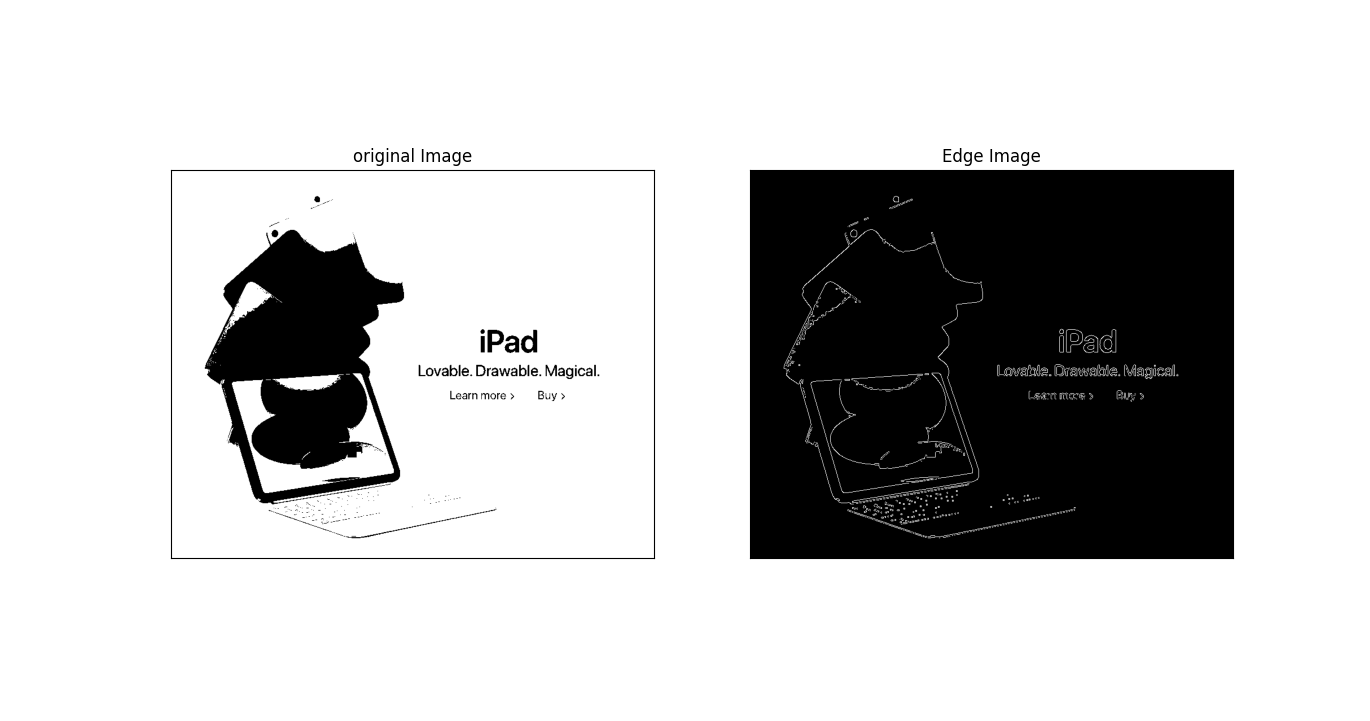
plt.subplot(121),plt.imshow(img_gray_th_otsu,cmap='gray')
plt.title('original Image'),plt.xticks([]), plt.yticks([])
plt.subplot(122),plt.imshow(edges,cmap = 'gray')
plt.title('Edge Image'), plt.xticks([]), plt.yticks([])
plt.show()
すみません、今まで全然画像を見せてなかったんですがいい感じになりました。左がオリジナル画像で、右がエッジ検出後です。