はじめに
この記事は以前私が投稿した記事の続編となります。合わせて読んで頂けると嬉しいです![]()
Vueを扱えるようになりたいけどJavaScript書いたことがなかったので、JavaScriptとVueを同時に勉強する。
今回は、前回のコードを改修〜見た目実装までの手順を記載しました!
完成品はこちらとなります![]()
前回のコードを改修
まずは前回のコードの手直しから始めましょう。
前回の記事で改修案のコメントをくださった方ありがとうございます。
参考にさせていただきながら、進めていきたいと思います!
前回のコードはこちら
<template>
  <div>
    <p>じゃんけん!</p>
    <button @click='guu'>グー</button>
    <button @click='tyoki'>チョキ</button>
    <button @click='paa'>パー</button>
    <p>わたしは{{ watashi }}</p>
    <p>あいては{{ aite }}</p>
    <p>この勝負…{{ result }}</p>
  </div>
</template>
<script>
export default {
  name: 'Game',
  data () {
    return {
      watashi: '',
      watashi_hand: '',
      aite: '',
      aite_hand: '',
      result: ''
    }
  },
  methods: {
    guu () {
      this.watashi = 'グー'
      this.watashi_hand = 0
      this.aite_no_te()
      this.syouhai()
    },
    tyoki () {
      this.watashi = 'チョキ'
      this.watashi_hand = 1
      this.aite_no_te()
      this.syouhai()
    },
    paa () {
      this.watashi = 'パー'
      this.watashi_hand = 2
      this.aite_no_te()
      this.syouhai()
    },
    aite_no_te () {
      switch (Math.floor(Math.random() * 3)) {
        case 0:
          this.aite = 'グー'
          this.aite_hand = 0
          break
        case 1:
          this.aite = 'チョキ'
          this.aite_hand = 1
          break
        case 2:
          this.aite = 'パー'
          this.aite_hand = 2
          break
      }
    },
    syouhai () {
      switch (((this.watashi_hand - this.aite_hand + 3) % 3)) {
        case 0:
          this.result = '引き分けっ'
          break
        case 1:
          this.result = 'あなたの負け…'
          break
        case 2:
          this.result = 'あなたの勝ち!'
          break
      }
    }
  }
}
</script>
この後、見た目を実装するために画像を挿入したりするので、そもそも必要のない部分が出てきます。
その部分に関しては改修の余地があっても手直しせずに削除し、残す部分だけ手を加えていきます。
改修後はこちら
<template>
  <div>
    <p>じゃんけん!</p>
    <button v-for="item in shapes" :key="item.key" @click="select(item.key)">
      {{ item.label }}
    </button>
    <p>この勝負…{{ resultText }}</p>
  </div>
</template>
<script>
export default {
  name: 'Game',
  data () {
    return {
      shapes: [
        { label: 'グー', key: 0 },
        { label: 'チョキ', key: 1 },
        { label: 'パー', key: 2 }
      ],
      resultText: '',
      player: '',
      bot: ''
    }
  },
  methods: {
    select (key) {
      this.player = key
      this.result()
    },
    result () {
      this.bot = Math.floor(Math.random() * 3)
      switch (((this.player - this.bot + 3) % 3)) {
        case 0:
          this.resultText = '引き分けっ'
          break
        case 1:
          this.resultText = 'あなたの負け…'
          break
        case 2:
          this.resultText = 'あなたの勝ち!'
          break
      }
    }
  }
}
</script>
解説していきます。
watashiとaiteに関しては画像やボタンで手がわかるように表現したいので、結果的にいらなくなるため消しました。
グー、チョキ、パーとそれに関連した数字を今まではmethods内にその都度書いていましたが、これをdata内に一箇所にまとめます。
data () {
  return {
    shapes: [
      { label: 'グー', key: 0 },
      { label: 'チョキ', key: 1 },
      { label: 'パー', key: 2 }
    ],
    ...
グーの場合は0というふうに既に決まっているので、配列にまとめることができました。これでいちいちグーとか=0とか書かなくてよくなりました。
今度はボタンの部分を見ていきます。
<button @click='guu'>グー</button>
<button @click='tyoki'>チョキ</button>
<button @click='paa'>パー</button>
私はボタンタグを三つ配置していましたが、こちらはfor文を使う事でボタンタグを一つにすることができます。
<button v-for="item in shapes" :key="item.key" @click="select(item.key)">
  {{ item.label }}
</button>
こうですね。
さらにfor文を使用し@click="select(item.key)"となったことで、クリック時の関数も一つにすることができます。
guu () {
  this.watashi = 'グー'
  this.watashi_hand = 0
  this.aite_no_te()
  this.syouhai()
},
tyoki () {
  this.watashi = 'チョキ'
  this.watashi_hand = 1
  this.aite_no_te()
  this.syouhai()
},
paa () {
  this.watashi = 'パー'
  this.watashi_hand = 2
  this.aite_no_te()
  this.syouhai()
},
三つもあった関数が記述が
select (key) {
  this.player = key
  this.result()
},
これ一つだけになります。
syouhaiはダサいのでresultに名前を変更。watashi_handもダサいのでplayerに名前を変更。 aite_no_te()の処理はbotに名前を変えつつresult内に移動させます。
result () {
  this.bot = Math.floor(Math.random() * 3)
  switch (((this.player - this.bot + 3) % 3)) {
    case 0:
      this.resultText = '引き分けっ'
      break
    case 1:
      this.resultText = 'あなたの負け…'
      break
    case 2:
      this.resultText = 'あなたの勝ち!'
      break
  }
},
this.botってせずにswicth文の中に直接Math.floor(Math.random() * 3)を書いてもいいんですが、画像の出しわけでthis.botは使いたいのでこういう書き方をしています。
画像の挿入とアニメーションの実装
さて、現時点では相手の手が表示されない為わからず、勝敗の結果しか表示されなくなっています。
今度は相手の手をグーチョキパー三つの画像で表示させていきます。
アニメーションの方法ですが、画像を配列に入れてそれを順番に表示って方法は既にされているかたがちらほら見かけてしまったので、
同じだとつまらなかったので私はcssで頑張っていきます。
まずはグーチョキパーの画像を用意しましょう。
私はフリー素材を拝借して色を塗りました。ちなみに、画像はsrc/assets/に入れましょう。
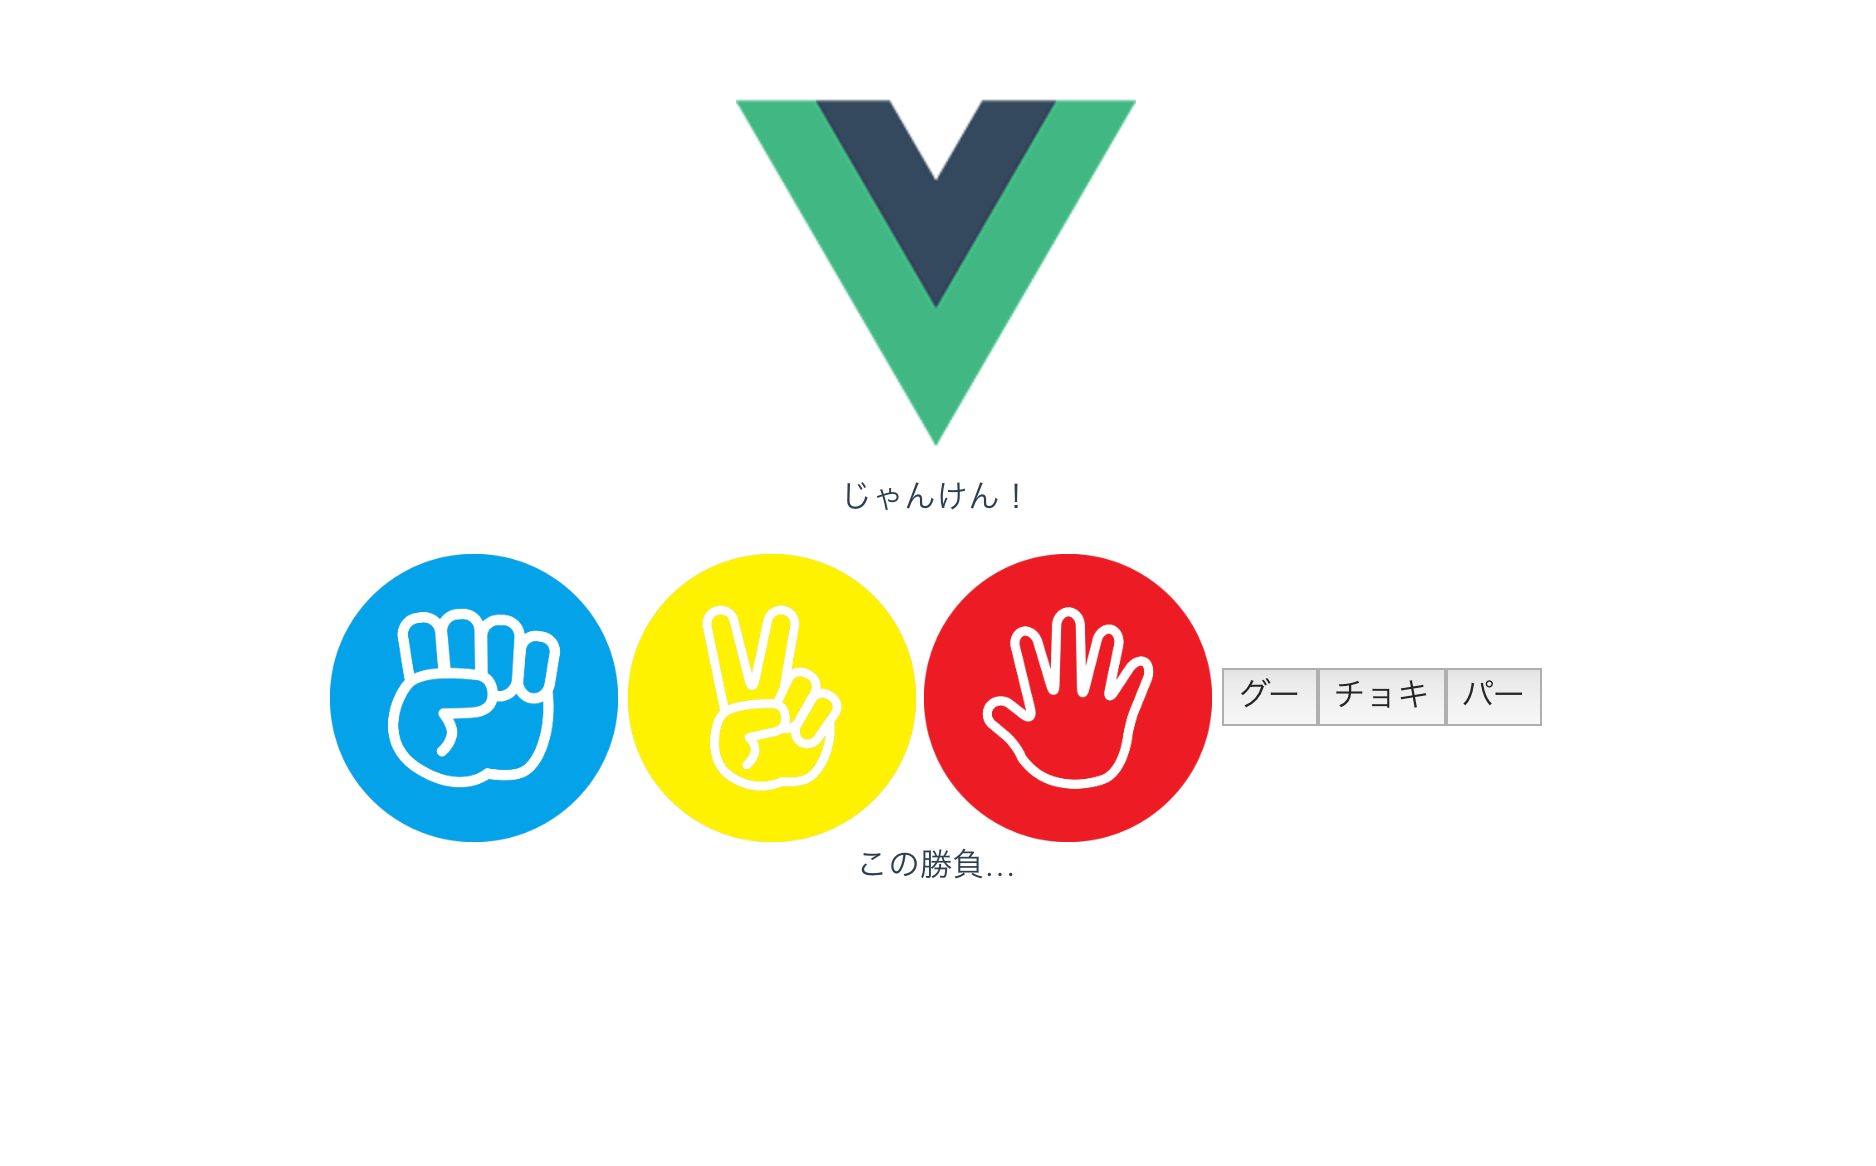
シンプルに表示させます。画像もちょうどいいサイズにcssをいじっておきました。
<p>じゃんけん!</p>
<img src="@/assets/rock.png">
<img src="@/assets/scissors.png">
<img src="@/assets/paper.png">
表示はこんな感じ。
これをbotに入る数字に合わせて表示を出しわけます。ついでにボタンの横ではなくて上に表示したいのでdivで囲います。
<div>
  <img v-if="this.bot === 0" src="@/assets/rock.png">
  <img v-if="this.bot === 1" src="@/assets/scissors.png">
  <img v-if="this.bot === 2" src="@/assets/paper.png">
</div>
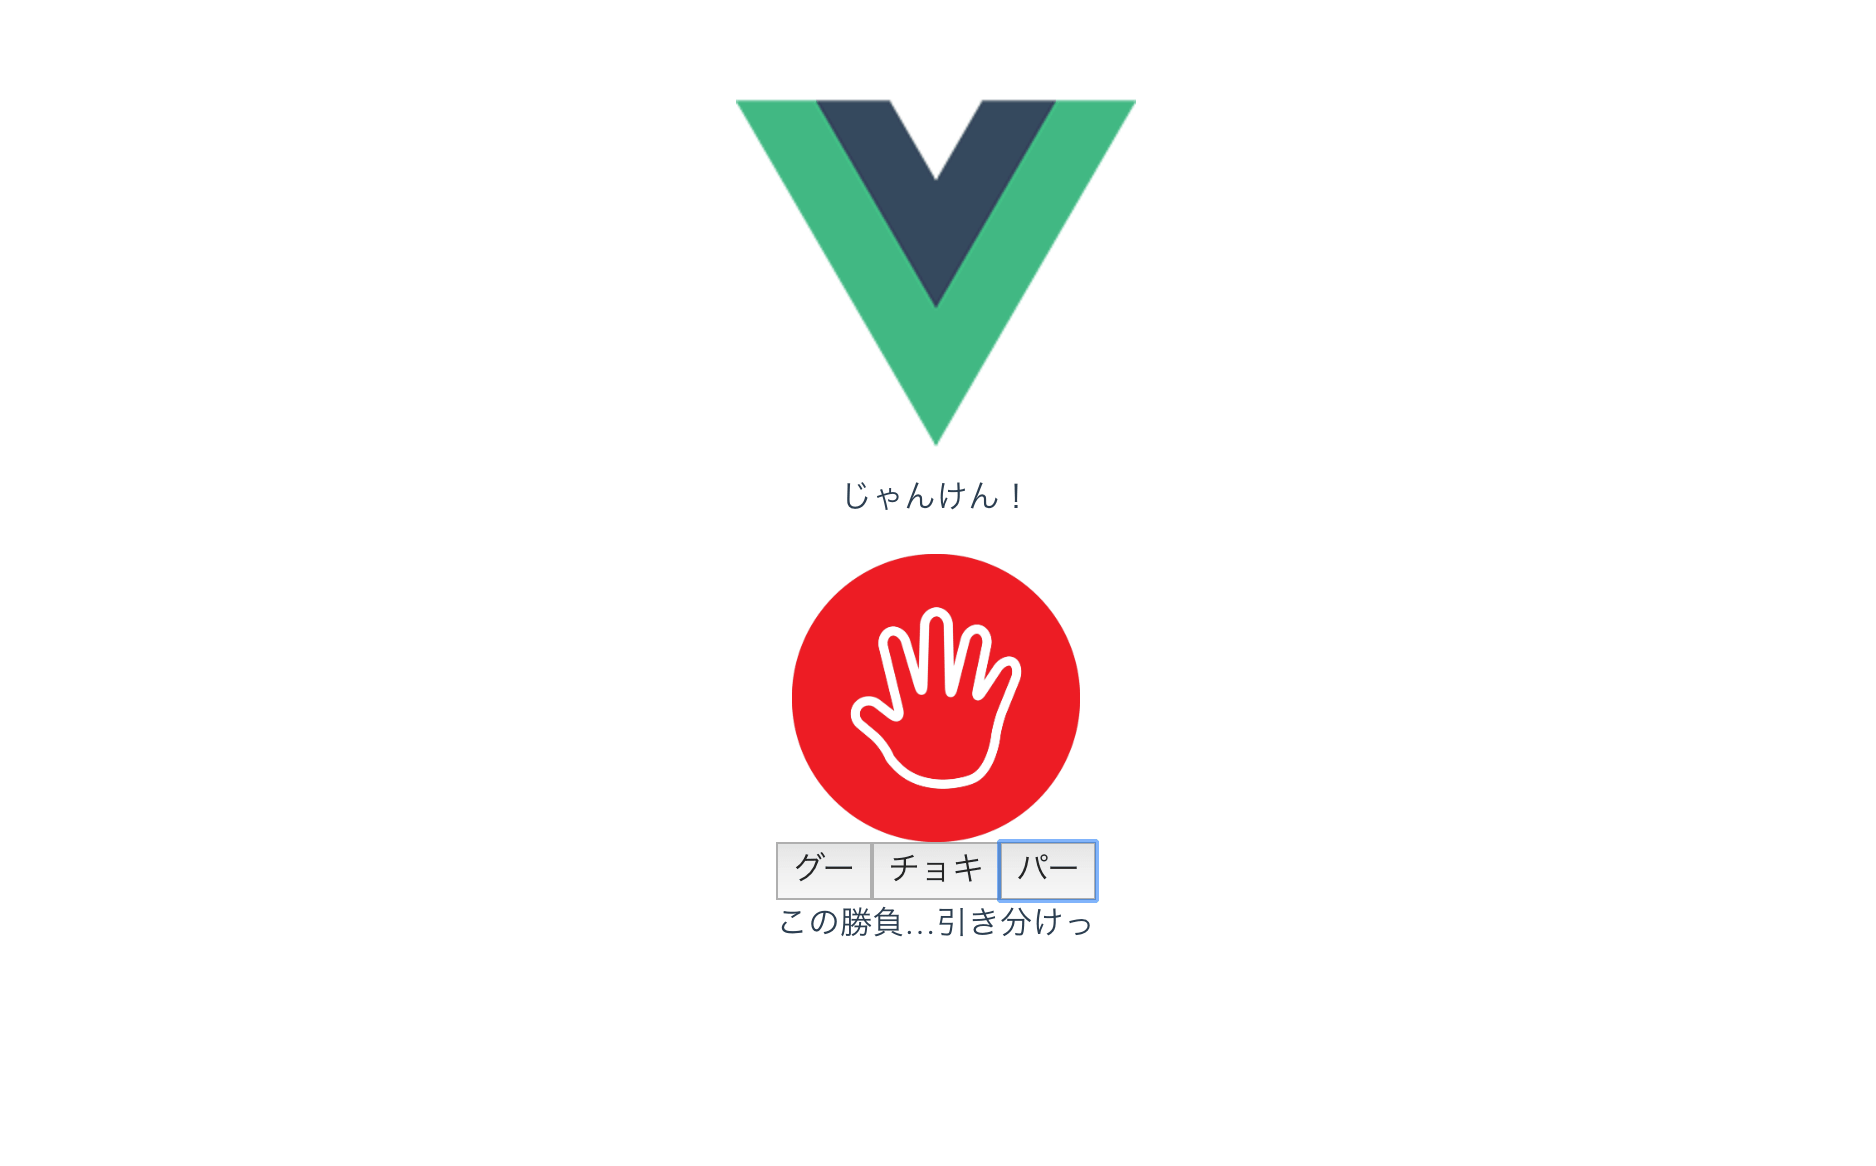
これでボタンをかちかちするとランダムに画像が一つだけ表示されるようになりました。
ボタンを押したあとはこれで問題ないのですが、ボタンを押すまでの間は画像をどぅるるるる(伝われ)ってしたいのでまずはボタン押す前と後で表示を出しわけましょう。
<div v-if="pon">
  <img v-if="this.bot === 0" src="@/assets/rock.png">
  <img v-if="this.bot === 1" src="@/assets/scissors.png">
  <img v-if="this.bot === 2" src="@/assets/paper.png">
</div>
<div v-else>
  <img src="@/assets/rock.png">
  <img src="@/assets/scissors.png">
  <img src="@/assets/paper.png">
</div>
data () {
  return {
    shapes: [
      { label: 'グー', key: 0 },
      { label: 'チョキ', key: 1 },
      { label: 'パー', key: 2 }
    ],
    resultText: '',
    player: '',
    pon: false
  }
},
methods: {
  select (key) {
    this.pon = true
    this.player = key
    this.result()
  },
ボタンを押す前と押した後で分けるためにponを実装しました。デフォルトではponはfalseで、ボタンをクリックするとtrueになりどれか一枚の画像が表示される仕組みです。
ponがfalseの時、3枚の画像をどぅるるると表示させたいのですが、これはcssのanimationで実装してきます。
cssに下記の記述を追加して、各画像のclassにanimationを追加します。
<div v-else>
  <img class="animation" src="@/assets/rock.png">
  <img class="animation" src="@/assets/scissors.png">
  <img class="animation" src="@/assets/paper.png">
</div>
.animation {
  animation-name: img;
  animation-duration: 0.3s;
  animation-iteration-count: infinite;
  opacity: 0;
}
@keyframes img {
  0% {
    opacity: 0;
  }
  25% {
    opacity: 1;
  }
  50% {
    opacity: 0;
  }
}
こんな感じ。
画像が出たり消えたりしていますね。
次は各画像にdelayをかけて表示するタイミングをずらして、3枚の画像を重ねます。
<div class="img-area">
  <div v-if="pon">
    ...
  </div>
  <div v-else>
    <img class="animation" src="@/assets/rock.png">
    <img class="animation scissors" src="@/assets/scissors.png">
    <img class="animation paper" src="@/assets/paper.png">
  </div>
</div>
.img-area {
  position: relative;
  margin-bottom: 10px;
}
.animation.scissors {
  position: absolute;
  top: 0;
  left: 45%;
  animation-delay: 0.1s;
}
.animation.paper {
  position: absolute;
  top: 0;
  left: 45%;
  animation-delay: 0.2s;
}
完璧ですね。GIFなんでちょっと違和感ありますが、実際だと綺麗にどぅるるるしてくれてます![]()
ここでちょっと機能追加
じゃんけんをやり直すには、現状画面をリロードするしかなく不便なので「もう一度!」ボタンを実装します。
<button @click="retry">もう一度!</button>
retry () {
  this.pon = false
  this.resultText = ''
  this.player = ''
},
これでok。retry()でdeta内を最初の状態に戻しています。
Bootstrapを使ってデザインを良くする
あとやりたい事は、
①ボタン周りのデザインをかっちょよくしたい![]()
②ボタンをクリックした時に、色を変えるなどして何のボタンをクリックしたかわかりやすくしたい![]()
この2点です。どちらもBootstrapでちゃちゃっとできちゃいますので実装しちゃいます。
Bootstrapの適用方法・使い方に関してはここで説明すると長くなると思い、別で記事を作成しましたので興味がある方は参考にしてください。
Vue.jsにBootstrapを適用させる方法
こちらの公式ページのテンプレートを使用します。
https://bootstrap-vue.js.org/
<div>
 <b-button>
   :pressed.sync="item.state" variant="outline-success"
   v-for="item in shapes" :key="item.key"
   @click="select(item.key)">
   {{ item.label }}
  </b-button>
</div>
<b-button variant="outline-danger" @click="retry">もう一度!</b-button>
ボタンがクリックされたらstateがtrueになり、色が緑色のままになるようにしました。
また、shapesにもデフォルトでstateがfalseになるように記述を追加しています。
ついでに全体的なcssをちょいちょいと調整します。
vueのlogoは、「vueで作ったよ!」って事が一目でわかるので残しておきました。ちょっとデカかったのでサイズはいじりましたが![]()
完成コードはこちら![]()
<template>
  <div>
    <p>じゃんけん!</p>
    <div class="img-area">
      <div v-if="pon">
        <img v-if="this.bot === 0" src="@/assets/rock.png">
        <img v-if="this.bot === 1" src="@/assets/scissors.png">
        <img v-if="this.bot === 2" src="@/assets/paper.png">
      </div>
      <div v-else>
        <img class="animation" src="@/assets/rock.png">
        <img class="animation scissors" src="@/assets/scissors.png">
        <img class="animation paper" src="@/assets/paper.png">
      </div>
    </div>
    <div>
      <b-button
        :pressed.sync="item.state" variant="outline-success"
        v-for="item in shapes" :key="item.key"
        @click="select(item.key)">
        {{ item.label }}
      </b-button>
    </div>
    <b-button variant="outline-danger" @click="retry">もう一度!</b-button>
    <div>
      この勝負…<br /><span class="text">{{ resultText }}</span>
    </div>
  </div>
</template>

<script>
export default {
  name: 'Game',
  data () {
    return {
      resultText: '',
      player: '',
      pon: false,
      shapes: [
        { label: 'グー', key: 0, state: false },
        { label: 'チョキ', key: 1, state: false },
        { label: 'パー', key: 2, state: false }
      ]
    }
  },
  methods: {
    select (key) {
      this.pon = true
      this.player = key
      this.result()
    },
    result () {
      this.bot = Math.floor(Math.random() * 3)
      switch (((this.player - this.bot + 3) % 3)) {
        case 0:
          this.resultText = '引き分けっ'
          break
        case 1:
          this.resultText = 'あなたの負け…'
          break
        case 2:
          this.resultText = 'あなたの勝ち!'
          break
      }
    },
    retry () {
      this.pon = false
      this.resultText = ''
      this.player = ''
      this.shapes = [
        { label: 'グー', key: 0, state: false },
        { label: 'チョキ', key: 1, state: false },
        { label: 'パー', key: 2, state: false }
      ]
    }
  }
}
</script>

<style scoped>
button {
  margin: 10px 5px;
  box-shadow: none !important;
}
img {
  width: 10%;
}
.animation {
  animation-name: img;
  animation-duration: 0.3s;
  animation-iteration-count: infinite;
  opacity: 0;
}
.animation.scissors {
  position: absolute;
  top: 0;
  left: 45%;
  animation-delay: 0.1s;
}
.animation.paper {
  position: absolute;
  top: 0;
  left: 45%;
  animation-delay: 0.2s;
}
.img-area {
  position: relative;
  margin-bottom: 10px;
}
.text {
  font-size: 50px;
}
@keyframes img {
  0% {
    opacity: 0;
  }
  25% {
    opacity: 1;
  }
  50% {
    opacity: 0;
  }
}
</style>
画像周りとか、retry()とかdata()とか、もっときれいに短く書けそうな気がします…
勝敗結果を保存して戦歴表示とかも…
でも、やりたかったことができて一旦キリがいいのでここでおしまいにします。
さいごに
ここまで読んでくださってありがとうございました。
どなたかの参考になれば嬉しいです!
誤字脱字・発信した情報に間違い等ございましたら、指摘して頂けますと幸いです![]()
また、説明にわかりづらい点がございましたら、改善致しますのでぜひコメントください![]()