Introduction
Sharperlight also provides a datamodel for Salesforce, so this time I would like to create a simple report using that datamodel.
Salesforce is a cloud-based customer relationship management (CRM) software. Sharperlight uses a datamodel for Salesforce to interact with its API and synchronize cloud data with a locally prepared database, enabling reporting tailored to individual needs.
Downloading the Datamodel
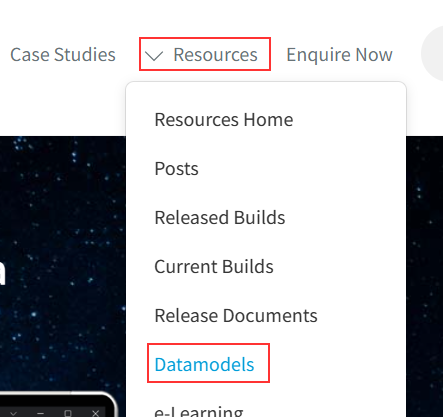
The Salesforce datamodel can be downloaded from the Sharperlight website. Access it via the top menu by navigating to Resources -> Datamodels.

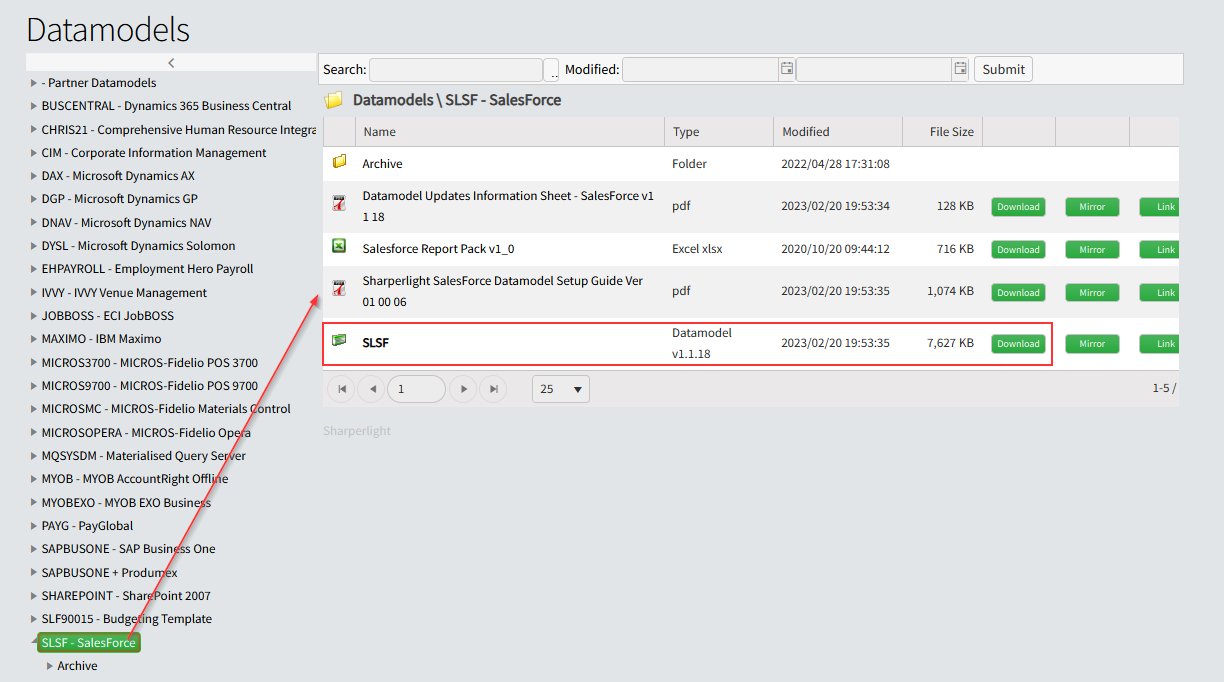
A list of datamodels developed and provided by Sharperlight will be displayed. From that list, we can download the datamodel for Salesforce.

Installing the Datamodel
From here on, I will assume that Sharperlight is already installed.
Close all Sharperlight applications, including the Sharperlight service. Launch the Sharperlight application menu and select the Datamodel Installer.

Once the Datamodel Installer is launched, use the "Add" button to include the datamodel we downloaded earlier.


Finish the installation by clicking the Finish button. At the same time, the datamodel will be compiled automatically.
Preparing the Database
Prepare an empty database in Microsoft SQL Server.

Connecting the Datamodel to the Database
Use the Client Setup in Sharperlight to define the connection between the Salesforce datamodel and the prepared database for synchronization.

In this case, database server authentication was used.

Finally, confirm the connection by clicking the Test button. Finish the Client Setup by clicking the OK button.
Configuring API Connection Information
Next, set up the connection information for Sharperlight to communicate with the Salesforce API.
First, ensure that API access is enabled on the Salesforce side. This will allow us to obtain key information such as the Consumer Key and Consumer Secret.
Using the Site Setup in Sharperlight, enter the obtained key information.

Select Salesforce from the product settings, and the properties to enter the key information will be displayed on the right side. It should look like this:

Once the settings are complete, save by clicking the Close button.
Starting the Synchronization
Now that the preparation for data synchronization with Salesforce is complete, let's start the synchronization by launching the Sharperlight service.
Starting the Sharperlight Service
Select Services from the Sharperlight application menu to launch it.

Alternatively, we can start the Sharperlight service from the Windows Services.

Using the Salesforce Synchronization Web Interface
From the Sharperlight application menu, select Solutions.

Once the solution is launched, double-click on Sharperlight SalesForce UI.

A page will appear in the browser to manage synchronization and other tasks.

Starting the Synchronization Process
From the management page's top menu, select System -> Sync Settings.
Click the Execute Sync Now button to start the synchronization.

Once the synchronization starts, the screen will switch to the Sync Stats page. After a while, we will see the processing history in the Process Progress list at the bottom of the screen.

As the synchronization process continues...

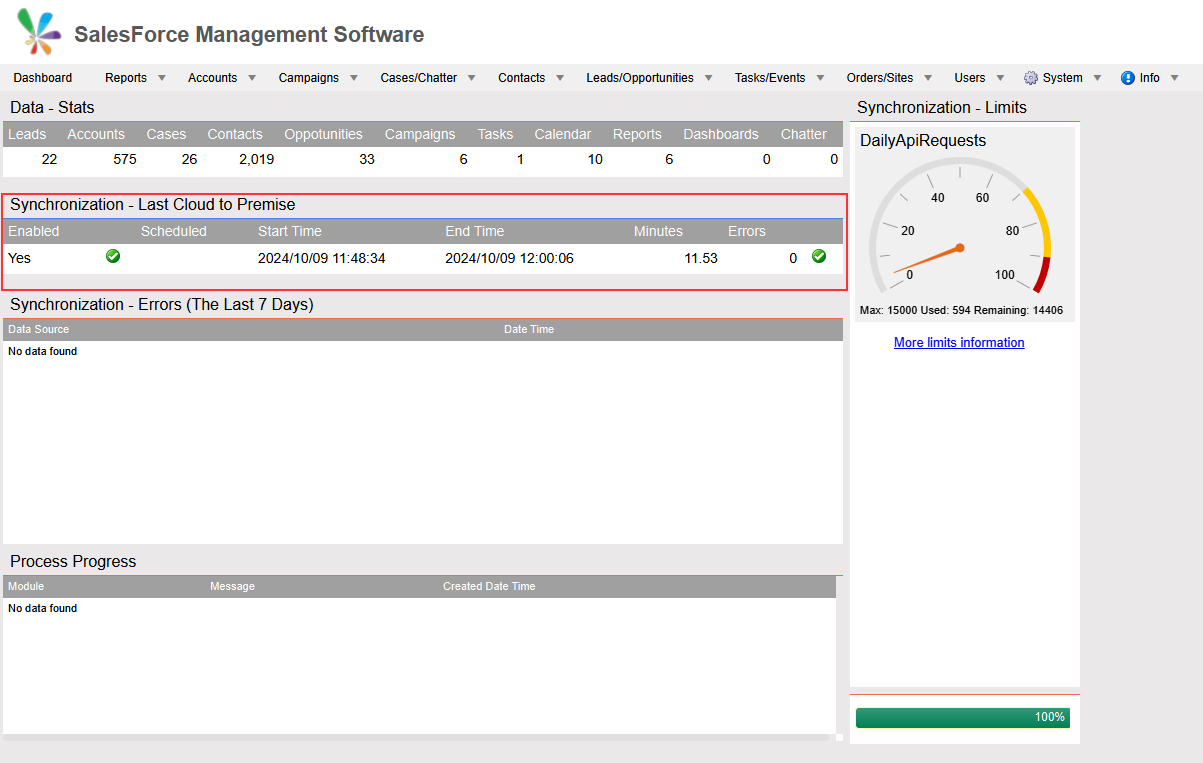
When the synchronization is complete, we will see a display like this:

Data Verification and Reporting
To verify the synchronized data, select Dashboard from the top menu of the management page. We should see the data displayed. Note that my Salesforce environment is a demo for development, so the data is limited.

This is a collection of reports prepared by Sharperlight, but we can create reports tailored to our needs using Sharperlight's publish queries or the Excel add-in.

Additionally, the synchronization process can be scheduled, allowing us to execute it at a specific time every day to keep the synchronized database up-to-date. In the web UI, we can specify the execution time here.

If we want to make more detailed settings, we can do so in the Sharperlight scheduler.

Conclusion
We have explored data synchronization and reporting using the Salesforce datamodel. Once we set up the data synchronization, we can leverage Sharperlight's powerful reporting capabilities to create reports tailored to our specific business needs.