Introduction
I've been posting tips for business solutions using the product Sharperlight, but I'd like to take a look at how to create a DataModel, which is fundamental to using Sharperlight, or you can't start without it.
Sharperlight dynamically generates queries and issues them to extract data from your database.
The DataModel helps the Sharperlight engine generate queries.
DataModel
The core of Sharperlight. Schema information of the database to connect to, extended business logic, etc. are defined in a way that the Sharperlight engine can understand.
Well, it seems difficult to express it like this, but it's easy to create a basic one, so let's see how to do it together.
Shall we use this database as an example?

Studio
I use Sharperlight Studio to create the DataModel.
Start
Launch Studio from the Sharperlight application menu.

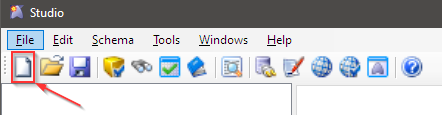
When the studio starts, let's start creating with the New icon.
Setting basic information
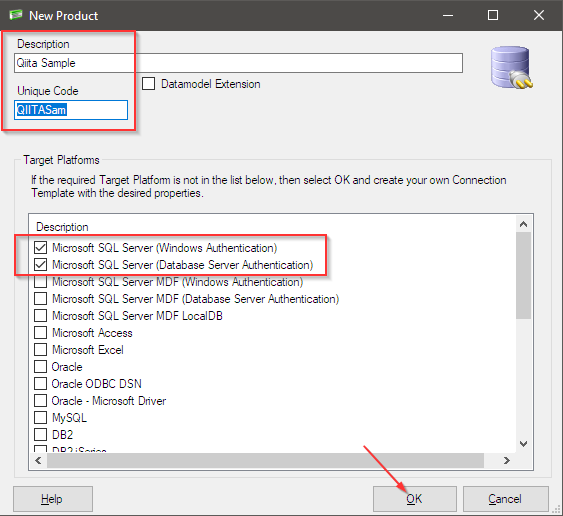
In the New Product dialog, specify a Description and Unique Code. The Unique Code is the key code for using this DataModel in the future, so give it a short but easy-to-understand code.
After that, specify the platform of the database to connect to and proceed with the OK button.
Setting database connection information
Here we configure the connection to the database. This is for loading the database schema information into the new DataModel. Enter the connection information and check the operation with the connection test! If successful, press the OK button to proceed.

A message will appear asking if you want to load the schema, so click the Yes button to proceed.

Importing Schema
This dialog imports a schema. Get the schema information with the Get Tables button. The retrieved information is displayed in a tree format. Tick the necessary schema information and import it with the OK button.

You can use the Schema Owner and Tables filters if you have multiple schemas in your database, etc.

You will see a message like this when the schema is successfully imported. Proceed with the OK button.

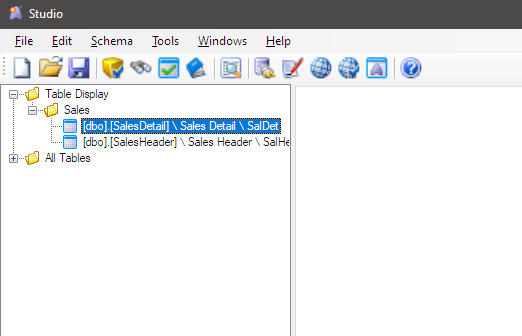
The database schema has been imported into the DataModel.
Here you can make various adjustments to your liking, but I won't go into it here.
Saving
Save the data model with the Save icon.
A warning message will be displayed, so press the OK button to proceed.

This is the specified location, so save it with the Save button.

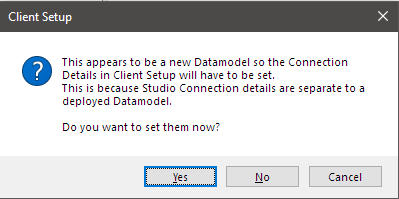
You will then be prompted to set the database connection information required for all Sharperlight applications to use this DataModel. Proceed with the Yes button.
The Sharperlight Client Setup will start, so enter the database connection information, test it, and save it with the OK button.

Operation Check
Launch the Sharperlight Query Builder from the Applications menu.

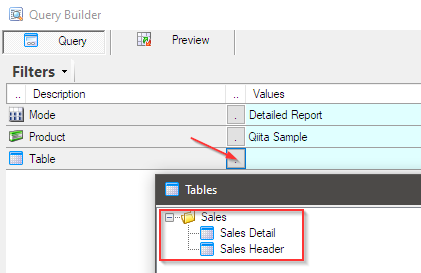
After launching, open the search window with the Search button on the Product. You can see the DataModel we created earlier. Please choose it. In all Sharperlight applications, Product refers to DataModel.

Then click the table Search button. You can see the schema information imported into the DataModel. Here we will select the Sales Detail table.
The field list of the selected table is displayed in the Selection area.

Select Output All from the right-click menu.

All fields are now set in the Output area. Try executing the query with the Preview button.

Data extracted.

You can check what kind of SQL statement has been generated in the submenu of the information icon.
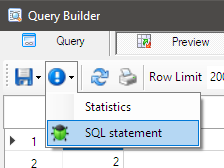
The generated SQL statement looks like this.

In Conclusion
I've explained it briefly from creating a data model to checking the operation.
There are many more settings that can be configured in the DataModel, and I hope to introduce them later.
I hope this article helps you in your work.