This time, I will use PayPal Rest API to get Transaction data and save it to the file system.
Sharperlight provides various JavaScript functions for developers. Let's write JavaScript code using those functions and define them as scheduler tasks.
Initially, the underlying code is created with fixed Tokens and query parameters.
Refer to the following pages for authentication and data acquisition methods.
I also used Postman to verify authentication and data retrieval requests. At the stage of this article, I get Token with Postman and use it by pasting into JavaScript code.
Now, start Scheduler from the Sharperlight application menu.

Once the Scheduler is running, start creating tasks with the New button.
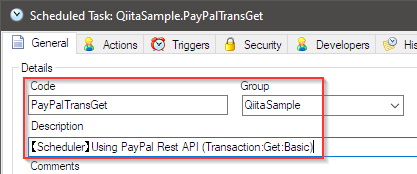
In the General tab of the task dialog, fill in Code, Group and Description, for example like this.
Go to the Actions tab. Here I actually send a request and get the Transaction data. Start creating a JavaScript action using the new icon.

A JavaScript action is added like this, so fill in the code and description. Then write the JavaScript code in the central script field.

The code this time looks like this. Created a transaction_Get function.

The obtained data will be saved in the Temp folder of the C drive with the file name PayPal_Transaction.json.
Token is after Bearer in the middle of the code.
I also used the following for the parameters:
start_date, end_date, fields, page_size, page
The two functions you can see at the bottom of the code, the lib_sys.urlContent.Get function, is a function to send a GET request, and the lib_sys.io.file.WriteAllText function writes the data got to a file.
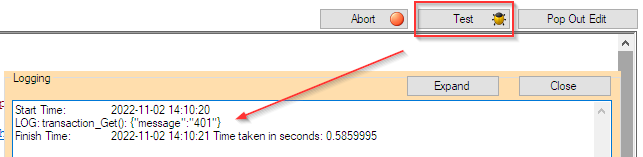
Once the code is complete, use the Test button to validate the code.
Since I used an expired Token, I got an error like this.
Get a new Token in Postman and use it.

No errors this time.

Is the file created? Look in the Temp folder on the C drive.
It's there![]()

Let's open it. If you open it with Visual Studio Code, it will be properly formatted and displayed. I was able to get it successfully![]()

Up to here for this time...
Thank you.