In this article, I will show how to create a menu report.
Creating a menu report
Open Sharperlight application menu.
Select Publisher.
Choose Other -> Create Menu Report from the right-click menu.

WIth the default option, click OK to proceed.

The list of published reports will open so choose reports which you want to add to the menu.
Click OK to go next.

You would be able to see what you selected with a grid. Click OK.

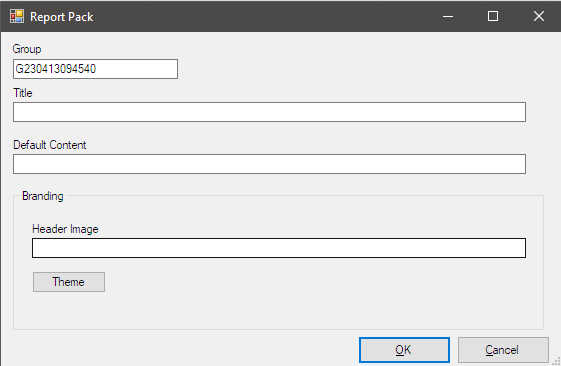
The dialog will let you input some information for the menu. Leave it as it is and click OK.
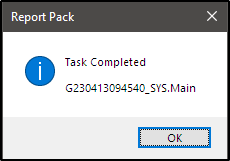
You would see this when the menu report is created successfully.
The menu is also a type of published report like this.

Managing the menu report
Let's open the menu report you just created and see the details and edit it.
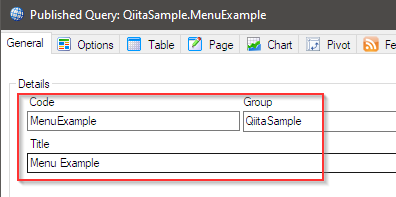
The Code, Group and Title have the default values like this.

You would be able to edit them like this.
Then let's have a look the query definition for this menu report as the menu is created by the query.
Click Edit Query button to open Query Builder.

The query definition looks like this and this part is the definition for generating the menu structure.
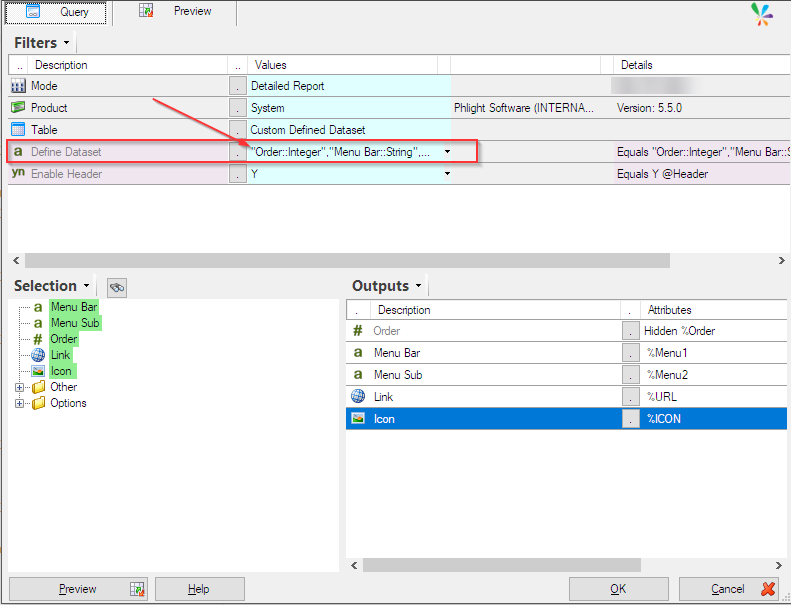
Click this button to open the editor for it

It is a comma delimited list.

If you click Grid Edit button you would be able to see the definition in grid.
As you can see, those five columns are at least required.
The value for each column on the header row has a special format, Column Name::Data Type.
We need to keep this as they are.

Click Cancel for now. Also click Cancel for the query builder as well.
Then click OK for the menu report to save it because you editted the Code, Group and Title.
Opening the menu report
Start Sharperlight service.
Select the report in the Publisher dialog, choose View Report from the right-click menu.

You would see two tab menus like this.
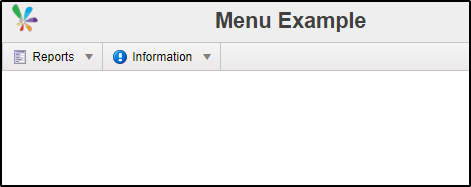
They are come from these definitions in the query.

When the cursor is placed on "Reports" tab, the sub menu items would be displayed.

These sub menus are generated with these definitions in the query.

Let's click the sub menu "SAP Sales Invoice", the report would be displayed under the menu bar.
This is the default settings when the defined URL is like this.
/Report/?query=SAP.SalesInvoices

When you would like to open the report with a new tab/window, you can add the option (&openInNewWin=blank) to the URL.
/Report/?query=SAP.SalesInvoices&openInNewWin=blank

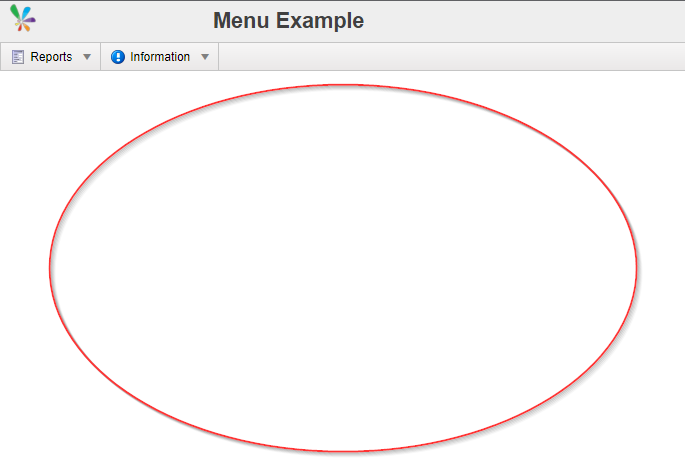
Setting the default content
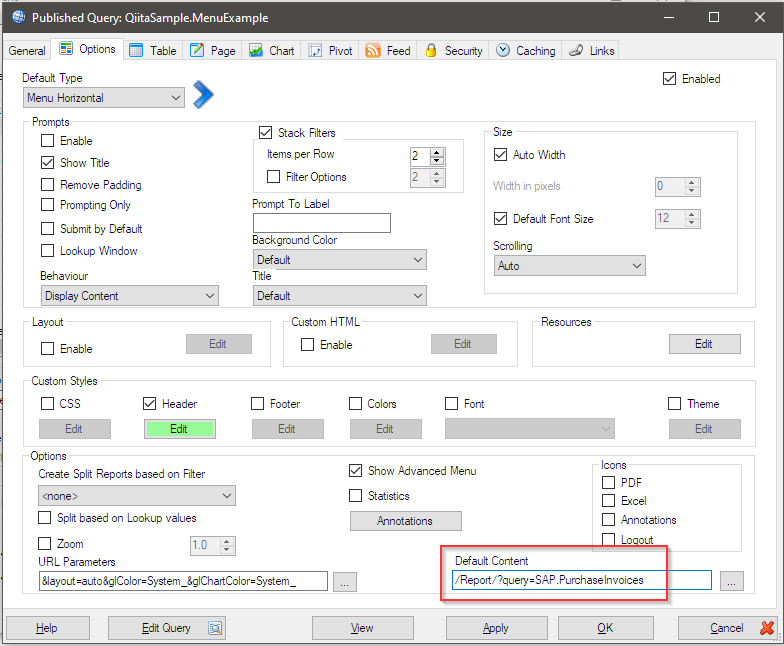
With the example above, under the menu bar shows nothing and you can display any report under the menu bar as default by specifing the report unique code here.

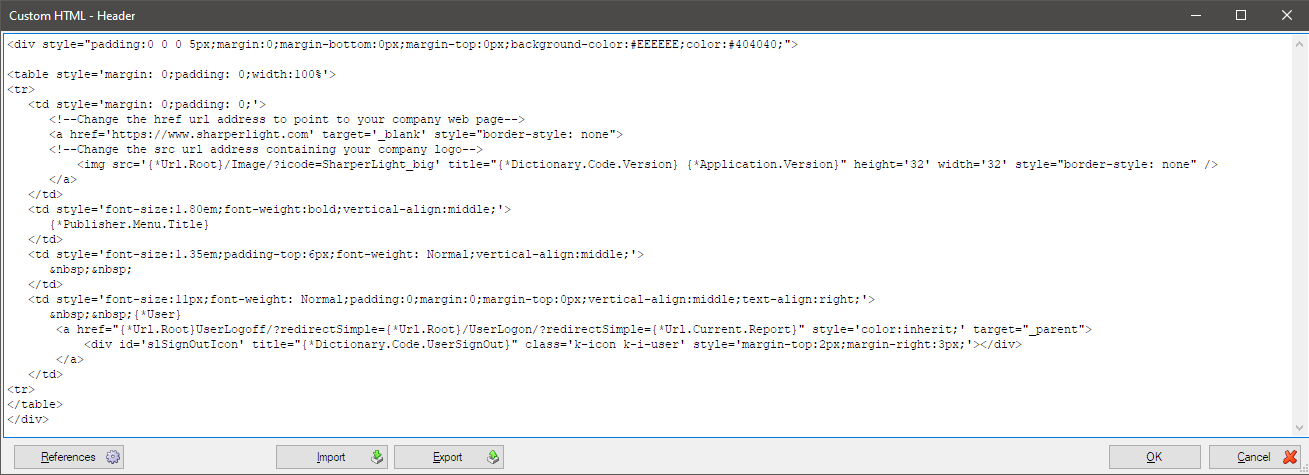
Header of the menu

The header is defined in the Header option on the Options tab and they are written with the standard HTML code like this. You would write your own custom header here.