This time, we will use the Restful service of Sharperlight to create a data write process in JavaScript.
Let's start from scratch.
Preparing the database
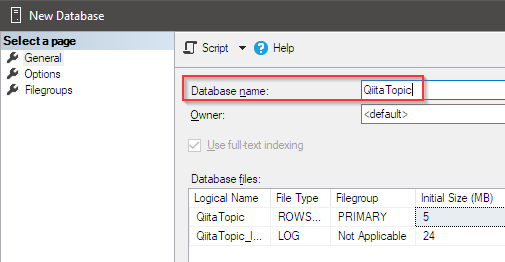
Create a new database in Microsoft SQL Server.
New database
Create a new database with Microsoft SQL Management Studio as follows: Shall we call it QiitaTopic

Creating table
Prepare a table for storing data. Create by script.
CREATE TABLE [dbo].[Sales_Items](
	[id] [int] IDENTITY(1,1) NOT NULL,
	[code] [varchar](512) NOT NULL,
	[name] [varchar](1024) NOT NULL,
	[qty] [int] NOT NULL,
	[amount] [decimal](18,0) NOT NULL,
	[date] [datetime] NOT NULL
 CONSTRAINT [PK_Sales_Items_ID] PRIMARY KEY CLUSTERED
(
	[id] ASC
)WITH (PAD_INDEX = OFF, STATISTICS_NORECOMPUTE = OFF, IGNORE_DUP_KEY = OFF, ALLOW_ROW_LOCKS = ON, ALLOW_PAGE_LOCKS = ON) ON [PRIMARY]
) ON [PRIMARY]
GO

Creating a data model
Launch Studio from the Sharperlight application menu.
Click the new icon to get ready to connect to the database you just created.

Set Description, Unique Code, Target Platforms and press the OK button.

A dialog for entering the connection details to the database will be displayed, so enter the correct connection information. You can check the connection with the Test button. I used Windows authentication this time, but you can also use SQL server authentication.
If you can confirm that the connection is done correctly with the Test button, save it with the OK button.

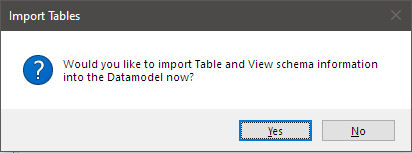
A message appears prompting you to load the database schema information. Click the Yes button to proceed.
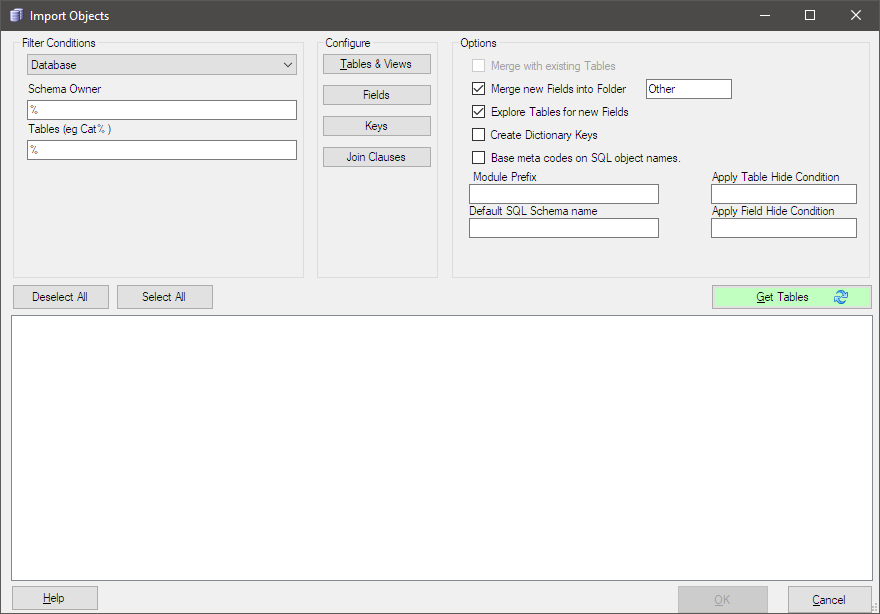
The Import Objects dialog will appear. Keep the default settings and press the Get Tables button (green button).
The schema information of the database is displayed in a tree format, so confirm that all are checked and proceed with the OK button.

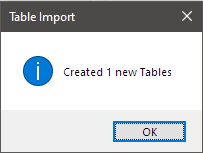
A message Created 1 new Tables will be displayed, so click the OK button to proceed.
The table tree will be displayed on the left, so open the Other folder and double-click the displayed table. A list of fields appears in the middle area. This is the initial state with the schema information loaded.
The table is also in the Other folder. This state is reflected in the display of the table search dialog of the Query Builder. The meaning of the Other folder is unknown, so consider renaming it or moving the table to the root folder.
Move it to the root folder, i.e. the Table Display folder, then delete the Other folder.
Select the Table Display folder and select Move Tables from the right-click menu.

Since the table list is displayed, put a check mark and press the OK button.

After confirming that the table has been moved, select the Other folder and select Delete Folder from the right-click menu.

A confirmation message will be displayed, so select the Yes button.

The Other folder will be deleted and you will have a clean state like this.

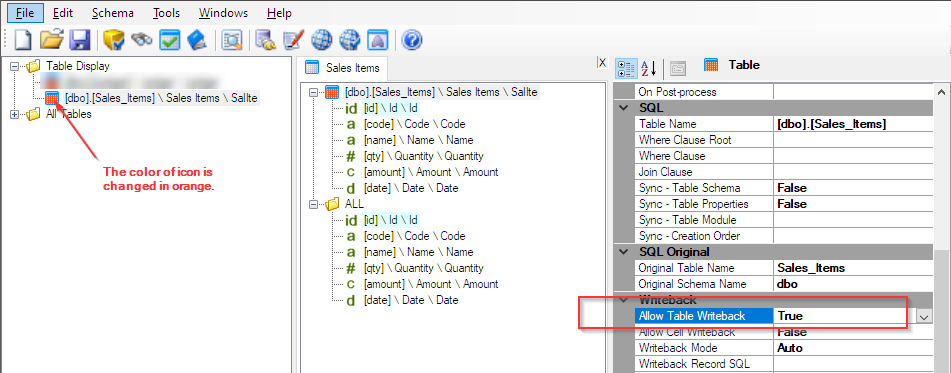
Then set the table to data writable. Sharperlight basically prohibits writing data.
This time we want to write data to this table, so we give this table Writeback permission.
When you select the table, the table properties list will appear in the right pane. Locate the Allow Table Writeback property and set it to True.
This completes the creation of the data model. Select Exit from the File menu. A message prompting you to save will be displayed, so save with the Yes button.

A note about where to save the data model will be displayed, so click the OK button to proceed.

The file explorer will be displayed, so leave the destination as it is and click the Save button.

The data model is now ready.
Connecting database and data model
Launch Client Setup from the Sharperlight application menu.
Set the database connection information for the target data model QiitaTopic and check the connection with the test connection button.

Sharperlight can now talk to the database through the data model.
Then enable the service. The settings are as shown below. The service code is used as part of the service's URL.
Save with the OK button.

Preparing data writing UI and backend code
In this article, the data written is a fixed value, and only the Save button etc. is placed on the web page. Then we will see how to create writeback using RESTful services.
Starting RESTful service
Now let's start the service. Services can be started from the Sharperlight application menu or from Windows Services.


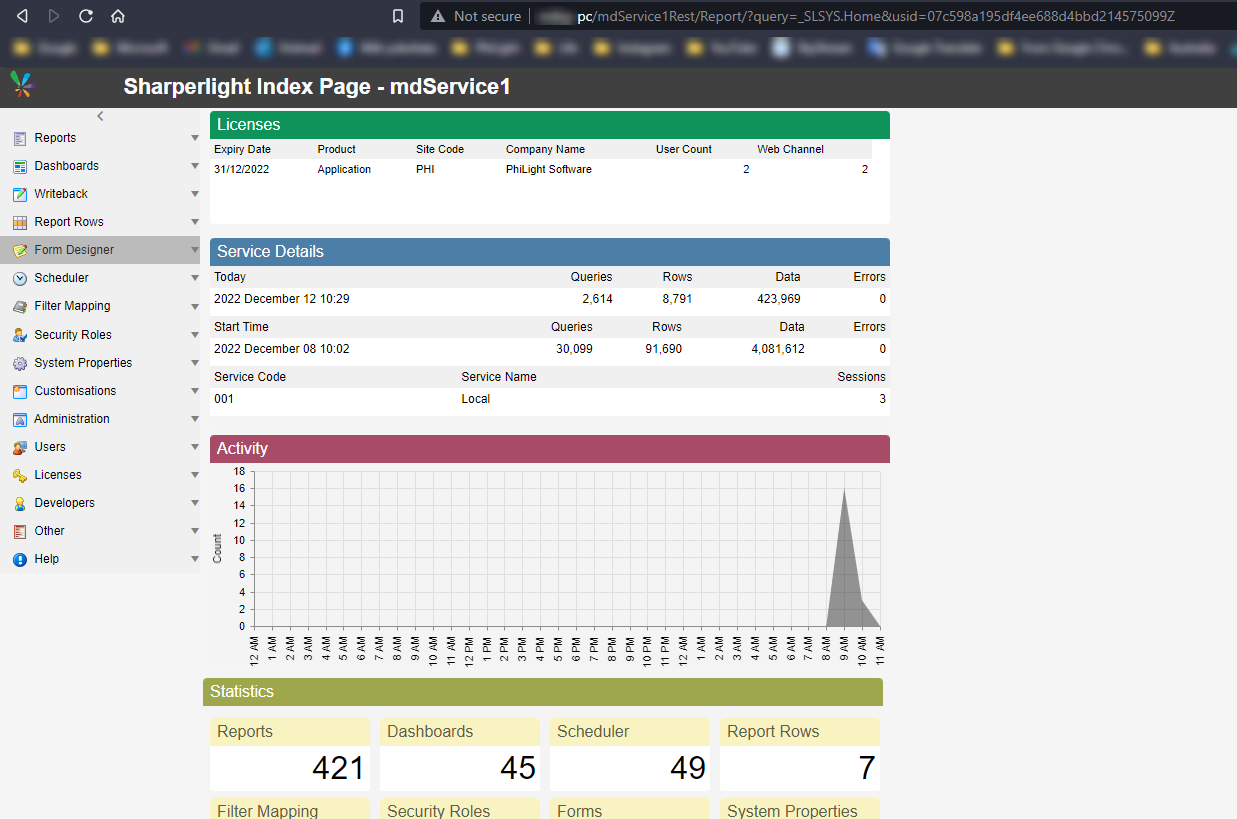
Viewing the Service Index Page
After the service starts, display the index page. Use the URL below.
http://{your server name is here}/mdService1Rest/Index
Getting JavaScript template for writeback
Templates are accessed from the index page under Writeback -> Metadata. Enter the code QTX of the data model created earlier in the Product Code filter and press the send button.
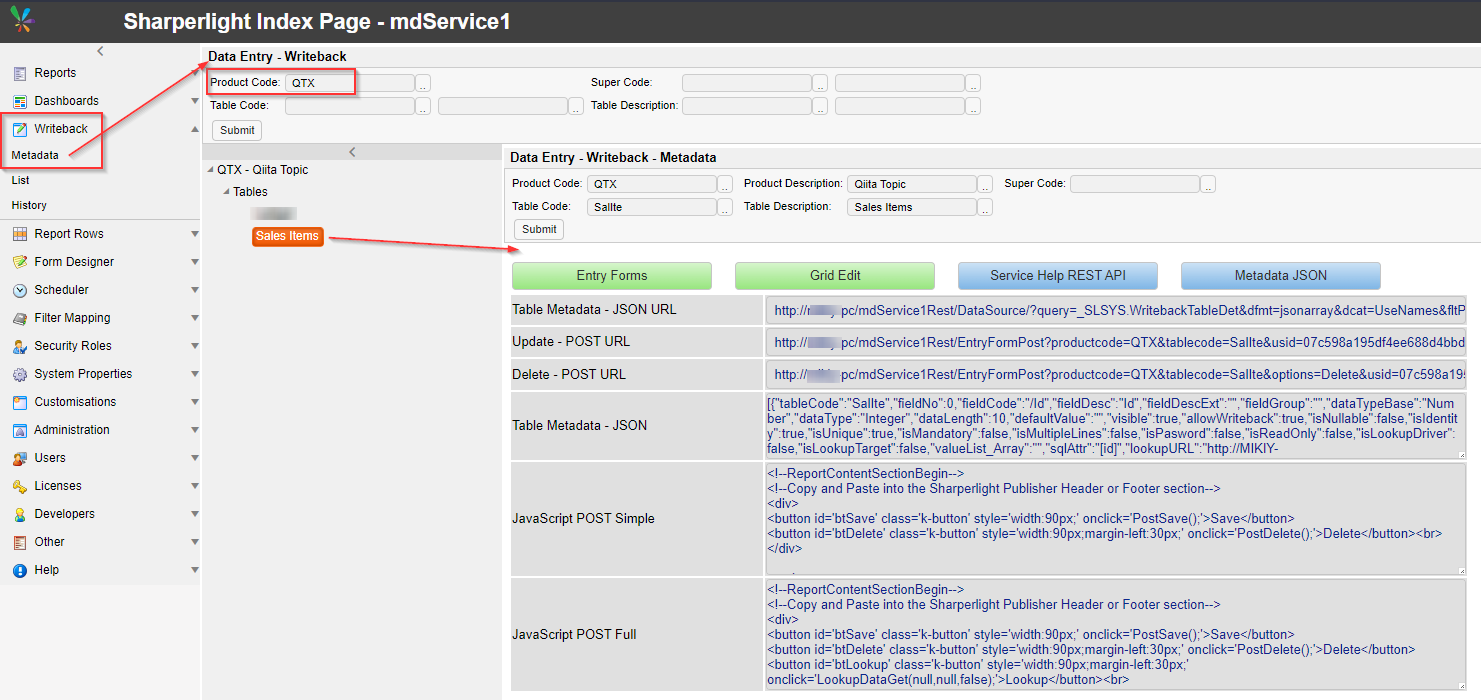
A list of tables will be displayed immediately below, so select the target table name Sales Items. Various URLs and JavaScript templates are displayed on the right.
Copy JavaScript POST Simple or JavaScript POST Full to your clipboard.
Create a new report in Publisher and check Header on the Options tab.
Launch the editor with the Edit button and paste the template previously copied to the clipboard.


And since the writeback data is a fixed value, set the test data here in the template code.

Save the template code with the OK button.
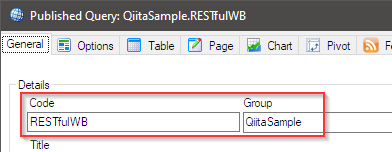
Create a query for the Sales Items table with the Edit Query button.

After creating the query, enter the report Group name and Code and save it.
Select View Report from the right-click menu to view the report in a browser.

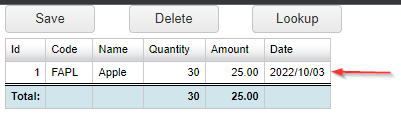
A page like this was displayed.
When you press the SAVE button, the test data set earlier will be written to the database.
If the writeback is finished successfully, the SAVE button will turn green like this.

Try refreshing the report or querying the Sales_Items table in Microsoft SQL Management Studio to see if the data is actually being written.

In this way, Sharperlight is not just a reporting tool, but by using it in common with JavaScript, HTML, etc., various solutions can be created without much effort, which is very interesting.
Thank you for reading this article.