はじめに
vue-cli を利用すれば簡単に設定できますが, 今回は学習用途にプロジェクトを起ち上げていきます.
開発環境・バージョン等
今回利用した環境は以下の通りです.
| name | version |
|---|---|
| Windows 10 Pro 64bit | 1903(18362.778) |
| Powershell Core | 7.1.0-preview.2 |
| node | v14.1.0 |
| npm | v6.14.4 |
プロジェクト構築
プロジェクトディレクトリの初期化
プロジェクトディレクトリの作成
適当な場所にプロジェクト用のディレクトリを作成します.
mkdir "D:/src/work/ts/Typescript-Vue-Sample"
cd "D:/src/work/ts/Typescript-Vue-Sample"
作成が完了したら, Visual Studio Code でディレクトリを開きます.
code "D:/src/work/ts/Typescript-Vue-Sample"
npm init で初期化
npm init -y
ここまで正常にできている場合, 以下のようになっていると思います.

Webpack の導入・設定
Webpack のインストール
次にアプリケーションをビルドするために Webpack をインストールします.
同時に webpack-cli と webpack-dev-server, copy-webpack-plugin もインストールしておきます.
npm i -D webpack webpack-cli webpack-dev-server copy-webpack-plugin
Webpack 設定ファイルの作成
Webpack を無事インストールできたら, 設定ファイルを作成・編集します.
new-item "webpack.config.js"
const path = require('path')

module.exports = {
    entry: './src/index.js',
    output: {
        // 出力先ディレクトリ
        path: path.resolve(__dirname, './dst'),
        // 出力ファイル名
        filename: 'bundle.js'
    },
    devServer: {
        // webpackの扱わないファイルを入れるディレクトリ
        contentBase: path.resolve(__dirname, 'public')
    }
}
起動コマンドを package.json に書き加えます.
{
  "name": "Typescript-Vue-Sample",
  "version": "1.0.0",
  "description": "",
  "main": "index.js",
  "scripts": {
    "test": "echo \"Error: no test specified\" && exit 1",
    "start": "webpack-dev-server --hot",    // <-- ここを追加
    "build": "webpack -p"                   // <-- ここを追加
  },
  "keywords": [],
  "author": "",
  "license": "ISC"
}
これで .js ファイルをコンパイルする準備ができました.
.js ファイルをコンパイルしてみる
試しに簡単な .js ファイルをコンパイルしてみます.
mkdir "src"
new-item "src/index.js"

mkdir "public"
new-item "public/index.html"
console.log('Hello, world!!')
<!DOCTYPE html>
<html>
    <head>
        <meta charset="utf-8">
        <title>Vue app</title>
    </head>
    <body>
        <div id="app"></div>
        <script src="bundle.js"></script>
    </body>
</html>
それでは実際に実行してみます.
npm start
http://localhost:8080 にアクセスして, 開発者ツールを開いて Console を見ると Hello, world!! が表示されていると思います.

確認が完了したら Ctrl + C でサーバを終了しておきます.
Vue.js の導入
Vue のインストール
それでは, Vue 本体と関連ローダーも導入しておきます.
まずは Vue と 基本ローダー をインストールします.
npm i -D vue vue-loader vue-template-compiler css-loader style-loader
次に Javascript関連ローダー をインストールします.
npm i -D babel-loader @babel/core @babel/preset-env
設定ファイルを修正する
各種インストールし終わったら, webpack.config.js と package.json を修正します.
const path = require('path')

// ここから追加 --->
const VueLoaderPlugin = require('vue-loader/lib/plugin')
const CopyPlugin = require('copy-webpack-plugin')
// <--- ここまで追加

module.exports = {
    entry: './src/index.js',
    output: {
        path: path.resolve(__dirname, './dst'),
        filename: 'bundle.js'
    },
    devServer: {
        contentBase: path.resolve(__dirname, 'public')
    },
    // ここから追加 --->
    module: {
        rules: [
            {
                test: /\.vue$/,
                loader: 'vue-loader'
            },
            {
                test: /\.js$/,
                loader: 'babel-loader'
            },
            {
                test: /\.css$/,
                use: ['vue-style-loader', 'css-loader']
            }
        ]
    },
    resolve: {
        extensions: ['.js', '.vue', '.json'],
        alias: {
            'vue$': 'vue/dist/vue.esm.js'
        }
    },
    plugins: [
        new VueLoaderPlugin(),
        new CopyPlugin([{ from: './public' }])
    ]
    // <--- ここまで追加
}
{
  "name": "Vue.js",
  "version": "1.0.0",
  "description": "",
  "main": "index.js",
  "scripts": {
    "test": "echo \"Error: no test specified\" && exit 1",
    "start": "webpack-dev-server --hot",
    "build": "webpack -p"
  },
  "keywords": [],
  "author": "",
  "license": "ISC",
  "dependencies": {
    "vue": "^2.6.11",
    "webpack": "^4.43.0",
    "webpack-cli": "^3.3.11",
    "webpack-dev-server": "^3.10.3"
  },
  "devDependencies": {
    "@babel/core": "^7.9.6",
    "@babel/preset-env": "^7.9.6",
    "babel-loader": "^8.1.0",
    "copy-webpack-plugin": "^5.1.1",
    "css-loader": "^3.5.3",
    "style-loader": "^1.2.1",
    "ts-loader": "^7.0.2",
    "typescript": "^3.8.3",
    "vue-loader": "^15.9.2",
    "vue-template-compiler": "^2.6.11"
  },
  // ここから追加 --->
  "babel": {
    "presets": [
      "@babel/preset-env"
    ]
  },
  "browserslist": "last 2 versions, not dead, not ie > 0"
  // <--- ここまで追加
}
Vue.js を簡単に使ってみる
それでは Vue を使って Hello, world!! を出力してみます.
mkdir "src/components"
new-item "src/components/App.vue"
<template>
  <div>
    <p>Hello, world!!</p>
  </div>
</template>
import Vue from 'vue'
import App from './components/App'

new Vue({
  el: '#app',
  components: { App },
  template: '<app/>'
})
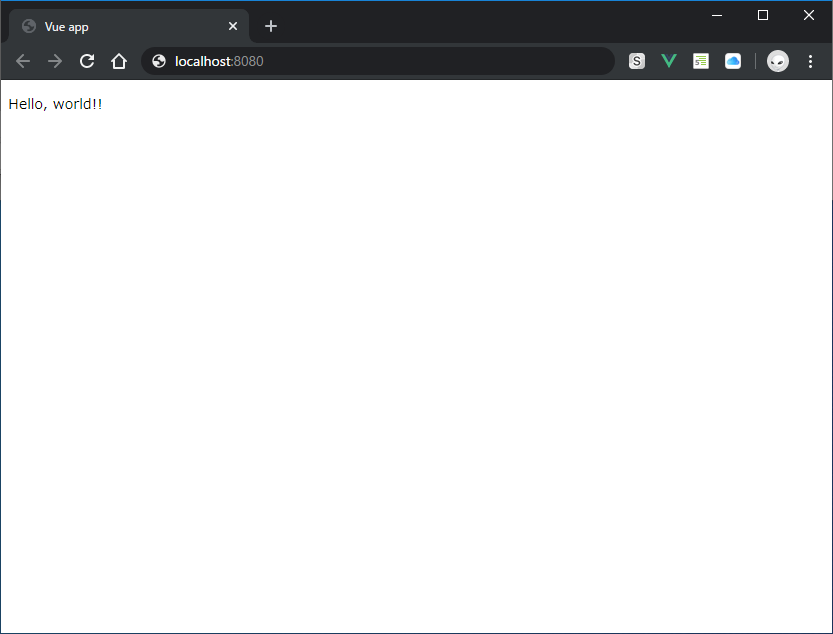
それでは実際に実行しましょう.
npm start
http://localhost:8080 にアクセスすると以下のように表示されると思います.
Typescript の導入・設定
Typescript のインストール
それでは Typescript本体 と ts-loader をインストールします.
npm i -D typescript ts-loader
設定ファイルを作成・修正する
Typescript用の設定ファイル(= tsconfig.json)を新規作成します.
new-item "tsconfig.json"
{
    "compilerOptions": {
        "target": "esnext",
        "module": "commonjs",
        "noImplicitAny": true
    }
}
Typescriptの導入に伴って, webpack.config.js も修正します.
const path = require('path')
const VueLoaderPlugin = require('vue-loader/lib/plugin')
const CopyPlugin = require('copy-webpack-plugin')

module.exports = {
    // ここから修正 ( .js to .ts ) --->
    entry: './src/index.ts',
    // <--- ここまで修正 ( .js to .ts )
    output: {
        path: path.resolve(__dirname, './dst'),
        filename: 'bundle.js'
    },
    devServer: {
        contentBase: path.resolve(__dirname, 'public')
    },
    module: {
        rules: [
            {
                test: /\.vue$/,
                loader: 'vue-loader'
            },
            {
                test: /\.js$/,
                loader: 'babel-loader'
            },
            // ここから追加 --->
            {
                test: /\.ts$/,
                use: [{
                    loader: 'ts-loader',
                    options: {
                        appendTsSuffixTo: [/\.vue$/]
                    }
                }]
            },
            // <--- ここまで修正
            {
                test: /\.css$/,
                use: ['vue-style-loader', 'css-loader']
            }
        ]
    },
    resolve: {
        // ここから修正 ( .ts を追加 ) --->
        extensions: ['.js', '.ts', '.vue', '.json'],
        // <--- ここまで修正 ( .ts を追加 )
        alias: {
            'vue$': 'vue/dist/vue.esm.js'
        }
    },
    plugins: [
        new VueLoaderPlugin(),
        new CopyPlugin([{ from: './public' }])
    ]
}
ソースコードを修正する
index.js を index.ts に名前変更する.
mv "src/index.js" "src/index.ts"
src/components/App.vue を修正します.
以下のコードを足さないと正しく認識されないので注意してください.
<!-- ↓↓↓ ここから追加 ↓↓↓ --->
<script lang="ts">
import Vue from 'vue'

export default Vue.extend({
})
</script>
<!-- ↑↑↑ ここまで追加 ↑↑↑ --->

<template>
  <div>
    <p>Hello, world!!</p>
  </div>
</template>
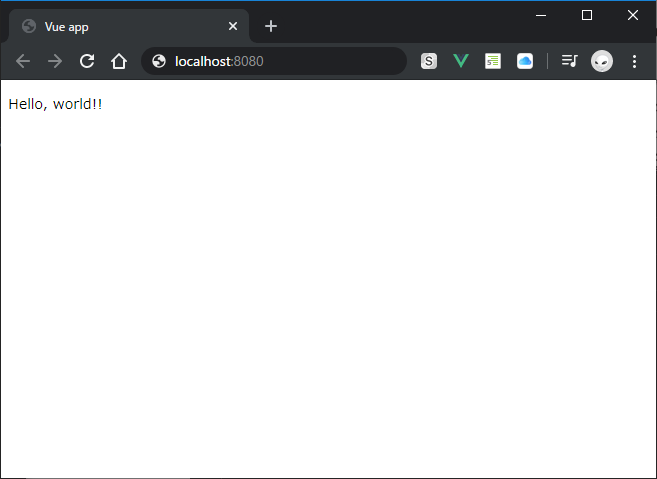
それでは実際に実行しましょう.
npm start
http://localhost:8080 にアクセスすると以下のように表示されると思います.