はじめに
5日間でReactの基礎を習得する試みの5日目です。最終日は、4日目に作成したNavLinkコンポーネントのテストをStorybookでやってみます。
Storybook
Storybookのインストール
前回作成したプロジェクトディレクトリで以下のコマンドを実行すると、StoryBookがインストールされ、起動します。
npx storybook@latest init
私の場合は、依存関係の問題でうまく行かなかったため、次のようにしました。
npm install --save react-rough-notation@1.0.5  // 依存関係のエラーを解決するため、react-rough-notationをバージョンアップした。
npx storybook@latest init
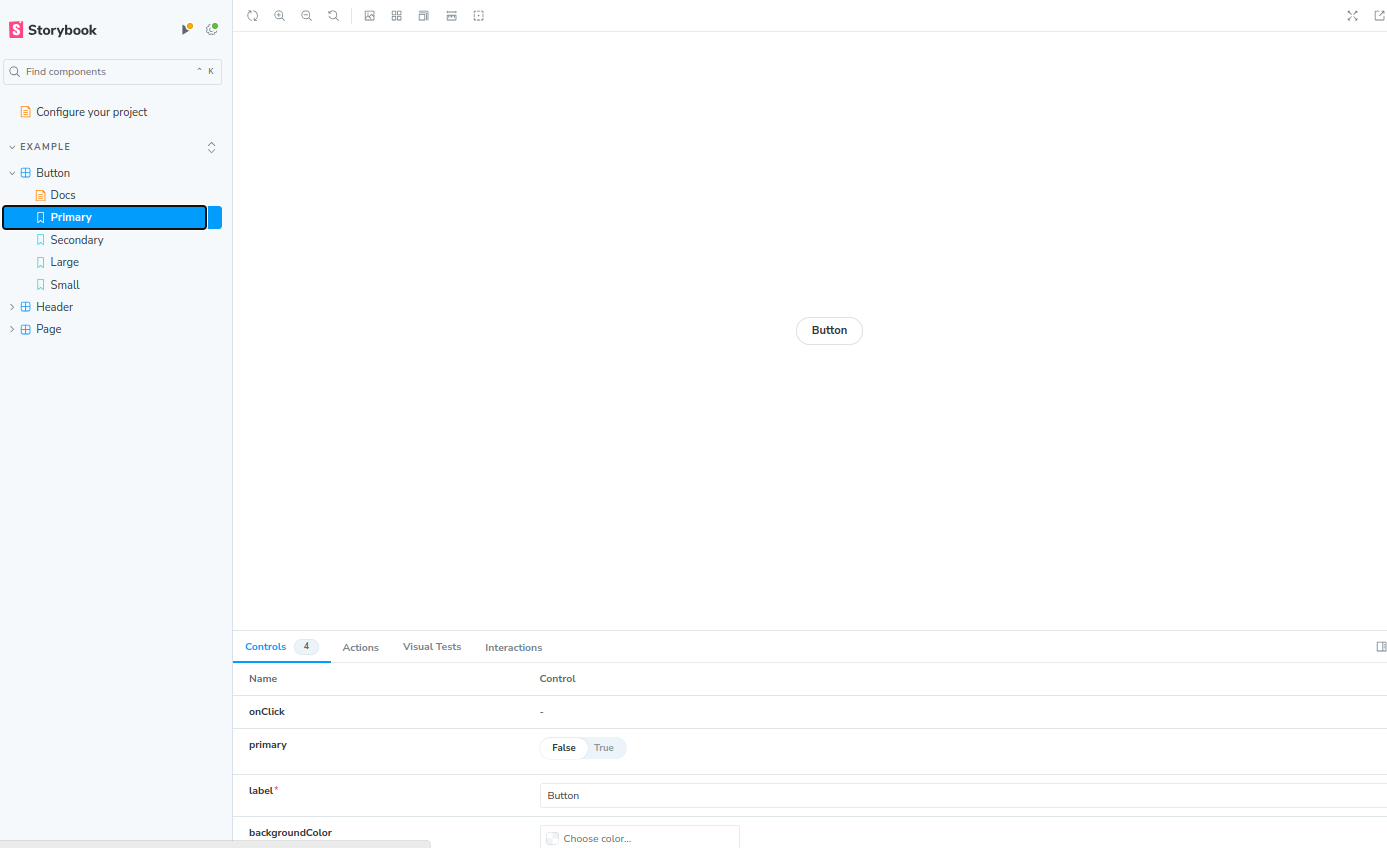
storiesというディレクトリとファイル群が追加されており、ここの*.stories.jsに記載された内容にしたがって、サイドバーにメニューが表示されます。初期状態では、Button, Header, Pageというサンプルがあります。

storyの作成
前回作成したNavLinkコンポーネントに対し、storyを作成します。
svgにdata-testidを付与しています。
export const NavLink = ({ href, children, icon}) => {
  const router = useRouter();
  const isActive = router.asPath === href;

  const className = isActive
    ? "text-gray-800 font-bold dark:text-gray-400"
    : "text-gray-600 dark:text-gray-300 font-normal";

  return (
    <Link href={href} className={`text-base ${className}`}>
      <Button color="secondary">
      {icon}
        <Typography variant="body1">
          {children}
        </Typography>
      </Button>
      {isActive && (
        <svg
          xmlns="http://www.w3.org/2000/svg"
          width="16"
          height="16"
          fill="currentColor"
          className="bi bi-arrow-down inline-block h-3 w-3"
          viewBox="0 0 16 16"
          data-testid="svg-arrow-down" // テストのために追加
        >
          <path fillRule="evenodd" d="M8 1a.5.5 0 0 1 .5.5v11.793l3.146-3.147a.5.5 0 0 1 .708.708l-4 4a.5.5 0 0 1-.708 0l-4-4a.5.5 0 0 1 .708-.708L7.5 13.293V1.5A.5.5 0 0 1 8 1z" />
        </svg>
      )}
    </Link>
  );
};
stories/NavLink.stories.jsというファイルを作ります。
import { within, userEvent, expect } from '@storybook/test';
import {NavLink} from '@components/Navbar';

export default {
  title: 'Example/NavLink',
  component: NavLink,
  parameters: {
    // Optional parameter to center the component in the Canvas. More info: https://storybook.js.org/docs/configure/story-layout
    layout: 'centered',
  },
};


// More on interaction testing: https://storybook.js.org/docs/writing-tests/interaction-testing
export const Test1 = {
    args: {href:'/example', children:'TEST1', icon: <Info />},
};

// More on interaction testing: https://storybook.js.org/docs/writing-tests/interaction-testing
export const Test2 = {
    args: {href:'/example', children:'TEST2'},
};
解説
storiesディレクトリには、Button.storiese.jsなどのサンプルコードが存在するため、それをベースにし、適宜公式HPを見ながらファイルを作ります。
まず、Storybookでのテスト・表示対象のコンポーネントをインポートします。
// "@components"で指定されるディレクトリにあるNavbar.jsからNavLinkコンポーネントをインポート
// "@components"が指すパスはjsconfig.jsonを見ればわかる
import {NavLink} from '@components/Navbar';
// propsで使うIcon
import {Info} from "@mui/icons-material";
Storybookの作法に従い、defaultを設定します。
export default {
  title: 'Example/NavLink', // メニューのタイトル。この場合メニューのExamle=>NavLink下に表示される
  component: NavLink,  // 対象のコンポーネント
  parameters: {  // 画面表示のためにStorybookが提供するパラメータ。一つだけ設定した。
    layout: 'centered',
  },
};
NavLinkのpropsを、表示させたい数だけ設定します。NavLinkの引数はhref,children,iconなので、以下のようになります。
export const Test1 = {
    args: {href:'/example', children:'TEST1', icon: <Info />},
};

export const Test2 = {
    args: {href:'/example', children:'TEST2'},
};
表示される画面
Test1, Test2の2つを宣言したため、メニューバーにはそれぞれ表示されました。

Interaction Test
テストコードを書きます。
NavLinkコンポーネントは、ルーターを使っており、hrefのページに移ったときは、右側に"↓"が表示され、他のページでは表示されないものでした。(hrefが"/example"なら、{URL}/exampleのページに移動した時だけ、"↓"が表示される。)
これをテストすることにします。
hrefのページ以外にいるときのパターン
Test1にテストコードを追記します。
export const Test1 = {
  args: {
    href: '/example',
    children: 'Test1',
    icon: <Info />
  },

  // 追加
  play: async ({ canvasElement }) => {
    const canvas = within(canvasElement);

    const link = canvas.getByRole('link', { name: 'Test1' });
    await userEvent.click(link);

    // SVG要素が存在しないことを確認
    await expect(canvas.getByTestId('svg-arrow-down')).not.toBeInTheDocument();
  }
};
解説
Storybookでは、play関数を実装しておけば、Storybookにコンポーネントが描画されたときに自動で実行してくれます。つまり、ここにテストコードを書きます。
play: async ({ canvasElement }) => {
    // canvasを使って表示されているHTMLの要素を検索し、取得できるようにする
    const canvas = within(canvasElement);

    // リンクの取得、クリック
    const link = canvas.getByRole('link', { name: 'Test1' });  // アクセシビリティロールが"link"のもので、かつ名前が"Test1"であるものを取得
    await userEvent.click(link);

    // 判定部分。SVG要素が存在しないことを確認
    await expect(canvas.queryByTestId('svg-arrow-down')).not.toBeInTheDocument();
}
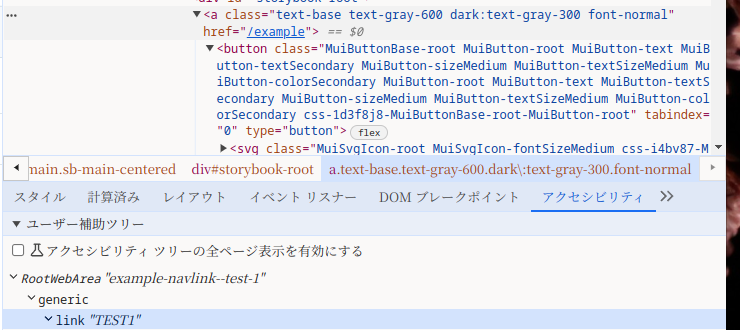
取得する要素のアクセシビリティロールは、ブラウザのF12から開発者ツールを開き、調べました。
他に方法があるのかもしれません。

上の方で記載したとおり、"↓"を描画するSVG要素には、あらかじめ"svg-arrow-down"というdata-testidを付与していました。
そのため、表示されていなければ、queryByTestIdで要素を取得できないはずです。それをexpectで判定しています。ちなみに、getByTestIdを使うと、要素が取得出来ない場合はエラーが出るため、テストできなくなります。
hrefのページにいるときのパターン
Test2にテストコードを追記します。
前回勉強したように、routerオブジェクトを使って、表示中のパスを取得しています。しかし、Storybookではパスの移動ができないため、parametersを使って、移動したときの状態を再現しています。
export const Test2 = {
  args: {
    href: '/example',
    children: 'Test2',
    icon: <Info />
  },

  // parametersを使って、ルーターを設定。
  parameters: {
    nextjs: {
      router: {
        pathname: '',
        asPath: '/example',
        query: {
          id: '',
        },
      },
    },
  },

  play: async ({ canvasElement }) => {
    const canvas = within(canvasElement);

    const link = canvas.getByRole('link', { name: 'Test2' });
    await userEvent.click(link);

    // 判定部分。SVG要素が存在することを確認
    await expect(canvas.getByTestId('svg-arrow-down')).toBeInTheDocument();
  }
};
paramters部分のコードは、公式HPのNext.jsの説明部分を参考にしました。
解説
ほとんどTest1と同じですが、SVG要素が存在"する"ことの確認なので、expect().toBeInTheDocumentとなっています。
テストの結果
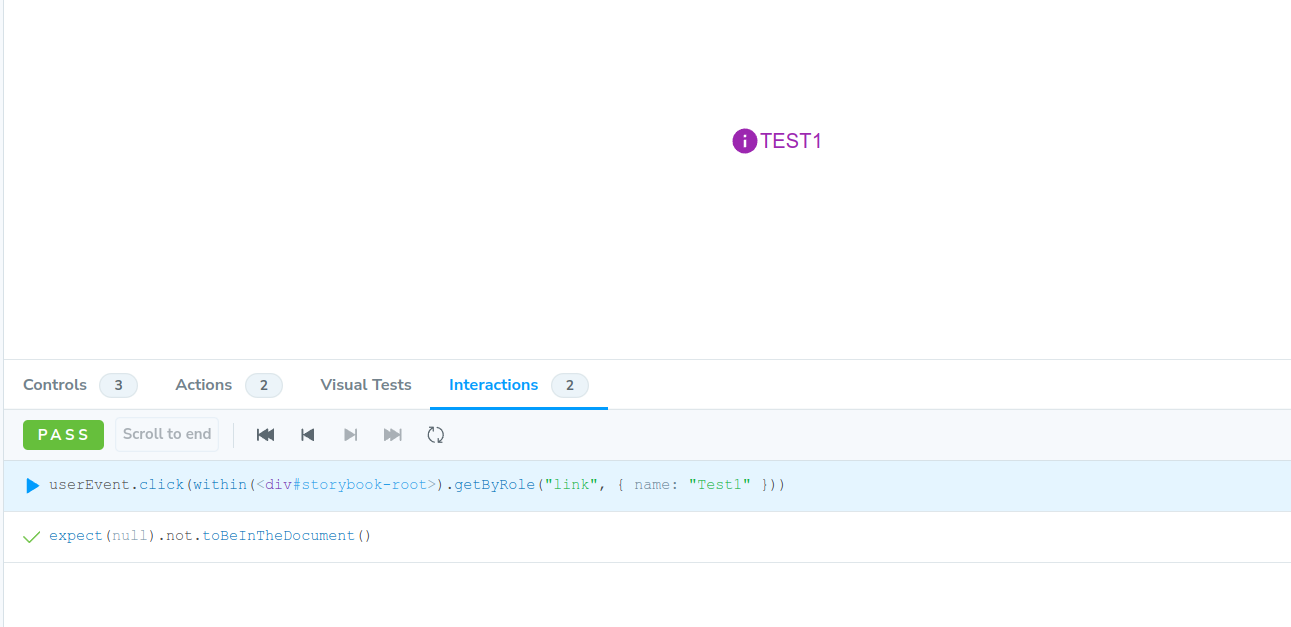
Storybookで、"Interactions"のタブをチェックしましょう。
判定結果が出ています。どちらも合格です!
ちなみに
他の判定を行うコードは、以下の記事で紹介されています。
TestはCLIで実行することもできそうです。
最後に
Storybookは高機能であり、今回触れられた部分はほんの少しです。本当は、storyのファイルを置く場所、ディレクトリの構造、メニューの構造を検討しないといけないと思います。
とりあえず、5日間でざっくりとReactの基礎を習得することができました。これらの知識を応用していけば、Reaceを使ったWebアプリケーションが作れるようになるのだと思います。
本記事がどなたかのReact基礎の理解の助けになっていれば幸いです。
何か間違いがあれば、是非コメントを頂けると助かります!
参考文献


