はじめに
Pythonファイルからexeなどのアプリケーションファイル形式に変える方法をまとめてみました。実行ファイルはPythonの実行環境がなくても動作するため、アプリケーションの公開の際などにおすすめです。
動作環境
Python 3.7以降
Windows / Mac / Linux
※2025年6月21日追記
最新のPython及びpipバージョンで動作確認済み
Mac, Windows, Linux(Raspberry Pi OS)で動作しました。
pyinstallerの導入
Pythonファイルを実行可能ファイルにするには、pyinstallerというパッケージを導入する必要があります。
コマンドプロンプトまたはターミナルで以下のコマンドを実行することで導入が完了します。
pip3 install pyinstaller
このようなエラーが出た場合はpipをアップデートする必要があるので、
WARNING: You are using pip version 21.2.3; however, version 21.3.1 is available.
You should consider upgrading via the '/Library/Frameworks/Python.framework/Versions/3.10/bin/python3.10 -m pip install --upgrade pip' command.
'/Library/Frameworks/Python.framework/Versions/3.10/bin/python3.10 -m pip install --upgrade pip'とあるシングルクォーテーション内のコマンドを実行します。
プロンプトが帰ってきたら、一番最初のコマンドを再度実行します。
これでpyinstallerの導入は完了です。
exe化の作業
まずpythonでプログラムを作ります。
GUIアプリの方が実行ファイル化のやりがいがある(?)ので今回はTkinterでGUIのあるやつにします。
import tkinter
import sys
from time import sleep
import webbrowser

root = tkinter.Tk()
root.title("Quick Bookmark")
root.geometry("400x550")
root.resizable(0, 0)

def info_po(button1):
    sleep(0.5)
    webbrowser.open("https://www.google.co.jp/")

def info_po2(button2):
    sleep(0.5)
    webbrowser.open("https://www.youtube.com/")

def info_po3(button3):
    sleep(0.5)
    webbrowser.open("https://qiita.com/")

def info_po4(button4):
    sleep(0.5)
    webbrowser.open("https://twitter.com/")

def info_po5(button5):
    sleep(0.5)
    webbrowser.open("https://www.yahoo.co.jp/")

def exit(button6):
    sys.exit()
    root.destroy()

label = tkinter.Label(text="                                          ブックマーク                                          ", background='#7fffd4', font=("MSゴシック", "45", "bold"), foreground='#000000')
label.pack()

button1 = tkinter.Button(text='Googleを開く', width=1000)
button1.pack()
button1.bind("<Button-1>",info_po)

button2 = tkinter.Button(text='YouTubeを開く', width=1000)
button2.pack()
button2.bind("<Button-1>",info_po2)

button3 = tkinter.Button(text='Quiitaを開く', width=1000, foreground="#00ff00")
button3.pack()
button3.bind("<Button-1>",info_po3)

button4 = tkinter.Button(text='Twitterを開く', width=1000, foreground="#00ffff")
button4.pack()
button4.bind("<Button-1>",info_po4)

button5 = tkinter.Button(text='YahooJapanを開く', width=1000)
button5.pack()
button5.bind("<Button-1>",info_po5)

button6 = tkinter.Button(text='終了', width=1000)
button6.pack()
button6.bind("<Button-1>",exit)

root.mainloop()
実行結果

今回はプログラミングがメインではないので、コードについての解説は省略します。
プログラムをわかりやすいところに保存します。
それではexe化していきます。
Windows コマンドプロンプト
Mac ターミナル
を開いて、cdを使ってpythonファイルがある場所に移動します。
デスクトップの場合、
cd desktop
そして、このようなコマンドを実行します。
pyinstaller pythonファイル名 --onefile --noconsole
オプション
--onefile で一つのファイルにまとめる。
--noconsole 実行時にターミナルやコマンドプロンプトが開くのを防ぐ
GUIアプリでない場合は --noconsole は使用しない方が良いでしょう。
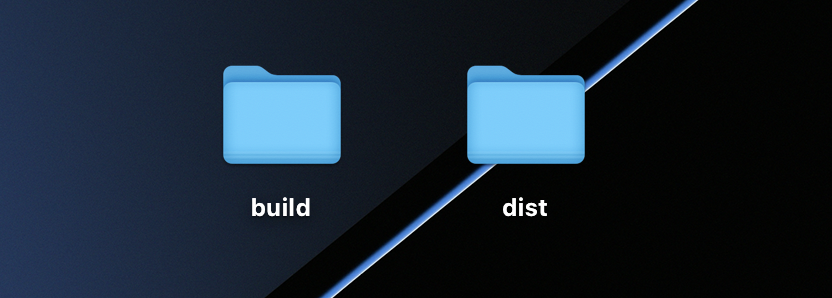
これでPythonファイルと同じ場所に2つのファイルができます。

distファイルの中にexe/app化されたPythonアプリケーションがあります。

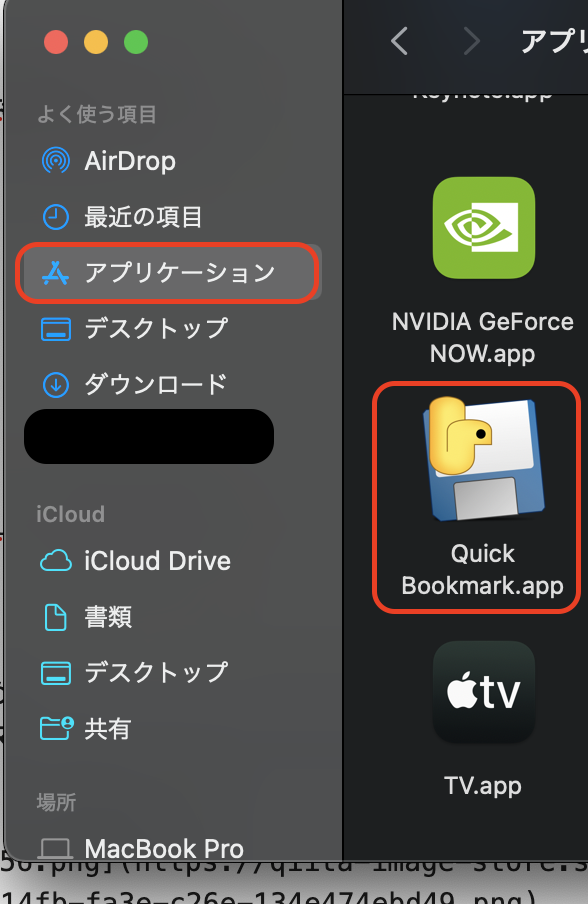
Macのみになりますが、appファイルをアプリケーションに入れるとLaunchPadにも表示されます。


Windowsでもタスクバーに表示するなどの似たようなことは可能だと思います。
さいごに
pyinstallerの導入は多少面倒ですが、Pythonファイルを簡単にアプリケーションファイルの形式に変化させることができるので、おすすめです。
ちなみにWindowsではdistファイルにデフォルトでexeファイルが、Macではappファイルができます。
あるOSで作成された実行ファイルは異なるOS上では動作しませんので注意が必要です。
Windowsは別の端末に移すときにWindows Defender引っかかるので注意が必要です。(設定で無効にできます)