Ethereumを利用して独自のトークンを作るための準備手順。
Ethereumのプライベートネット(テスト環境用のネットワーク)に接続して送受金、
Mist(Ethereum公式ウォレット)を設定する部分までの手順をまとめています。
使用するソフトウェア
Geth 1.7.3
Mist 0.9.3
Gethのダウンロード
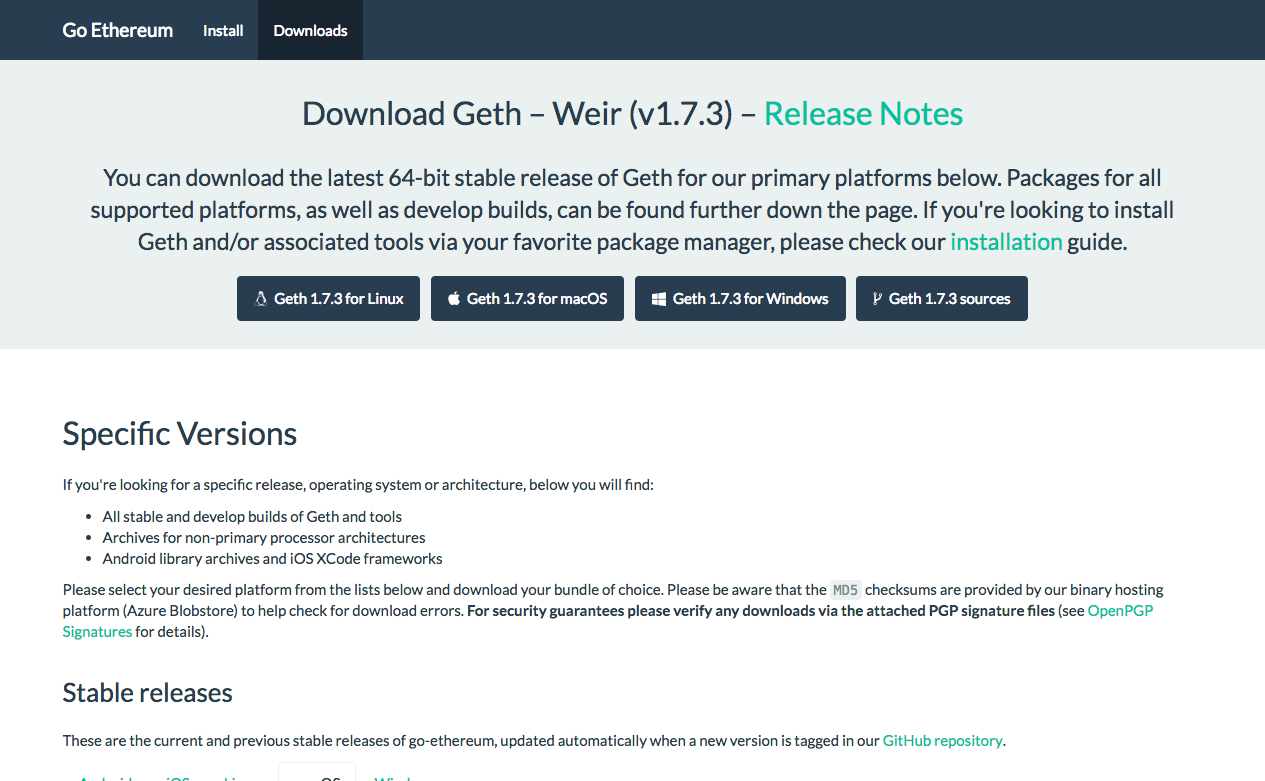
下記のサイトよりGethをダウンロードします。
https://geth.ethereum.org/downloads/
ターミナルを起動し、Gethを配置するディレクトリを作成し、Pathを通します。
$ sudo mkdir -p /tools/ethereum/Geth-1.7.3
$ sudo chmod 777 /tools/ethereum/Geth-1.7.3
$ which geth
/tools/ethereum/Geth-1.7.3/geth
プライベートネット用のディレクトリと設定ファイルを作成します。
$ mkdir -p /tools/ethereum/Geth-1.7.3/home/eth_private_net
$ cd /tools/ethereum/Geth-1.7.3/home/eth_private_net
$ cd vi genesis.json
設定ファイルの中身は下記のとおりです。
{
   "config": {
        "chainId": 15,
        "homesteadBlock": 0,
        "eip 155 Block": 0,
        "eip 158 Block": 0
},
   "nonce": "0x0000000000000042",
   "mixhash": "0x0000000000000000000000000000000000000000000000000000000000000000",
   "difficulty": "0x00",
   "alloc": {},
   "coinbase": "0x0000000000000000000000000000000000000000",
   "timestamp": "0x00",
   "parentHash": "0x0000000000000000000000000000000000000000000000000000000000000000",
   "extraData": "0x00",
   "gasLimit": "0x1312d00"
}
作成した設定ファイルに基づき、プライベートネットを構築します。
$ geth --datadir /tools/ethereum/Geth-1.7.3/home/eth_private_net init /tools/ethereum/Geth-1.7.3/home/eth_private_net/genesis.json
WARN [02-13|12:33:08] No etherbase set and no accounts found as default
INFO [02-13|12:33:08] Allocated cache and file handles         database=/tools/ethereum/Geth-1.7.3/home/eth_private_net/geth/chaindata cache=16 handles=16
INFO [02-13|12:33:08] Writing custom genesis block
INFO [02-13|12:33:08] Successfully wrote genesis state         database=chaindata                                                      hash=76d747…1a5e65
INFO [02-13|12:33:08] Allocated cache and file handles         database=/tools/ethereum/Geth-1.7.3/home/eth_private_net/geth/lightchaindata cache=16 handles=16
INFO [02-13|12:33:08] Writing custom genesis block
INFO [02-13|12:33:08] Successfully wrote genesis state         database=lightchaindata                                                      hash=76d747…1a5e65
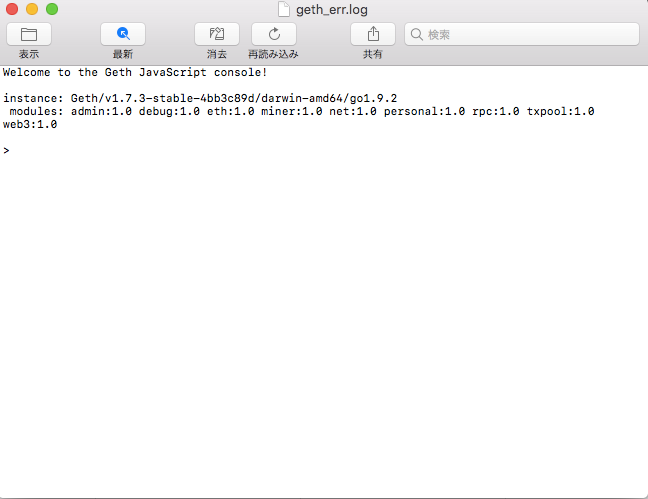
以下のようにコンソールが立ち上がって、
「Welcome to the Geth JavaScript console!」
とメッセージが表示されればOKです。
Gethをプライベートネットで実行します。
geth --networkid "15" --nodiscover --datadir ~/geth/private_net --rpc --rpcaddr "localhost" --rpcport "8545" --rpccorsdomain "*" --rpcapi "eth,net,web3,personal" --targetgaslimit "20000000"
personal.newAccount("パスワード")で口座を作成します。
eth.accountsコマンドで口座が作成されたことを確認します。
テストで送受金をテストするために同じコマンドを複数実行して口座を作成しておきます。
> eth.accounts
["0x069804d6c604e26e22e5eaa9fe2bfd7918325852"]
テストで使用するETHを取得するため、マイニングを実施します。
ここでのETHはテスト用のものです。
eth.miningコマンドでマイニングを開始し、
web3.fromWeiコマンドで実際にマイニングがされていることを確認します。
下記の例ではETHが0から530に増えていることが確認できます。
ある程度、テストで使用するETHがマイニングできたらminer.stopコマンドで
マイニングを停止させます。
> miner.start(2)
null
> eth.mining
true
>
> web3.fromWei(eth.getBalance(eth.accounts[0]), "ether")
0
> web3.fromWei(eth.getBalance(eth.accounts[0]), "ether")
530
> miner.stop()
true
テスト用のETHを送金します。
送金元の口座を使用できるようにするためpersonal.unlockAccountコマンドで
口座をアンロックします。
eth.sendTransactionコマンドで任意のアカウント(今回はeth.accounts[1])に
5ETHを送金してみます。
> personal.unlockAccount(eth.accounts[0])
Unlock account 0x069804d6c604e26e22e5eaa9fe2bfd7918325852
Passphrase:
true
>
> eth.sendTransaction({from: eth.accounts[0], to: eth.accounts[1], value: web3.toWei(5, "ether")})
"0xe906d5a7ece82f3e8fb5b1952517d0aaf6eb2dbb1e3ca4d9a8931be97ff5e978"
> web3.fromWei(eth.getBalance(eth.accounts[1]), "ether")
5
送金した際のトランザクションはeth.getTransactionコマンドで確認できます。
> eth.getTransaction('0xe906d5a7ece82f3e8fb5b1952517d0aaf6eb2dbb1e3ca4d9a8931be97ff5e978')
{
  blockHash: "0xb5ef81c48f2fc0f29294c1f752be5f7120dbb9dc7cadac666cb3cab1e4b691a7",
  blockNumber: 517,
  from: "0x069804d6c604e26e22e5eaa9fe2bfd7918325852",
  gas: 90000,
  gasPrice: 18000000000,
  hash: "0xe906d5a7ece82f3e8fb5b1952517d0aaf6eb2dbb1e3ca4d9a8931be97ff5e978",
  input: "0x",
  nonce: 0,
  r: "0xe49d6bc51c69b5082f65b47cd091ba44880454fce6567a89aa8df0863d953770",
  s: "0x1a47822d9f4ae254d296e63b3b6dfff24d224e9201e86ea2f4711b6f3c96aa6d",
  to: "0x872a6811a6511d17e40dc787ee031178f9a3330e",
  transactionIndex: 0,
  v: "0x1c",
  value: 5000000000000000000
}
Mistのダウンロード
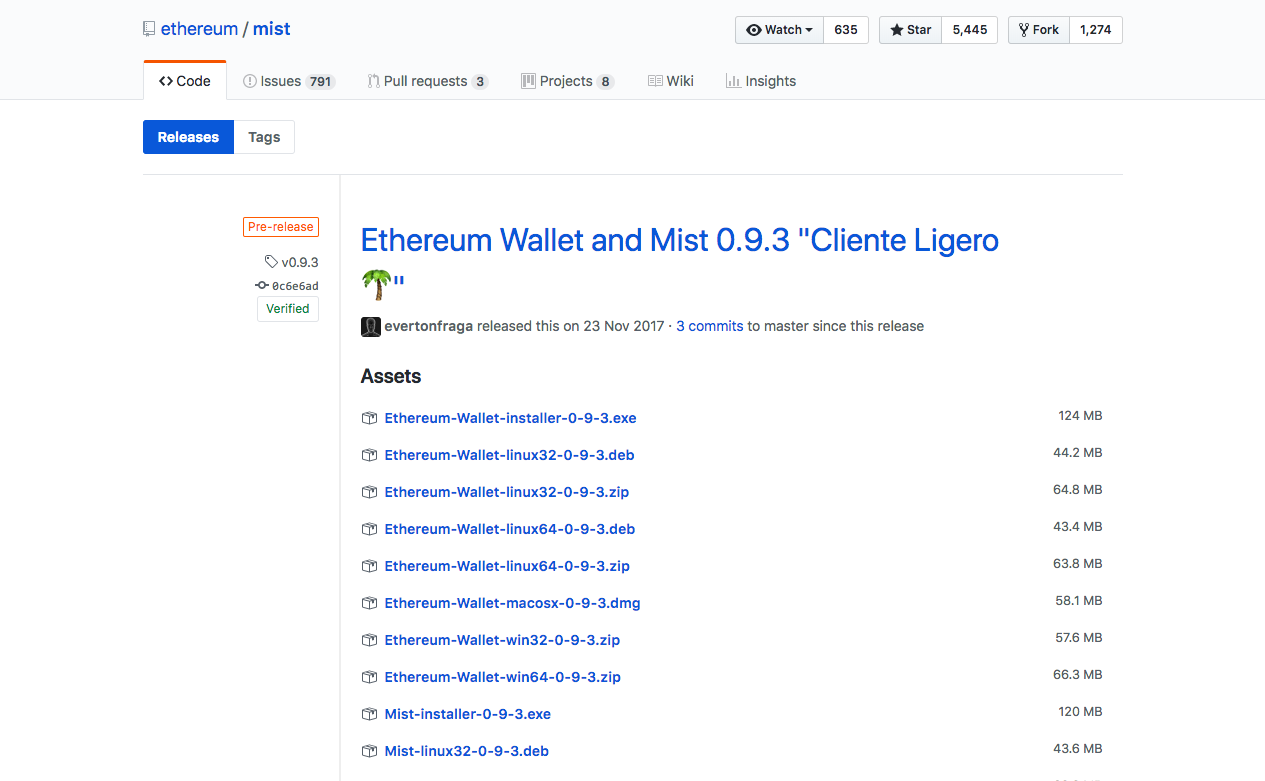
下記のURLよりEthereumの公式ウォレットのMistをダウンロードします。
https://github.com/ethereum/mist/releases
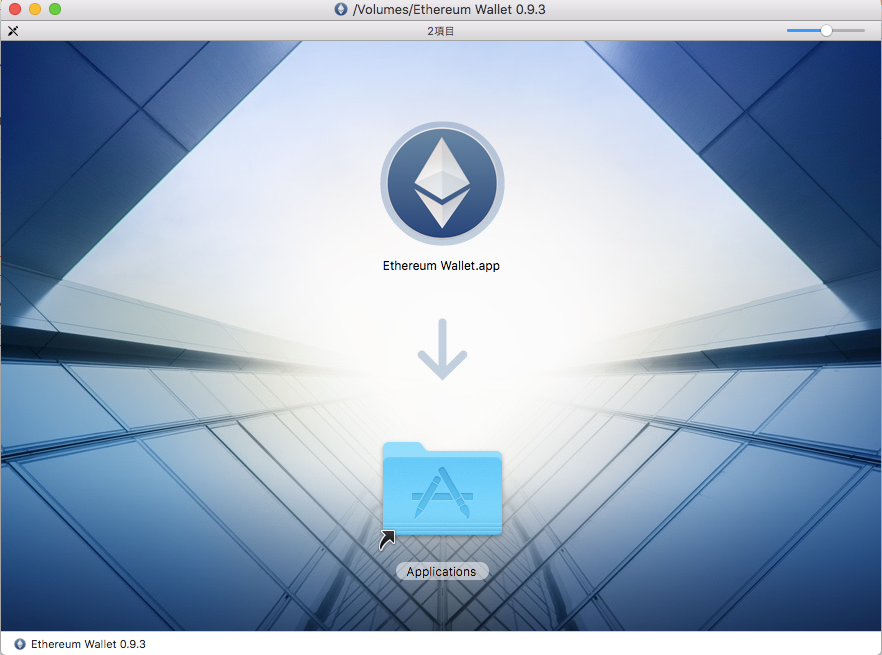
Macの場合、アプリケーションフォルダにMistアプリをドラッグアンドドロップします。
コマンドからプライベートネットを指定して、Mistを起動します。
$ "/Applications/Ethereum\ Wallet.app/Contents/MacOS/Ethereum\ Wallet" --rpc http://localhost:8545
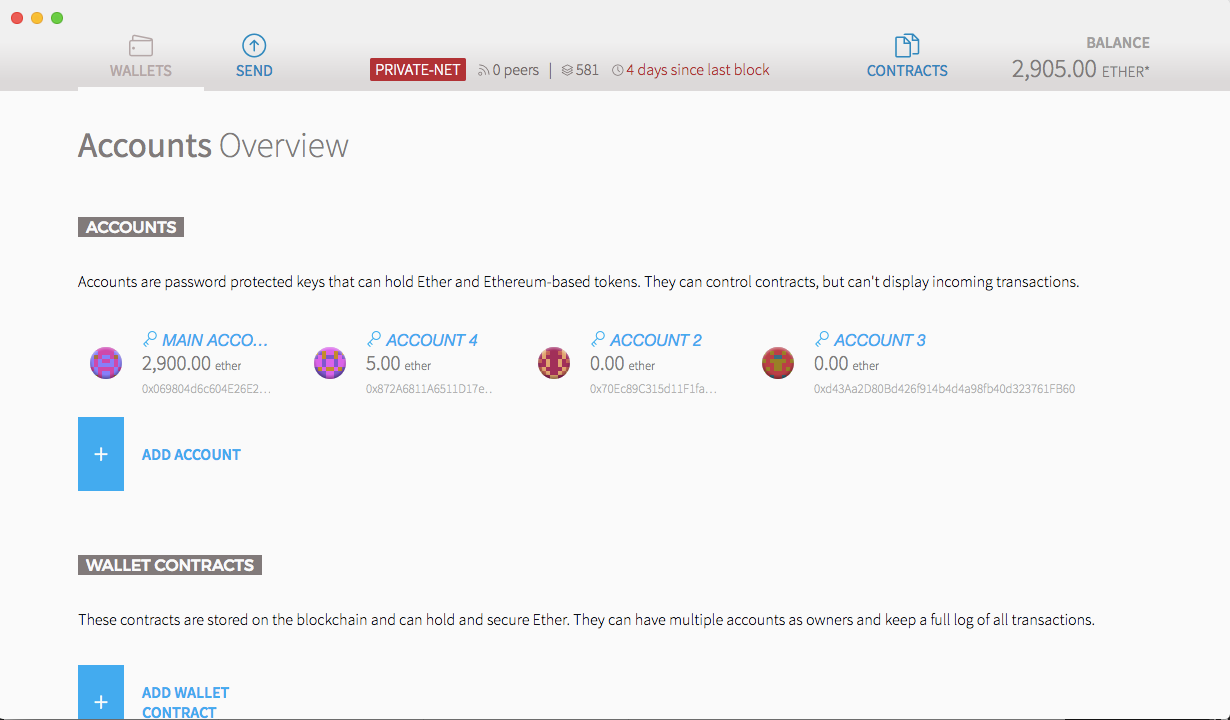
タイトルバーに「PRIVATE-NET」と表示され、
先程、コマンドから作成した口座が表示されていればOKです。
参考文献
堅牢なスマートコントラクト開発のためのブロックチェーン[技術]入門
