みなさんこんにちは!この記事ではTodoアプリの続きをRoomを使ってデータベースにデータを保存する部分の実装を行いたいと思います。
前編をご覧になってない方はそちらを先にご覧ください。
今回作成したTodoアプリのソースコードはこちらにあります。(GitHub)
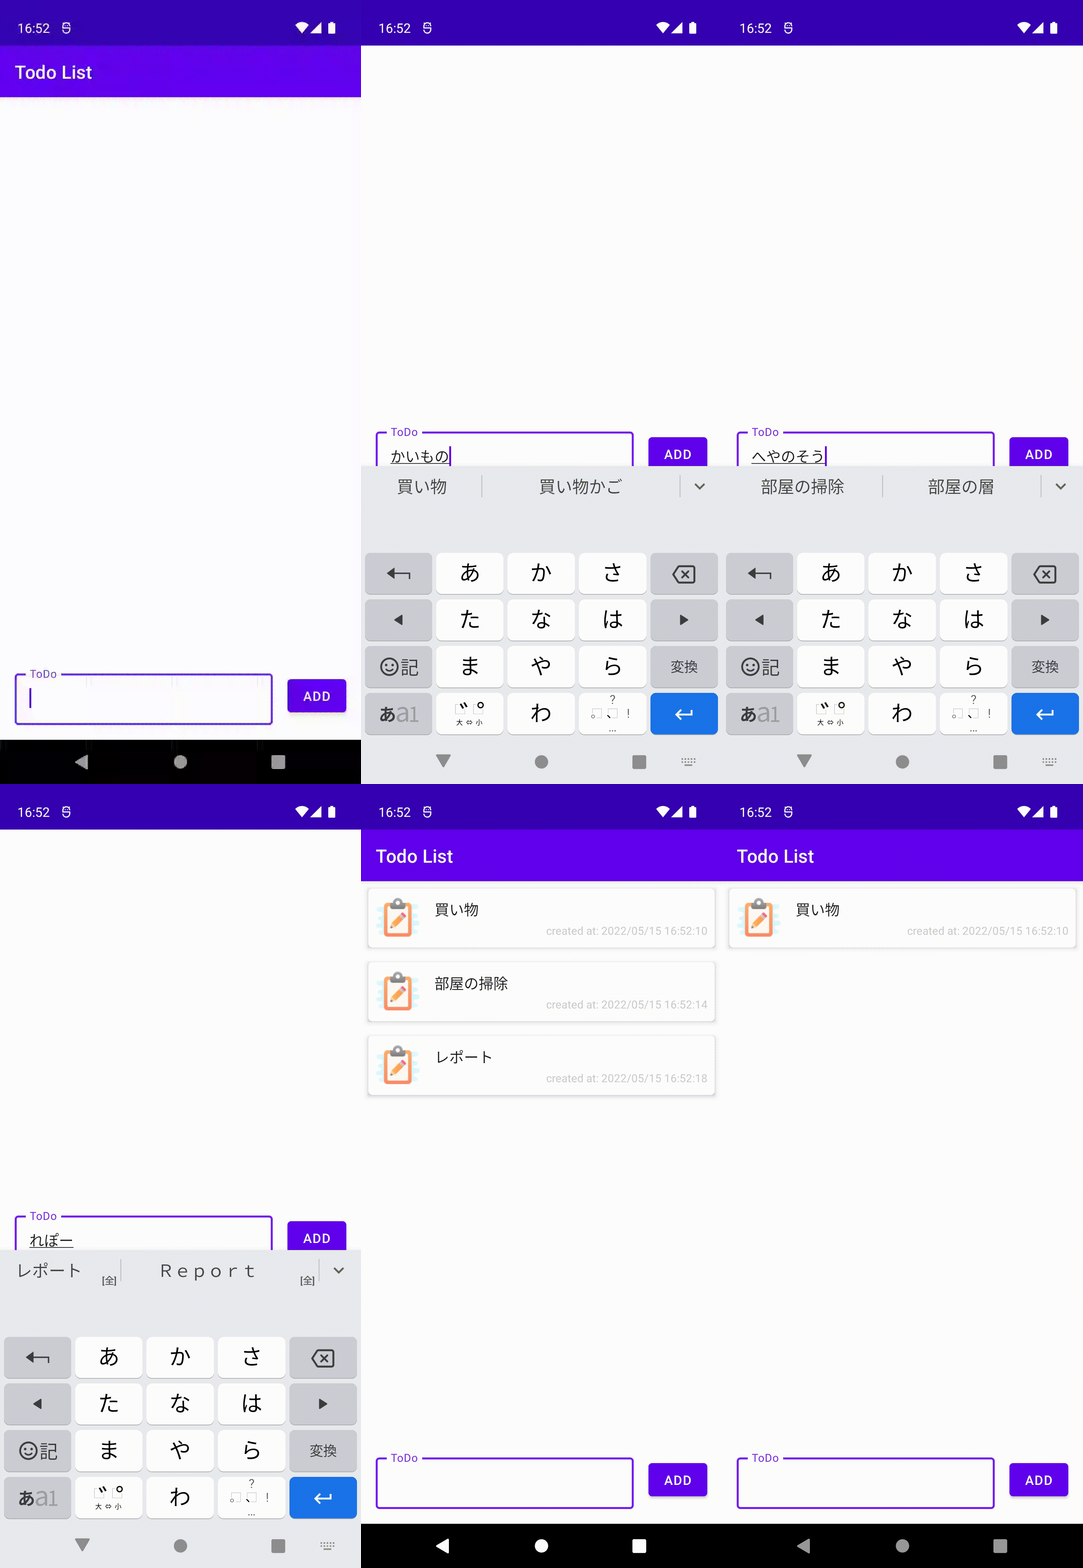
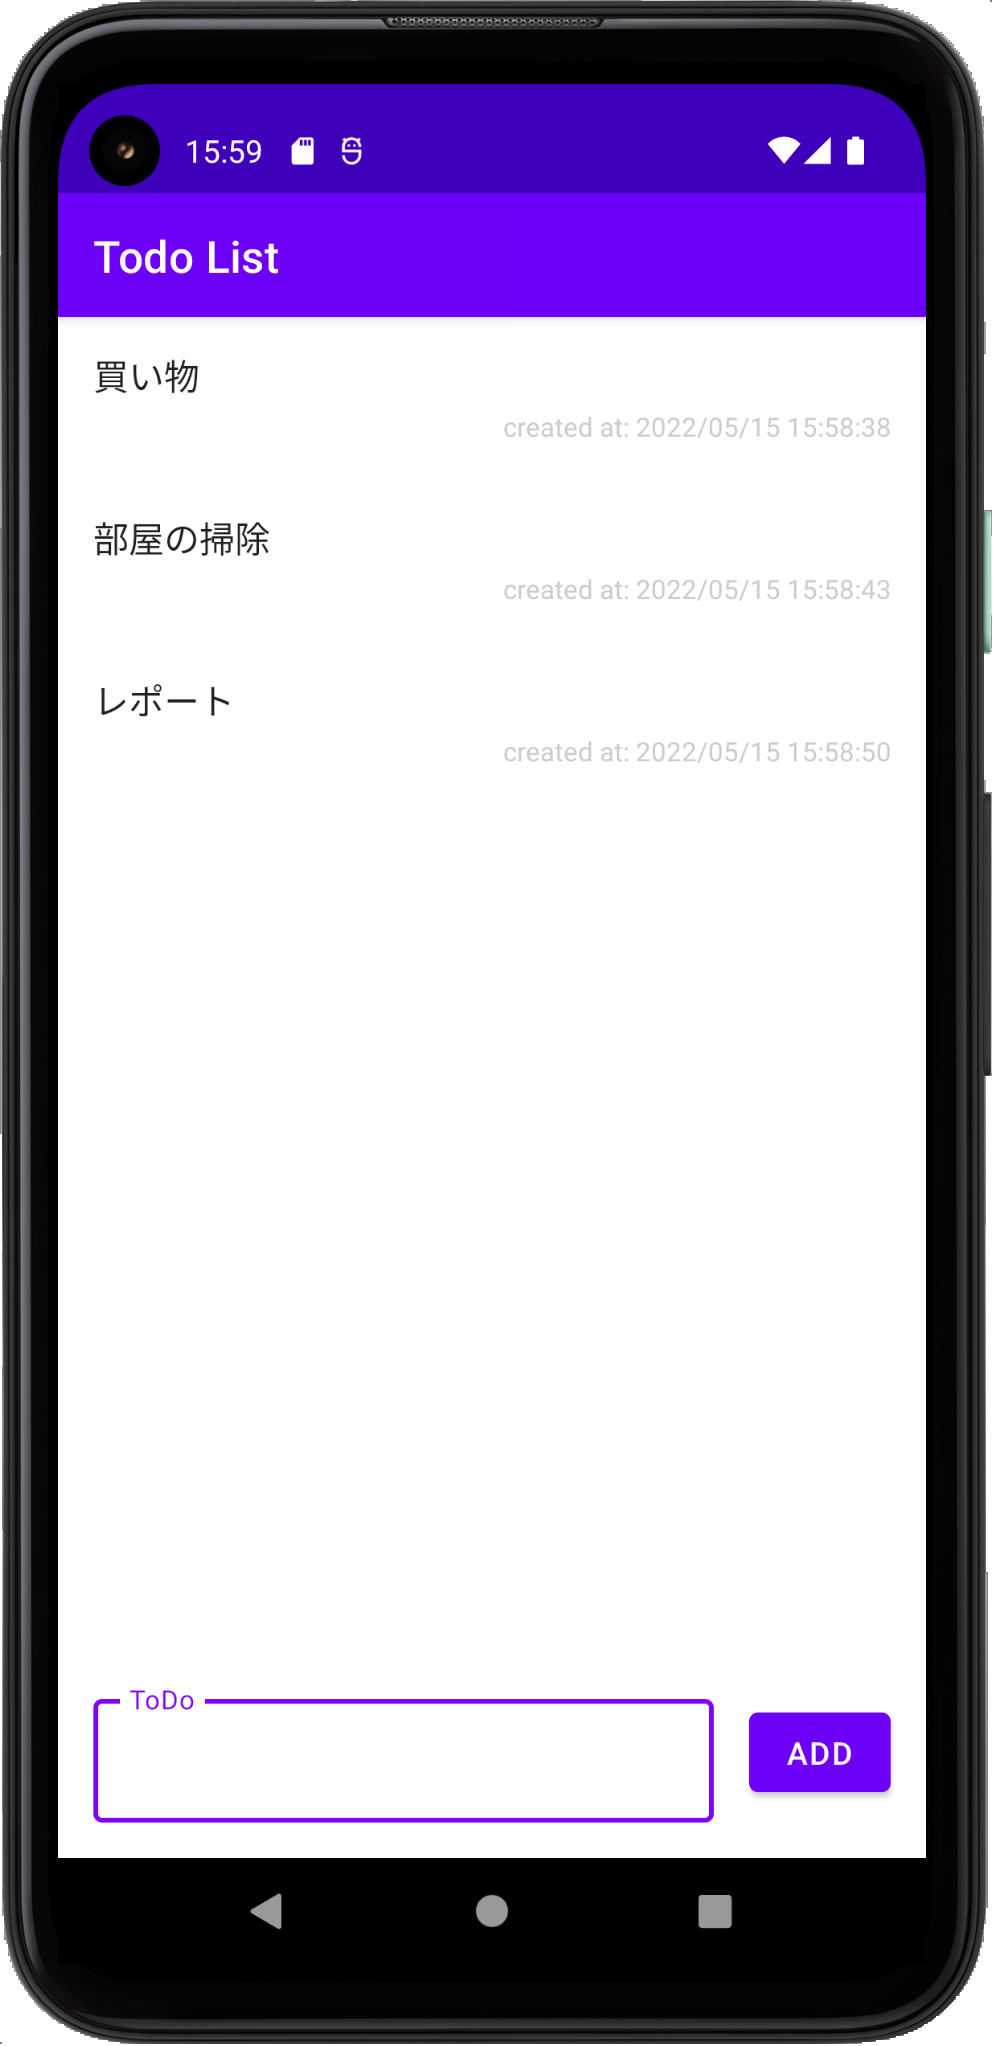
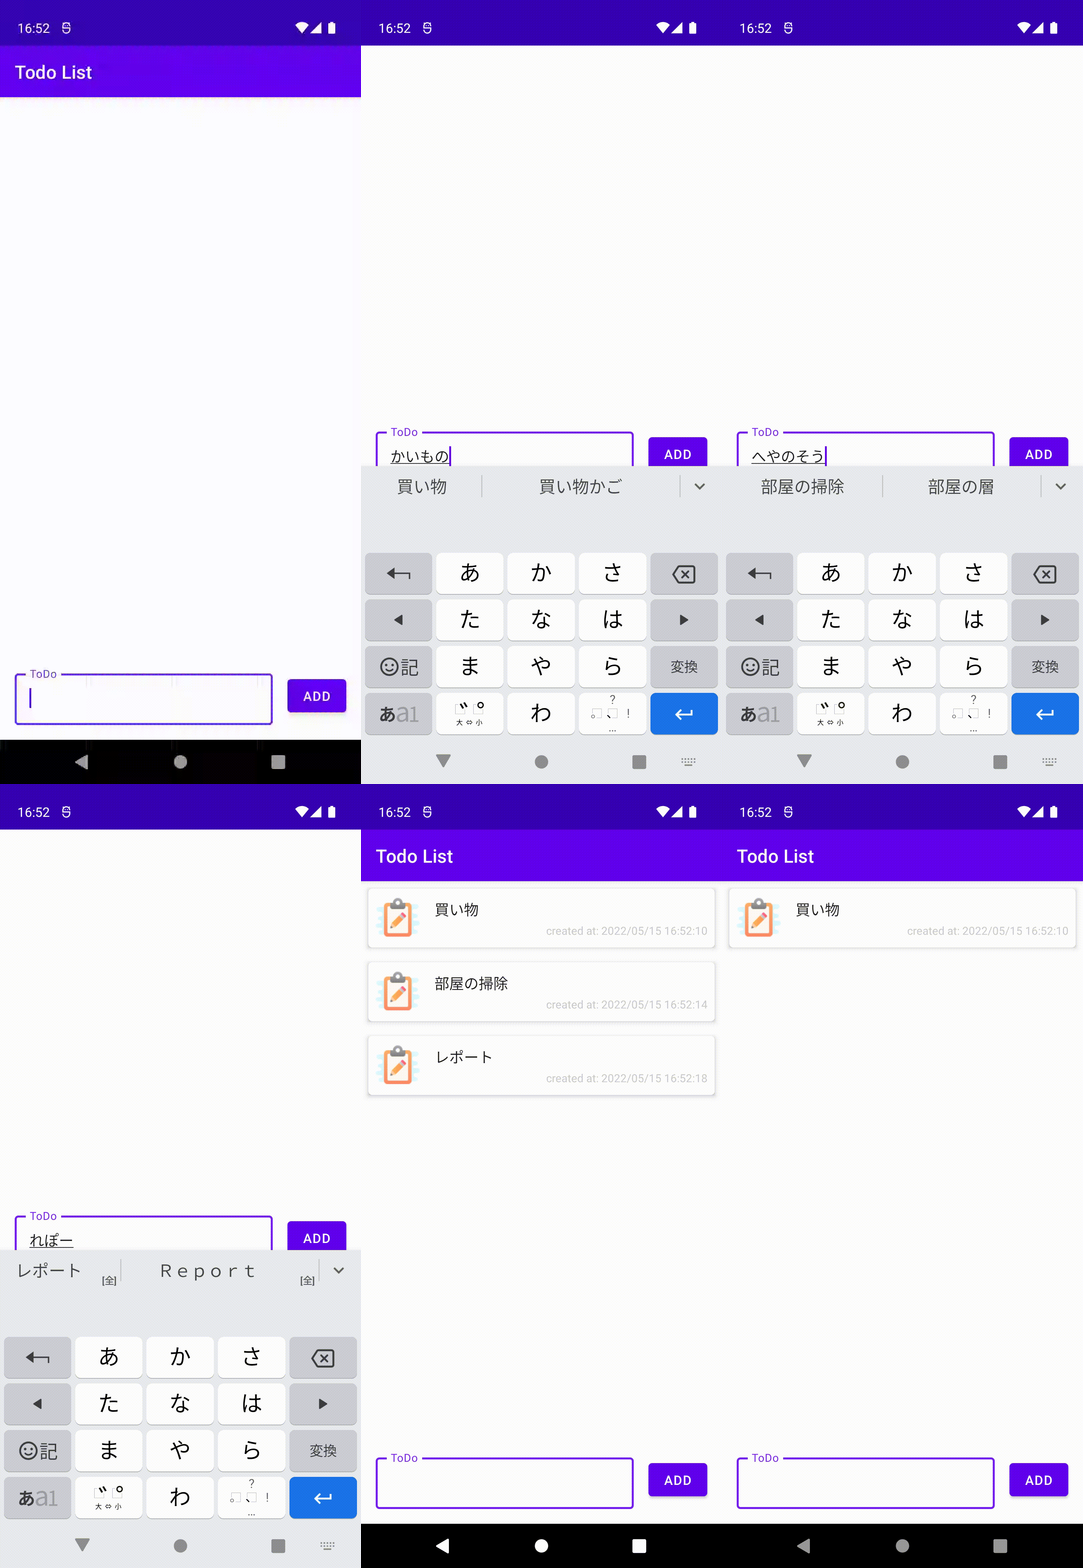
完成イメージ

実装手順
1. Roomを導入する
build.gradleのdependenciesに下の2行を追加します。
dependencies {

    // for Room
    implementation "androidx.room:room-runtime:2.4.2"
    kapt "androidx.room:room-compiler:2.4.2"

    ....
}
app/build.gradleのpluginsにkotlin-kapt`を追加します。
plugins {
    id 'com.android.application'
    id 'org.jetbrains.kotlin.android'
    id 'kotlin-kapt' // 追加
}
2. Entityを定義する
データベースのテーブルにあたるEntityを定義します。
Data Classに@Entityとアノテーションをつけるだけで簡単に定義することができます。
新しくTodoクラス用のファイルを生成して、Entityを定義します。

@Entity(tableName = "todos")
data class Todo(
    @PrimaryKey(autoGenerate = true)
    val id: Int,
    val title: String = "",
    val created_at: Date = Date()
)
3. Daoを定義する
@Dao
interface TodoDao {
    @Query("select * from todos order by created_at asc")
    fun getAll(): MutableList<Todo>

    @Insert(onConflict = OnConflictStrategy.REPLACE)
    fun post(todo: Todo)

    @Delete
    fun delete(todo: Todo)
}
4. DateTimeConverterクラスを作成する
RoomではDate型を扱えないため、Long型にキャストするコンバーターを作成します。
class DateTimeConverter {
    @TypeConverter
    fun fromTimestamp(value: Long?): Date? {
        return value?.let { Date(it) }
    }

    @TypeConverter
    fun dateToTimestamp(date: Date?): Long? {
        return date?.time?.toLong()
    }
}
5. RoomDatabaseを実装する
@Database(entities = [Todo::class], version = 1, exportSchema = false)
@TypeConverters(DateTimeConverter::class)
abstract class AppDatabase : RoomDatabase() {
    abstract fun todoDao(): TodoDao
}
6. RoomApplicationクラスを作成する
Applicationクラスを継承したRoomApplicationクラスを作成します。
class RoomApplication : Application() {
    companion object {
        lateinit var database: AppDatabase
    }

    override fun onCreate() {
        super.onCreate()

        database = Room.databaseBuilder(
            applicationContext,
            AppDatabase::class.java,
            "todos"
        ).build()
    }
}
マニフェストファイルに作成したRoomApplicationクラスを指定します。
    <application
        android:name=".RoomApplication"

        .... >
7. MainActivityを書き換える
MainActivityを順番に書き換えていきます。
Composable関数を書き換える
MainScreenをMainActivityの中に移動します。
class MainActivity : ComponentActivity() {

    override fun onCreate(savedInstanceState: Bundle?) {
        super.onCreate(savedInstanceState)
        ....
    }

    @Composable
    fun MainScreen() {
        ....
    }
}
MainScreenの中のtodoList変数をを削除してtext変数だけにします。
また引数にtodoListを追加します。
MainScreenの中を以下のように書き換えます。
    @Composable
    fun MainScreen(todoList: SnapshotStateList<Todo>) {
        var text: String by remember { mutableStateOf("") }

        Column {
            TopAppBar(
                title = { Text("Todo List") }
            )
            LazyColumn(
                modifier = Modifier.fillMaxWidth().weight(1f)
            ) {
                items(todoList) { todo ->
                    key(todo.id) {
                        TodoItem(todo)
                    }
                }
            }
            Row(
                modifier = Modifier.fillMaxWidth().padding(16.dp)
            ) {
                OutlinedTextField(
                    value = text,
                    onValueChange = { it -> text = it },
                    label = { Text("ToDo") },
                    modifier = Modifier.wrapContentHeight().weight(1f)
                )
                Spacer(Modifier.size(16.dp))
                Button(
                    onClick = {
                        if (text.isEmpty()) return@Button
                        postTodo(text)
                        text = ""
                    },
                    modifier = Modifier.align(Alignment.CenterVertically)
                ) {
                    Text("ADD")
                }
            }

        }
    }
MainScreenの下にTodoItemを追加します。
    @Composable
    fun TodoItem(todo: Todo) {
        val sdf = SimpleDateFormat("yyyy/MM/dd HH:mm:ss")

        Column(
            modifier = Modifier
                .fillMaxWidth()
                .padding(16.dp)
                .clickable(onClick = { deleteTodo(todo) })
        ) {
            Text(
                text = todo.title,
                modifier = Modifier.fillMaxWidth().padding(bottom = 4.dp)
            )
            Text(
                text = "created at: ${sdf.format(todo.created_at)}",
                fontSize = 12.sp,
                color = Color.LightGray,
                textAlign = TextAlign.Right,
                modifier = Modifier.fillMaxWidth()
            )
        }
    }
データベースを操作する関数を作成する
Todoを読み込み、作成、削除するための関数を作成する。
データベースの操作はメインスレッドで行えないため、Coroutineを使って実装します。
MainActivityの直下にデータベースを操作するためのTodoDaoクラスのインスタンスとTodoを管理するリストを作成します。
onCreateの下にloadTodo、postTodo、deleteTodoの3つの関数を作成します。
class MainActivity : ComponentActivity() {

    private val dao = RoomApplication.database.todoDao()
    private var todoList = mutableStateListOf<Todo>()

    override fun onCreate(savedInstanceState: Bundle?) {
        super.onCreate(savedInstanceState)

        ....
    }

    private fun loadTodo() {
        CoroutineScope(Dispatchers.Main).launch {
            withContext(Dispatchers.Default) {
                dao.getAll().forEach { todo ->
                    todoList.add(todo)
                }
            }
        }
    }

    private fun postTodo(title: String) {
        CoroutineScope(Dispatchers.Main).launch {
            withContext(Dispatchers.Default) {
                dao.post(Todo(title = title))

                todoList.clear()
                loadTodo()
            }
        }
    }

    private fun deleteTodo(todo: Todo) {
        CoroutineScope(Dispatchers.Main).launch {
            withContext(Dispatchers.Default) {
                dao.delete(todo)

                todoList.clear()
                loadTodo()
            }
        }
    }

    ....
}
onCreateを書き換える
onCreateを以下のように書き換えます。
class MainActivity : ComponentActivity() {

    private val dao = RoomApplication.database.todoDao()
    private var todoList = mutableStateListOf<Todo>()

    override fun onCreate(savedInstanceState: Bundle?) {
        super.onCreate(savedInstanceState)
        setContent {
            TodoAppTheme {
                // A surface container using the 'background' color from the theme
                Surface(
                    modifier = Modifier.fillMaxSize(),
                    color = MaterialTheme.colors.background
                ) {
                    MainScreen(todoList)
                }
            }
        }

        loadTodo()
    }

    ....
}
アプリを実行してみましょう。
タスクを作成・削除できることを確認してください。

完成
ここまで実装できれば完成です!(下の動画ではアイコンも表示しています。)
テキストフィールドから新しくタスクを追加することができ、タスクをタップすると削除することができます。
アプリを閉じてもデータは保存されています。

参考資料
