前提
の記事の続きになりますが、認証機能の実装方法自体はその他の構成でも参考になると思います!
実装
上の記事の続きから次の実装を行なってください。
実装内容
実装はGithubの方にまとめているのでそれをそのまま実装してください。
※package.jsonとかpackage_lock.jsonの実装はもちろん行わなくて大丈夫です!
画面確認までの準備
実装を終えたら
npm インストール
docker-compose exec next bash
でNext.jsのコンテナに入って、
npm install axios humps js-cookie next @mui/material @mui/icons-material
npm install @emotion/react @emotion/styled
npm install --save-dev @types/js-cookie @types/react @types/react-dom @types/node
npm i --save-dev @types/humps
npm i --save-dev @types/js-cookie
を実行してください。
node_moduleのコピー
ホスト(コンテナの外)で
docker cp sys1-nextjs:/app/node_modules ./next/
を実行してください。
next/.env
next/.env.example をコピーして next/.envを作ります。
Laravelの用意
docker-compose exec api bash
でLaravelのコンテナに入って、
php artisan migrate
php artisan db:seed
を実行します。
準備完了
そうすると以下の画面で動作を確認できるようになります。
URL一覧(ローカル環境)
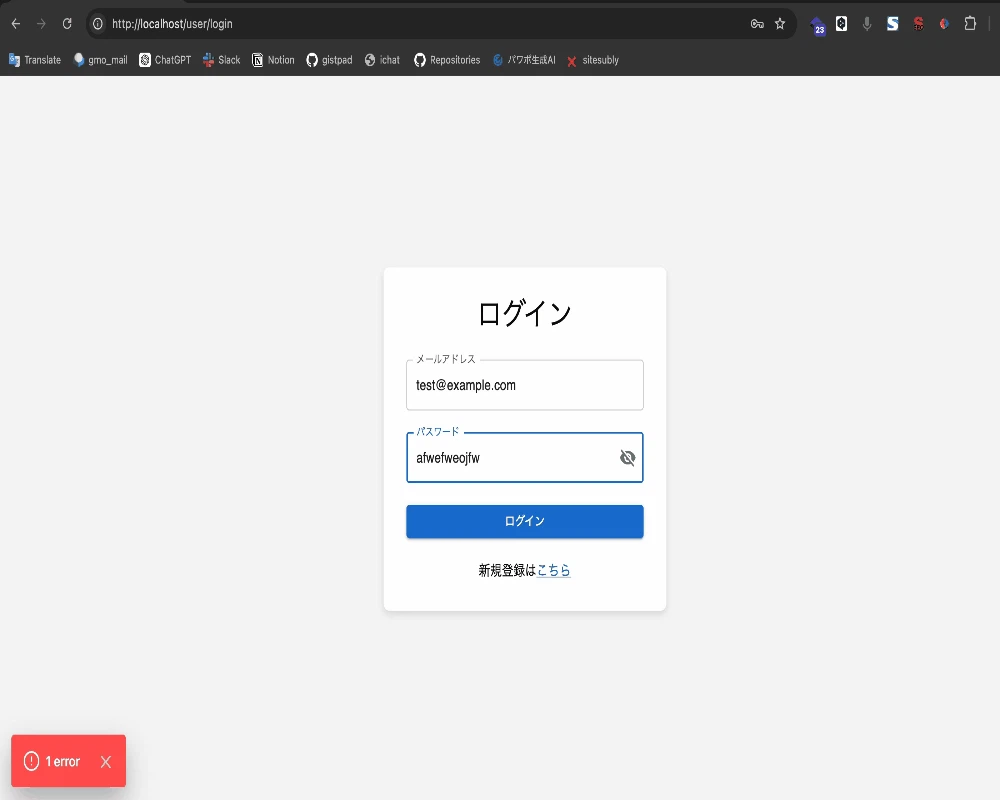
- ログインページ
-
http://localhost/user/login
- メールアドレス:test@example.com
- パスワード:password
-
http://localhost/user/login
- トップページ
動作としては冒頭のキャプチャと同じですがこんな感じになります。
