実はKalturaはOSSでも提供されています。
https://github.com/kaltura
Non-SSL Step-by-step Installation の手順に従ってインストールです
こちらの方のブログがの方が参考になるのでリンクもはっておきます
1.仮想環境にCentOS準備
今回はvegrantを利用
本家からダウンロード
IPアドレスを【192.168.3.3】に設定します
vagrant box add centos64 http://developer.nrel.gov/downloads/vagrant-boxes/CentOS-6.4-x86_64-v20131103.box
mkdir -p ~/Vagrant/CentOS64
cd ~/Vagrant/CentOS64
vagrant init centos64
vi Vagrantfile
config.vm.network "private_network", ip: "192.168.3.3"
vagrant reload
2.OS下準備
IPTablesとSELinuxの設定をOFFにする
halt -p now
iptables -F
service iptables stop
chkconfig iptables off
vi /etc/selinux/config
3.Kalturaのリポジトリを設定する
rpm -ihv
http://installrepo.kaltura.org/releases/kaltura-release.noarch.rpm
4.MySQLとPostfixとMemcacheとNTPを立ち上げる
yum clean all
yum install mysql mysql-server
service postfix restart
service memcached restart
service ntpd restart
chkconfig memcached on
chkconfig ntpd on
5.MySQLにrootのユーザーパスワードを設定
CREATE USER 'root'@'%' IDENTIFIED BY 'root';
6.Kaltura-Serverを入れる
yum install kaltura-server
/opt/kaltura/bin/kaltura-mysql-settings.sh
7.Kalturaの設定をする
/opt/kaltura/bin/kaltura-config-all.sh
[Email\NO]:muromari0807@gmail.com
Registering for the newsletter... this will take a few seconds.

In order to finalize the system configuration, please input the following:

CDN hostname [localhost.localdomain]:
192.168.3.3
Apache virtual hostname [localhost.localdomain]
(Must be accessible from both inside the machine and from any clients / browsers that will use Kaltura):

192.168.3.3
Vhost port to listen on [80]: 80
range of ip addresses belonging to internal kaltura servers [0.0.0.0-255.255.255.255]:
The range is used when checking service actions permissions and allowing to access certain services without KS from the internal servers.
The default is only good for testing, on a production ENV you should adjust according to your network.

DB port [3306]: 3306
MySQL super user [only for install, default root]: root
Analytics DB hostname [127.0.0.1]:127.0.0.1
Analytics DB port [3306]:3306
Sphinx hostname [127.0.0.1]: 127.0.0.1
Secondary Sphinx hostname [leave empty if none]:
VOD packager hostname [localhost.localdomain]: localhost
VOD packager port to listen on [88]: 88
Admin user login password (must be minimum 8 chars and include at least one of each: upper-case, lower-case, number and a special character):
Confirm passwd:
Your time zone [see http://php.net/date.timezone], or press enter for [UTC]: UTC
Your Kaltura install name (this name will show as the From field in emails sent by the system) [Kaltura Video Platform]:
Your website Contact Us URL [http://corp.kaltura.com/company/contact-us]:
Your 'Contact us' phone number [+1 800 871 5224]:

========================================================================================================================
Kaltura install answer file written to /tmp/kaltura_11_10_04_14.ans  -  Please save it!
This answers file can be used to silently-install re-install this machine or deploy other hosts in your cluster.
========================================================================================================================

Configuration of 10.19.0 finished successfully!

Running FrontEnd config...


base-config completed successfully, if you ever want to re-configure your system (e.g. change DB hostname) run the following script:
# rm /opt/kaltura/app/base-config.lock
# /opt/kaltura/bin/kaltura-base-config.sh


kaltura-front-10.19.0-1.noarch
It is recommended that you do work using HTTPs. Would you like to continue anyway?[N/y]
Exiting.


		Archving logs to /opt/kaltura/log/log_11_10_15_04_14.tar.gz...
[
8.DBの設定をする
私の場合はDBのルートパスワードの設定がちゃんとできておらずインストールが半端なところで止まってしまったので、DBインストールを手動で行いました
スクリプト変更
show tablesだと止まるのでとりあえずshow databasesに変更。(DB名を指定するように変更なのかな?)
./kaltura-functions.rc
echo "show databases;" | mysql -h$SPHINX_SERVER -u$DB_USER -p$DB_PASSWD -P3306
cd /opt/kaltura/bin
sh kaltura-db-config.sh localhost root root 3306 upgrade
calling upgrade script instead.
Checking MySQL version..
Ver 5.1.73 found compatible

The kaltura DB seems to already be installed.

if you meant to perform an upgrade? run with:
# kaltura-db-config.sh localhost root root 3306 upgrade

Otherwise, do you wish to remove the existing DB [n/Y]?

Y
This will drop the following DBs:
kaltura kaltura_sphinx_log kalturadw kalturadw_ds kalturadw_bisources kalturalog
and remove users:
kaltura etl
on 127.0.0.1
NOTE: this is not reversible.
It is recommended you also back up the current data using mysqldump before continuing.
You can use /opt/kaltura/bin/kaltura-export-db.sh to export the data.

Are you absolutely certain you want this? [n/Y]

Y
root DB passwd:
Removing kaltura
Removing kaltura_sphinx_log
Removing kalturadw
Removing kalturadw_ds
Removing kalturadw_bisources
Removing kalturalog
kaltura
CREATE DATABASE kaltura;
kaltura_sphinx_log
CREATE DATABASE kaltura_sphinx_log;
kalturadw
CREATE DATABASE kalturadw;
kalturadw_ds
CREATE DATABASE kalturadw_ds;
kalturadw_bisources
CREATE DATABASE kalturadw_bisources;
kalturalog
CREATE DATABASE kalturalog;
Checking connectivity to needed daemons...
sphinxxxx 127.0.0.1 http://192.168.3.3
show tables;
mysql -h127.0.0.1 -ukaltura -pko00MuhHeYhD9RO -P3306
Connectivity test passed:)
Cleaning cache..
Populating DB with data.. please wait..
Output for /opt/kaltura/app/deployment/base/scripts/installPlugins.php being logged into /opt/kaltura/log/installPlugins.log
Output for /opt/kaltura/app/deployment/base/scripts/insertDefaults.php being logged into /opt/kaltura/log/insertDefaults.log
Output for /opt/kaltura/app/deployment/base/scripts/insertPermissions.php being logged into /opt/kaltura/log/insertPermissions.log

Output for /opt/kaltura/app/deployment/base/scripts/insertContent.php being logged into /opt/kaltura/log/insertContent.log
9.インストール後の確認をする
mysql> show databases;
+---------------------+
| Database            |
+---------------------+
| information_schema  |
| kaltura             |
| kaltura_sphinx_log  |
| kalturadw           |
| kalturadw_bisources |
| kalturadw_ds        |
| kalturalog          |
| mysql               |
| test                |
+---------------------+

+-----------+---------+-------------------------------------------+
| Host      | User    | Password                                  |
+-----------+---------+-------------------------------------------+
| localhost | kaltura | *21879B830757626983D467BC809D7D78971EB08B |
| localhost | etl     | *21879B830757626983D467BC809D7D78971EB08B |
+-----------+---------+-------------------------------------------+
4 rows in set (0.00 sec)
10.KalturaのデモアプリRed5を入れる
yum install kaltura-red5
http://hostname:5080にアクセス
【Install a ready-made application】をクリックしてアプリのインストール画面へ
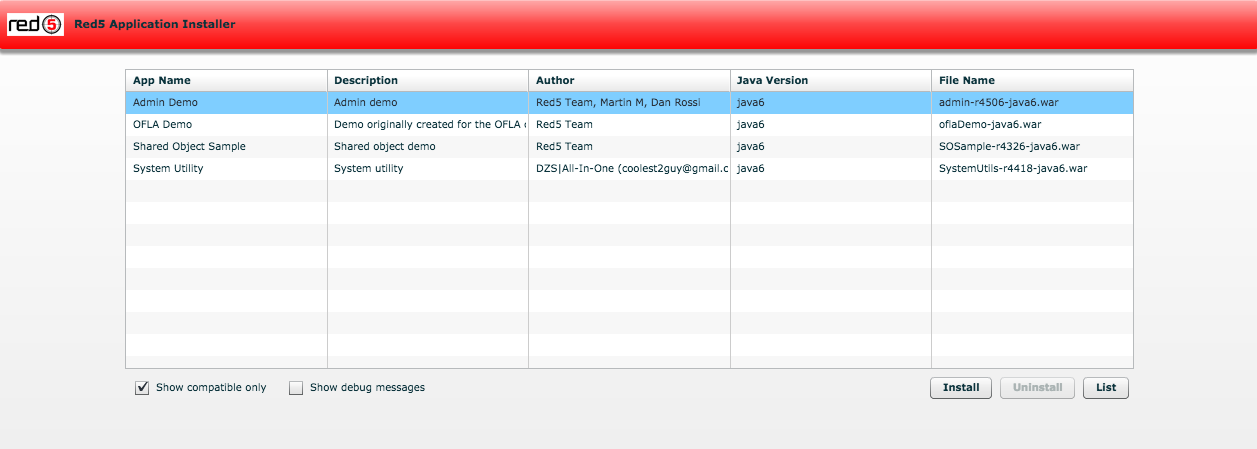
oflaDemoを選択してインストール
デモが下記ディレクトリにダウンロードされているので、
/usr/lib/red5/webapps/oflaDemo/index.html
ホスト名を【localost】→【192.168.3.3】に変更
http://192.168.3.3:5080/oflaDemo/
にアクセスしてデモが閲覧できる事を確認
コンフィグを実行
/opt/kaltura/bin/kaltura-red5-config.sh
11.Red5再起動
cd /usr/lib/red5/
sh red5-shutdown.sh && sh red5.sh&
起動時のSpringのログを見ると下記のURLがあることが分かるが、oflaDemoとchat以外に閲覧不可能だった
http://192.168.3.3:5080/oflaDemo -> OK
http://192.168.3.3:5080/chat -> OK
http://192.168.3.3:5080/vod -> OK
http://192.168.3.3:5080/SOSample -> NG
http://192.168.3.3:5080/ -> OK
http://192.168.3.3:5080/installer -> OK
http://192.168.3.3:5080/SystemUtils -> NG
http://192.168.3.3:5080/admin -> NG
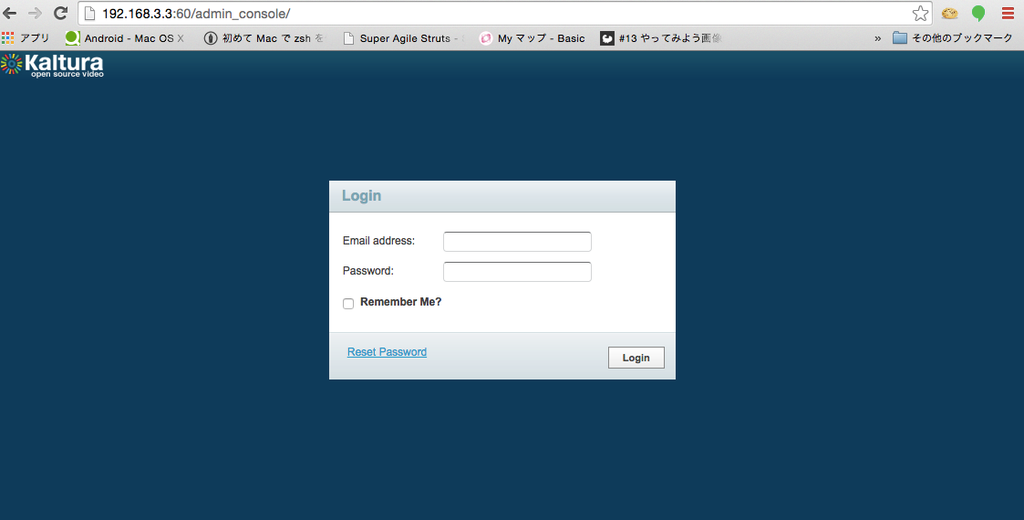
12.管理画面起動
ここまで来ると、だんだん面倒になってきたのでしゅうりょー