お仕事で、触れる機会がありそうなので、API Gateway + Lambda + ECRでDockerから簡単にAPIを作成するデモを作りました!
今まで手を付けてなった、terraformを使って構成を実装します!
開発環境 MAC: M2
Python 3.10
1. インストール
Docker
Dockerの公式からAppleSilicon用をインストール
Terraform
Terraformの公式からbrewのチュートリアルでインストール
使うコマンドはこの3つだけです!
terraform validate
terraform plan
terraform apply
2. terrraformの実装
teffaformのファイルは、HCLという形式で、.tfファイルで保存されます
HCLの書き方については、Terraform Language Documentationを参照しましょう
※ 下記のサンプルコード中で、$awsのアカウントIDで指定されている部分は、IAMユーザーでログインするときに利用するアカウントIDです
2.1 ECRリポジトリの準備
LabmdaからはDockerを参照したいので、ECRの定義を作成します
こちらにDockerのイメージを登録することで、Labmdaから参照できるようになります
Dockerコンテナ用のECRリポジトリを作成
scan_on_pushをtrueにしておくと、イメージの脆弱性をpush時にscanしてくれます
resource "aws_ecr_repository" "hello_world_function" {
  name                 = "hello-world-function"  # Name of the repository

  image_scanning_configuration {
    scan_on_push = true  # Enable scanning of images on push
  }
}
applyして構成を反映します
$ terraform apply
3. Dockerの実装
3.1. Dockerファイルの作成
Dockerファイルを作成します
サポートされている、Lambdaのランタイムはあらかじめ確認しておきます
今回利用したものは、awsの提供するlambdaイメージです
M2でビルドした環境がAwsで動かない事象が発生したので、こちらの記事を参考に、--platform=の指定を追加しました
FROM --platform=linux/amd64 public.ecr.aws/lambda/python:3.10

# Copy requirements.txt
COPY requirements.txt ${LAMBDA_TASK_ROOT}

# Install the specified packages
RUN pip install -r requirements.txt

# Copy function code
COPY lambda_function.py  ${LAMBDA_TASK_ROOT}

# Set the CMD to your handler (could also be done as a parameter override outside of the Dockerfile)
CMD [ "lambda_function.handler" ]
3.2. 簡単なpythonコードを作成
※ labmdaから呼び出す場合には、parameterがeventの中入っていきますが、
API Gatewayを通す場合に、GETのときは、queryStringParametersというパラメーターにマッピングされて送信されるので、受け取り側の実装をあとから追加しました
import sys

def handler(event, context):
    body = event["body"]
    #bodyのエンコードされた文字列をJSON文字列にデコードし、辞書型に変換
    # for POST
    # params = json.loads(base64.b64decode(body).decode('utf-8'))

    key1 = event.get('key1', '') or event.get('queryStringParameters').get('key1')
    key2 = event.get('key2', '') or event.get('queryStringParameters').get('key2')
    key3 = event.get('key3', '') or event.get('queryStringParameters').get('key3')
    body = key1 + key2 + key3

    output = {
        "message": 'Hello from AWS Lambda using Python' + sys.version + '!',
        "body": body
    }
    return output
3.3 ローカルデバッグ
- Dockerの起動
docker run --platform linux/arm64 -p 9000:8080 docker-image:hello-world`
- APIの呼びだし
curl "http://localhost:9000/2015-03-31/functions/function/invocations" -d '{"key1": "aaaa", "key2": "bbb", "key3": "ccc"}'

{"message": "Hello from AWS Lambda using Python3.10.14 (main, Apr  9 2024, 12:36:08) [GCC 7.3.1 20180712 (Red Hat 7.3.1-17)]!", "body": "aaaabbbccc"}%
3.4 ビルド
- イメージをビルド
docker buildx build --platform linux/arm64 -t docker-image:hello-world .`
- docker imageとリポジトリの関連付け
docker tag docker-image:hello-world $awsのアカウントID.dkr.ecr.ap-northeast-1.amazonaws.com/$イメージ名:latest`
3.5. Dockerのイメージをpush
docker push $awsのアカウントID.dkr.ecr.ap-northeast-1.amazonaws.com/hello-world:latest

Amazon ECR > Private registry > Repositories > hello-world-function > View Push Commandからいつでも確認できるので安心してください
4. Lambda関数の作成
4.1 ポリシーとログの設定
※ lambaのロギング用のポリシーを作成してattachします
Resource: aws_iam_policy
Resource: aws_iam_role_policy_attachment
resource "aws_iam_policy" "lambda_policy" {
  name   = "lambda_logging_policy"
  policy = jsonencode({
    Version = "2012-10-17"
    Statement = [
      {
        Effect   = "Allow"
        Action   = [
          "logs:CreateLogGroup",
          "logs:CreateLogStream",
          "logs:PutLogEvents"
        ]
        Resource = "arn:aws:logs:ap-northeast-1:$awsのアカウントID:*"
      },
    ]
  })
}

resource "aws_iam_role_policy_attachment" "lambda_logs" {
  role       = aws_iam_role.lambda_role.name
  policy_arn = aws_iam_policy.lambda_policy.arn
}
4.2 LambdaにECRを設定
resource "aws_lambda_function" "hello_world" {
  function_name = "HelloWorldViaTerraform"
  memory_size   = 128
  timeout       = 3

  package_type  = "Image"
  image_uri     = "${aws_ecr_repository.hello-world-function.repository_url}:latest" # ECSリポジトリと関連付け

  role = aws_iam_role.lambda_role.arn

  ephemeral_storage {
    size = 512
  }

  environment {
    variables = {
      SOME_ENV_VAR = "value"
    }
  }
}
applyして構成を反映します
$ terraform apply
5. API Gateway
5.1 Lambda側にAPI Gatewayのパーミッションを追加
resource "aws_lambda_permission" "api_gateway_permission" {
  statement_id  = "AllowExecutionFromAPIGateway"
  action        = "lambda:InvokeFunction"
  function_name = aws_lambda_function.hello_world.function_name
  principal     = "apigateway.amazonaws.com"
  source_arn    = "${aws_api_gateway_rest_api.hello_world_api.execution_arn}/*/*"
}
5.2 APIGatewayの定義
Resource: aws_api_gateway_rest_api
Resource: aws_api_gateway_resource
Resource: aws_api_gateway_method
// Example of api gateway
resource "aws_api_gateway_rest_api" "hello_world_api" {
  name        = "LambdaのGateway"
  description = "Example API Gateway to trigger Lambda"
}

resource "aws_api_gateway_resource" "hello_world_resource" {
  rest_api_id = aws_api_gateway_rest_api.hello_world_api.id
  parent_id   = aws_api_gateway_rest_api.hello_world_api.root_resource_id
  path_part   = "ebihara"
}

resource "aws_api_gateway_method" "hello_world_method" {
  rest_api_id   = aws_api_gateway_rest_api.hello_world_api.id
  resource_id   = aws_api_gateway_resource.hello_world_resource.id
  http_method   = "GET"
  authorization = "NONE"
}
5.3 APIのリクエストとレスポンスのマッピングをする
API GatewayをLambdaに接続しただけでは、自動でレスポンス受け渡しが行われません
HTTPリクエスト/レスポンスとLambdaの入出力にマッピングを定義する必要があります
Resource: aws_api_gateway_integration
Resource: aws_api_gateway_method_response
Resource: aws_api_gateway_integration_response
resource "aws_api_gateway_integration" "hello_world_lambda_integration" {
  rest_api_id = aws_api_gateway_rest_api.hello_world_api.id
  resource_id = aws_api_gateway_resource.hello_world_resource.id
  http_method = aws_api_gateway_method.hello_world_method.http_method
  integration_http_method = "POST"
  type        = "AWS"
  uri         = aws_lambda_function.hello_world.invoke_arn

  # リクエストのマッピング
  request_templates = {
    "application/json" = jsonencode({
      key1 = "$input.params('key1')",
      key2 = "$input.params('key2')",
      key3 = "$input.params('key3')"
    })
  }
}

# レスポンスのマッピング
resource "aws_api_gateway_method_response" "hello_world_method_response" {
  depends_on = [aws_api_gateway_method.hello_world_method]
  rest_api_id = aws_api_gateway_rest_api.hello_world_api.id
  resource_id = aws_api_gateway_resource.hello_world_resource.id
  http_method = aws_api_gateway_method.hello_world_method.http_method
  status_code = "200"  # Ensure this matches the status code in the integration response

  response_models = {
    "application/json" = "Empty"
  }
}
resource "aws_api_gateway_integration_response" "hello_world_lambda_integration" {
  depends_on = [aws_api_gateway_method.hello_world_method]
  rest_api_id = aws_api_gateway_rest_api.hello_world_api.id
  resource_id = aws_api_gateway_resource.hello_world_resource.id
  http_method = aws_api_gateway_method.hello_world_method.http_method
  status_code = "200"

  response_templates = {
    "application/json" = jsonencode({
      "message": "$input.path('$.message')",
      "body": "$input.path('$.body')"
    })
  }
}
applyして構成を反映します
$ terraform apply
5.4 API Gatewayのデプロイメントを定義
API Gatewayでは、ステージ(devやprodなど)を定義することができ、各ステージ事にデプロイをすることが可能です
ここでは、デプロイの定義をします
resource "aws_api_gateway_deployment" "hello_world_api_deployment" {
  depends_on = [
    aws_api_gateway_integration_response.hello_world_lambda_integration,
    aws_api_gateway_method_response.hello_world_method_response
  ]
  rest_api_id = aws_api_gateway_rest_api.hello_world_api.id
  stage_name  = "prod"  # デプロイステージの名前

  # 以下のライフサイクルポリシーは、APIの変更があるたびに新しいデプロイメントを強制します。
  lifecycle {
    create_before_destroy = true
  }

}
applyして構成を反映します
$ terraform apply
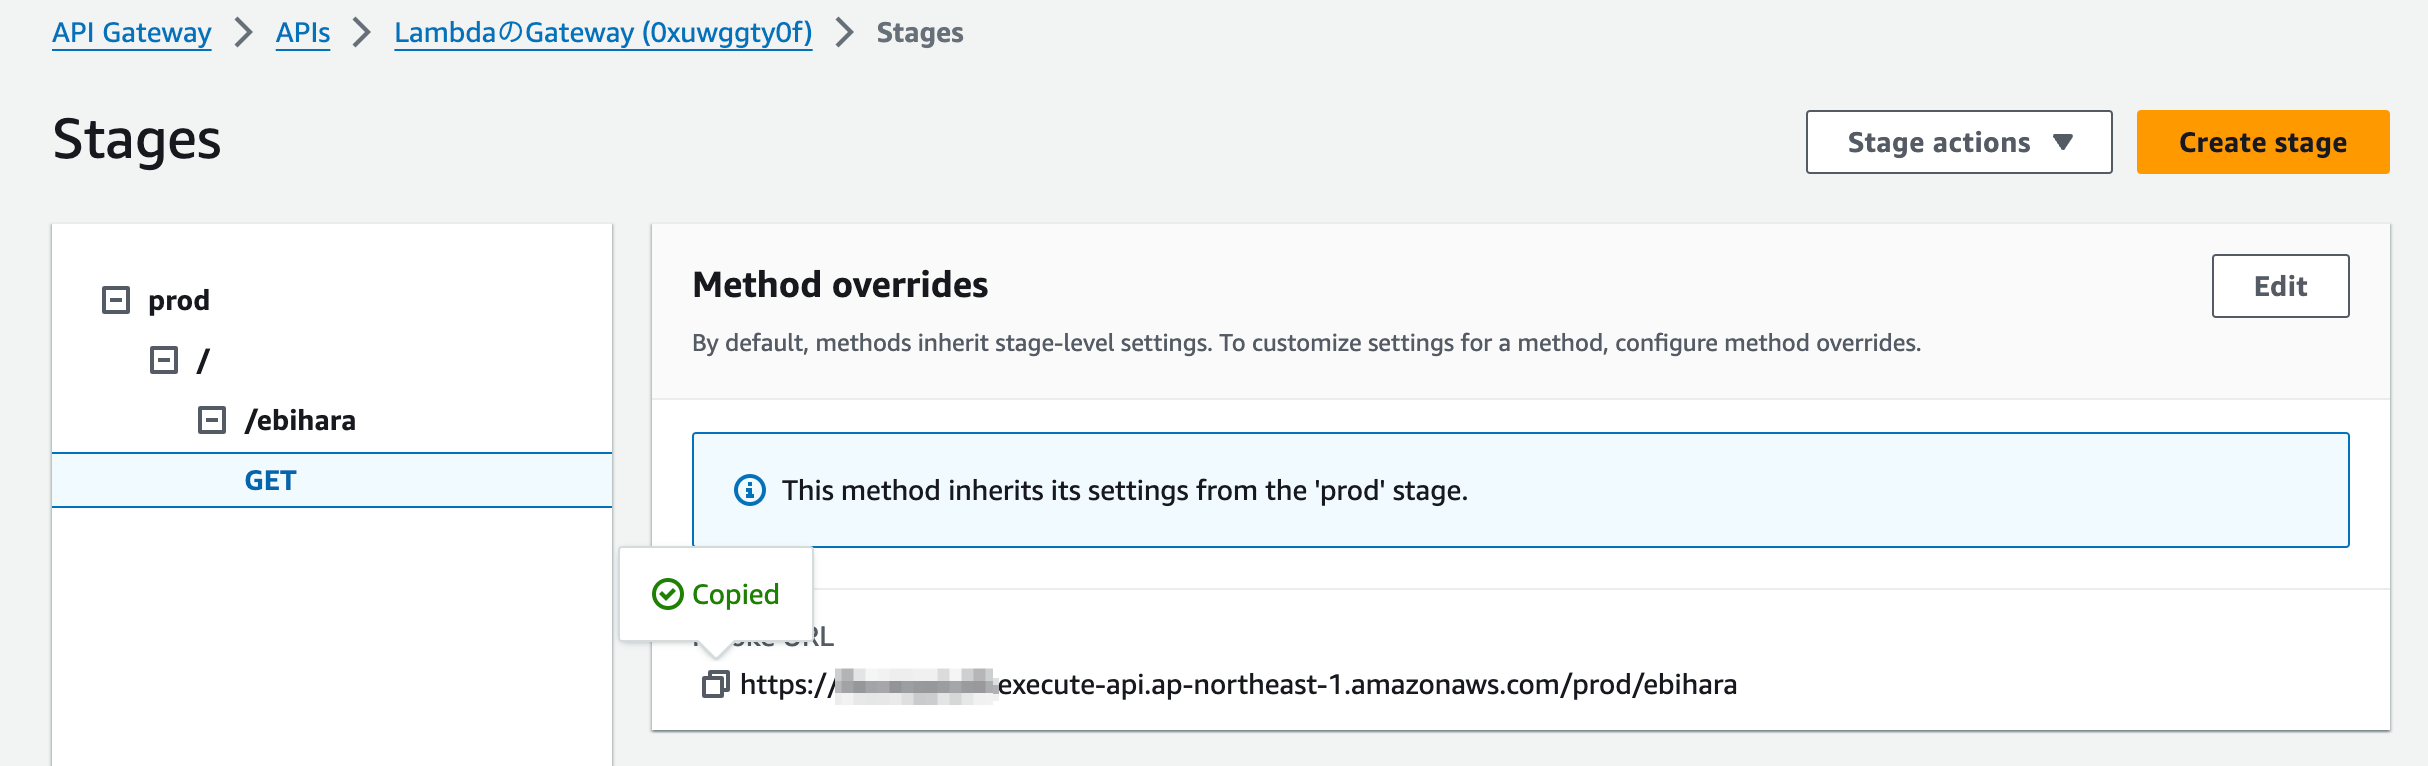
5.6 API Gatewayのデプロイをする
awsのコンソールに作成された、API Gatewayをクリックすると、
Deployボタンが表示されます
モーダルに従いデプロイを実行すると、URLが表示されるようになります
6. E To Eのテストをする
$ curl "https://*********.execute-api.ap-northeast-1.amazonaws.com/prod/ebihara?key1=aaa&key2=bbb&key3=ccc"

{"body":"aaabbbccc","message":"Hello from AWS Lambda using Python3.10.14 (main, Apr  9 2024, 12:36:08) [GCC 7.3.1 20180712 (Red Hat 7.3.1-17)]!"}%
リファレンス
Serverless Applications with AWS Lambda and API Gateway
Using Amazon ECR with the AWS CLI