はじめに
タイトルの通り、本記事ではGoogle SlidesにProgress Bar(進捗バー)を簡単につける方法を書きます。
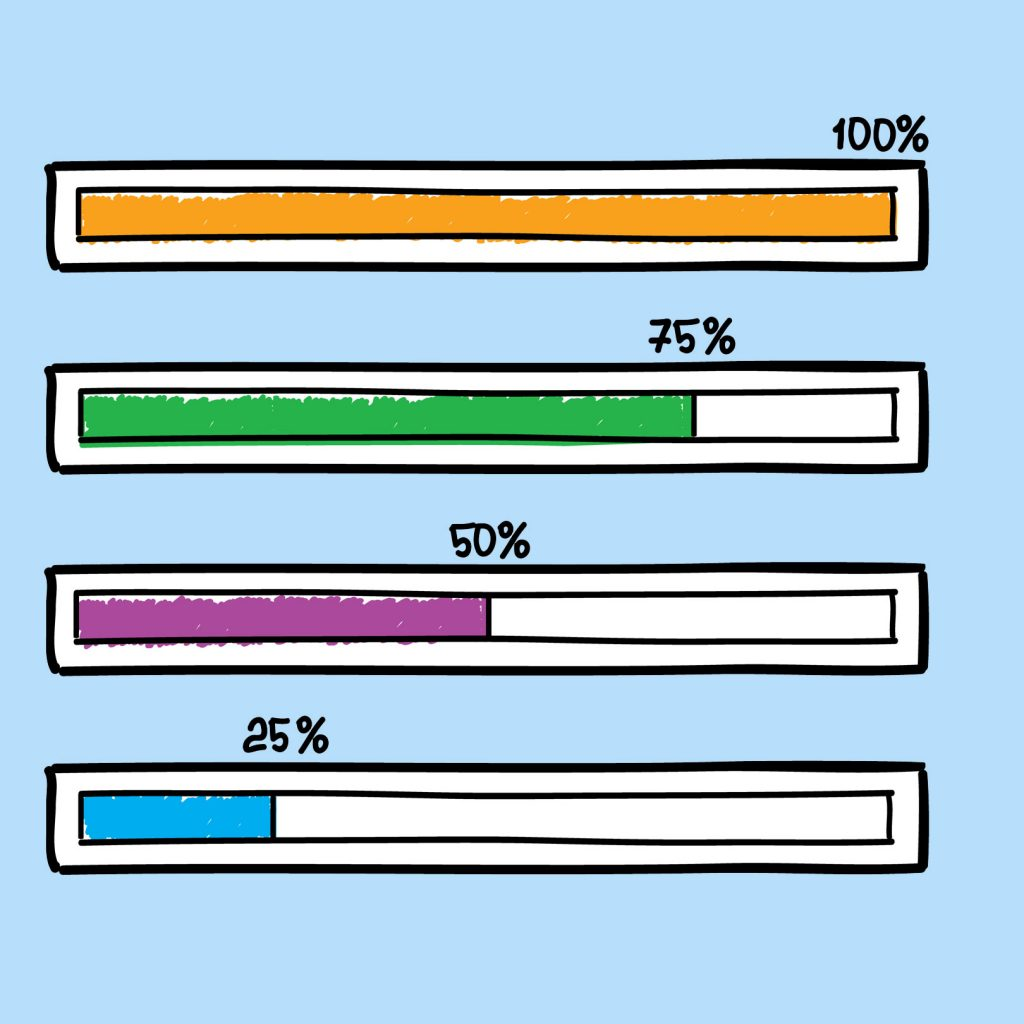
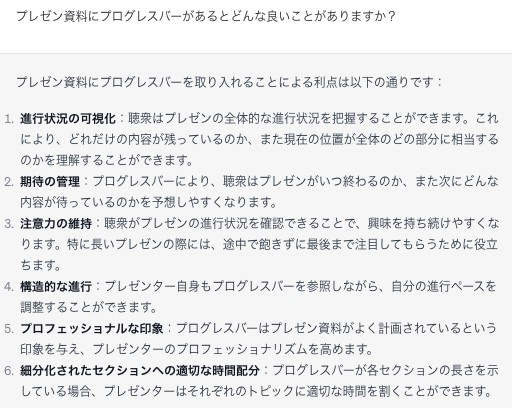
「あの人のプレゼン、いつ終わるんだろう???」という感情は、負荷を与えてしまい、聞き手の集中力が削がれる要因の一つになります。ページの進捗度合いを可視化して、ワンランク上のプレゼン体験を創りましょう!
Goal
本記事を進めると以下のように進捗バーを設定するメニューが追加されます。
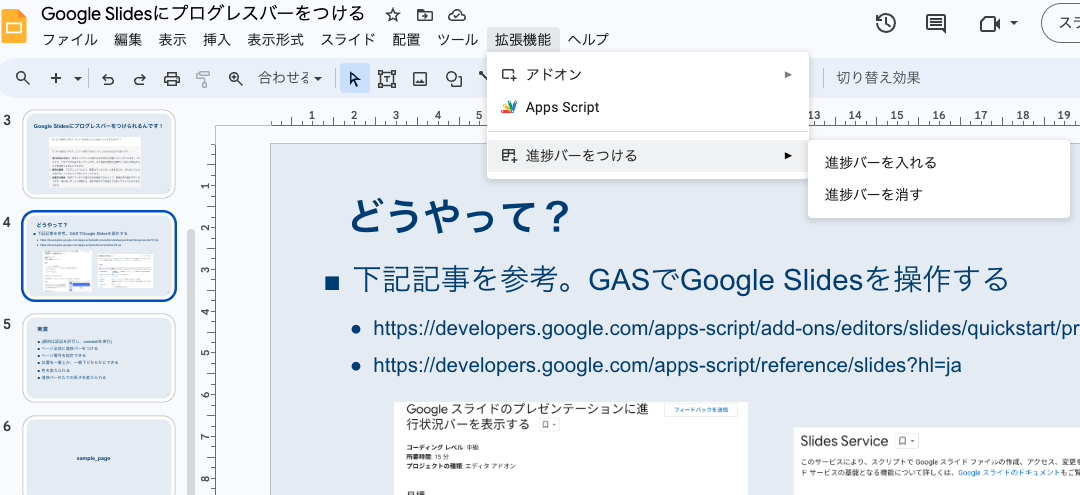
そしてクリックするだけで簡単に進捗バーをセットすることができます。
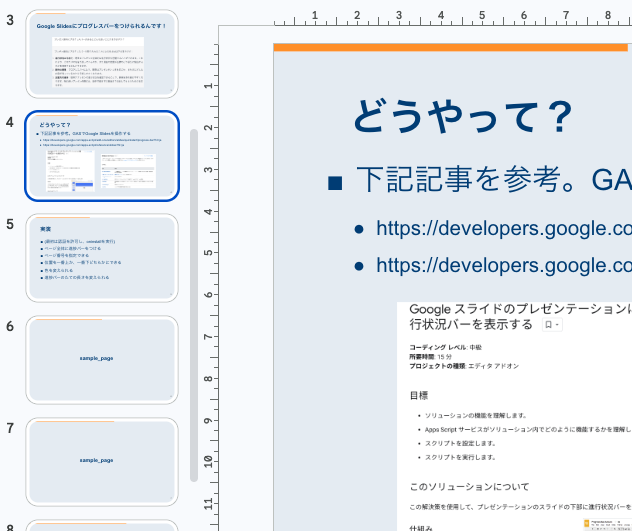
また、以下の要素をオプションとして設定できるようにしています。
- 進捗バーを設定するページ番号の範囲を指定する
- 進捗バーの高さと色を変える
- 進捗バーの位置を変える
どうやって?
指定のGoogle App Script(通称GAS)をGoogle Slidesに追加することでProgress Barをつけることができます。GASはSpread Sheetだけでなく、Google Slidesも操作できるのですね!
下記の記事を参考にしています。
-
進行状況バーを表示する
https://developers.google.com/apps-script/add-ons/editors/slides/quickstart/progress-bar?hl=ja -
Slides Serviceにより、スクリプトでGoogle Slidesを操作することができます。
https://developers.google.com/apps-script/reference/slides?hl=ja
方法
STEP1 GASをセット
任意のGoogle Slidesを作成し、拡張機能→Apps Scriptを開きます。

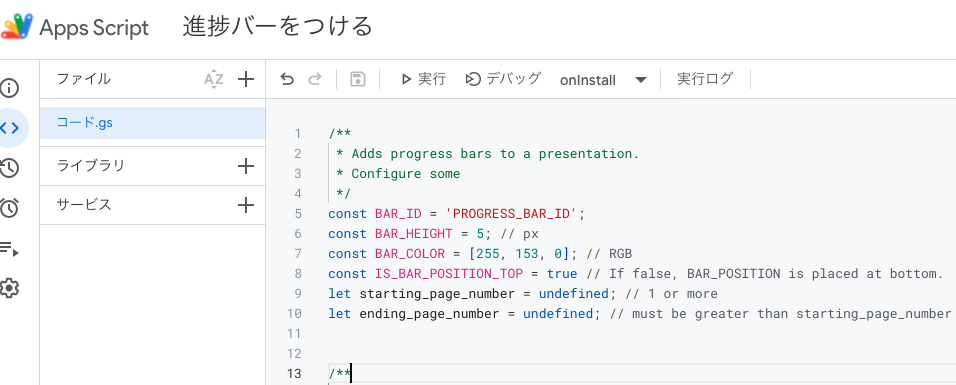
下記のGASをそのまま全部貼り付けます。
/**
 * Adds progress bars to a presentation.
 * Configure some
 */
const BAR_ID = 'PROGRESS_BAR_ID';
const BAR_HEIGHT = 5; // px
const BAR_COLOR = [255, 153, 0]; // RGB
const IS_BAR_POSITION_TOP = true // If false, BAR_POSITION is placed at bottom.
let starting_page_number = undefined; // 1 or more
let ending_page_number = undefined; // must be greater than starting_page_number


/**
 * Runs when the add-on is installed.
 * @param {object} e The event parameter for a simple onInstall trigger. To
 *     determine which authorization mode (ScriptApp.AuthMode) the trigger is
 *     running in, inspect e.authMode. (In practice, onInstall triggers always
 *     run in AuthMode.FULL, but onOpen triggers may be AuthMode.LIMITED or
 *     AuthMode.NONE.)
 */
function onInstall(e) {
  onOpen();
}

/**
 * Trigger for opening a presentation.
 * @param {object} e The onOpen event.
 */
function onOpen(e) {
  SlidesApp.getUi().createAddonMenu()
      .addItem('進捗バーを入れる', 'createBars')
      .addItem('進捗バーを消す', 'deleteBars')
      .addToUi();
}

/**
 * Create a rectangle on every slide with different bar widths.
 */
function createBars() {
  deleteBars(); // Delete any existing progress bars
  const presentation = SlidesApp.getActivePresentation();
  const slides = presentation.getSlides();
  starting_page_number = (starting_page_number - 1) || 0
  ending_page_number = (ending_page_number - 1) || slides.length - 1
  console.log(slides.length)
  for (let i = starting_page_number; i <= ending_page_number; ++i) {
    const ratioComplete = ((i - starting_page_number + 1) / (ending_page_number - starting_page_number + 1));
    const x = 0;
    let y = presentation.getPageHeight() - BAR_HEIGHT;
    if (IS_BAR_POSITION_TOP) {y = 0}
    const barWidth = presentation.getPageWidth() * ratioComplete;
    if (barWidth > 0) {
      const bar = slides[i].insertShape(SlidesApp.ShapeType.RECTANGLE, x, y,
          barWidth, BAR_HEIGHT);
      bar.getBorder().setTransparent();
      bar.setLinkUrl(BAR_ID);
      bar.getFill().setSolidFill(...BAR_COLOR);
    }
  }
}

/**
 * Deletes all progress bar rectangles.
 */
function deleteBars() {
  const presentation = SlidesApp.getActivePresentation();
  const slides = presentation.getSlides();
  for (let i = 0; i < slides.length; ++i) {
    const elements = slides[i].getPageElements();
    for (const el of elements) {
      if (el.getPageElementType() === SlidesApp.PageElementType.SHAPE &&
        el.asShape().getLink() &&
        el.asShape().getLink().getUrl() === BAR_ID) {
        el.remove();
      }
    }
  }
}
STEP2 メニューをインストール
Apps Script画面から、oninstall関数を実行します。
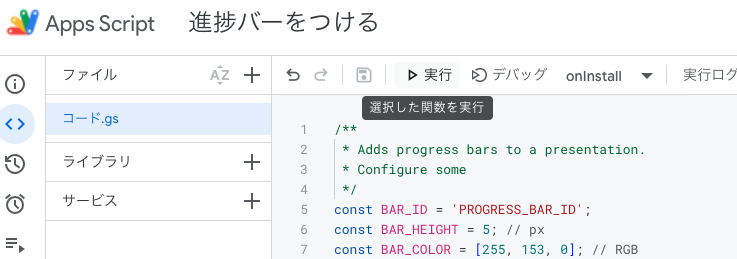
この際、1度のみ権限の承認が必要になります。「権限の確認」を押し、

アカウントの選択→「詳細」を押す→ページを移動→「許可」を押す必要があります。
迷ったら下記記事が詳しいので参考にしてください!
https://note.com/tori_automation/n/n92d8afc66b1a
これにより、メニューが追加されます。
STEP3 基本操作
追加されたメニューから進捗バーをつけたり、消したりすることができるようになります。試してみましょう!

STEP4 カスタマイズ
GASのコードの以下の部分を書き換えることでカスタマイズすることができます。
const BAR_HEIGHT = 5; // px
const BAR_COLOR = [255, 153, 0]; // RGB
const IS_BAR_POSITION_TOP = true // If false, BAR_POSITION is placed at bottom.
let starting_page_number = undefined; // 1 or more
let ending_page_number = undefined; // must be greater than starting_page_number
例えば、
- 進捗バーの高さを10px
- 進捗バーの色は赤色
- 進捗バーの位置は一番下
- 2~10ページの範囲で進捗バーをつけたい
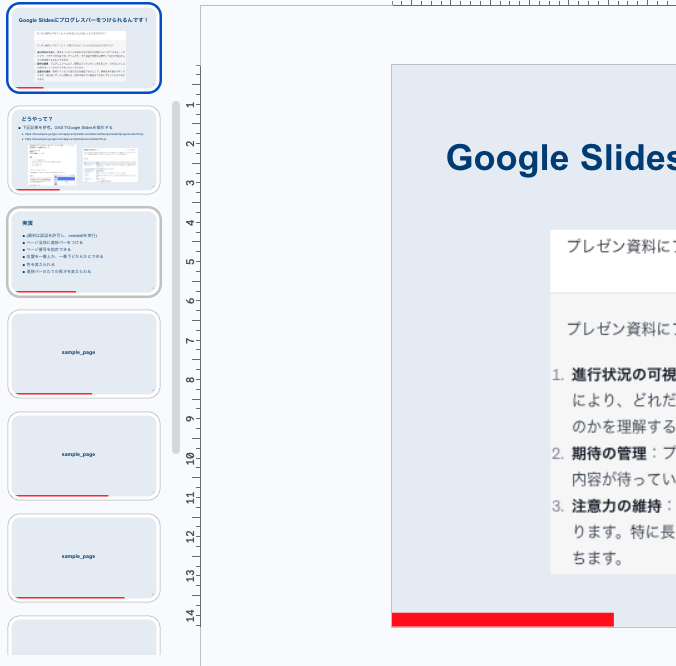
上記のようにするには、コードを以下のように書き換えましょう。
const BAR_HEIGHT = 10; // px
const BAR_COLOR = [255, 0, 0]; // RGB
const IS_BAR_POSITION_TOP = false // If false, BAR_POSITION is placed at bottom.
let starting_page_number = 2; // 1 or more
let ending_page_number = 10; // must be greater than starting_page_number
保存して再度進捗バーを付け直すだけで反映させることができます。
おわりに
本記事では、Google SlidesにProgress Barをつける方法を書きました。
基本操作に加え、カスタマイズすることでスライドのデザインに合わせることができます。
一工夫加えるだけでスライドをより洗練させることができるので、ぜひ取り入れてみてください!
